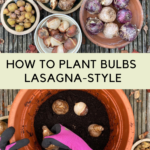


If you’ve ever thought that cooking and gardening have a few things in common – mainly using “ingredients” and following a “recipe” to create something out of nothing – you’re going to like this article in which I explain how to make a spring bulb lasagna.
What do pasta, cheese and sauce have to do with planting bulbs?
One word: layering.
Planting lasagna-style refers to layering your bulbs in flower pots to optimize the use of space and to extend the blooming period of that container. This layered planting method allows gardeners to mix bulbs in a variety of colors, sizes and blooming times to create a showstopping garden display.
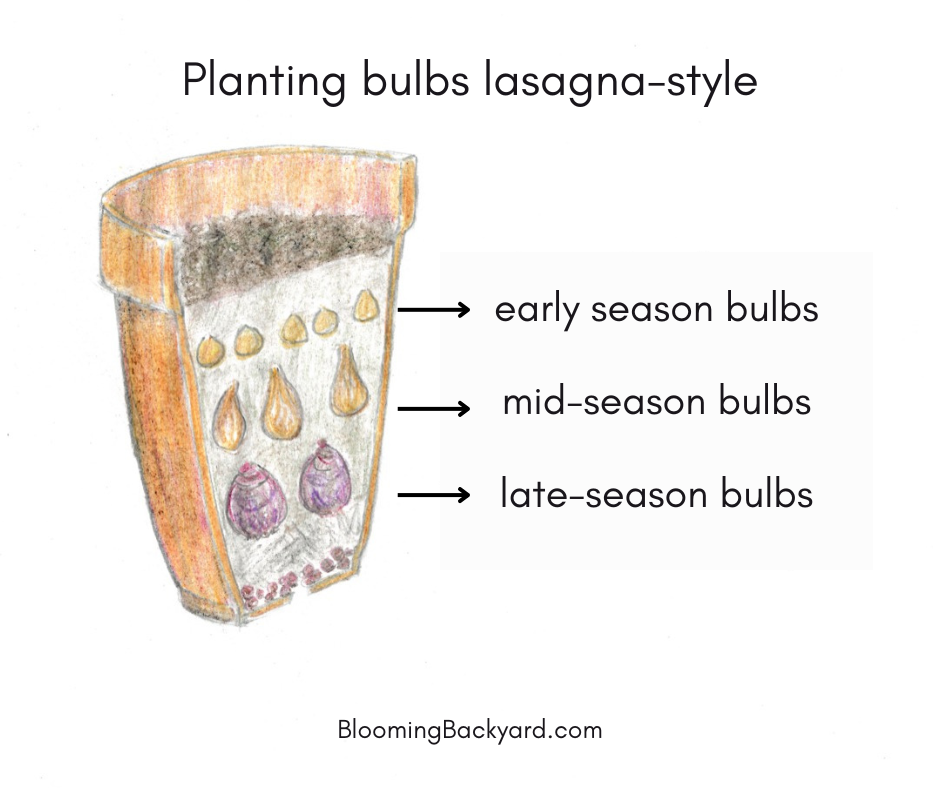
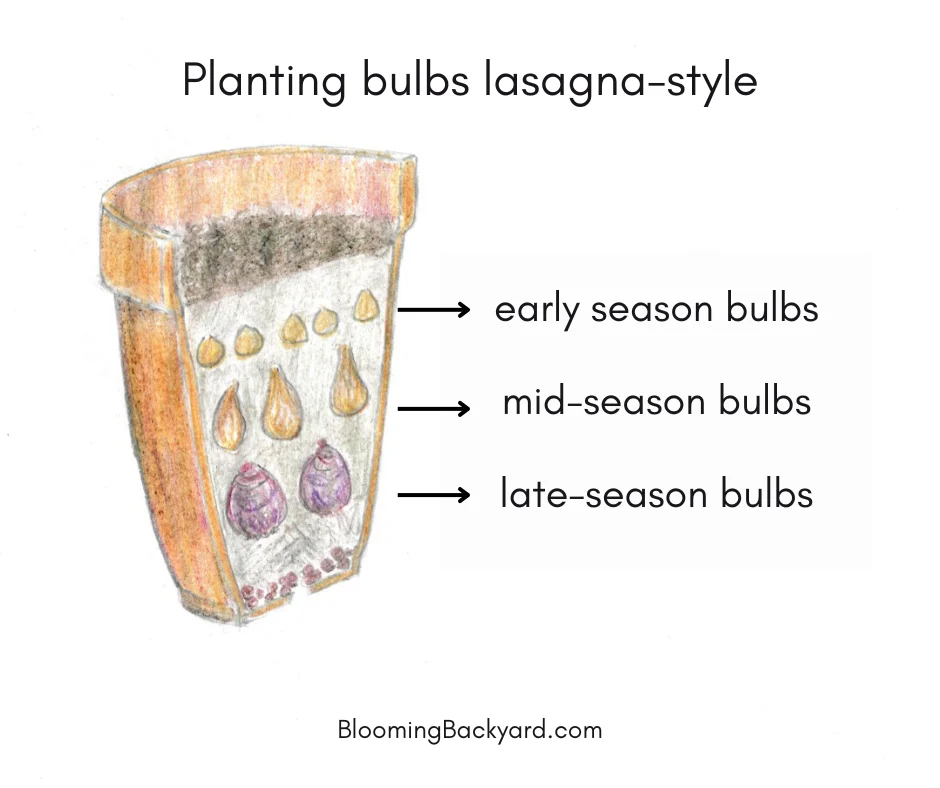
Bulb Lasagna Diagram
How many bulbs do I need for lasagna planting?
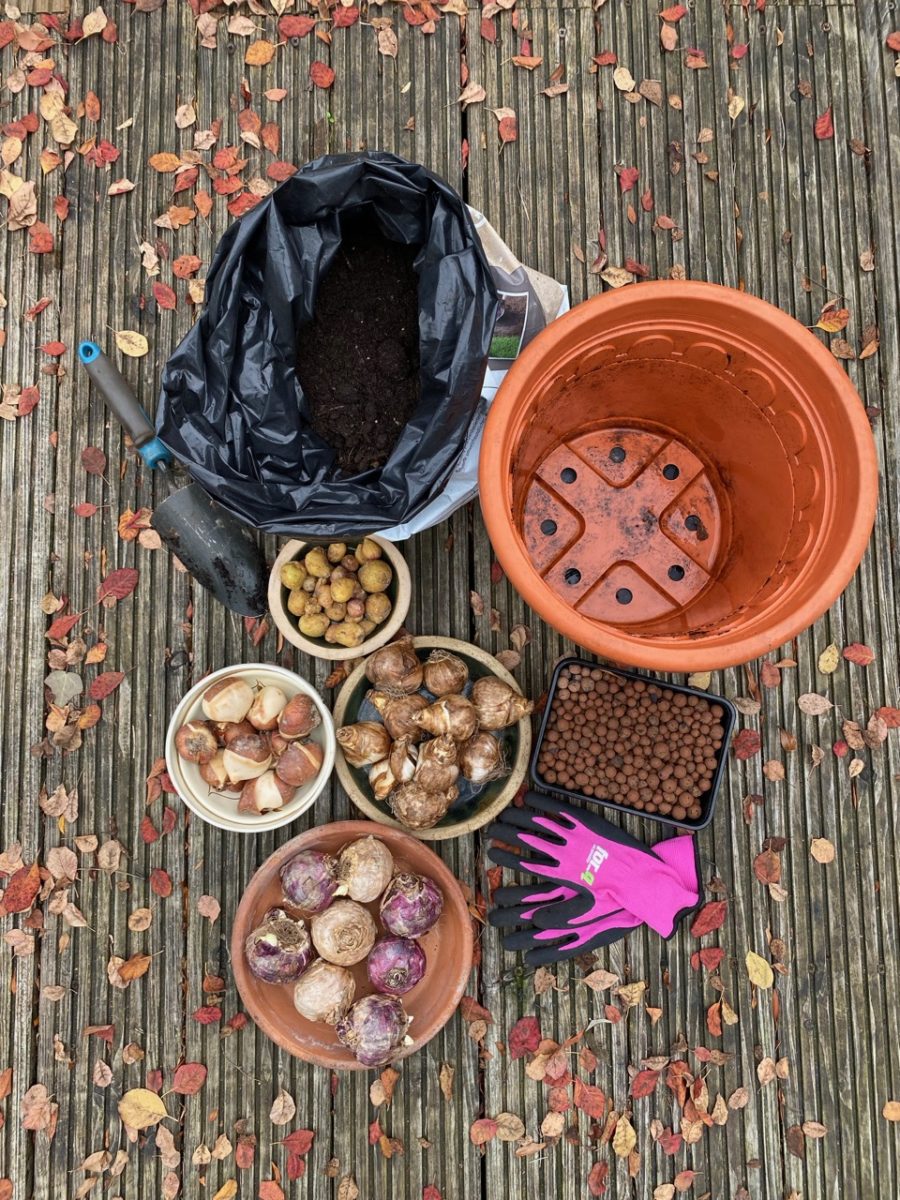
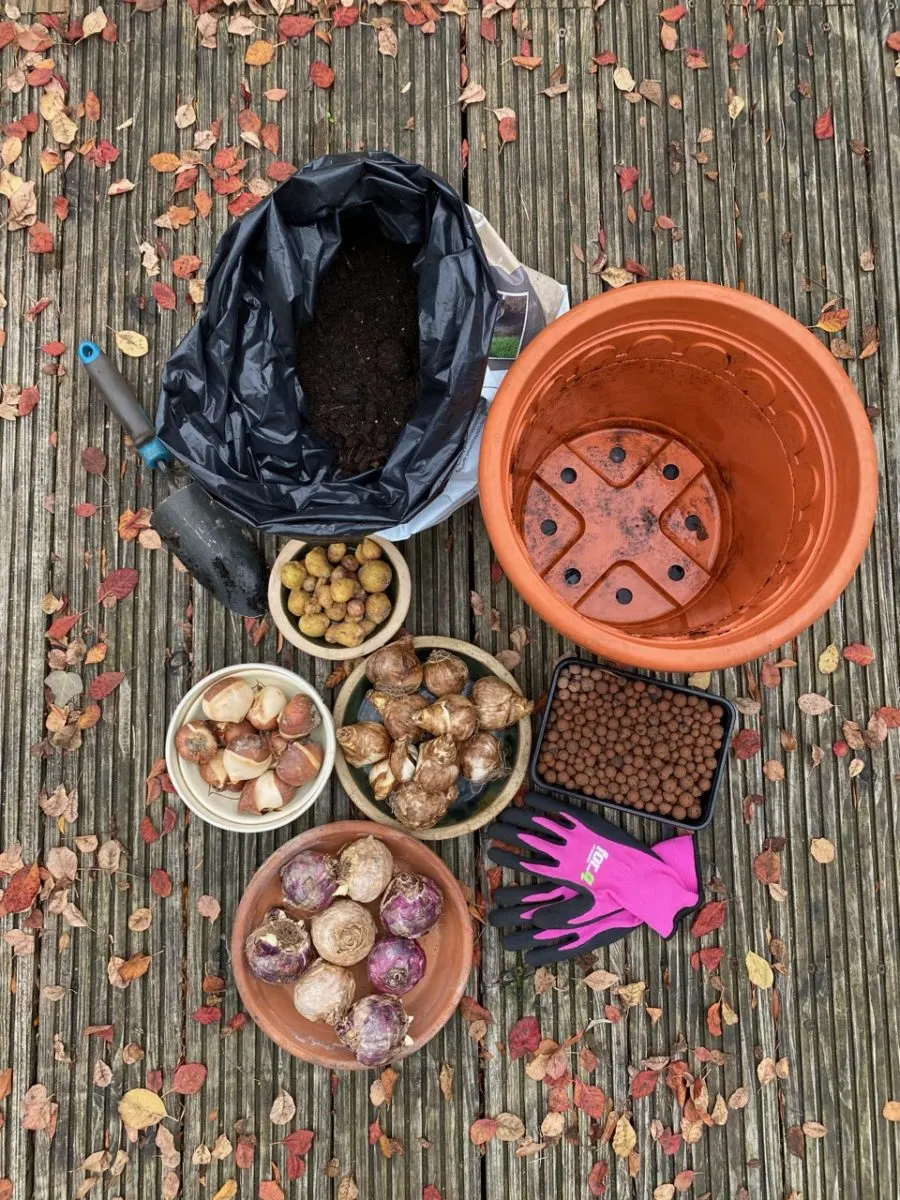
That depends on the size of your pot, the size of the bulbs and how compact (or crowded) you want your arrangement to be. Just to give you an idea, I’m planting in a container that’s about 12 inches tall (roughly 30 cm) and 14 inches in diameter (about 35 cm) at the top rim. I’ve ended up planting 46 bulbs in total. It may seem like a lot for a mid-sized pot, but I think they look much better in bloom when they’re generously planted.


What I like to do is collect all the bulbs I want to include in my display, keep them divided by type, then see how many of each type I can fit in the pot without overcrowding. The bulbs that are left over will end up in my garden beds.
As a general rule of thumb, you’ll need fewer large bulbs, slightly more mid-sized bulbs and significantly more small bulbs. This accounts not only for the size of the bulbs, but also for how your potting container tapers down.
Here’s the recipe for planting a lasagna bulb container:
Step 1: Prepare the pot.
If you’re planning on planting at least three layers of bulbs, make sure you start with a pot that can accommodate all this mass. Always choose a container that has enough drainage holes because waterlogging will lead to bulb rot. Similarly, choose compost or potting soil that’s designed for outdoors use.
If you’re not sure whether your potting soil will drain well, you can start by adding a layer of LECA, terracotta shards, horticultural gravel, pebbles, sea shells or twigs at the bottom of the pot. The purpose of this extra layer is to allow the water to drain quickly and prevent the pot from becoming waterlogged over the wet winter months.

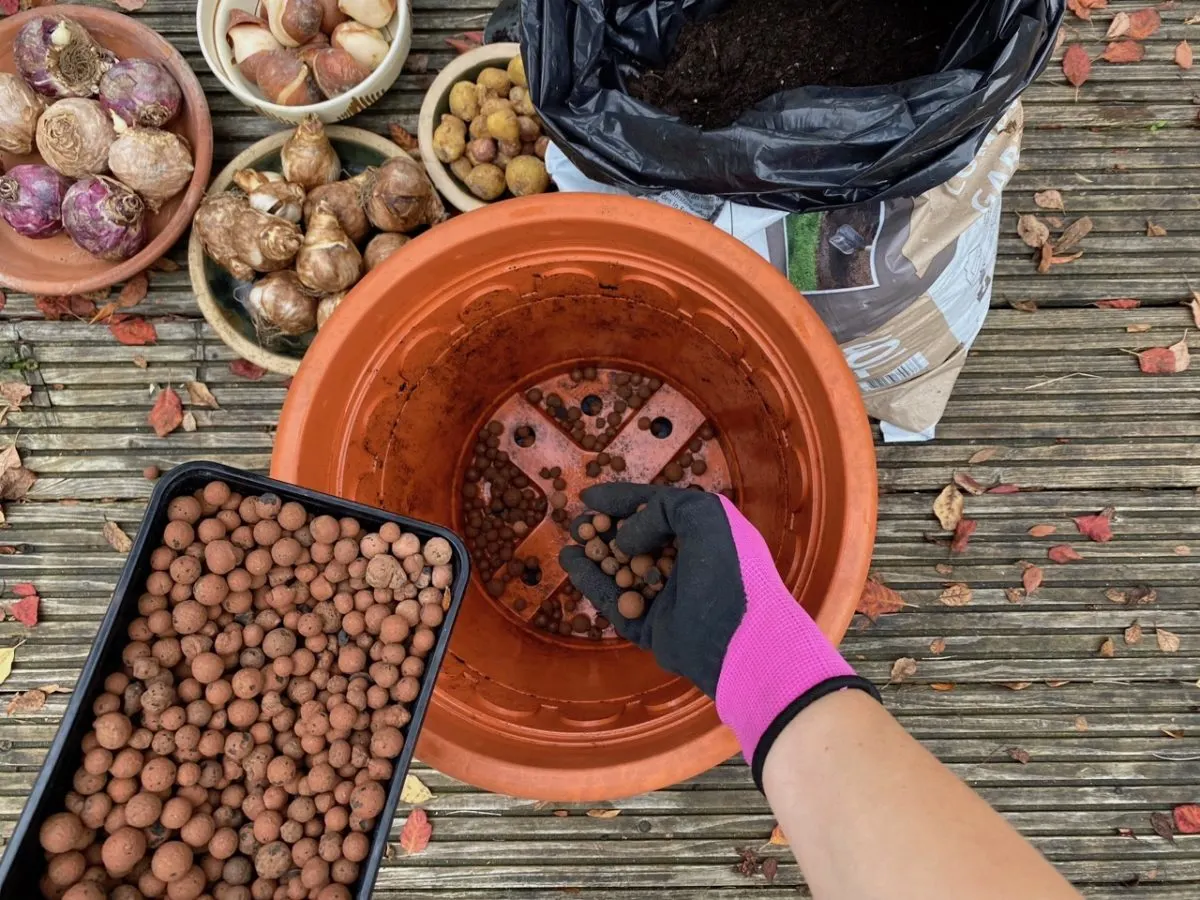
The pot that I’m using to plant my lasagna bulbs will be left outdoors all winter long, so I’m adding a layer of LECA (expanded clay pebbles) to the bottom of the container to prevent it from retaining too much moisture.
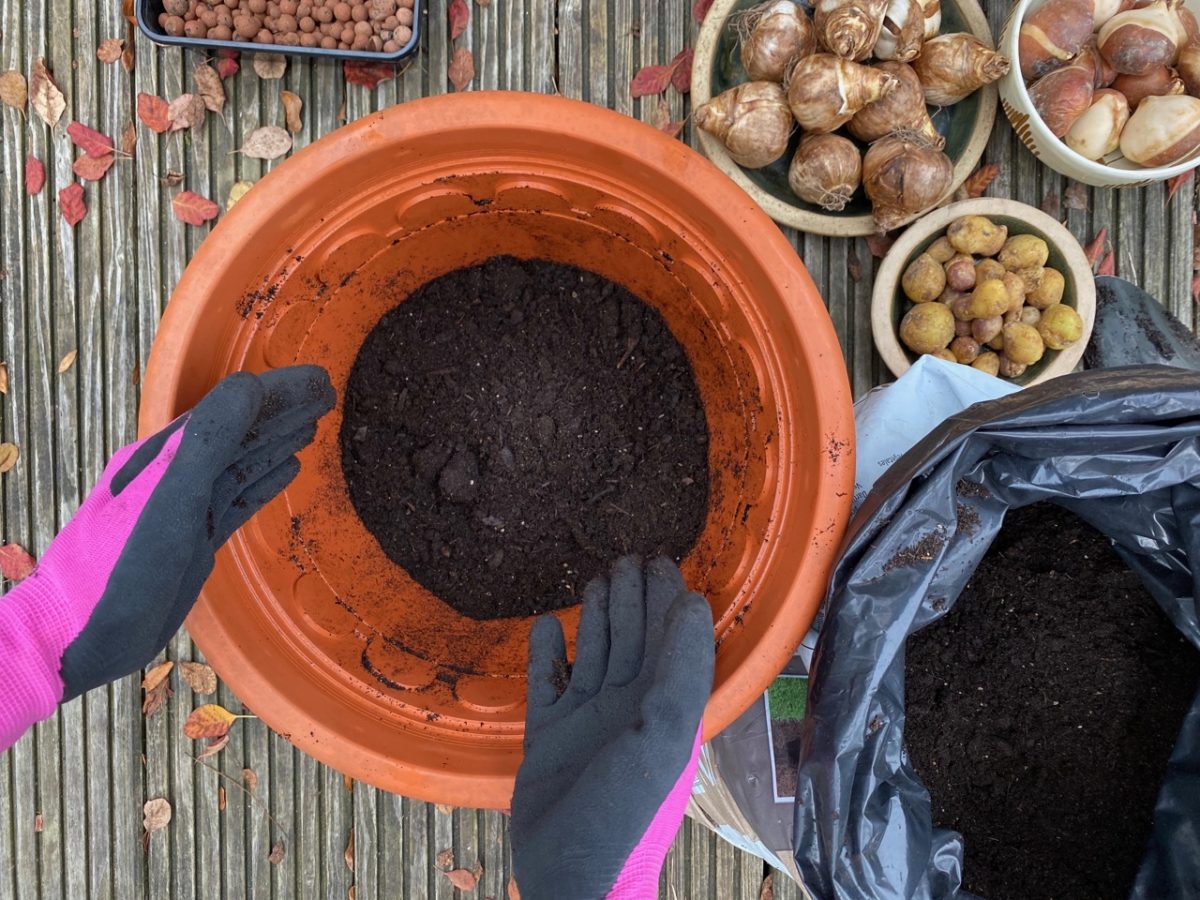
Step 2: Add the first layer of compost.
The first layer of compost should be thick enough to allow for proper root development for the first layer of bulbs. Depending on the size of your pot, aim to fill a quarter to a third of the pot at this point. Remember that all the bulbs will grow their roots downwards, so they’ll all ultimately use this layer as a base.

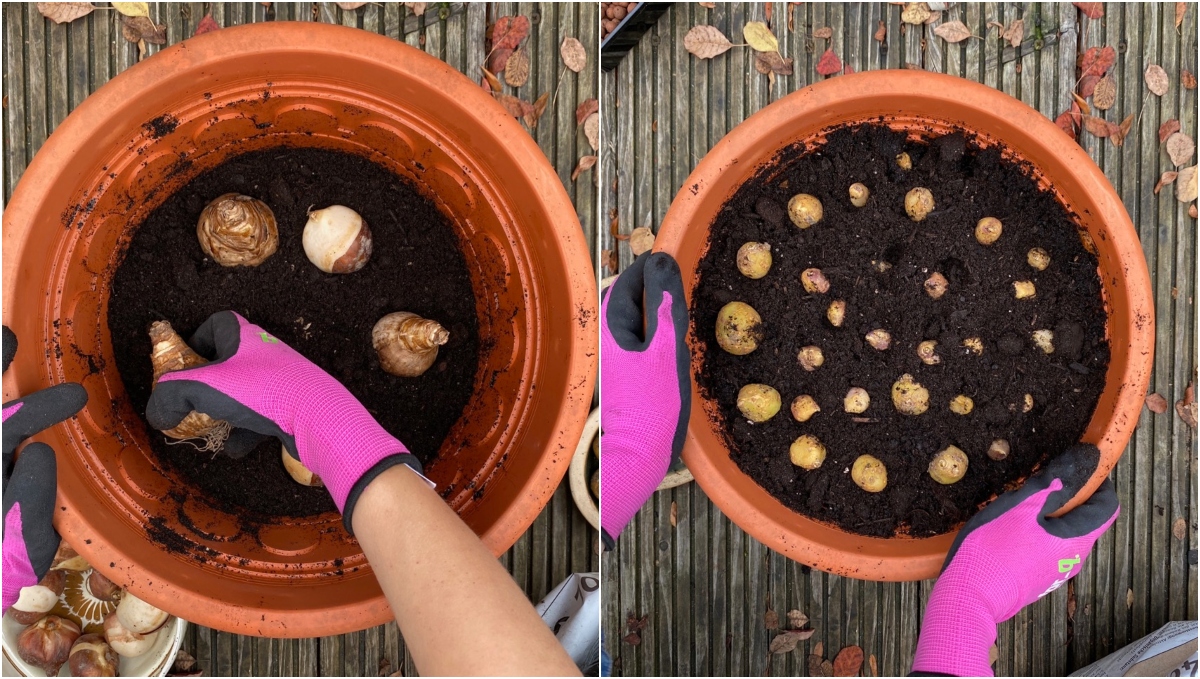
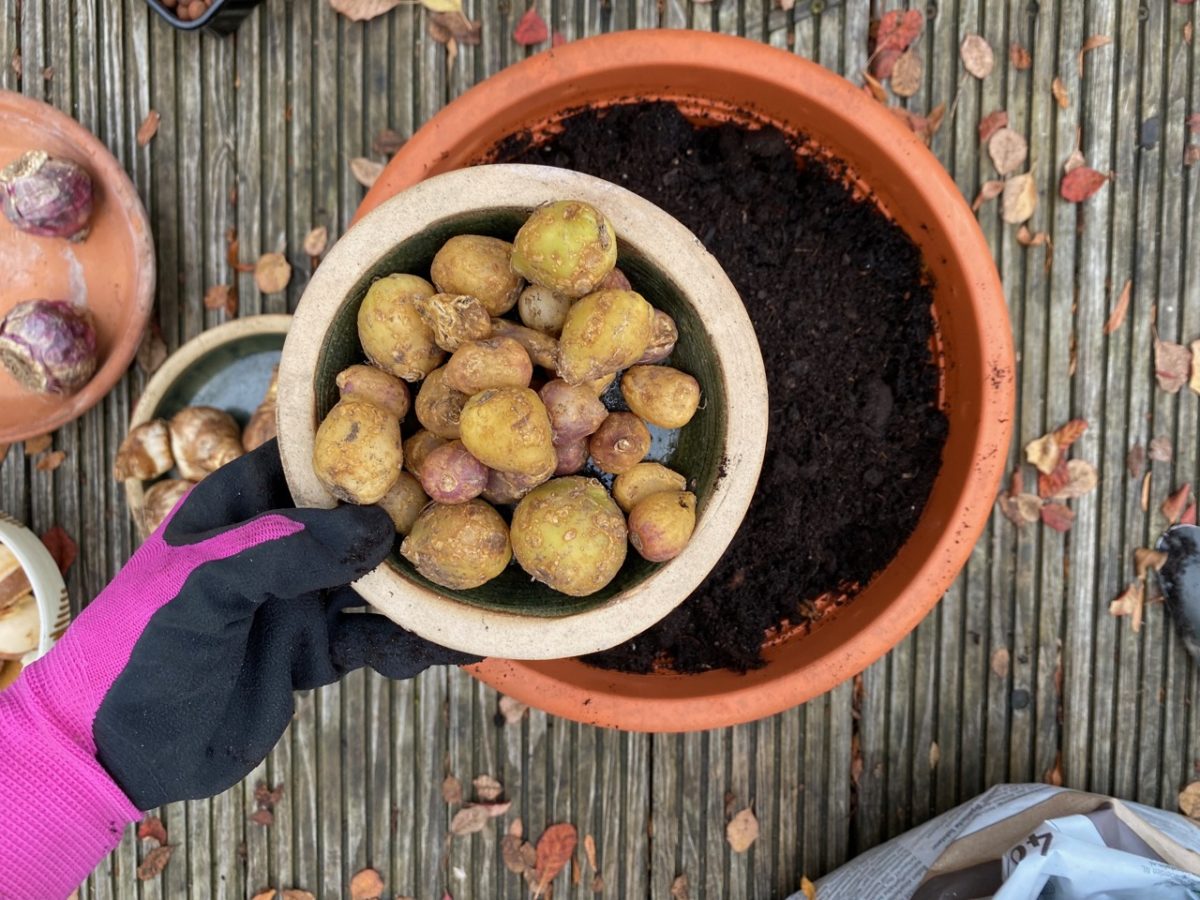
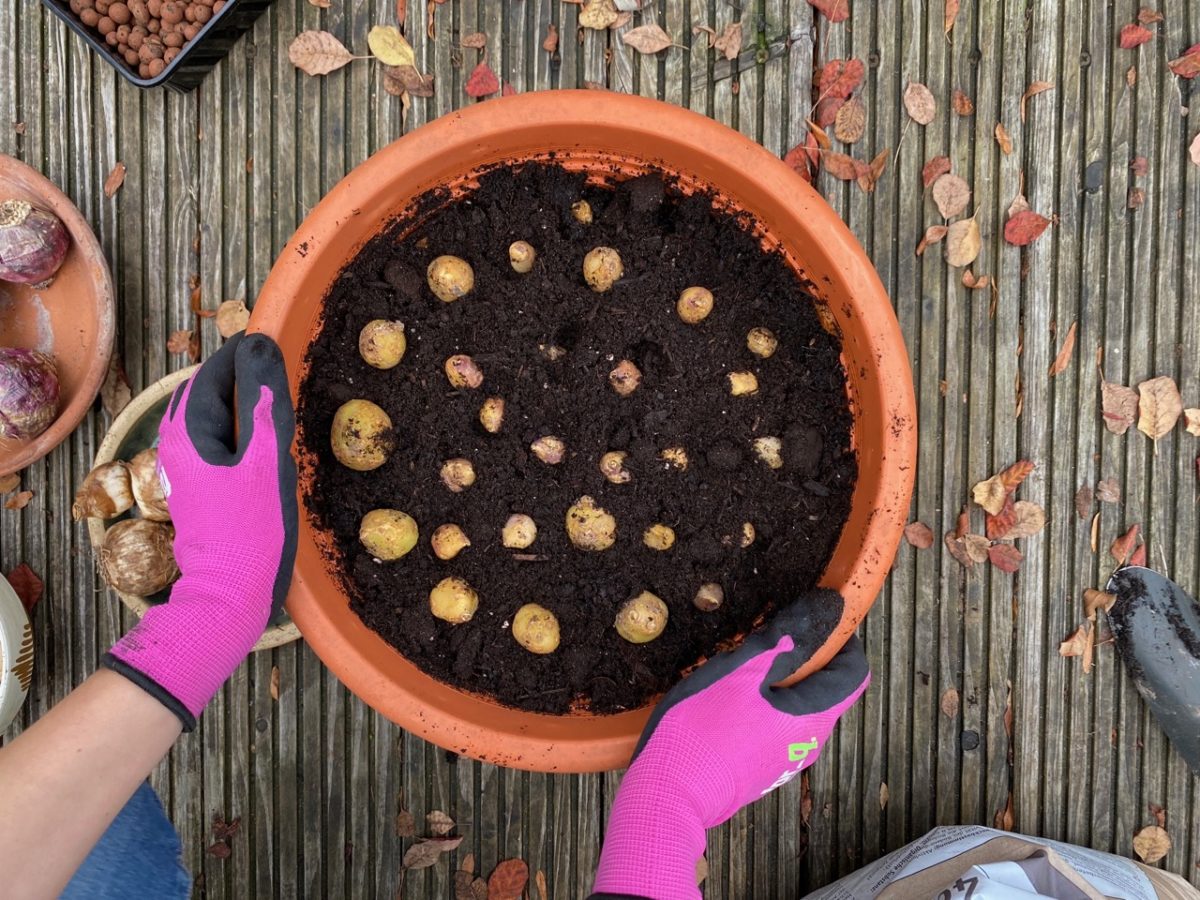
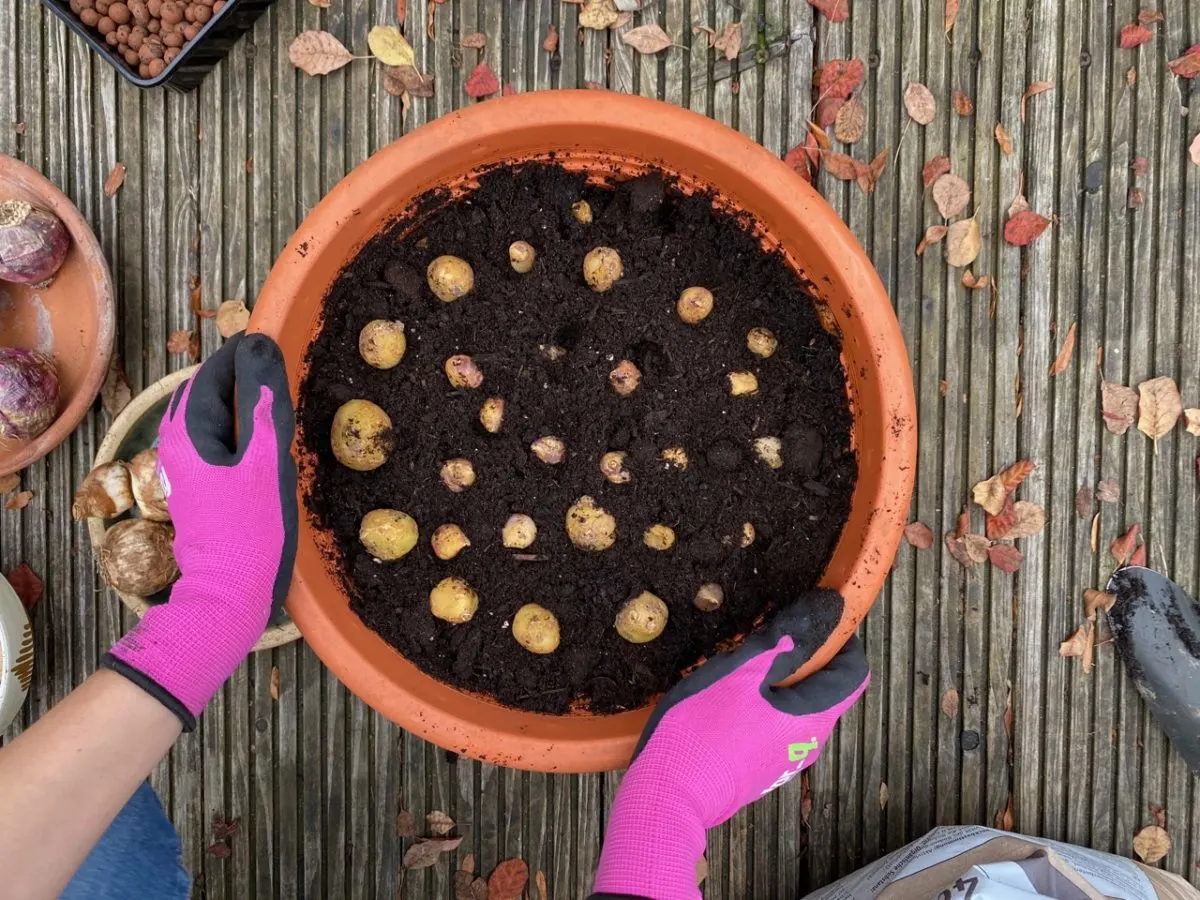
Step 3: Add the first layer of bulbs, then add some compost.
The first layer of bulbs will be your larger bulbs that bloom later. In my case, I’m mixing a few colors of organic hyacinths from the ‘Pearl’ cultivar (‘Pink Pearl’, ‘White Pearl’ and ‘Blue Pearl’).

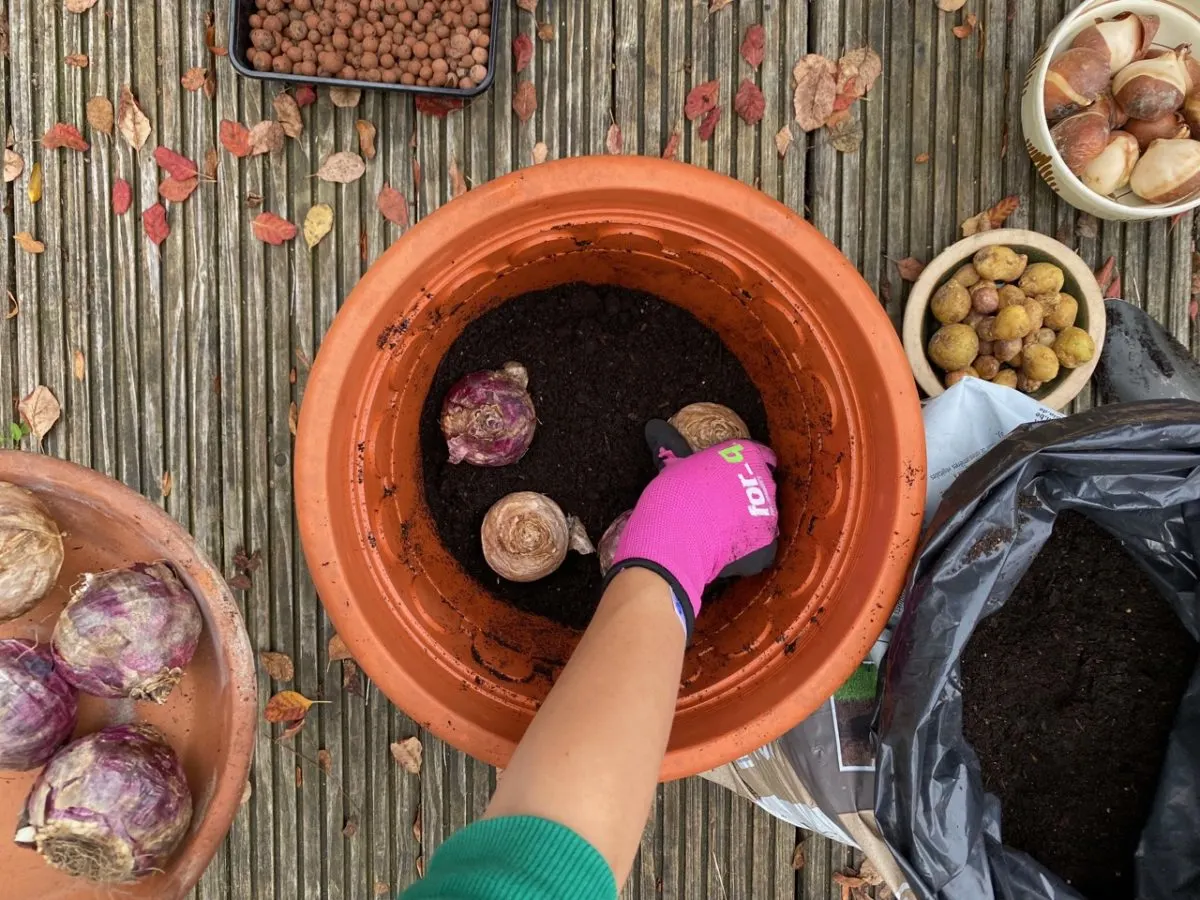
In order to get a full, compact display, I plant them at a distance of about one bulb’s width, or even closer. This still allows the bulbs some room to plump up when watered, shift and even divide, while they’re also close enough to create a rich display. Remember to always plant your bulbs with the pointy side up.
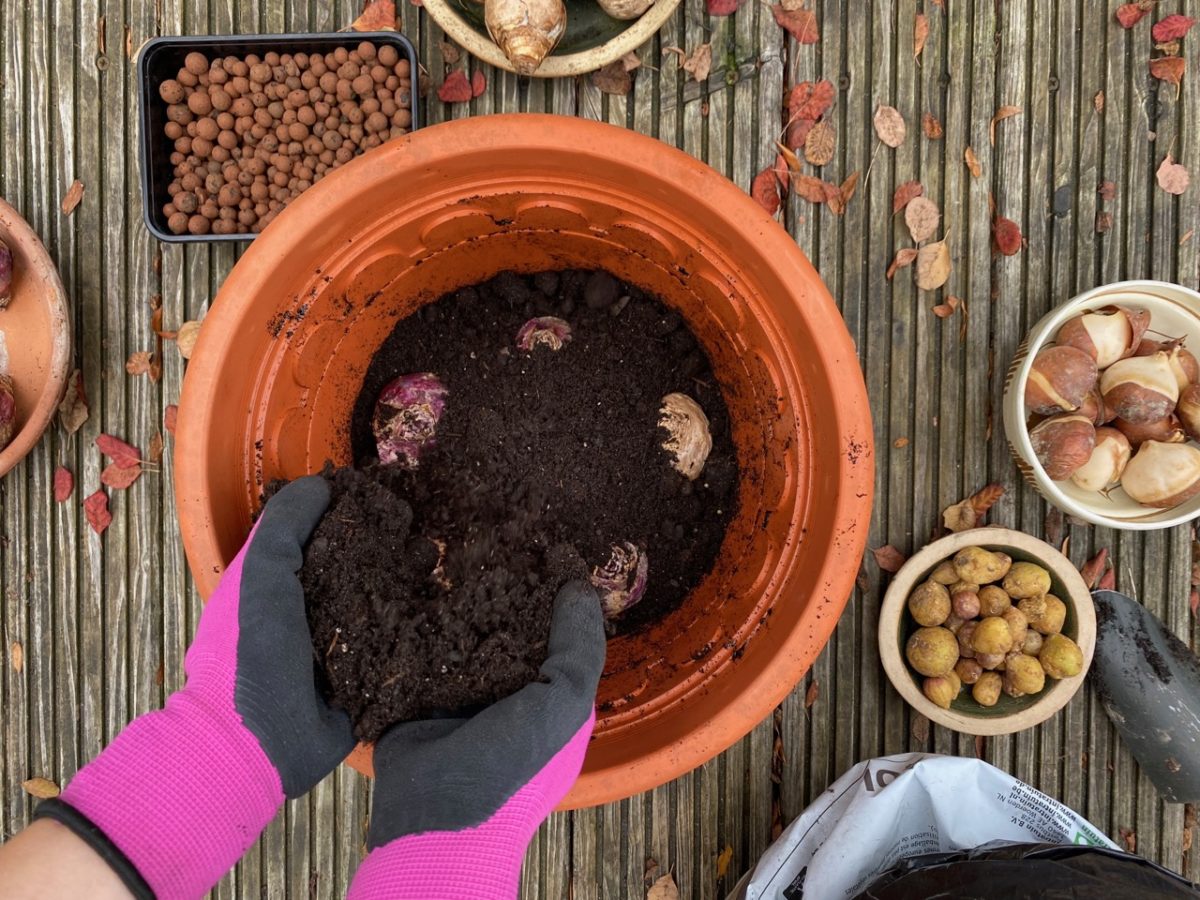
Top up this layer of bulbs with a layer of compost of about 3 or 4 inches, depending on how tall your pot is. Think of the potting soil as the lasagna “sauce” that helps to keep the layers congealed together.

A few bulbs that are suitable for a first layer include hyacinths, alliums and late-spring tulips.
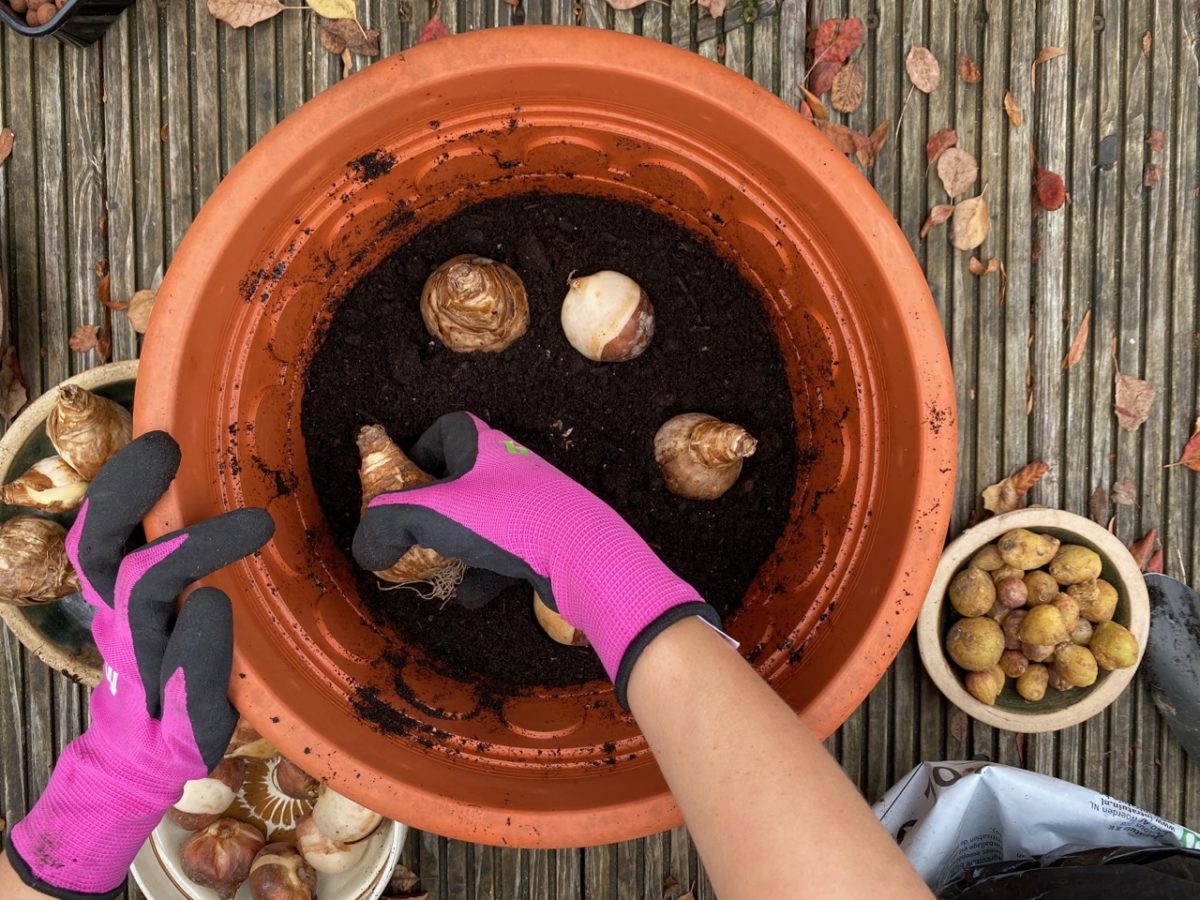
Step 4: Add the middle layer of bulbs, then add more compost.
For the middle layer, you should choose bulbs that are mid-season bloomers. I’m planting a mix of daffodils (Narcissus ‘Dutch Master’) and tulips (Tulipa ‘Grand Perfection’). Again, don’t be afraid to pack them in.

I admit, it does look weird to plant them on top of each other. But rest assured that, once the bottom bulbs start sprouting, the growth will veer off course and go around the bulbs on top if they encounter resistance. Having bulbs stacked on top of one another will not stunt the bottom ones’ growth.

For the middle layer, the sky is the limit – you can choose from hundreds of cultivars of mid-season tulips and mid-season daffodils. Some hyacinths that bloom in mid-spring are also good candidates for this level.
Once all your mid-level bulbs are in place, add a generous portion of compost on top of them and level it off.
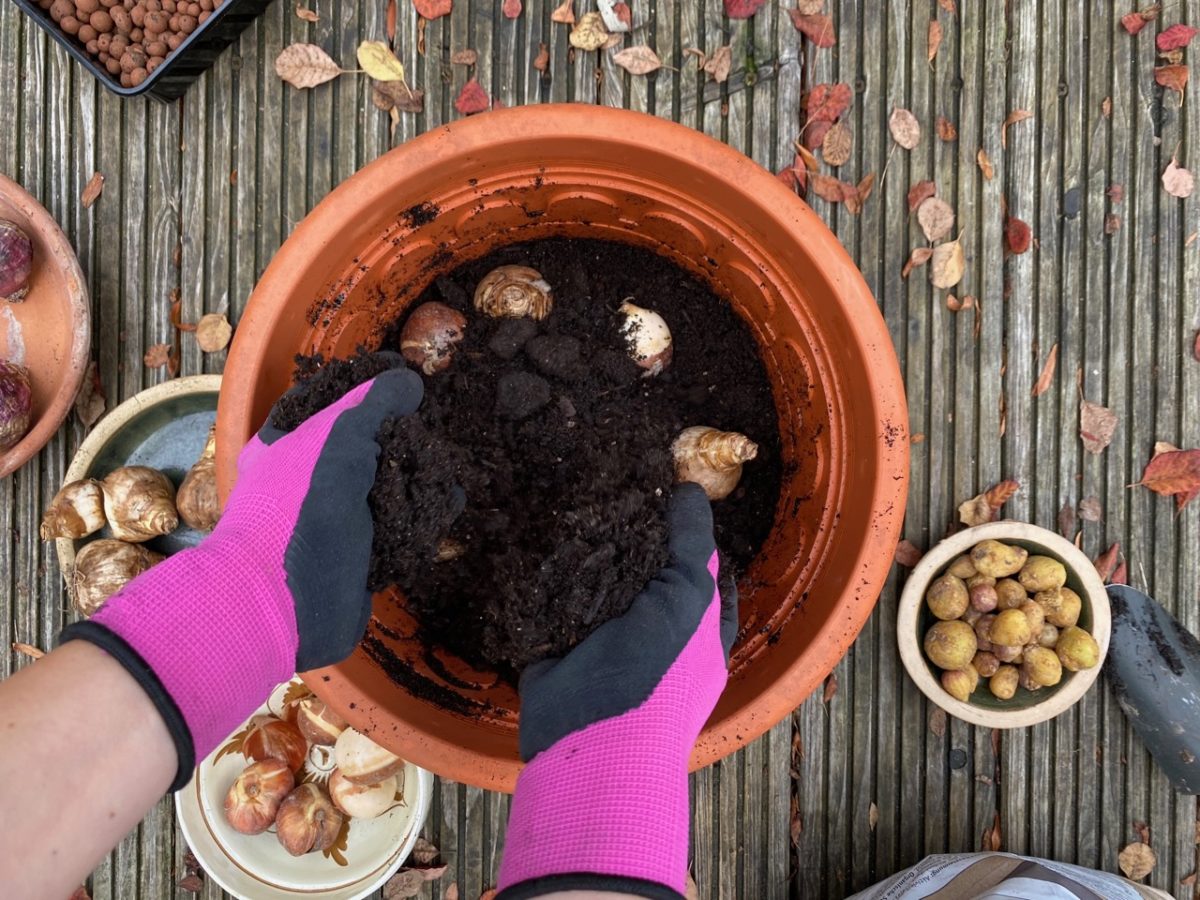
Step 5: Add the early spring bulbs, then add compost
The last layer of bulbs that you’re planting, but the first layer if you’re counting from the top, are the bulbs that bloom in late winter and early spring. They’ll be the first to regale you with their foliage and colors while the bulbs underneath take their time to sprout.

For the top layer, you can choose different cultivars of snowdrops, crocuses, muscari or miniature irises (Iris reticulata). For my arrangement, I’m planting a mix of white, pink and blue Spanish bluebells (Hyacinthoides hispanica). If my calculations are correct, and the weather cooperates, the first and second layer bulbs should be in bloom at the same time.
Finish off the mix by adding the top layer of compost. Remember that it’s best not to bury the small bulbs too deeply, certainly not deeper than three times their height; so if you have too much extra space at the top, don’t be tempted to pack it in with soil.


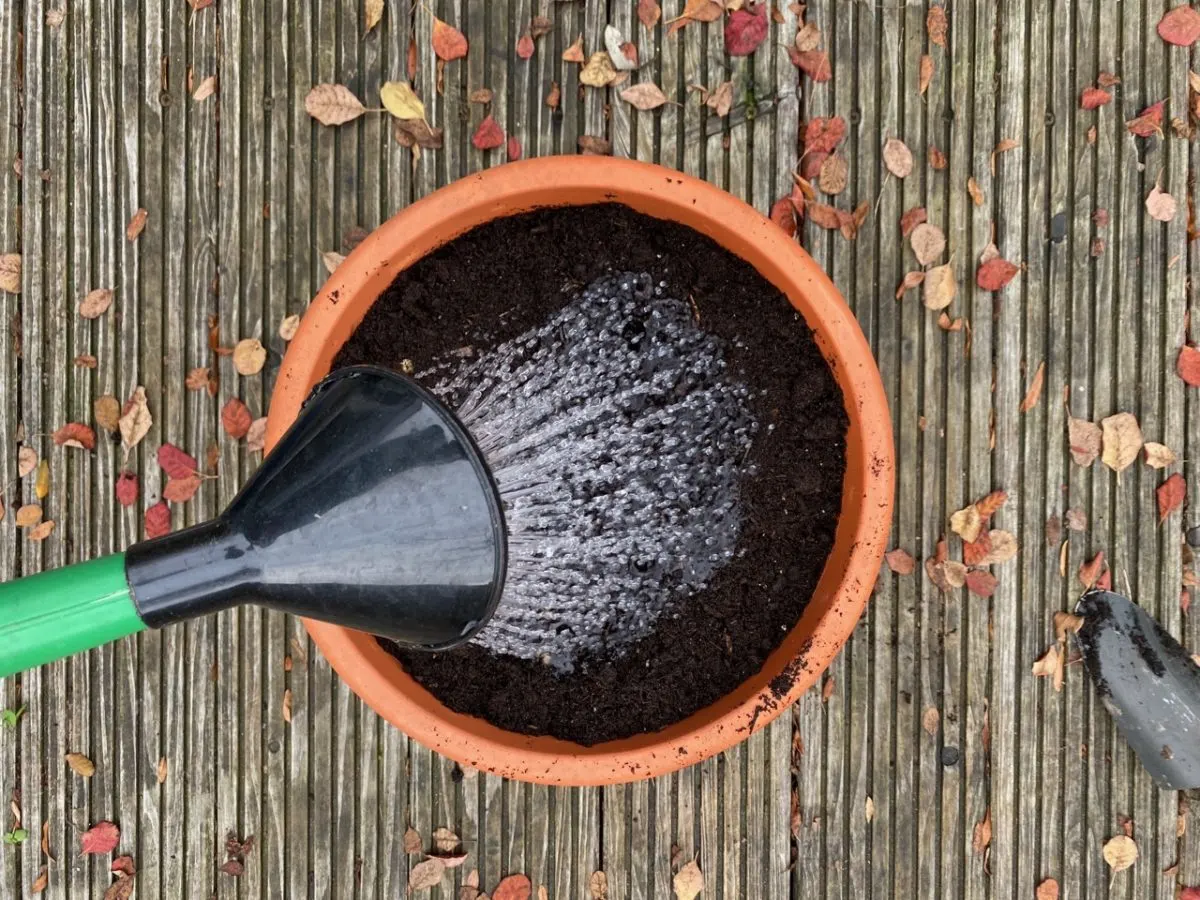
Step 6: Water the pot thoroughly.
Hopefully, you’ve been keeping the bulbs dry while they were in storage. Now’s the time to break that dry spell by giving them a thorough watering. I used to think that the dampness of the fresh compost was enough, but that doesn’t even begin to cover it. Bulbs need to be kept moist (but not waterlogged) in order to encourage root formation right after planting. And the stronger the roots from the get-go, the more vigorous the bloom.

If you’re planning on leaving the pot outdoors in the elements, you should monitor the soil moisture and keep watering the bulbs if you’re not getting enough rain. A lack of water during this growth period will often result in spindly weak blooms come spring.
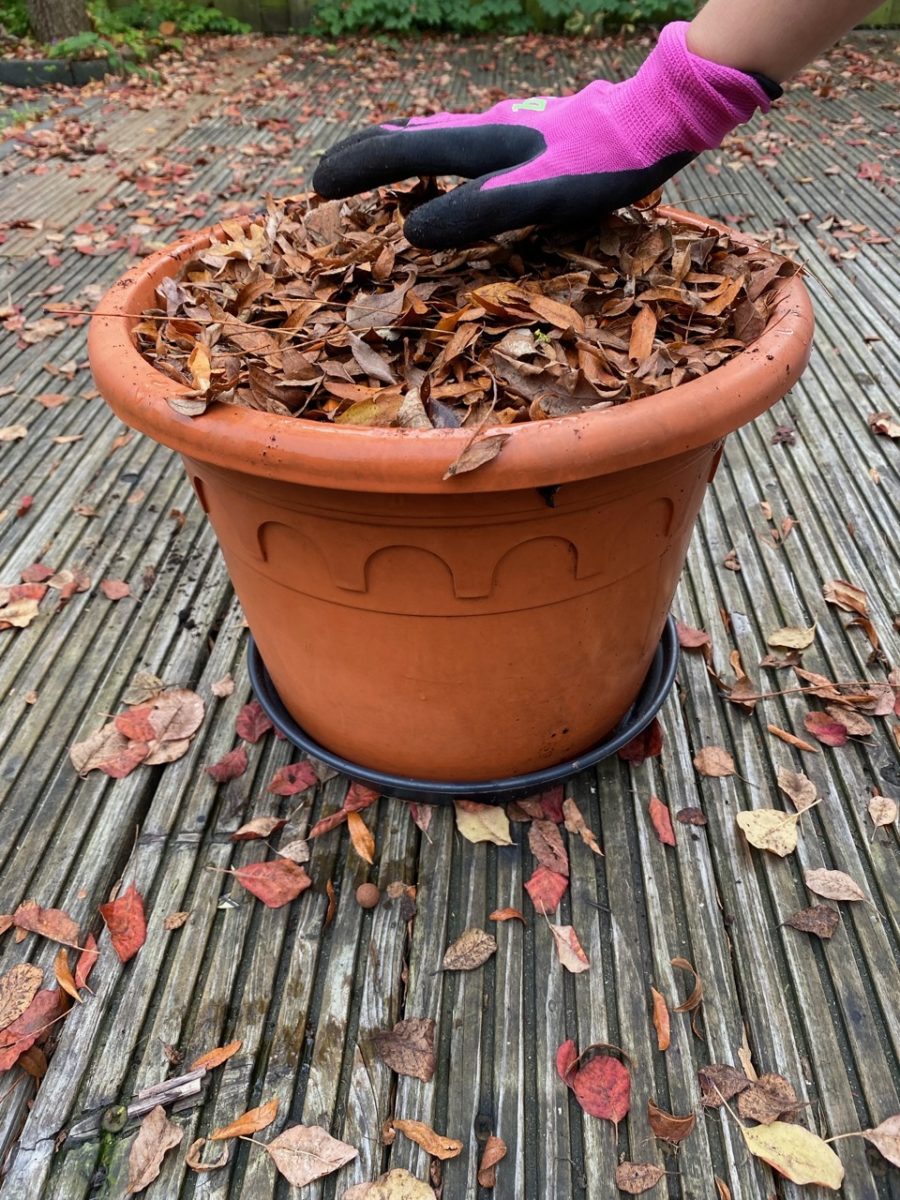
Step 7: Add a layer of mulch.
Around these parts, no good planting session ends without a layer of mulch. The same applies whether I’m planting perennials, annuals or bulbs. When you plant in containers, mulch serves several purposes – it slows down soil compaction in case of heavy rains; it keeps the temperature of the soil fairly even, and it prevents little critters from smelling freshly scratched soil and digging in to snack on the bulbs.

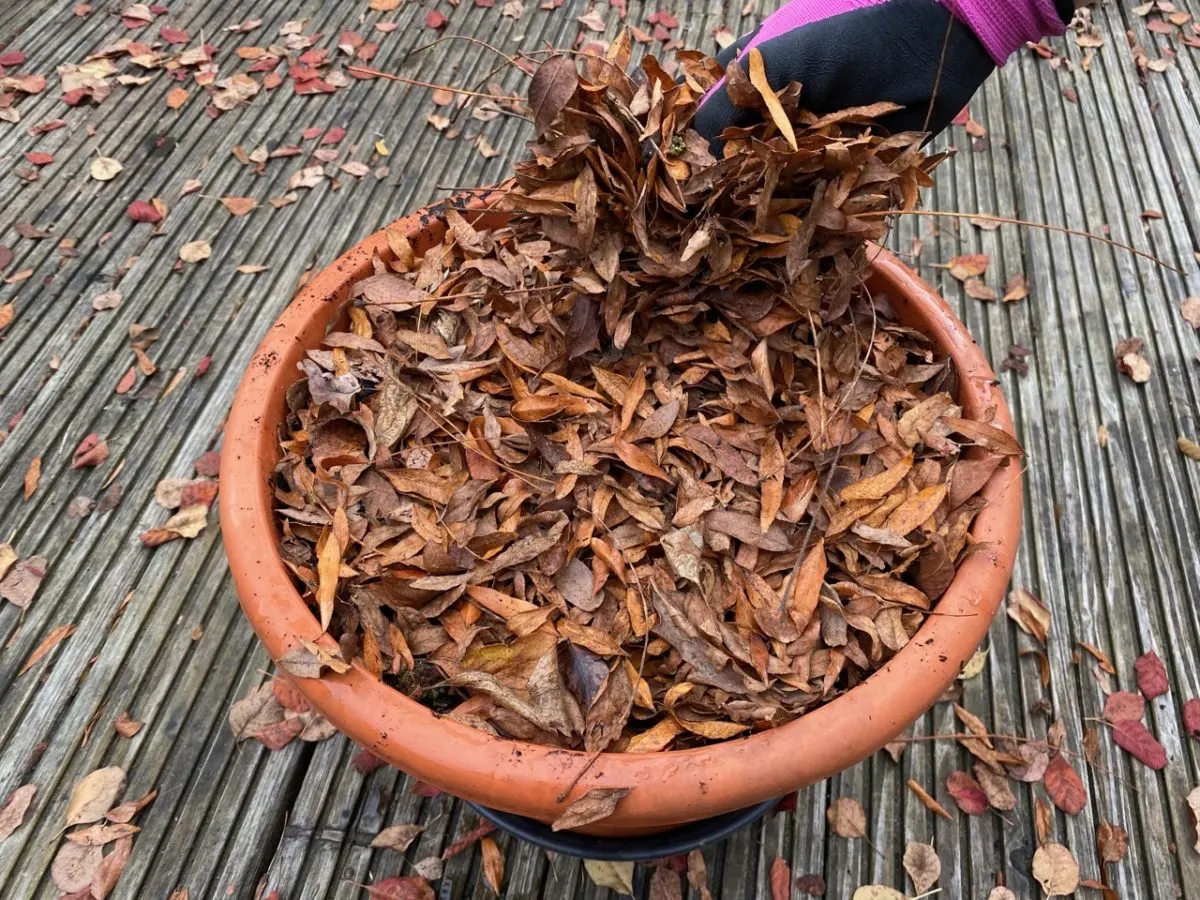
Think of mulch as a protective layer of insulation during the cold months. It doesn’t have to be fancy or expensive. In the fall, a thick layer of dry leaves is my mulch of choice. It’s free; it’s clean and it’s easy to get even in my suburban neighborhood (minus the stares of my neighbors, but luckily they never question the motives of a gardener).
When should I plant my lasagna bulb pot?
To get the best results, you should plant your bulbs in the fall or very early winter. That means anywhere between October and December, as long as the temperature hasn’t dipped below freezing. If you plant it too early in the fall, when the temperature is still warm, you risk the chance of your bulbs sprouting prematurely. It’s better to wait than to jump the gun when it comes to planting your bulbs.
I held off for as long as I could because we’ve been having a warm fall. So some of the hyacinth bulbs were quite active (splitting and growing roots) at the time of planting.


Can I keep my spring bulb container outside?
Yes, you can keep your lasagna bulb container outdoors. It’s better if you can place the pot in a sheltered location, rather than out in the open in the middle of your yard. The goal is to keep it sheltered from wind and frost, so somewhere along a warmer wall would be ideal. If you choose to place it under shelter, remember to keep watering it. Keep in mind that bulbs need a period of cold (about six weeks or so) to break dormancy, so don’t store them in a spot that gets too warm in the winter, such as a heated greenhouse or garage.

If you get multiple consecutive days when the temperature falls way below freezing, you can protect the pot with a blanket, a felt cover or a layer of bubble wrap.
On the other hand, if you get really wet winters with a lot of precipitation, it’s a good idea to raise your pot on a couple of bricks or pieces of wood. The purpose of these stilts is to open up the drainage holes in order to allow the rain to drain through and not form a puddle at the bottom of the pot. Yes, this can happen even if you’ve added a layer of gritty material at the bottom.
Finally, once the weather starts to warm up in spring, you can lower your pots back down in their saucers and make sure they don’t dry out too much.
What bulbs can I mix in a lasagna-style arrangement?
This is the fun part, isn’t it? This is where you get to let your imagination take the lead. There’s no strict rule about bulb mixing. Keep in mind that with bulbs such as tulips and daffodils, there are hundreds of cultivars that span the blooming season.
So you could just make a tulip bulb lasagna by layering late-season tulips (you’ll find these in the Parrot, Single late and Double late groups) followed by mid-season ones (such as Darwin Hybrid, Triumph and Fringed tulips) and topped up with early blooming tulips (generally from the Fosteriana, Greigii, Kaufmanniana, Single early and Double early groups). You’ll find the blooming time information on the website of the vendor and on the bulb packaging. Or refer to our guide to the different types of tulips and their blooming periods.

Trying to time the blooming season is also not a very strict rule. The purpose of the lasagna method is to extend the blooming time and enjoy a longer-lasting spring display. But you could also layer bulbs that have the same blooming time, if you’re content with a pot with a shorter timeline. The bulbs you placed at the bottom might take a bit longer to reach the surface, but generally your flowering time will overlap, creating a lush burst of color.
Another “rule” that you can safely break is the one that dictates the number of layers. You don’t have to stick to the rule of three. You can plant four or even five layers of bulbs if you’re using a pot that’s tall enough to accommodate all of them.

The one rule you should follow when you choose your bulbs is the one that states you shouldn’t bury small early season bulbs too deeply. So bulbs such as crocuses, muscari, snowdrops and species tulips shouldn’t be placed right at the bottom of a deep pot. If you do want an early display, simply mix these small bulbs in a shallower pot with very good drainage.
Ultimately, in my experience, I like to take the same approach with lasagna bulb planting as I do with my cooking in the fall: use the recipe as my guideline, but deviate just enough to make it interesting and satiate my creative taste buds. And just like with cooking, the more container planting I do, the more confident I get in my tastes and my intuition. The results never fail to delight.