

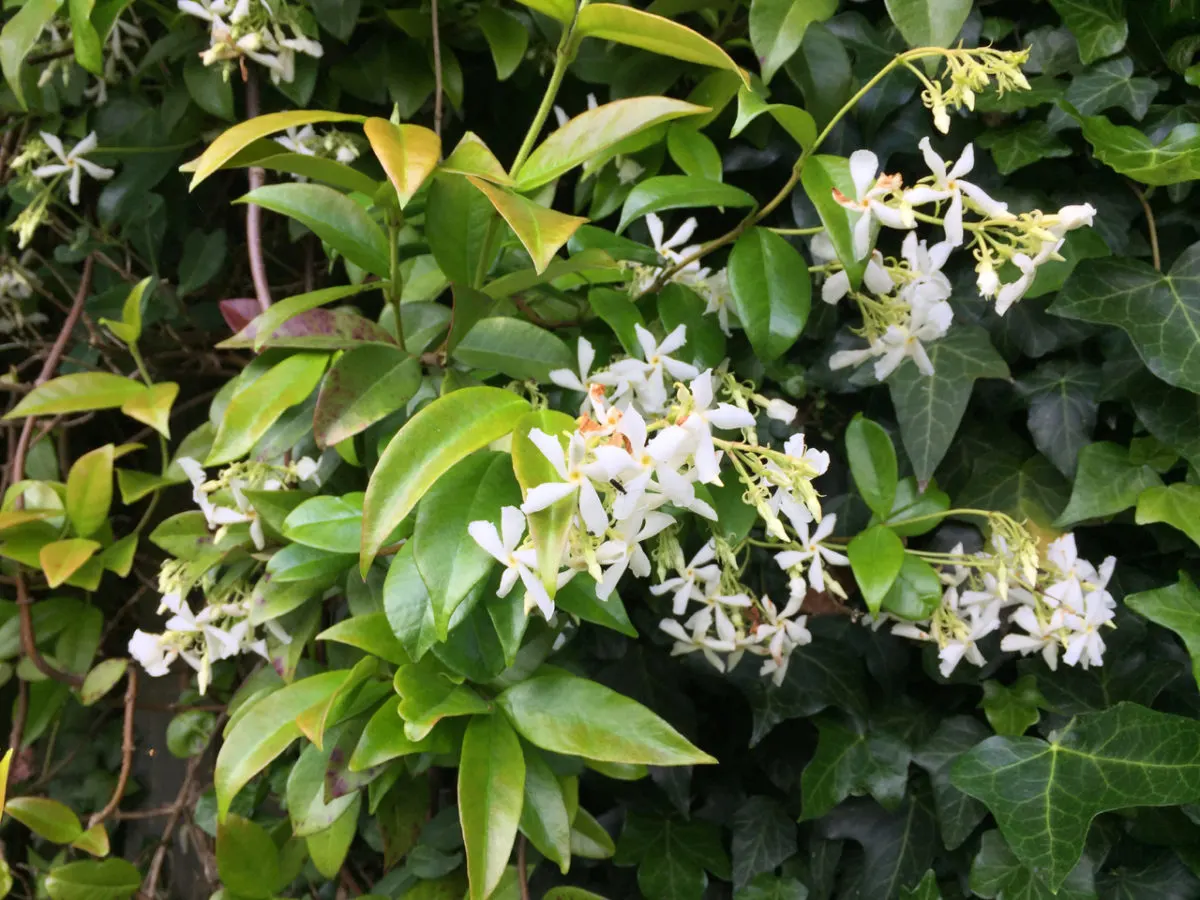
I absolutely love my star jasmine. What’s not to love? It stays green all winter long, blooms for weeks at a time and smells divine. I’ve been letting it take over a part of my fence over the summer in an attempt to create a fully green wall between our yard and that of our neighbors. Between all the vines growing on that side of the garden, I’m almost there.
The plan worked so well, in fact, that I’m attempting to replicate it on the other side of my yard. But vines are expensive, and my gardener’s heart is definitely larger than my budget. So my solution is to propagate as many vines as possible in order to keep “Operation green wall” affordable.

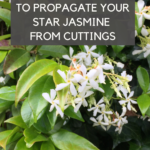
Here is how I propagated my star jasmine (Trachelospermum jasminoides) from cuttings.
Step 1: Choose your source branch and cut.
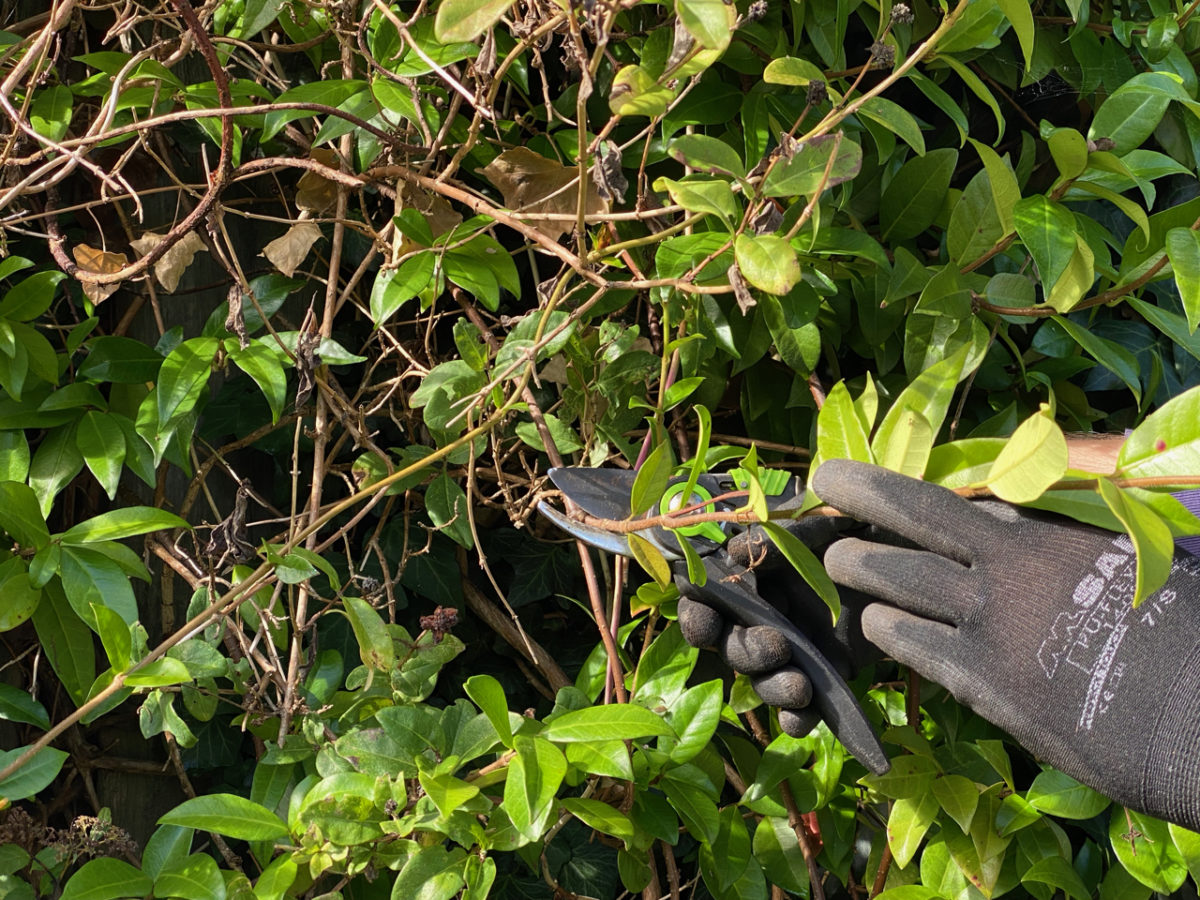

You’ll have a higher chance of success if you take your cutting from a semi-hardwood vine. Let’s break that down a bit:
- Hardwood is last year’s growth. You can recognize it by the fact that it’s brown and already solidified. It’s so rigid that if you try to knot it, it will break.
- Softwood is this year’s newer growth. It’s soft, still green and sometimes still growing. It’s not mature enough to sustain new growth after you’ve removed it from the mother-plant.
- Semi-hardwood is this year’s older growth. It’s mature enough (but not too hardened) to sustain new growth. It’s still pliable, but it’s starting to harden. In star jasmine, the semi-hardwood vines have the appearance of light-colored wood.
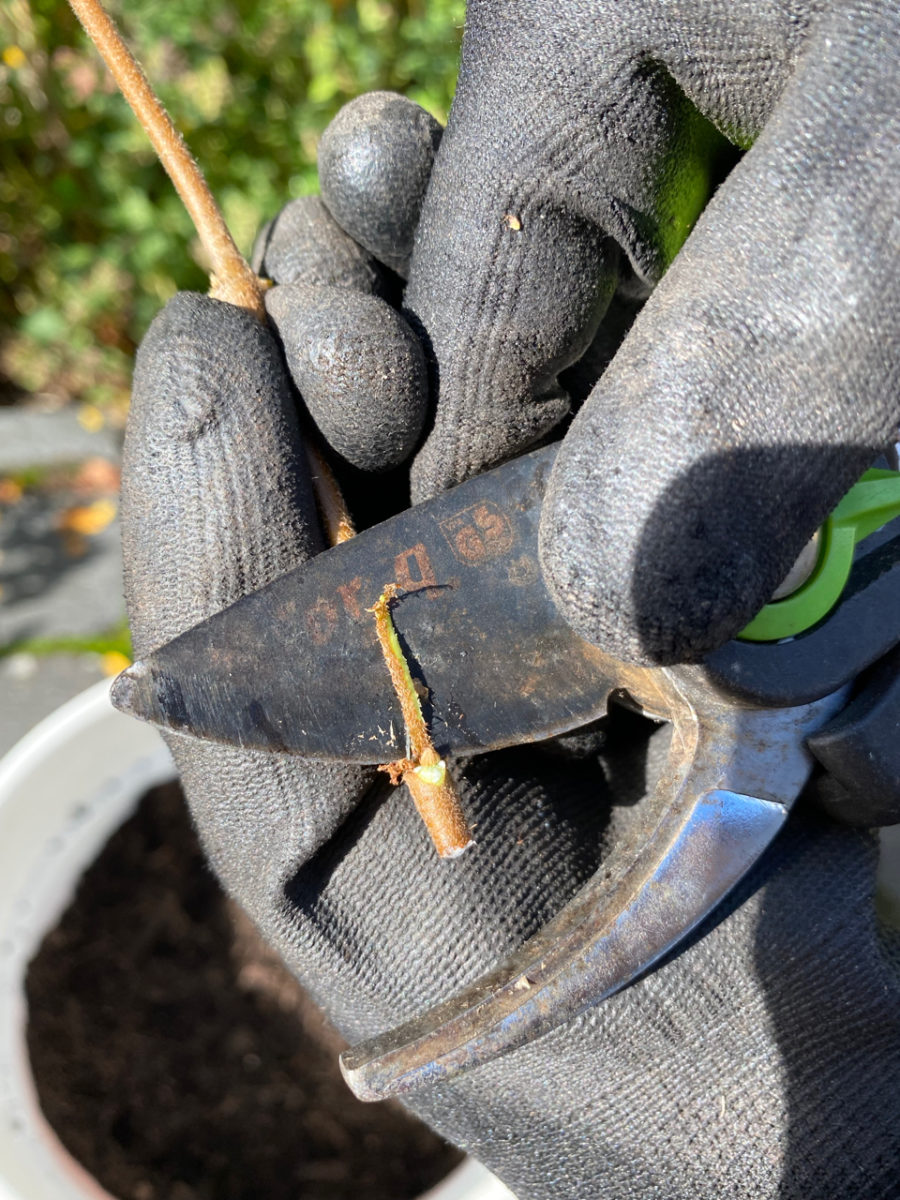
Using sharp secateurs, make a clean cut of a few vines, each of about 8-10 inches (20-25 cm). Cut right below a leaf node, as each new leaf node will become a root node.
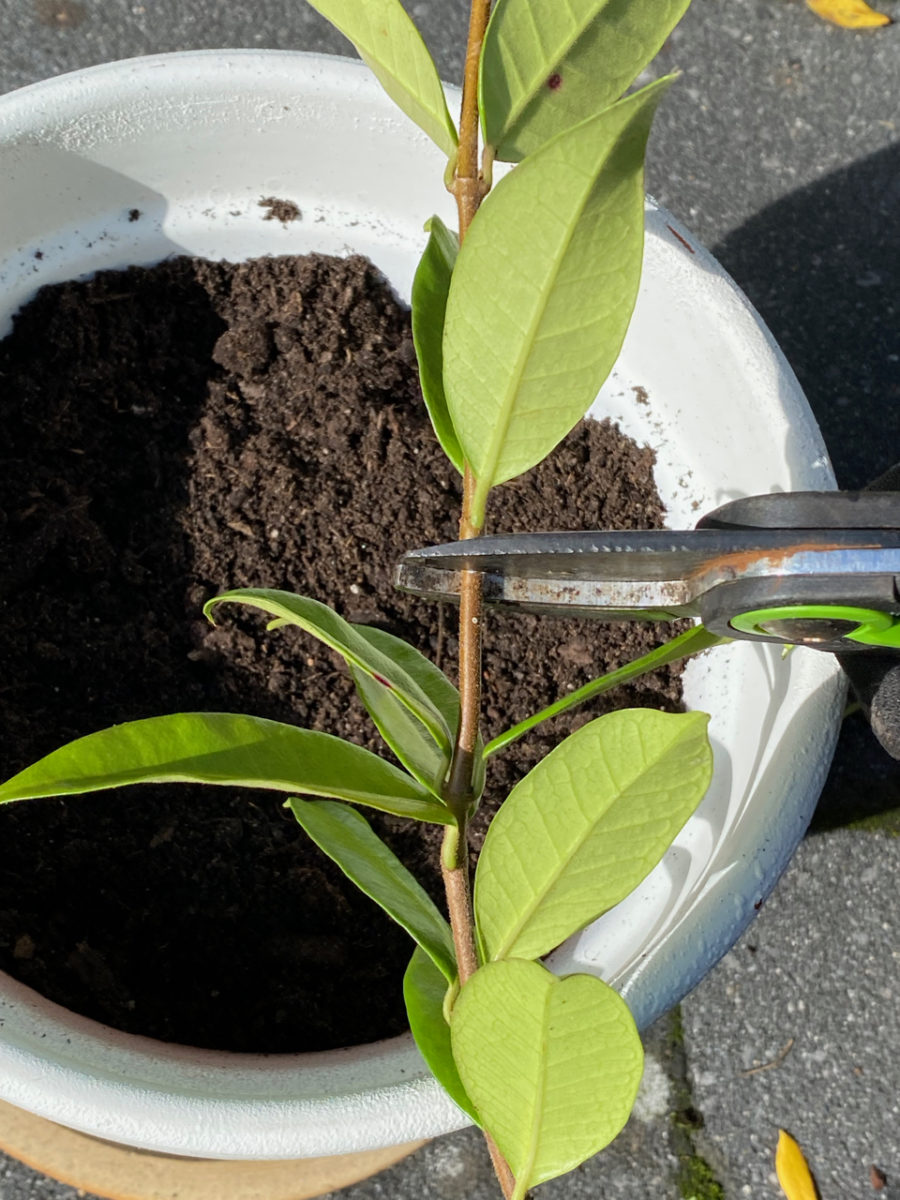
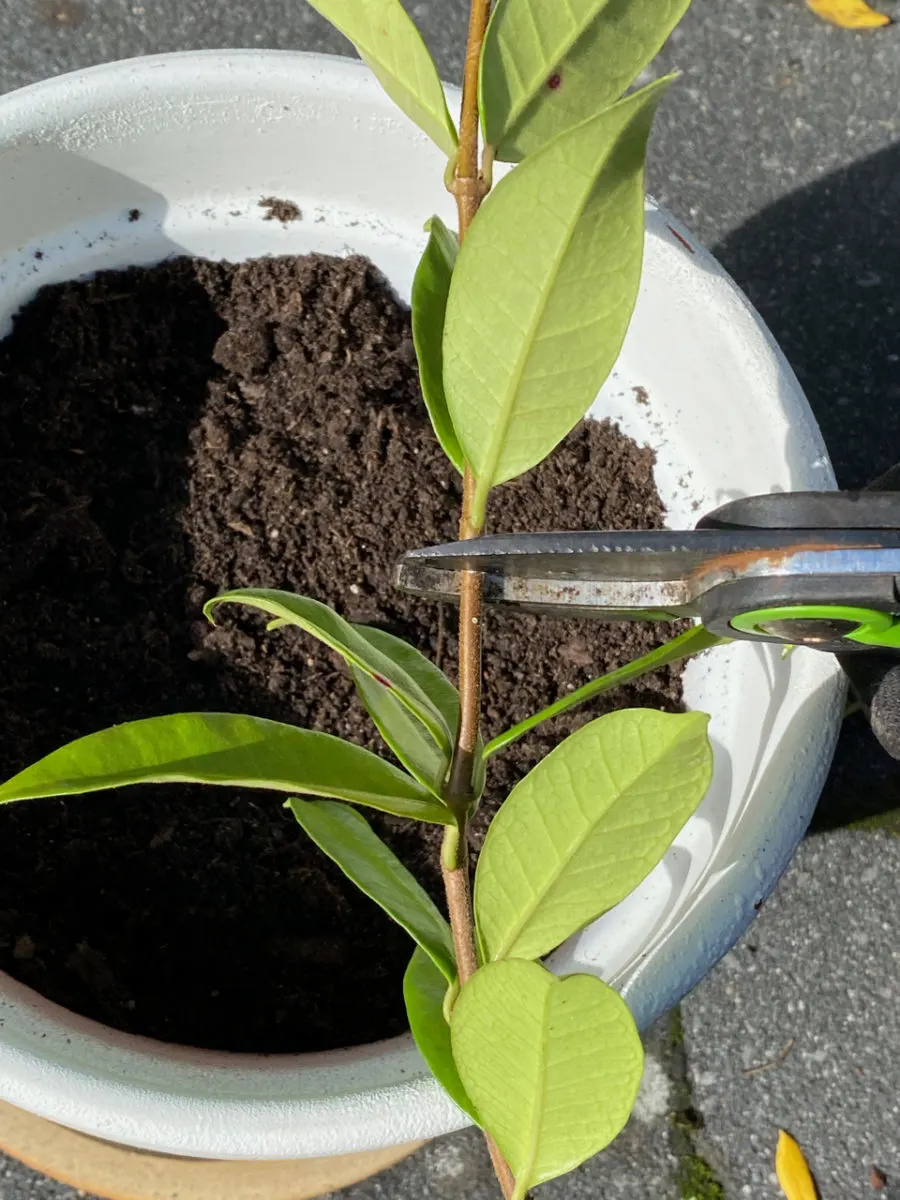
Then further divide each cutting into shorter cutting, each with a couple of leaf nodes. My smaller cuttings ended up around 4-5 inches long (roughly 10-12 cm). This length will vary depending on the distance between the nodes.
You’ll notice that the vine releases a milky sap as soon as you cut into it, so remember to wear gardening gloves when you propagate your jasmine.
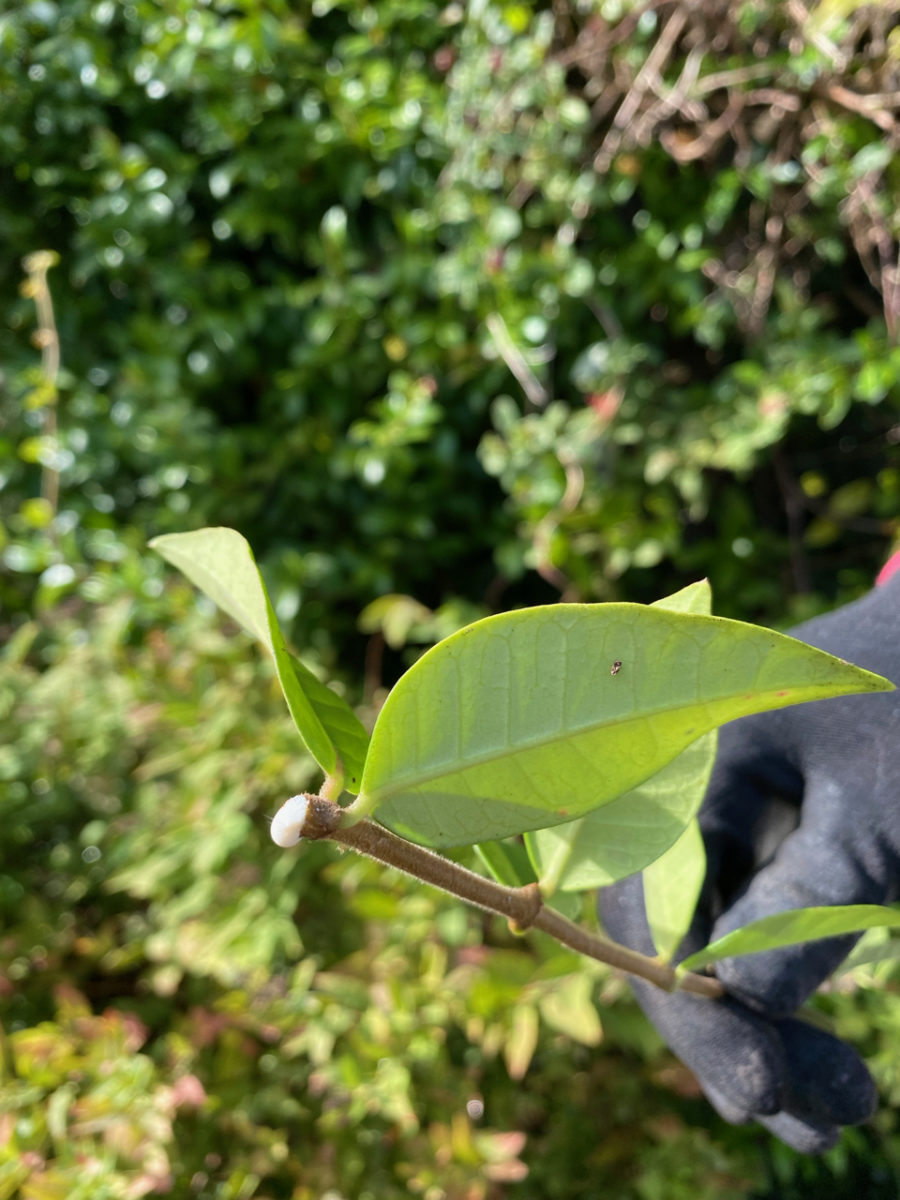

Step 2: Strip off the leaves to expose a few sets of nodes.
Your next step is to remove the bottom set of leaves. For the longer cuttings, I have removed two sets of leaves. This stripped part will go into the ground, so I want to make room for new roots to grow. I also don’t want the leaves to rot underground while they’re still attached to the stem.
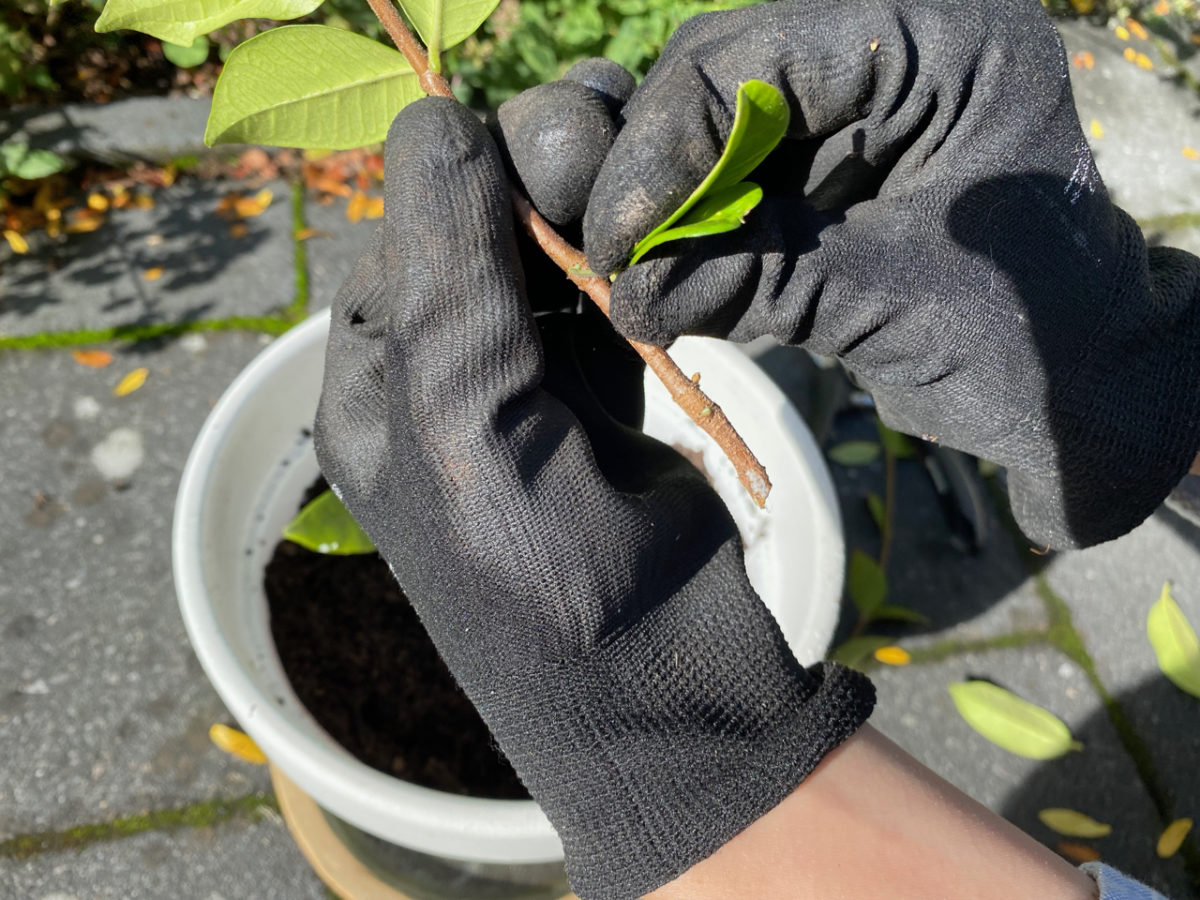

Step 3: Score the stem.
I found that scoring the stem increases my chances of a successful propagation. Scoring (which some people call wounding, a term that I really dislike) refers to scratching off and removing a part of the protective layer of the stem. This helps expose more of the cambium layer of the stem, which is the part where the cells grow into new rootlets.
You’re basically manually removing the protective barrier of the branch to encourage it to grow roots. Again, make sure you’re wearing protective gloves as you slide the blade over the surface of the stem.

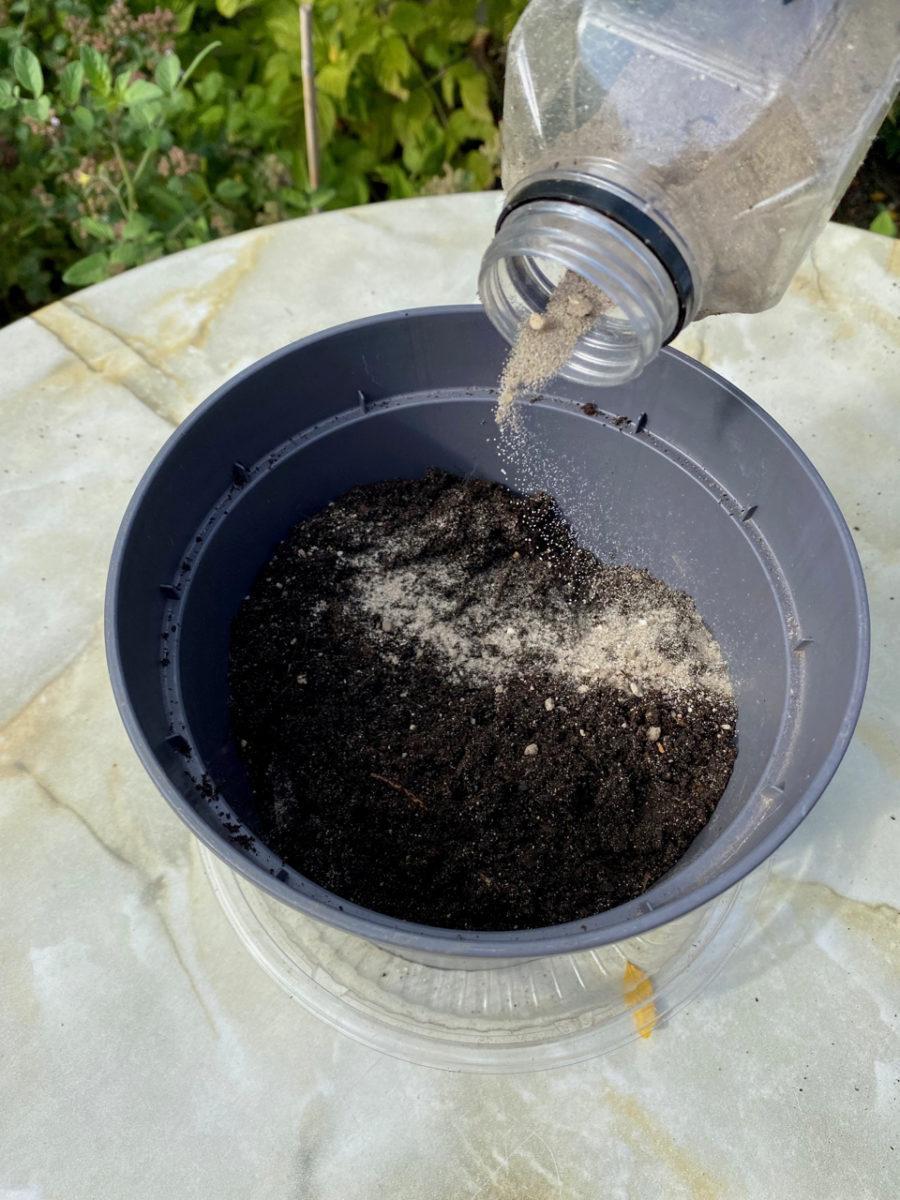
Step 4: Prep your potting medium.
I’m choosing to propagate my jasmine in garden compost, just for the sake of keeping it simple. But because garden compost retains more water than necessary, I’m mixing it with coarse sand. I keep my gardening sand in a few plastic bottles, and this makes working with sand less messy. If you don’t have sand, you can add a bit of perlite or vermiculite.
If you have rooting hormone, you can dip the tip of the cutting in it at this point. I wasn’t able to find natural organic rooting hormone; and since I grow a fully organic garden, I chose to forego this step.

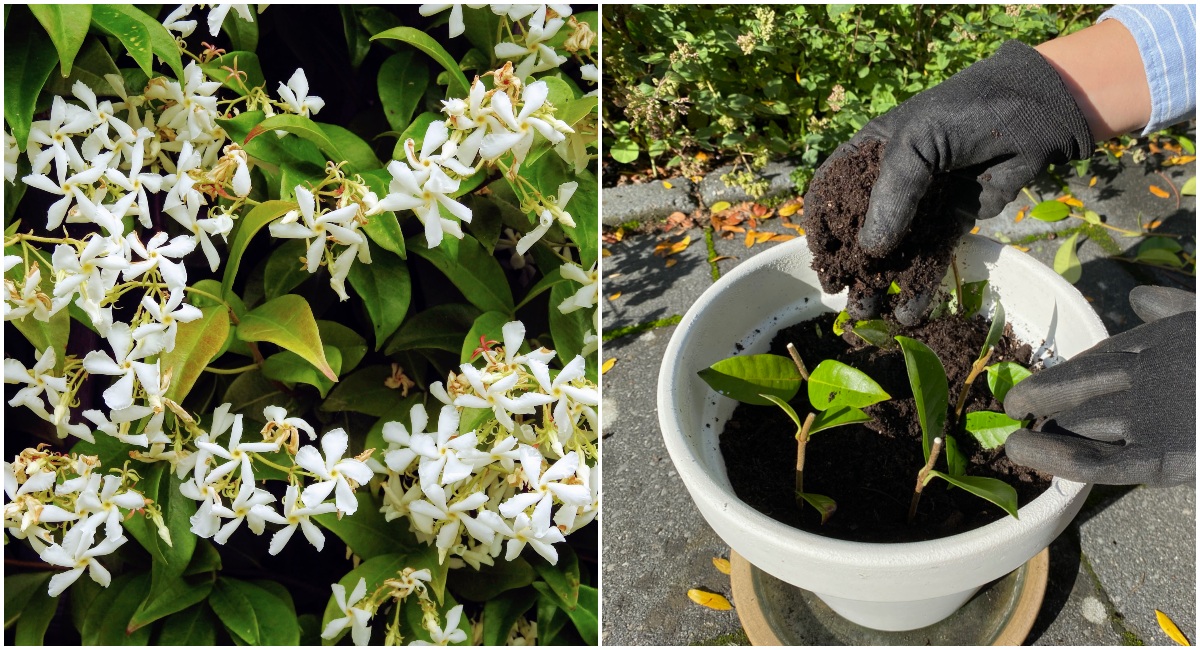
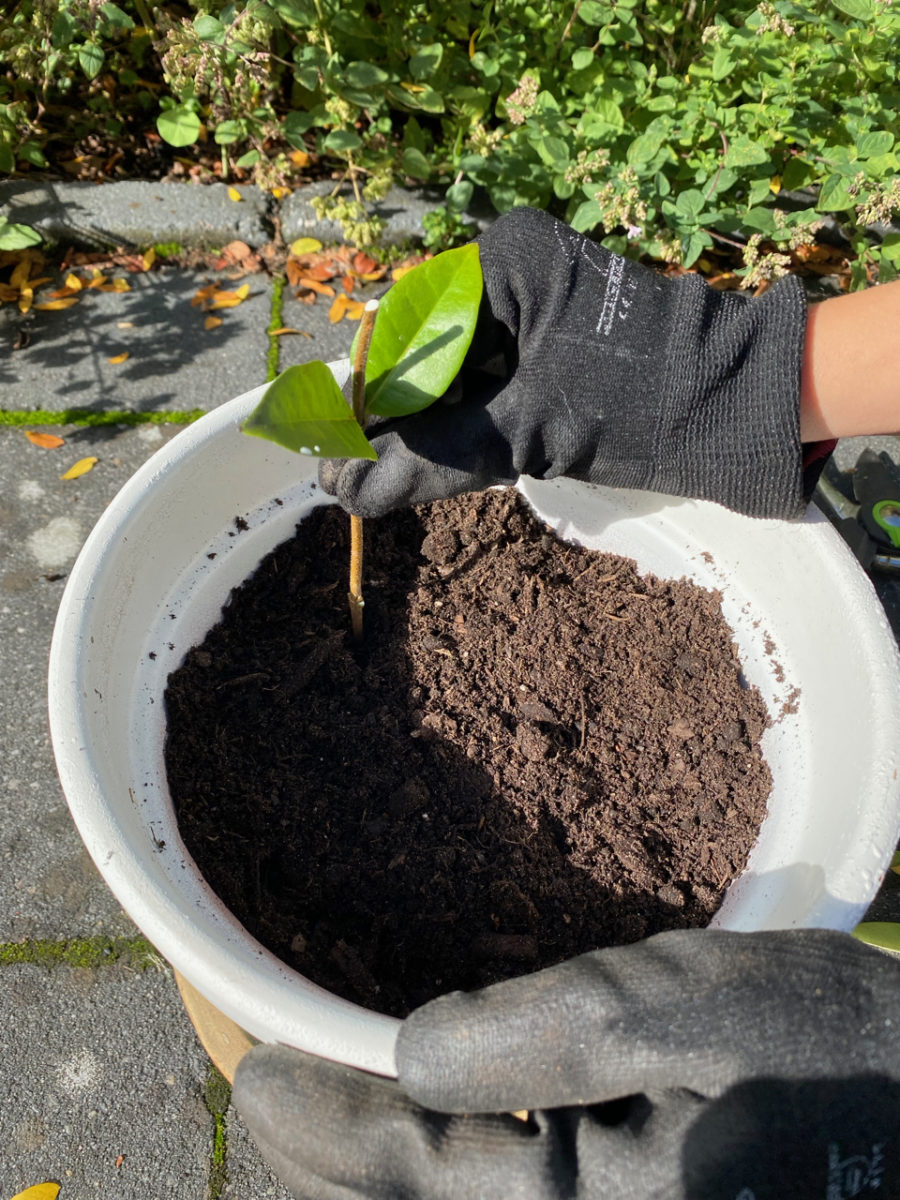
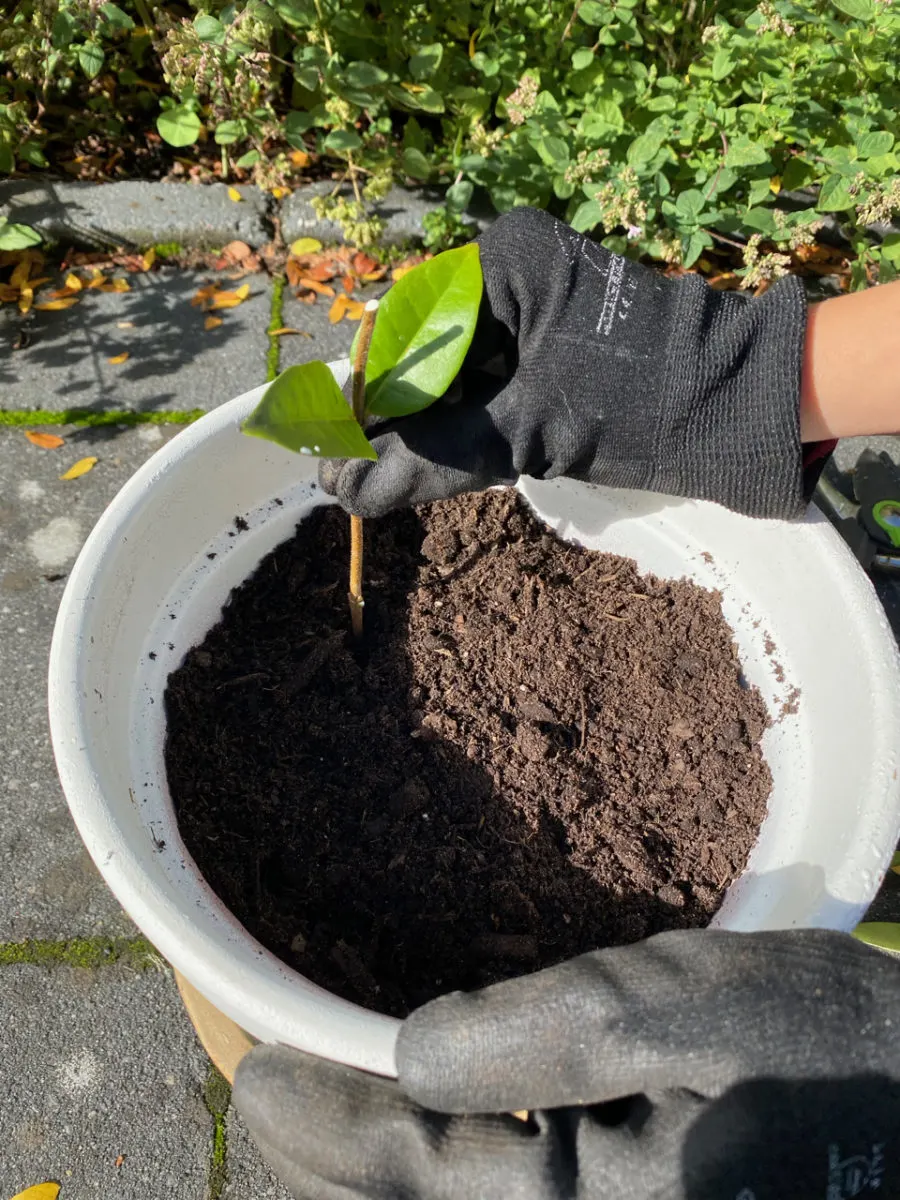
Step 5: Stick the cutting into soil.
Gently insert the stem that you’ve stripped off into soil, making sure you get a couple of leaf node sets under ground. Then top it up with more dirt to bury any exposed nodes.
I’m propagating my jasmine from cuttings in September, so I won’t be covering it up with any protective cloche to keep it warm since we still have some weeks of sun and mild temperatures ahead of us this season.
However, if you’re propagating later in the year, or if you’re experiencing temperature drops at night, it’s a good idea to keep the new cuttings protected from the wind and the cold. You can tie a plastic bag over the cuttings or fashion a protective cloche out of plastic bottles. You can also place the pot in your greenhouse, hoophouse, sunroom or any sheltered space that still gets plenty of light.
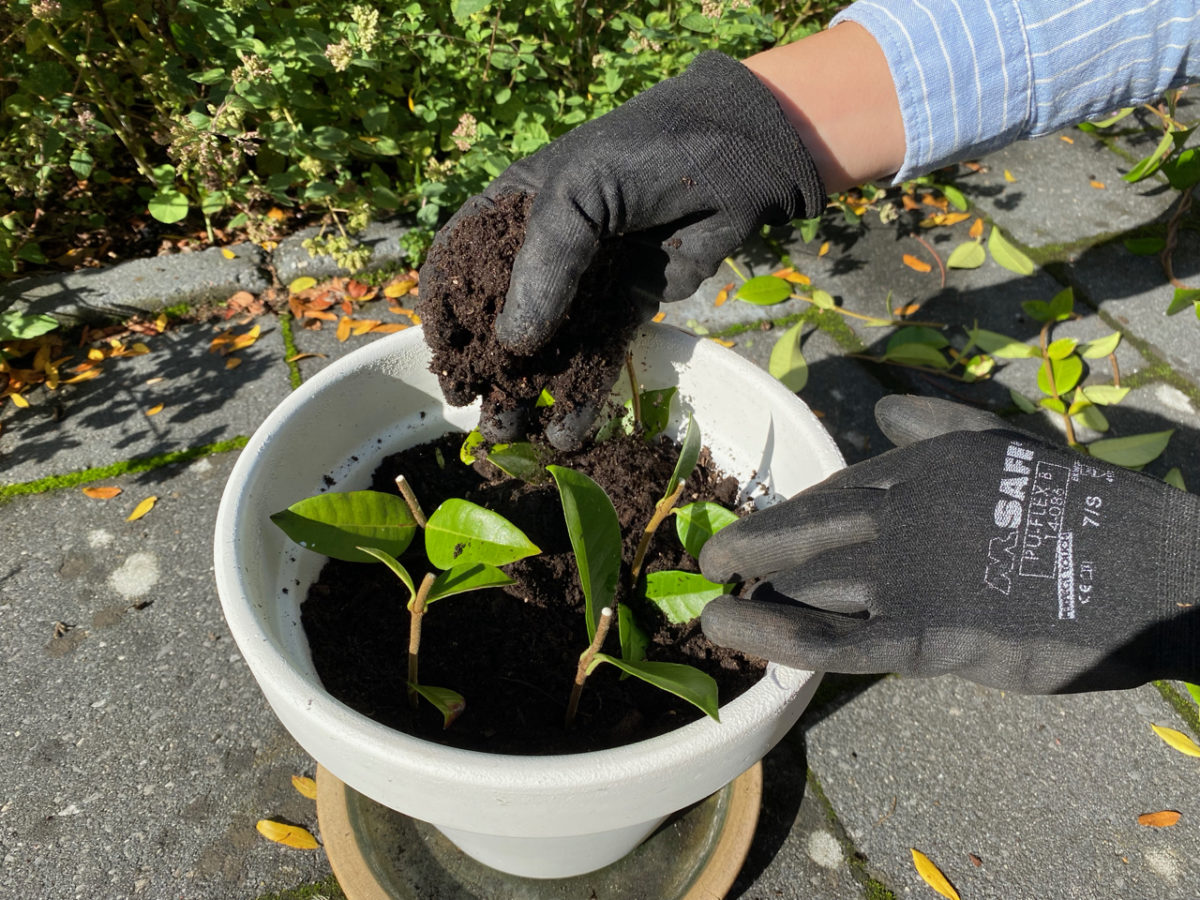

Of course, you can put each individual cutting in its own small pot. I prefer to hedge my bets – while also saving on space – so I chose to propagate more cuttings in a larger pot. Using a larger container makes it easier for me to monitor the moisture level in the pot (don’t allow it to dry out) and to move the pot in the sun or the shade, if necessary.
It takes about a month for roots to form, but this timeline varies depending on a few factors such as temperature, humidity, exposure and the quality of the stock you started with.
You’ll be able to tell if your cuttings have rooted by gently trying to tug them out of the soil. If there’s any resistance, you’re in luck. Those are the rootlets fighting back. If the stem (a dry stick by this point) slides right out … well, you’ll just have to try propagating your jasmine one more time.
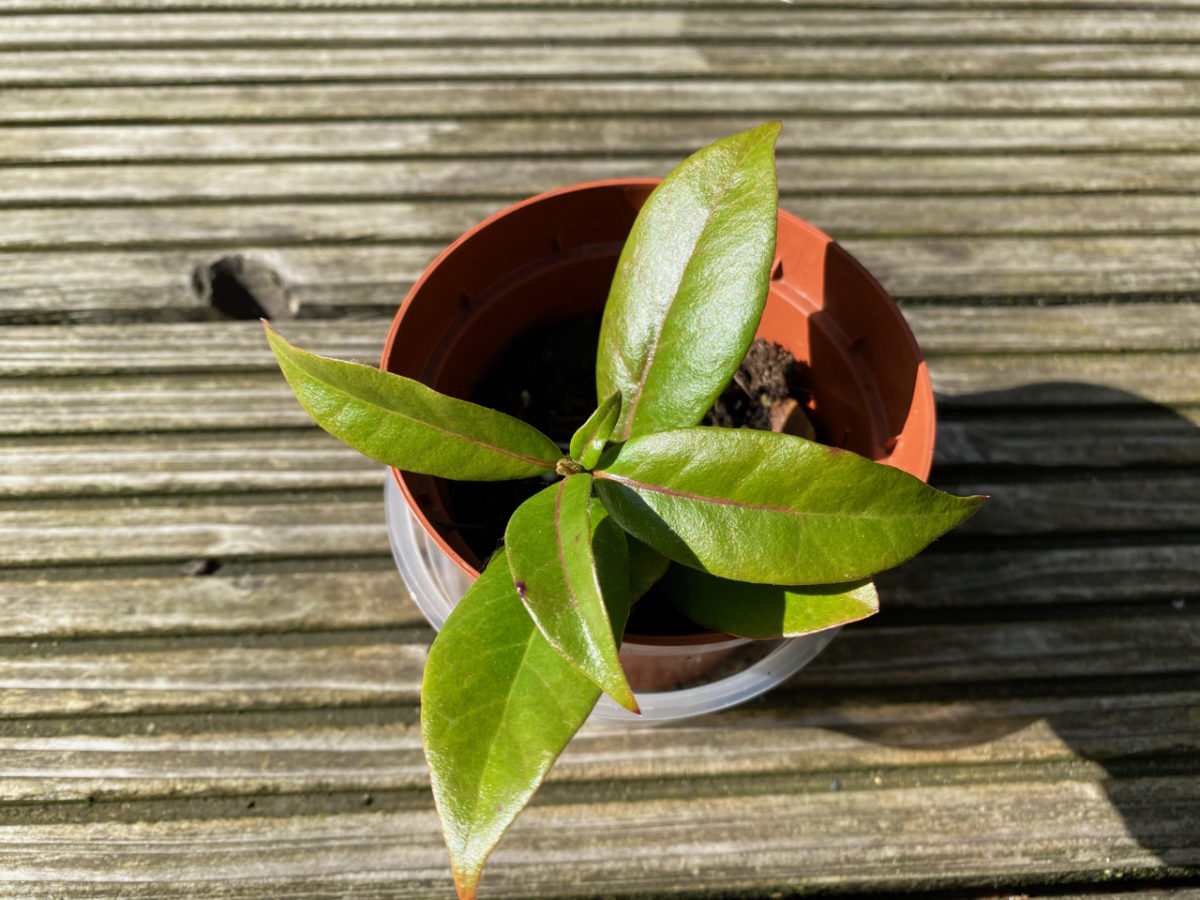
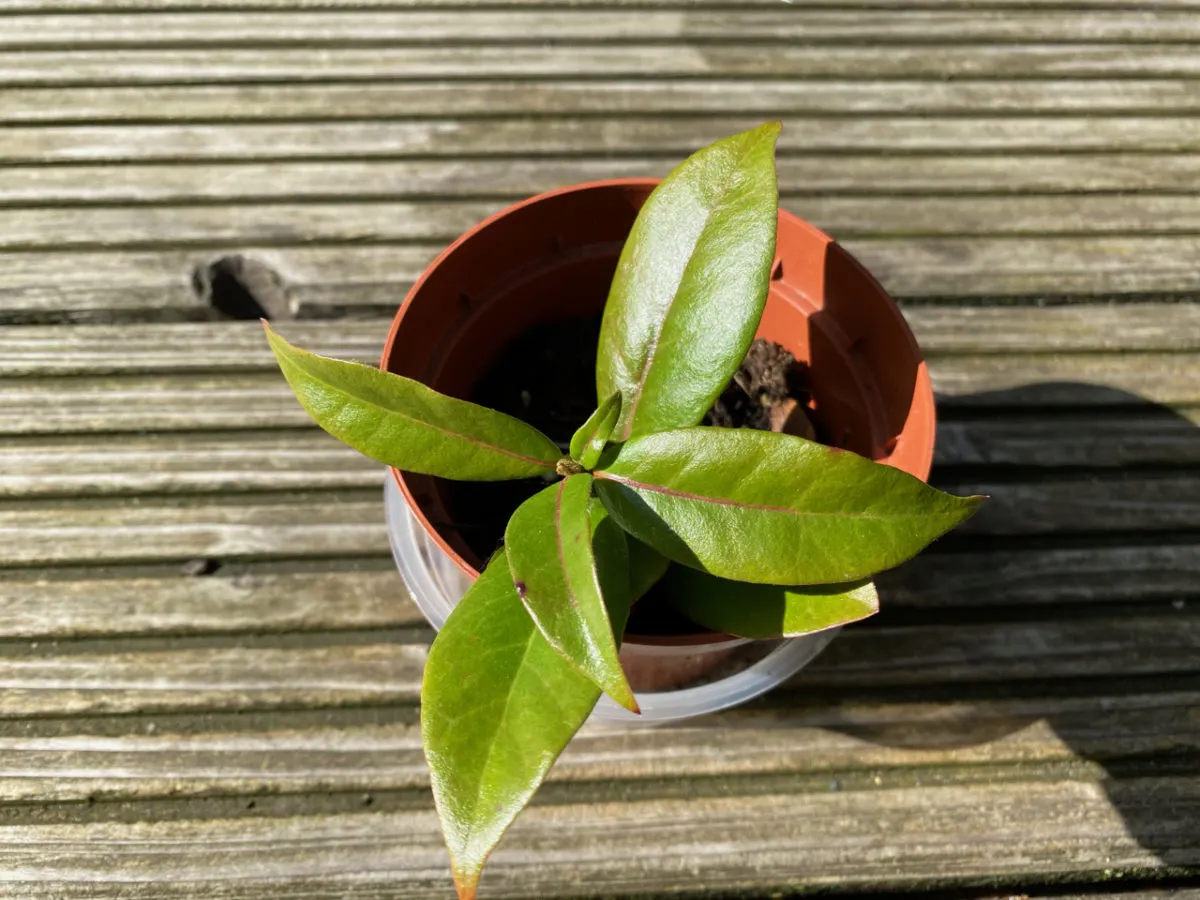
Step 6: Pot up the individual cuttings.
Once your cuttings have formed roots, it’s a good idea to move them to their own individual pot. If you leave them in the same pot, the roots will get tangled as they grow. That’s fine if you plan on planting your cuttings in the same spot. However, I’m planning to spread them along a fence, so giving them their own pot to develop into is the first step of that plan. I’ll also be sharing some with friends and my local gardening group.
Propagating vines from cuttings is one of the easiest ways of keeping your garden lush and full on a small budget.