
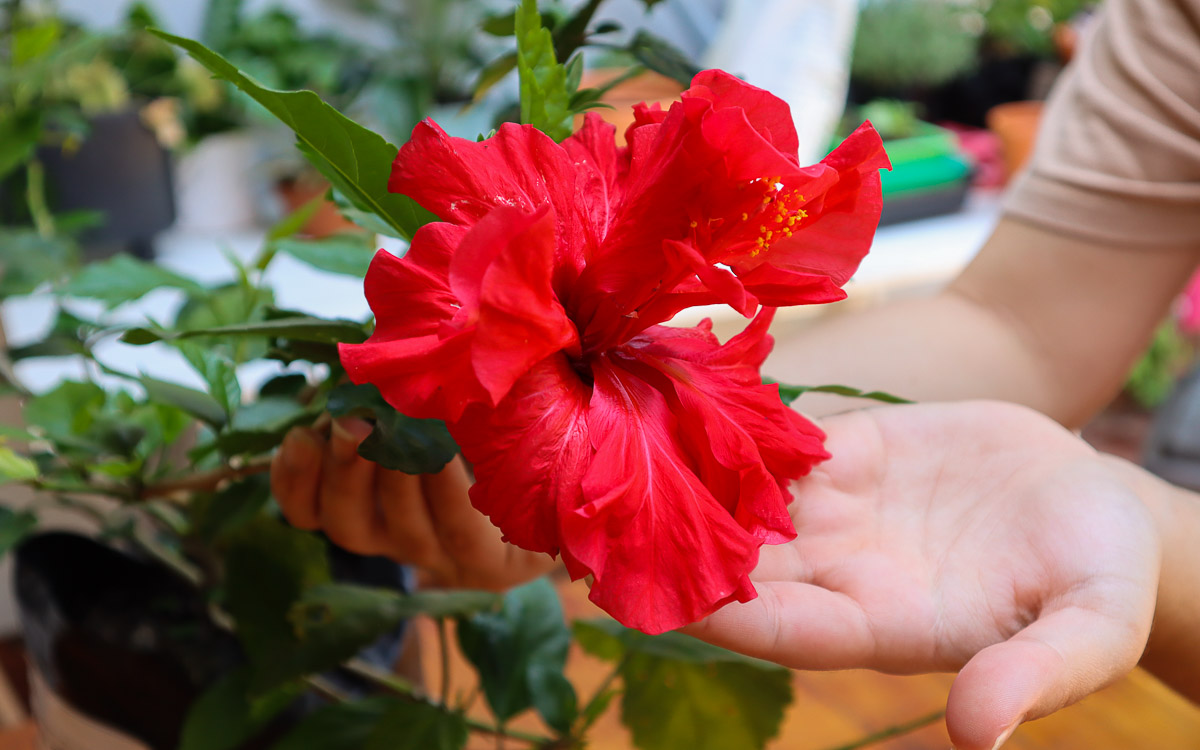
The endless variety of Hibiscus shrubs is just one of the reasons why these plants are so popular in home gardens. The stunning, massive blooms on any species, from tropical to hardy and more, stand out wherever they are placed.
If you’re looking to grow more of your favorite variety, propagation from cuttings is your best bet. Not only does this save money, but it also ensures the plant you get is an exact clone of the original. Plus, it’s an exciting garden experiment that comes with an added layer of mystery while you wait for roots to grow.
Follow this guide for a step-by-step walkthrough of Hibiscus propagation and how to improve your chances of success.
Why Propagate Hibiscus From Cuttings
There are so many different cultivars of Hibiscus within each of the various species that it can be hard to keep track. With the exception of a few common and popular ones, you may find a Hibiscus variety in your local nursery that you aren’t able to purchase again in the following years.
If you want to grow more of that specific variety, propagating from cuttings is then your only option.
Propagating from seed is certainly a possibility. However, due to the hybridization of many cultivars, the Hibiscus you grow from seed will likely look completely different from the plant you collected the seed from.
It may also not grow as successfully as the parent plant or even flower very often. It can be a fun gardening experiment but is not the most reliable method of propagation.
That’s why propagating from cuttings is recommended. Success rates aren’t as high as some other garden shrubs, especially when growing tropical Hibiscus. But as long as you take a few cuttings at once you should see new growth on at least one of them.
Plus, you can be sure the flowers you get once the plant has matured are the ones you know and love.
When To Propagate Hibiscus
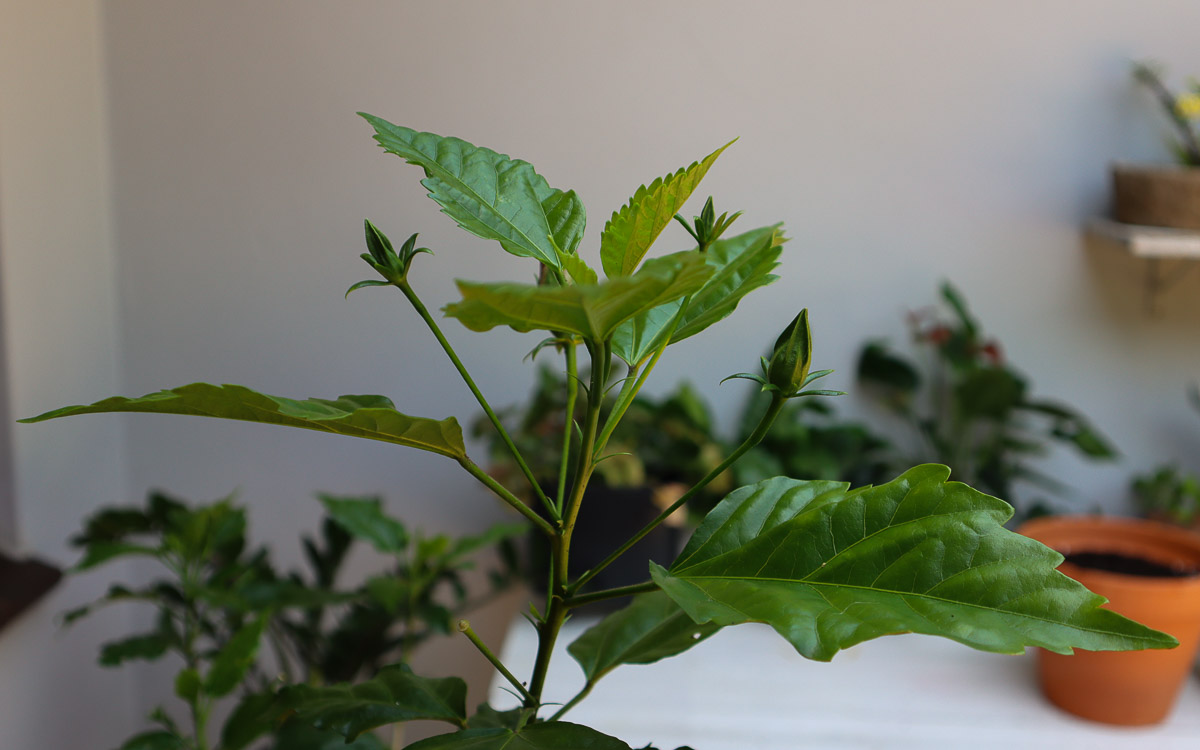
Hibiscus plants grow best when propagated from new softwood growth. Softwood growth has a much higher chance of rooting and encourages faster growth and development.
You’ll see this new green growth emerging in spring and summer when the plant is actively growing. This is the perfect time to take your cuttings for propagation.
If you want to try rooting your hardwood cuttings after pruning, you can also use those. However, hardwood cuttings are much harder to root. Be prepared for a limited success rate if you choose this option.
What Tools You Will Need
Gathering everything you need before you get started will help make the propagation process much smoother (also eliminating any emergency trips to your local garden center).
Pruning Shears
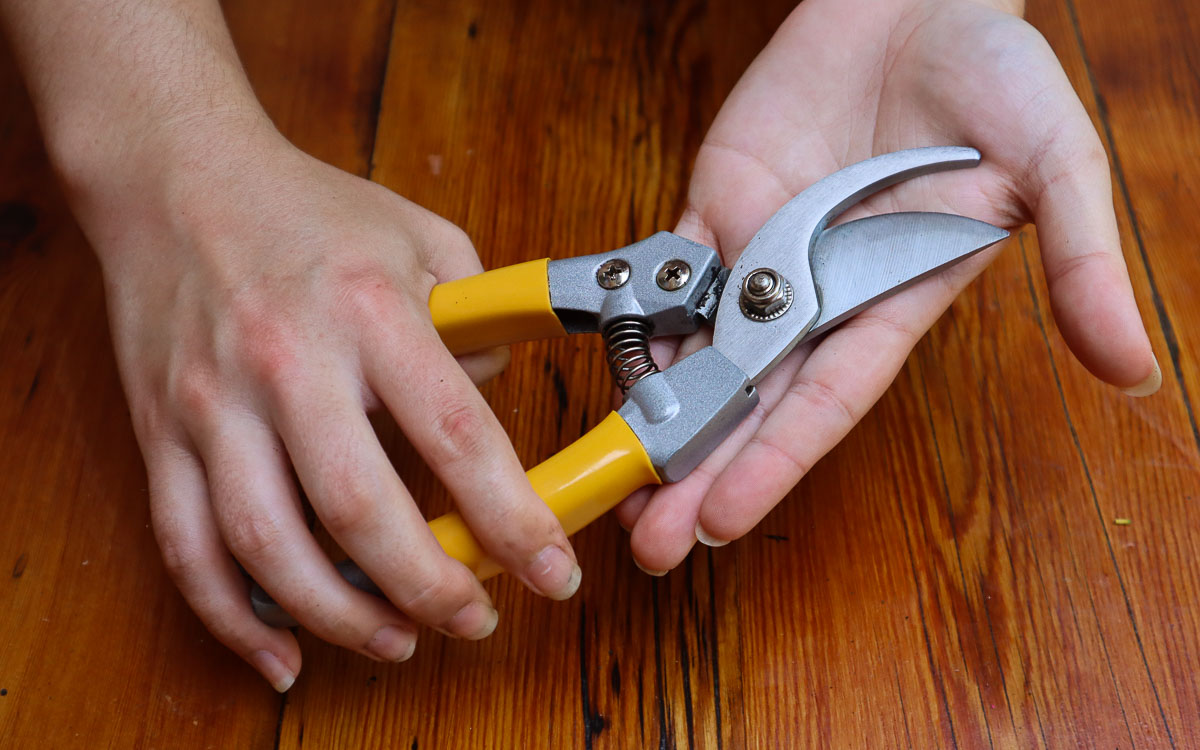
The first tool you’ll need is a sharp pair of pruning shears. Shrubs are much tougher than herbaceous plants, so regular scissors are not recommended. The shears should be as sharp as possible for clean removal as this helps the parent plant heal much faster and prevents damage that may encourage disease.
Shears can also carry disease if they were previously used on other plants, so make sure to wash them with soap and water before you use them.
Propagating Mix
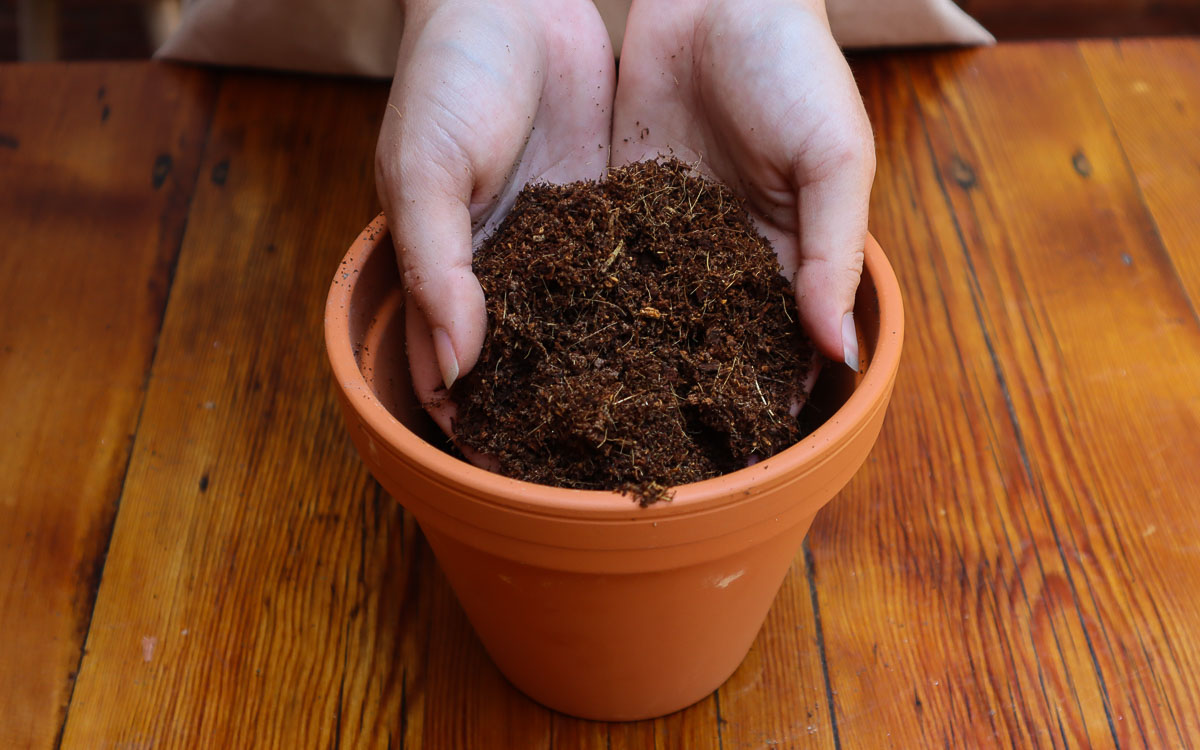
Secondly, you’ll need to prepare a propagating mix. While regular potting soil is an option, it’s best to use a specialized propagating mix that provides little resistance to root growth.
A combination of equal parts sand and coconut coir will anchor the cutting while draining well enough to prevent rotting. You can also replace coconut coir with peat moss if you already have some around, but opt for coir if you’re looking for a more sustainable option.
If you prefer not to make your own mix, you can also purchase propagating mixes online.
Rooting Hormone
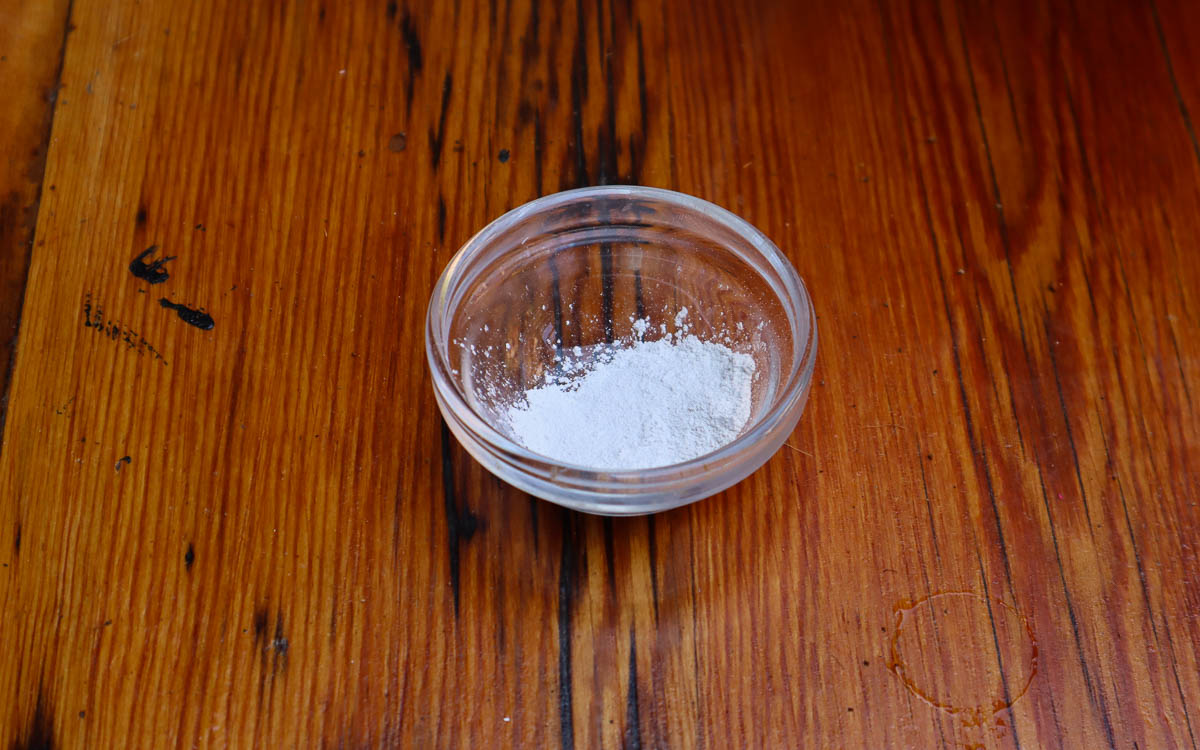
As Hibiscus is a shrub with woody stems, you’ll also need rooting hormone powder. This substance, available online or at nurseries, stimulates root growth and also protects the cutting from disease.
These powders are available in certain ranges according to the type of woody cutting you’re taking, so look for softwood rooting hormone in spring or hardwood in late winter.
Clear Bag
Finally, you’ll need a container to plant in and a clear plastic bag. The container should be deep enough to keep the cutting upright with enough drainage holes to prevent rotting. The plastic bag will be placed over the container to keep heat in and maintain the humidity levels required for rooting.
With all your tools prepared, you’re ready to start cutting.
How To Propagate Hibiscus From Cuttings in 5 Steps
Remove The Cutting
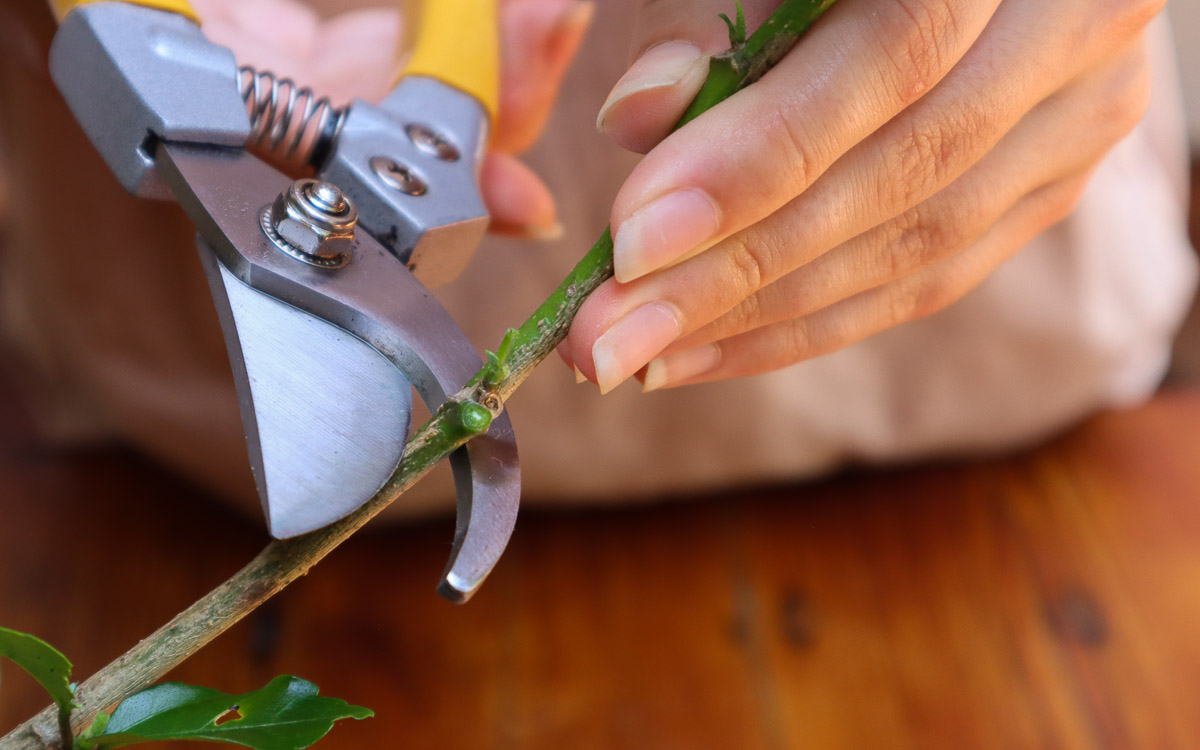
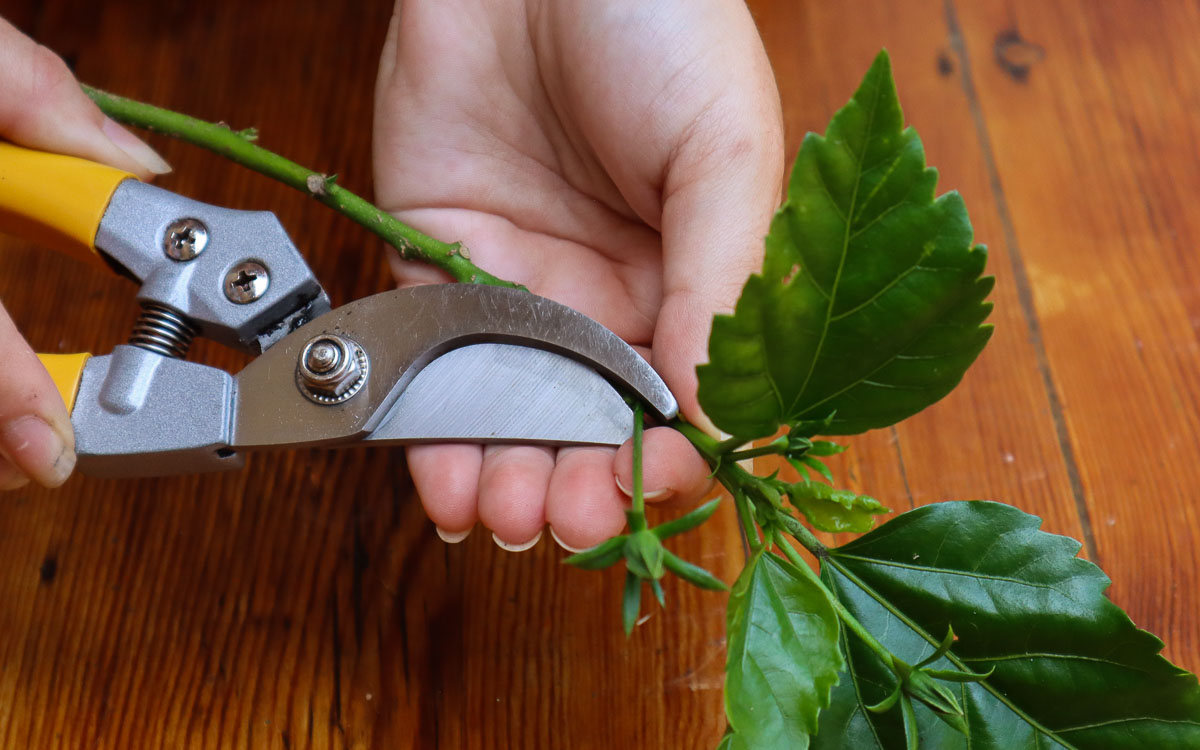
Taking a look at the parent plant, choose a cutting of green growth around 5 inches long. The cutting should be completely healthy and free of any pest or disease damage. The stronger the growth of the branch, the higher your chances of rooting.
Grab your shears and remove the cutting just below a set of leaves at a 45° angle. Don’t cut too close to the node to avoid damage. Consider the overall look of the plant when trimming, taking a couple of cuttings to balance the shape and keep it tidy.
Trim The Leaves/Flowers
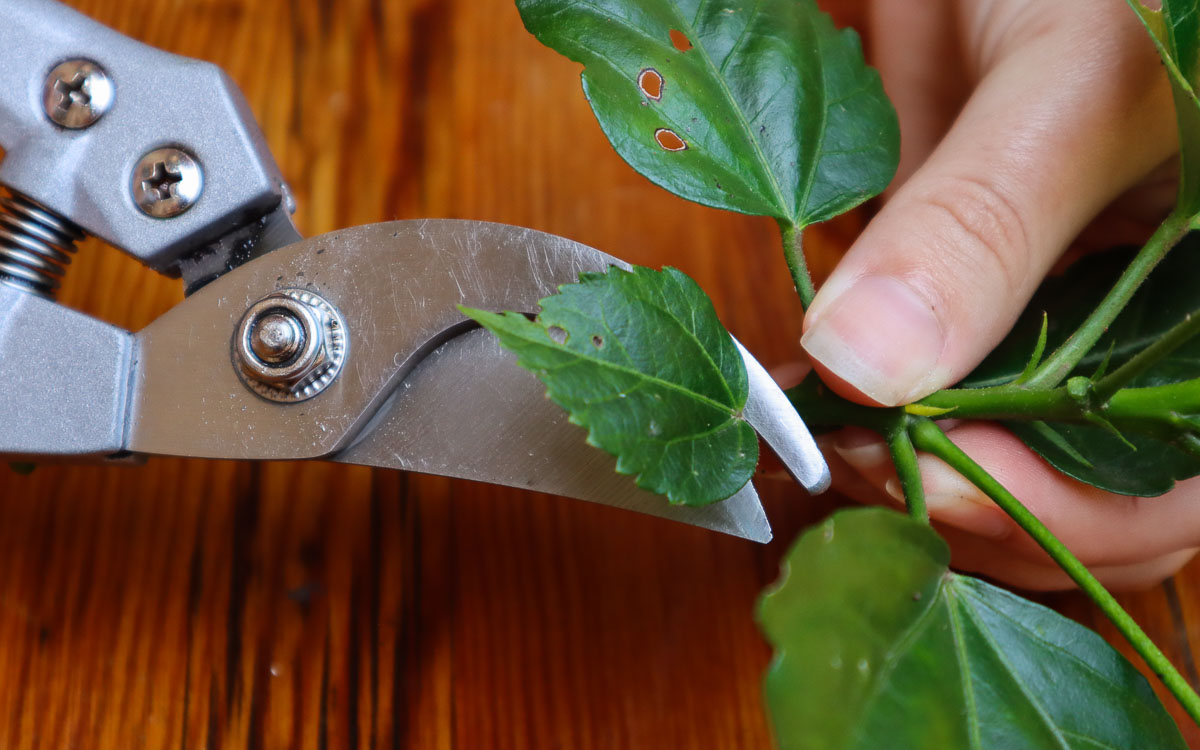
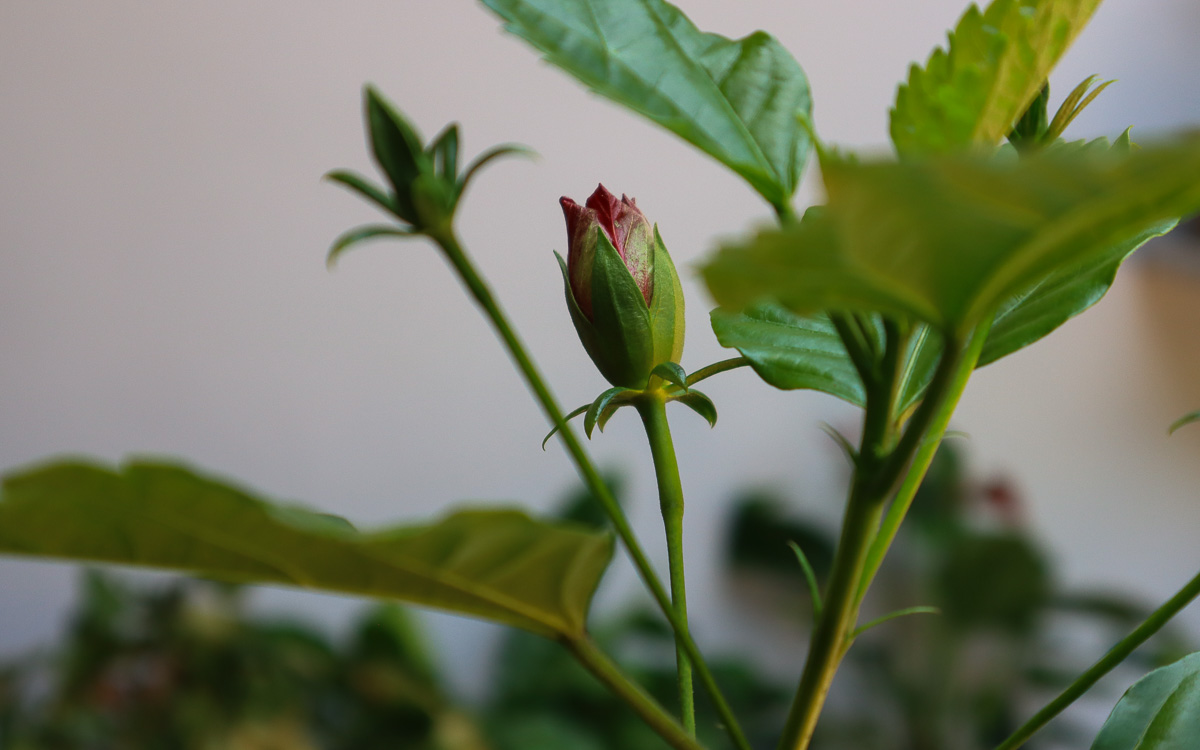
Gather each of your cuttings and remove the leaves on at least the bottom half, leaving one or two sets at the top. You can trim the leaves off with your shears or simply peel them off with your fingers. Also remove any flowers you find as these will draw energy away from root growth to continue blooming.

For cuttings with larger leaves, you can cut the leaves in half horizontally. This stops them from growing any further and can direct any energy toward new root growth. However, as Hibiscus leaves aren’t particularly large, this step is optional.
For hardwood cuttings, remove some of the outer bark to expose the center. Similarly, you can make a horizontal cut in the base of a softwood cutting to expose more of the node and improve water and nutrient uptake.
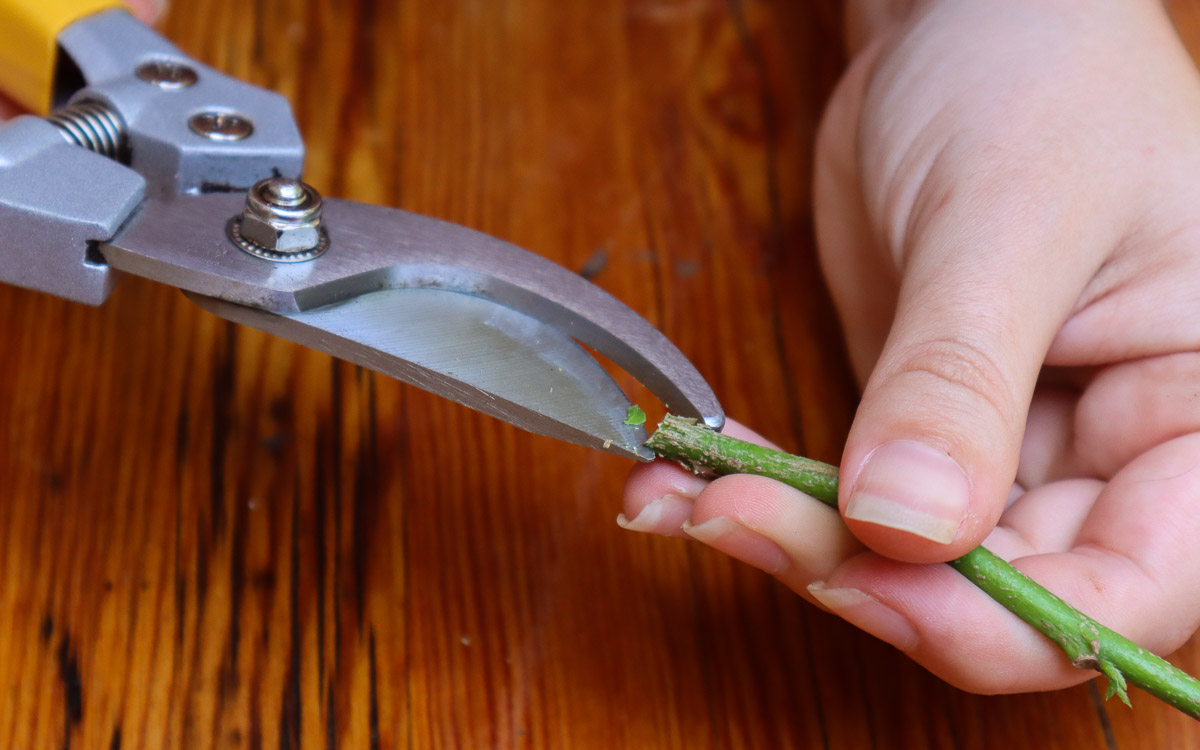
Once you’ve finished this step, you should have a few cuttings with the bottom half of the softwood exposed, ready for rooting.
Dip In Rooting Hormone
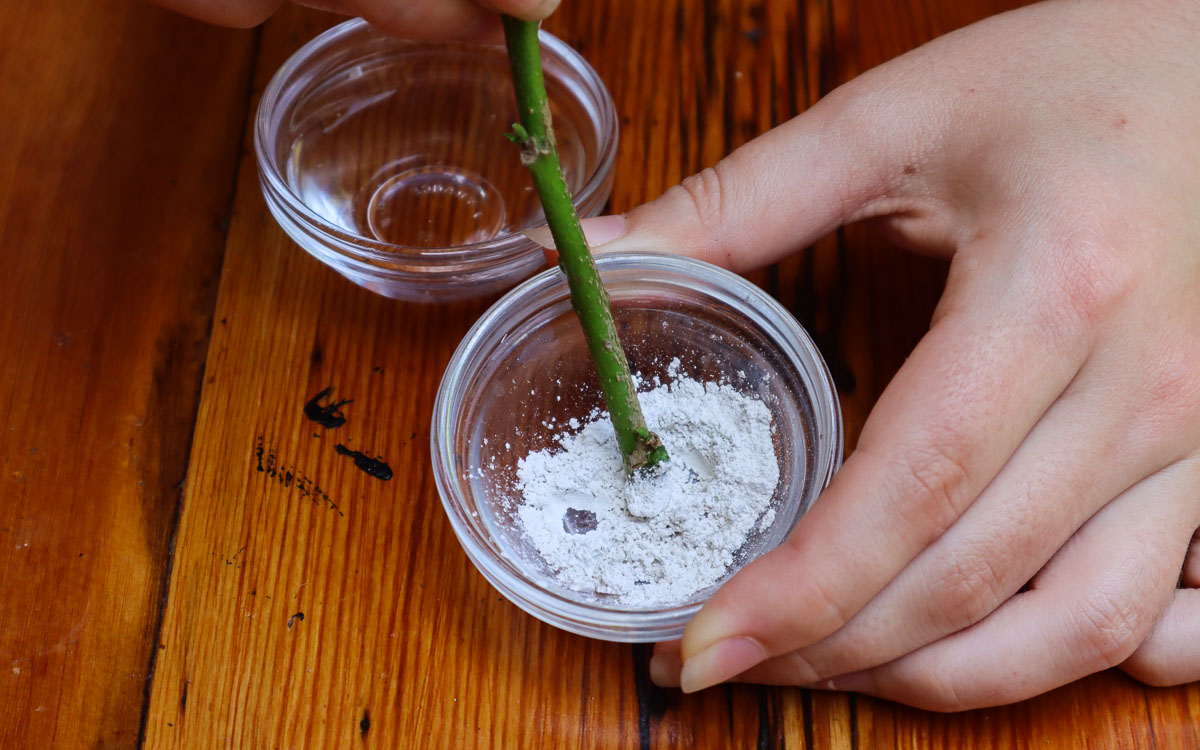
Remove a small amount of rooting hormone powder and place it in a container. This prevents any contamination of the main container that can make the powder unusable. Then, dip the end of the cutting in the powder until the base is completely covered.
Once you’ve covered all the cuttings, discard the rest of the rooting hormone. Never put it back into the container as this can spread disease and harmful bacteria, ruining any future propagation efforts.
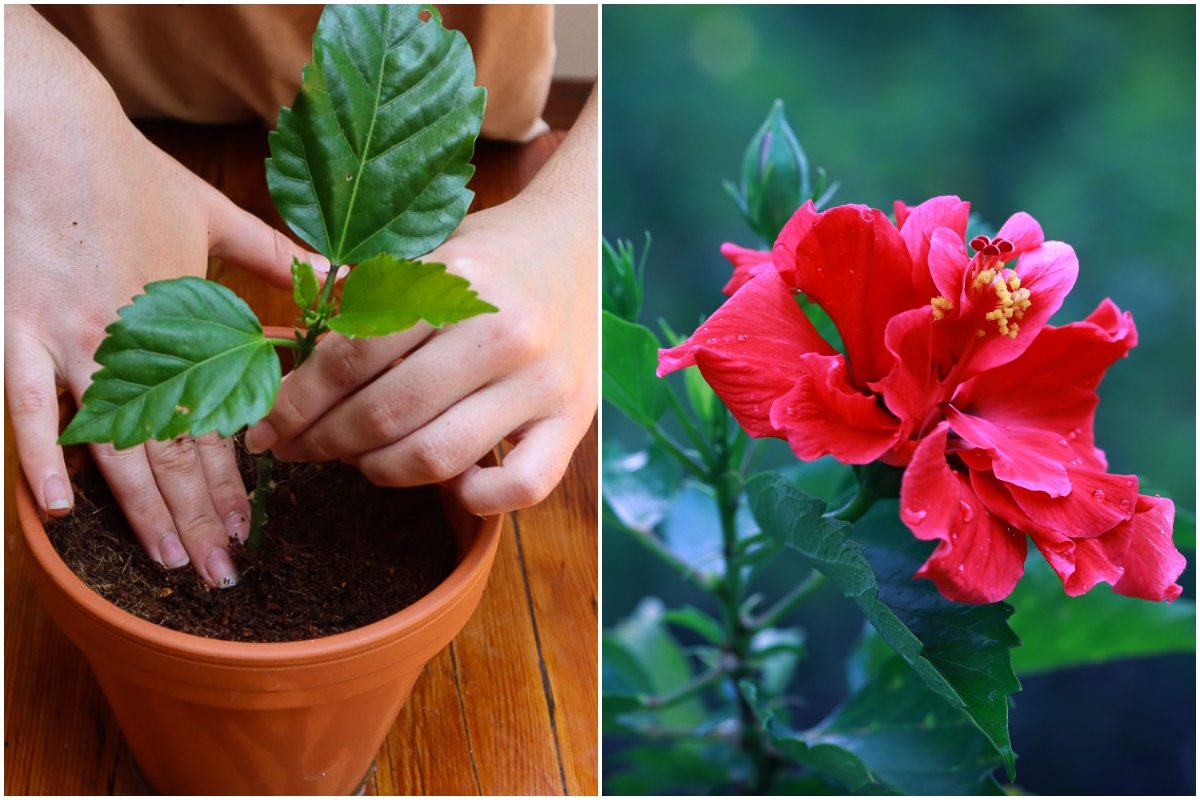
Plant
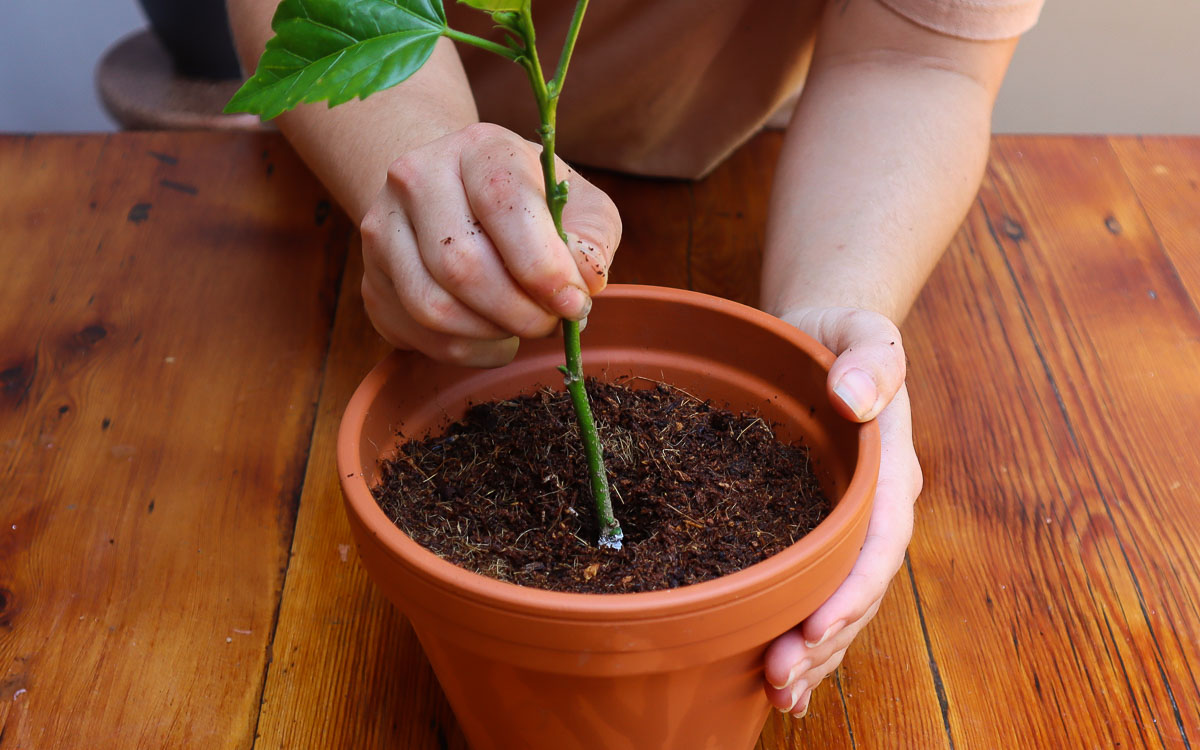
Set your cuttings to one side and fill your container or containers with your propagating mix. Moisten the soil before you plant to help anchor the cutting and limit any loss of the rooting hormone when watering later on.
Make a hole in the center with your finger. Bury the cutting halfway, avoiding touching the sides of the hole so the rooting hormone stays in contact with the base. Ensure any leaves on the top half of cutting are away from the soil line.
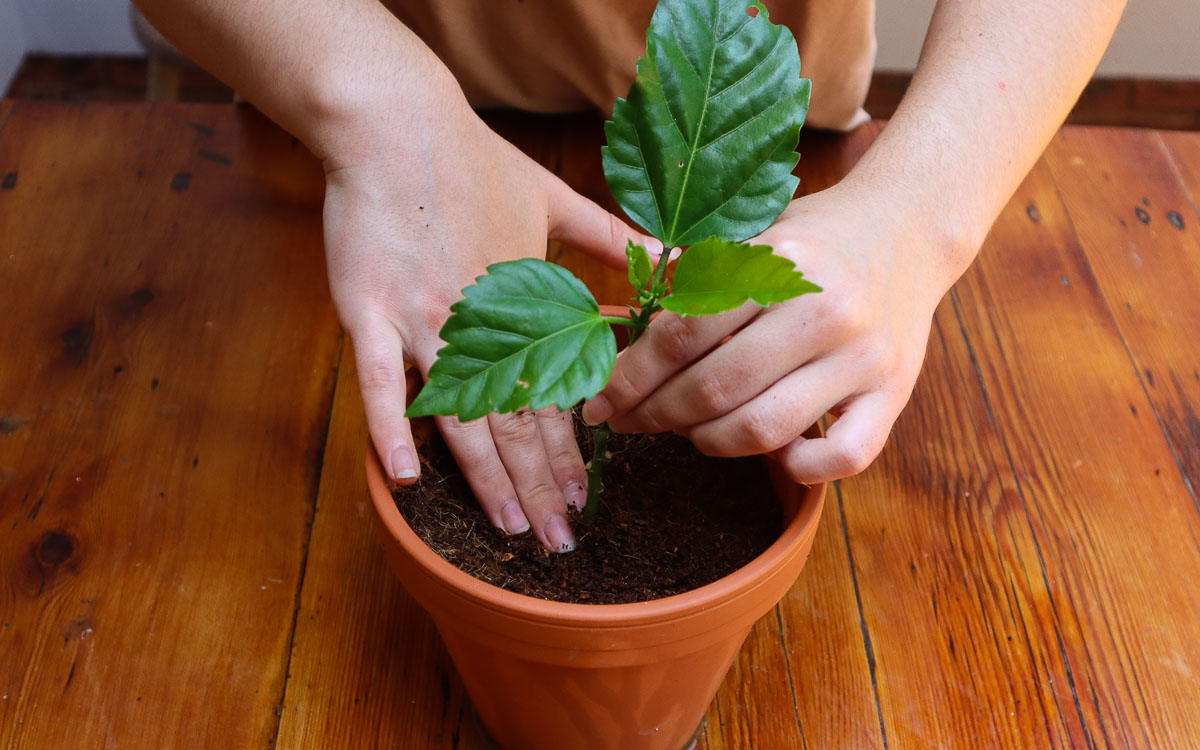
Once planted, press gently around the base to anchor.
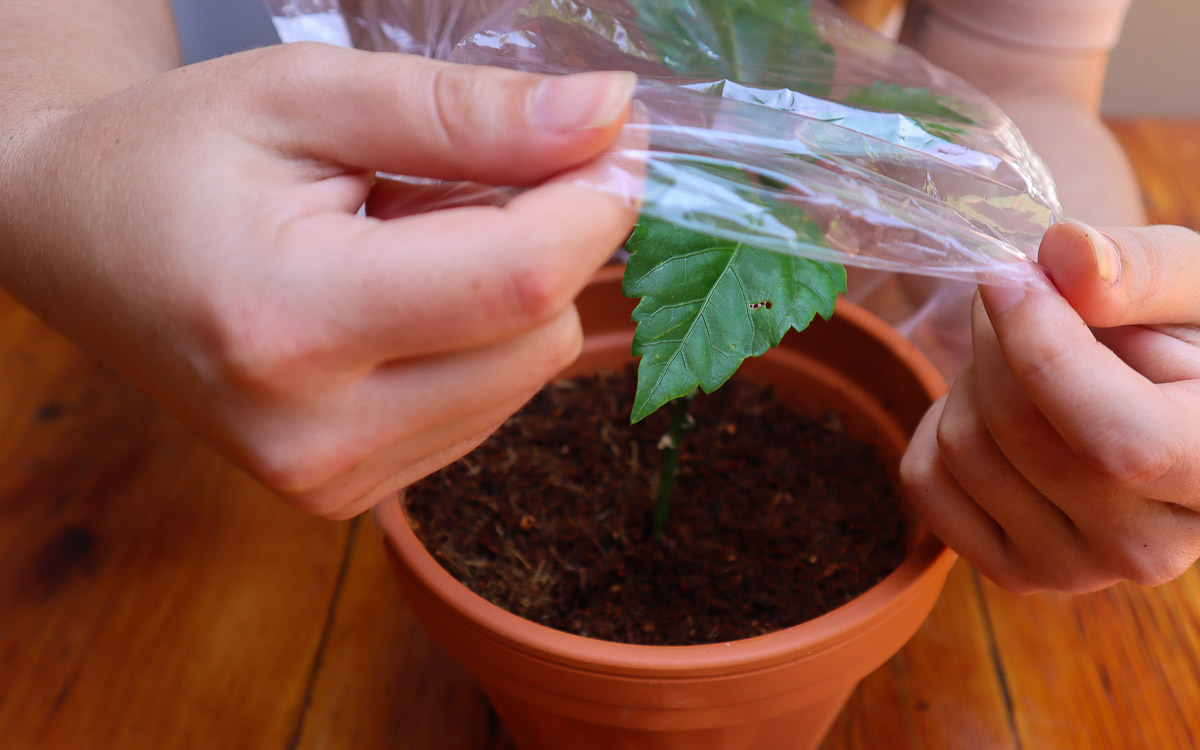
Cover
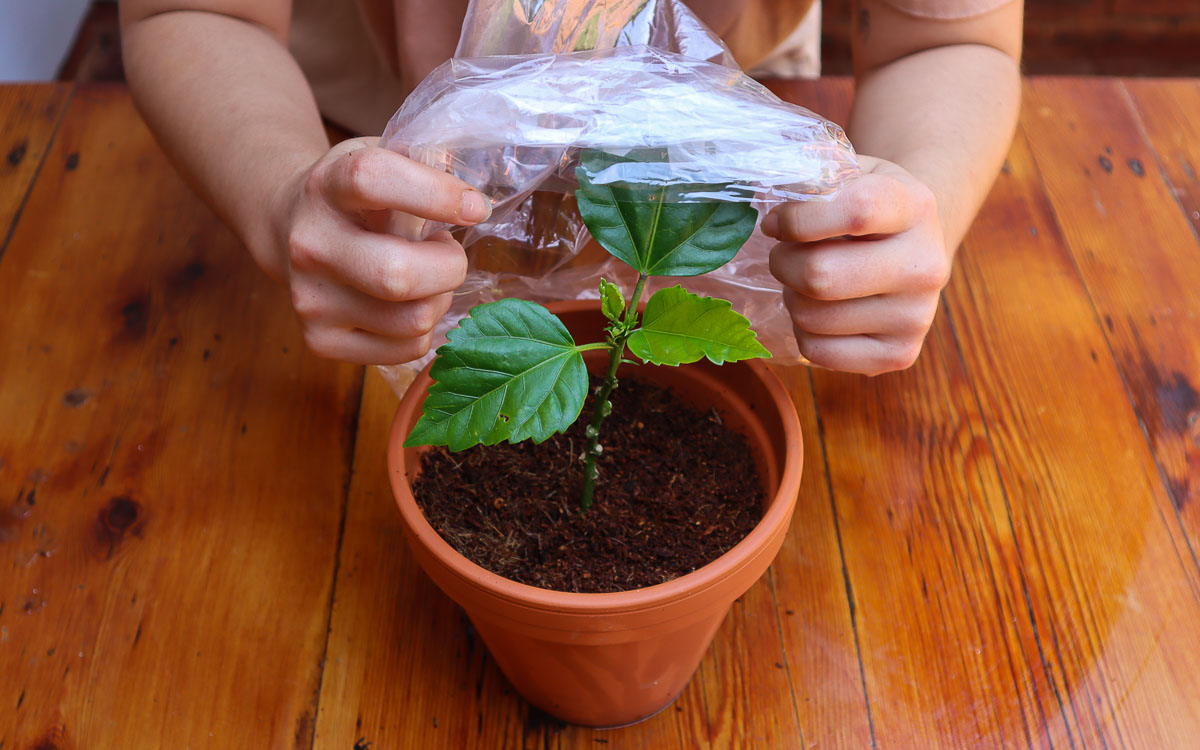
Finally, to recreate the perfect environment for root growth, cover the pot with a plastic bag. This will seal in moisture and humidity, giving you the greatest chances of success.
Make sure the bag is not touching the cutting as the build-up of moisture can cause droplets to run down the wood and lead to rot. If it does not stay up on its own, hold up the bag with a few wooden sticks.
Lift the bag every few days and moisten the soil again. It should remain warm and moist in a bright area until new growth develops. If your efforts have been successful, you should find new root growth within two months, ready for transplanting.