The great green wall project (the one I mentioned in this post) continues in my yard.
In a nutshell, I’m trying to create a plant divider – between our property and our neighbor’s yard – on the shady side of my garden by propagating vines that are already growing on the sunny side. I really enjoy propagating from cuttings because it’s fun, frugal and sustainable.
Next gardening task on my list: propagating honeysuckle from cuttings.
Hands down, the easiest way to propagate honeysuckle is by air layering it while the vines are still attached to the mother-plant. Alas, in my yard, there just isn’t enough ground space around the honeysuckle crown to accommodate any layering. But that’s ok, because getting more honeysuckle from cuttings is just as easy (almost), although it does require a few months of extra patience.
One kind of honeysuckle you should not propagate.
If you’re propagating honeysuckle along with me, do me a favor and don’t skip this one important step: determine what kind of honeysuckle you’re growing.
Is the honeysuckle that you’re planning to propagate “Japanese honeysuckle” (Lonicera japonica)? If it is, then is it considered invasive in your area? Even though it has become naturalized in most of the United States, Japanese honeysuckle is still classified as a noxious weed in some states, such as Texas, Illinois, Virginia, Indiana and Vermont.
The best place to look for this kind of information is on the website of the agricultural extension affiliated with your local state university. For more information on what invasive honeysuckle can do to a habitat, have a look at this datasheet from the Invasive Species Compendium.
Now, if you’re growing European honeysuckle (Lonicera periclymenum) or American honeysuckle (Lonicera canadensis), propagating it shouldn’t be a problem. You should still check local regulations though.
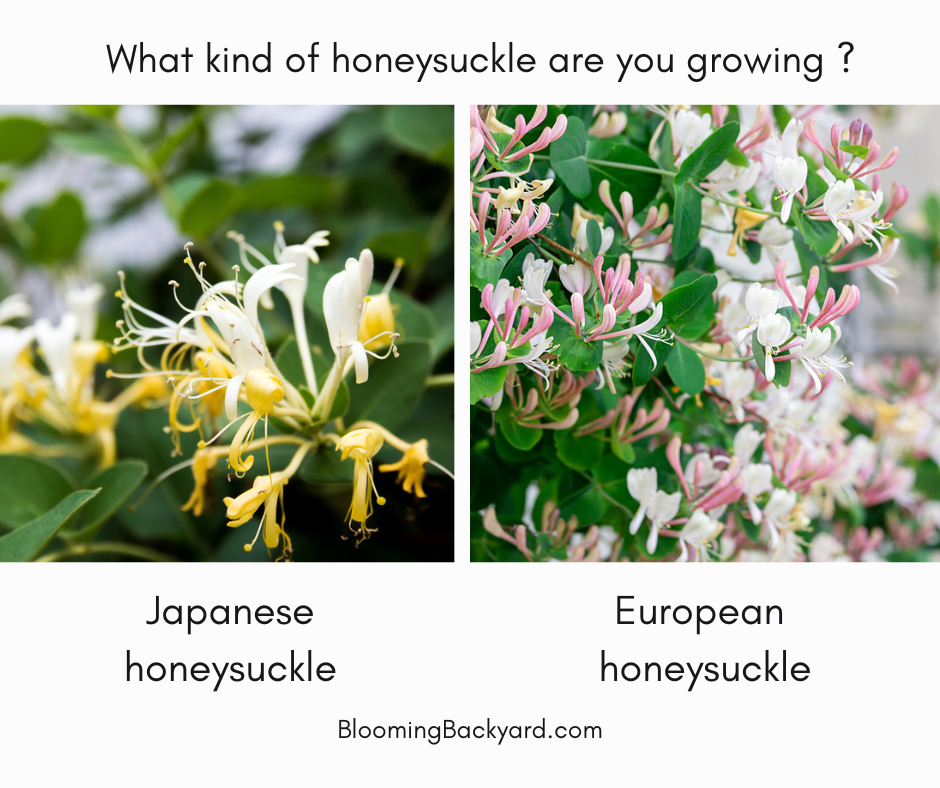
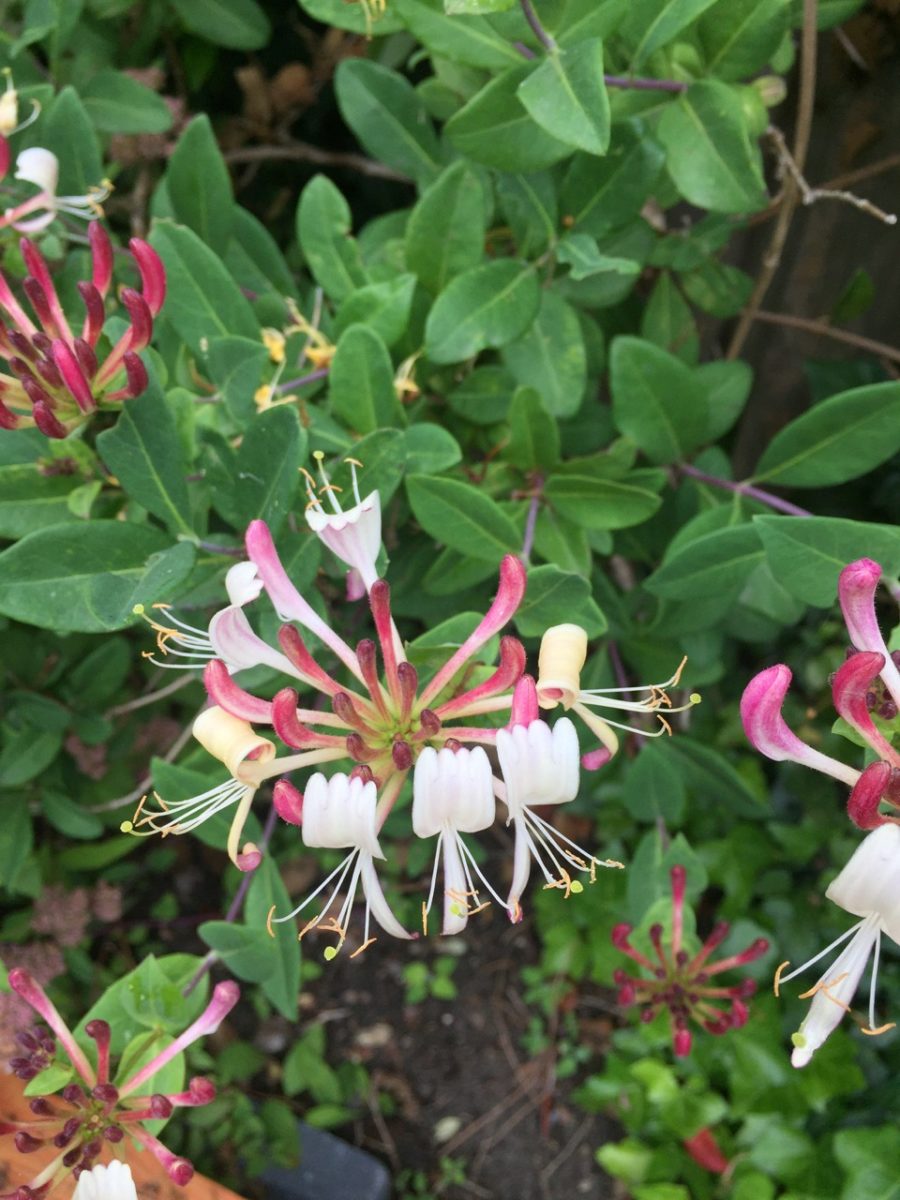
You can tell apart the Japanese and the European varieties by looking at the flowers and the berries, although you might need to train your eye and look very closely for some cultivars.
The flowers of the Japanese honeysuckle (also known as white honeysuckle or Chinese honeysuckle) usually start off as white and then turn to a creamy yellow as they mature. They also tend to be smaller than those of the European honeysuckle. Once the flowers are gone, they’re replaced by black berries.
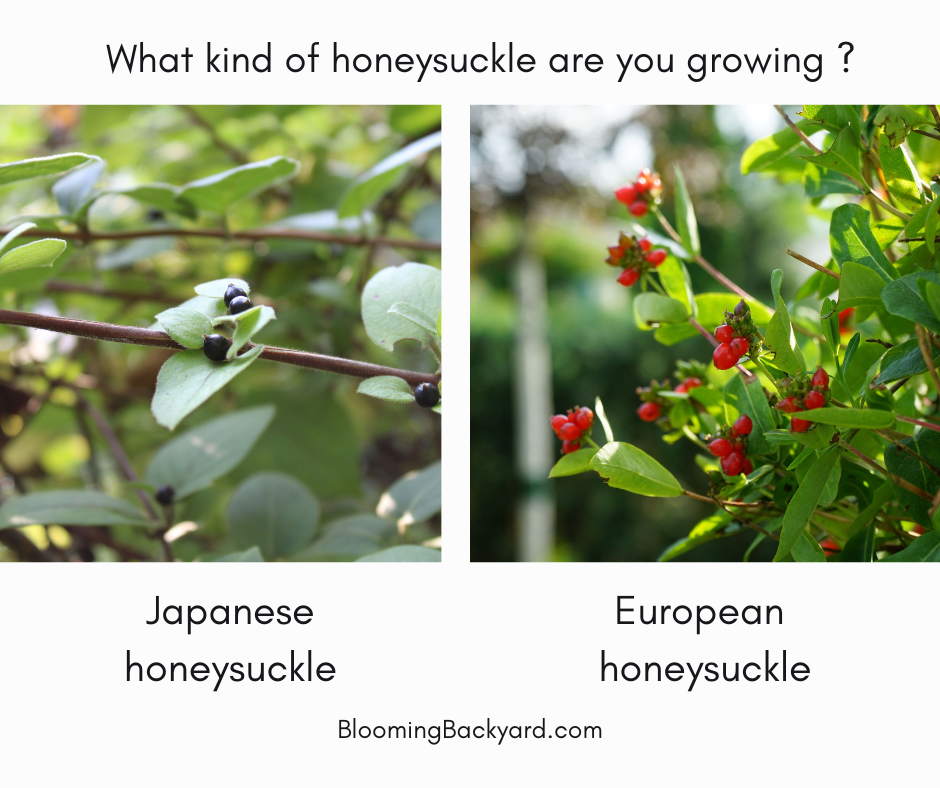
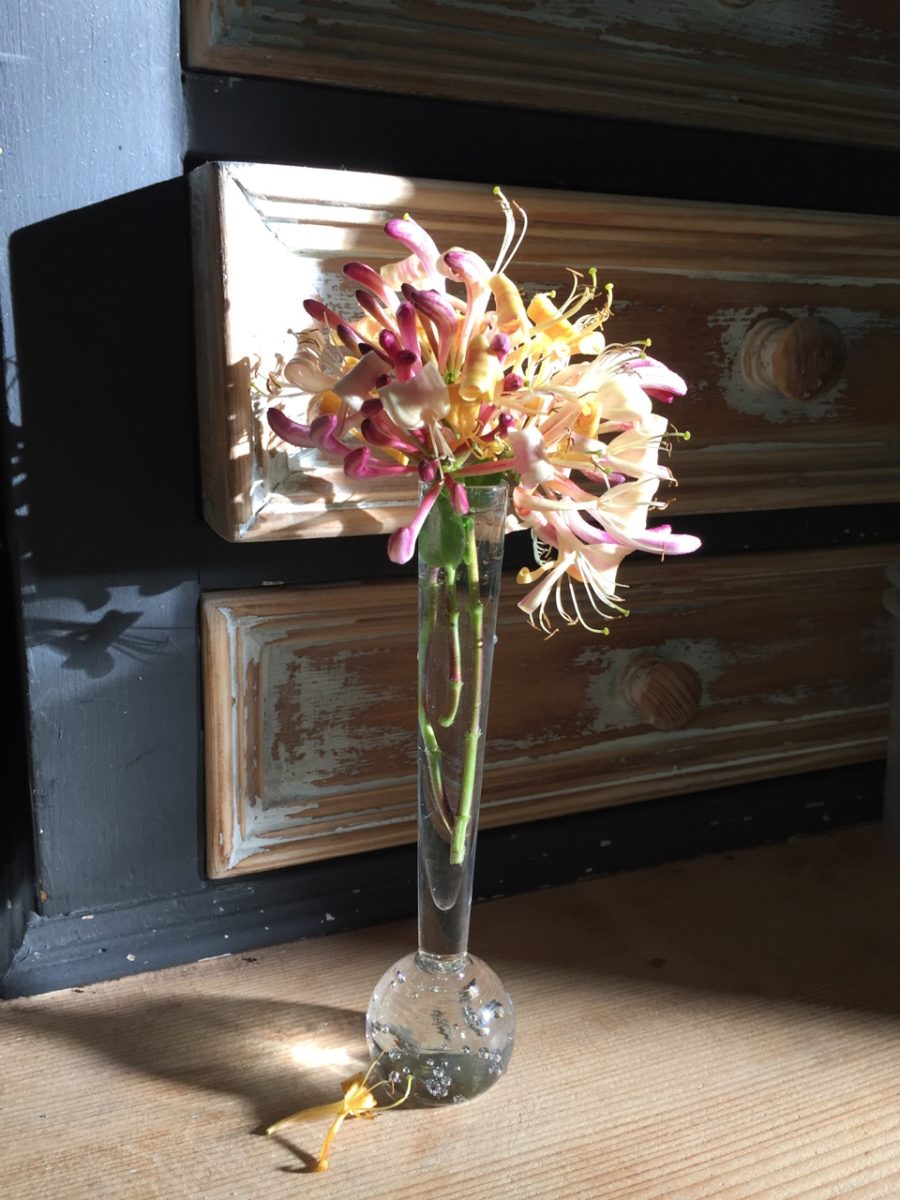
European honeysuckle, also known as woodbine or common honeysuckle, also has creamy-white flowers, but most cultivars develop a pink or peachy tint as the bloom opens up. When the flowers are spent, they leave behind red berries.
These aren’t the only types of honeysuckle used in landscaping, but knowing the difference between these two varieties should cover your bases if you’re gardening in the United States or Europe.
4 Steps to Propagate Honeysuckle from Cuttings
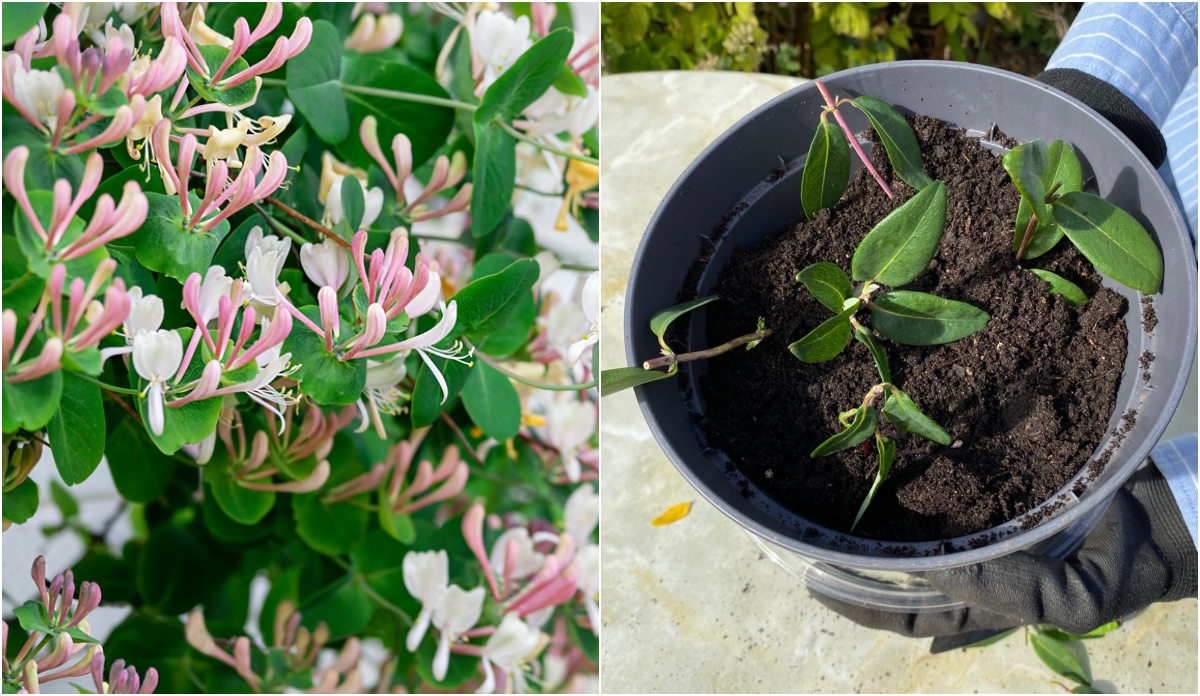
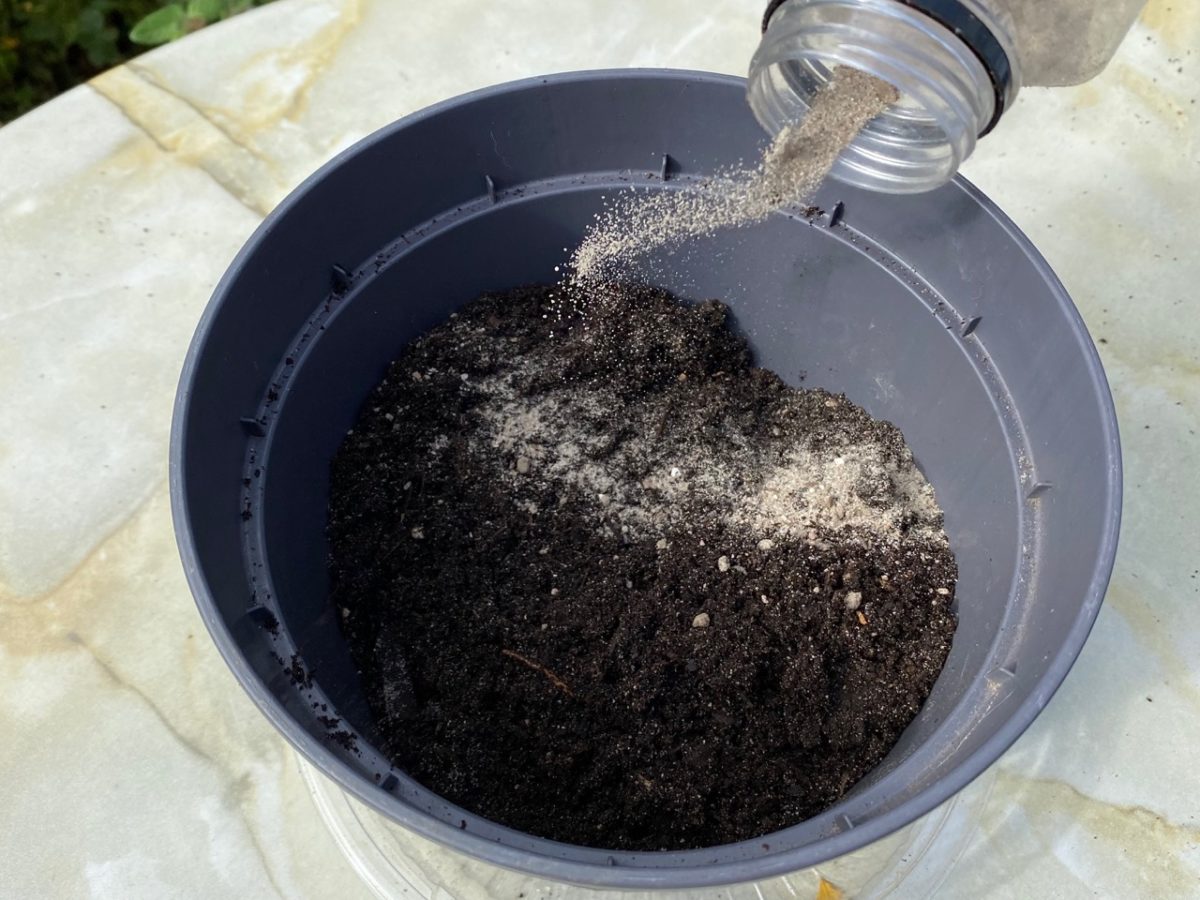
Step 1: Prepare your propagation pot.
Whether I propagate or transplant perennials, I like to start by preparing the final home of the plant before I do any cutting or digging. This ensures that I have somewhere to put the plant as soon as I take the clipping.
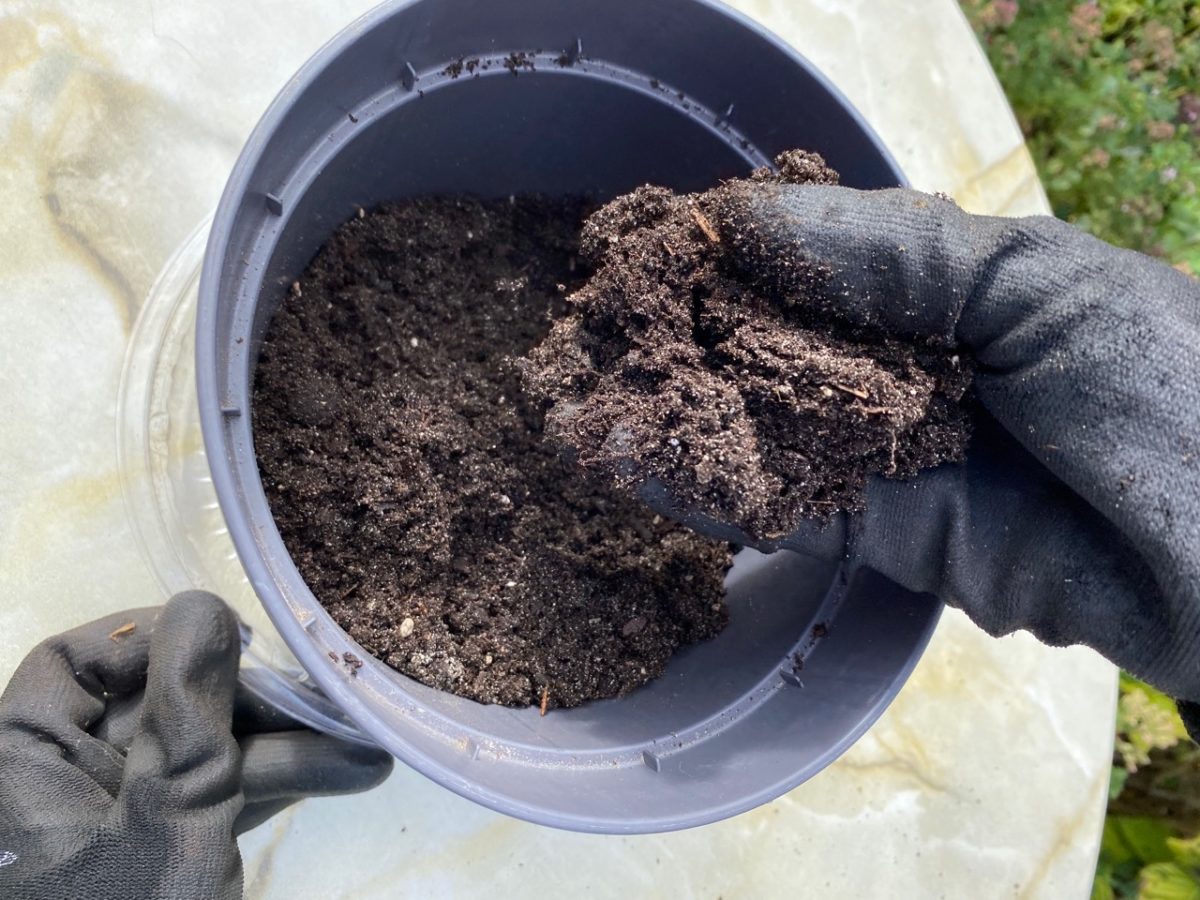
I’m using fresh garden compost and amending it with horticultural sand. I plan on leaving the pot outdoors for the first couple of months (until the really cold weather sets in), and I found that if I use just compost, the pot will hold too much moisture. Adding amendments such as sand, perlite or vermiculite will help improve soil drainage.
For practical reasons, I’m choosing to put all my cuttings into one larger flower pot. If you want to, you can give each cutting its own individual container. But putting them all in one container makes it easier for me to move the cuttings around from the sun to the shade (and vice versa) and in or out of the rain. It’s also easier for me to monitor the watering needs of a larger pot. As I mentioned before, I’m propagating many cuttings this fall, so it’s merely a logistical choice.
Also, I plan on keeping all the cuttings that do root together by planting them in one or two large clumps along a fence to create a fuller effect. If you want separate baby plants (for example, for different locations or to share with friends), you should pot them separately from the beginning. Once the roots start growing, they’ll get too tangled and this might make it too hard to separate the small plants.
Step 2: Choose and take the cutting.
You can propagate honeysuckle from softwood or semi-hardwood cuttings.
Softwood refers to this year’s new growth. It’s greener and more pliable than semi-hardwood and it’s usually easy to spot and cut in the summer.
Semi-hardwood is this year’s older growth. It has matured enough to sustain growth of its own. It’s still pliable, but it’s beginning to harden and look more like wood than like fresh vines. Semi-hardwood (some people call it “semi-ripe”) cuttings can be removed in the fall.
I prefer to propagate vines from semi-hardwood cuttings for two reasons:
- Propagating in the fall (rather than the summer) is more handy for me and for the plant. Trying to keep a prop pot adequately watered in the middle of a heatwave is not for the faint of heart. I also travel in the summer, so I’m not home to babysit new cuttings every week.
- I’ve had higher rates of success with semi-ripe cuttings. In my experience, cuttings from older vines are more robust and more likely to take root than those from young vines.
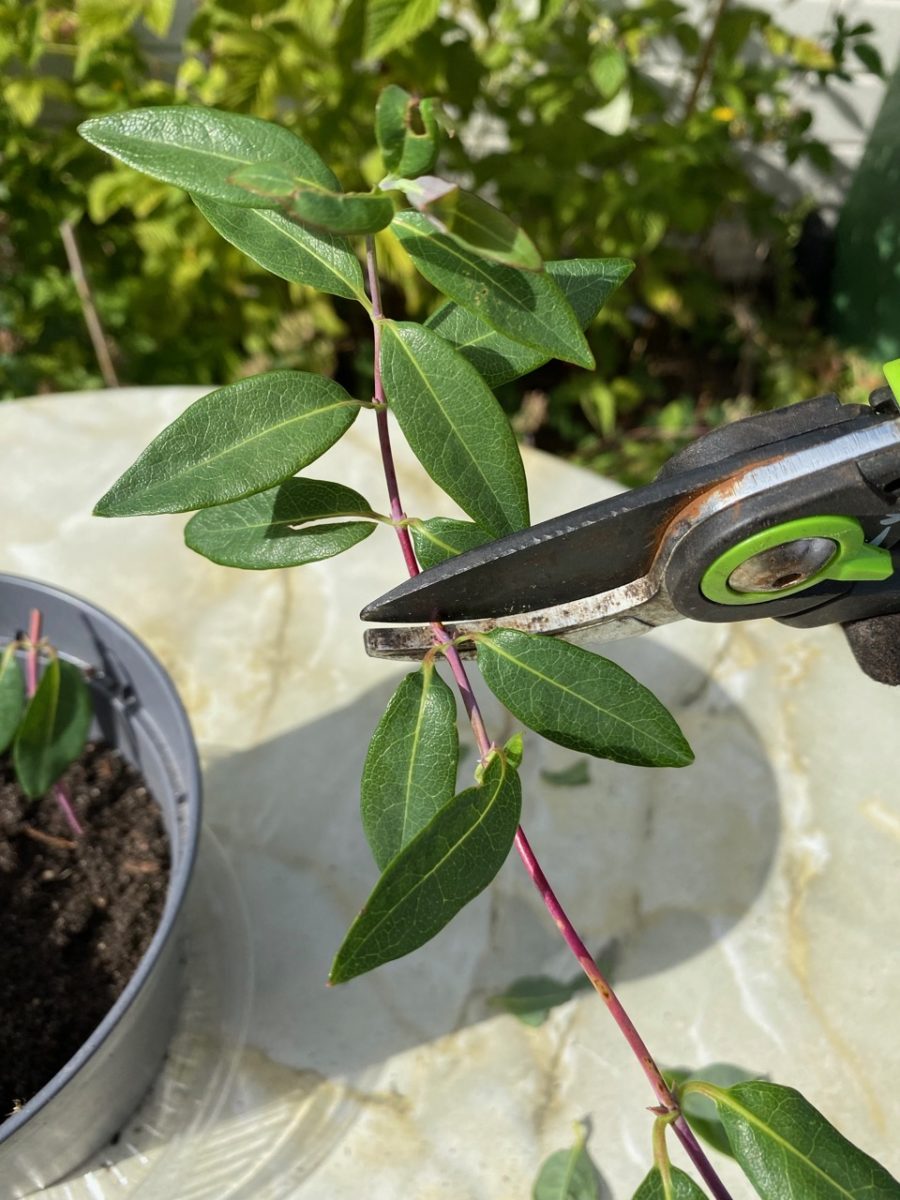
To take your cutting, simply use sharp secateurs and snip about 10 inches (roughly 25 cm) off the vine right below a leaf node. Then portion each cutting into shorter pieces around 4-5 inches long (10-12 cm).
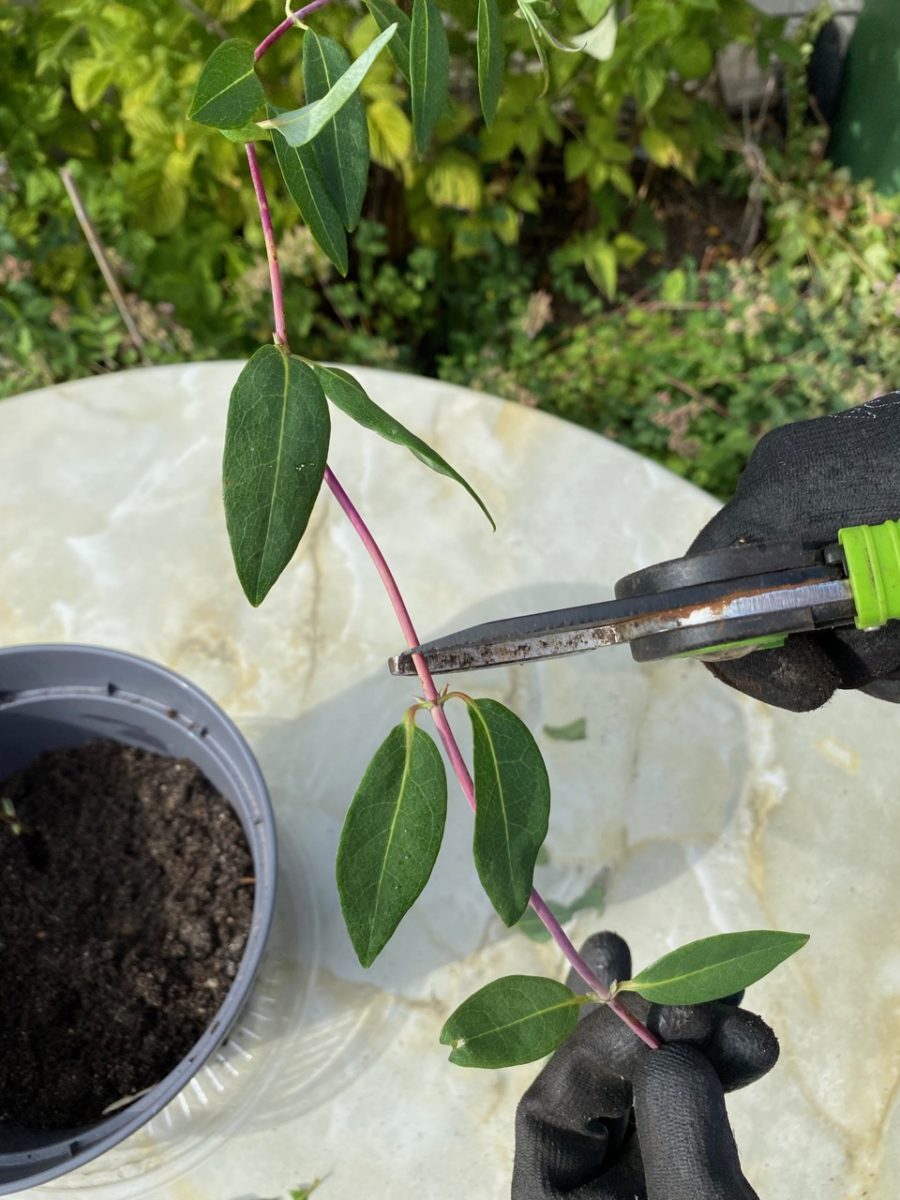
Make sure you take off stems that look plump and healthy. And to avoid disappointment, take a few extra stems than your desired results. There’s a chance that not all cuttings will grow into new plants.
Step 3: Prepare the cutting for planting.
For each individual cutting, you need to do two operations: de-leaf and score.
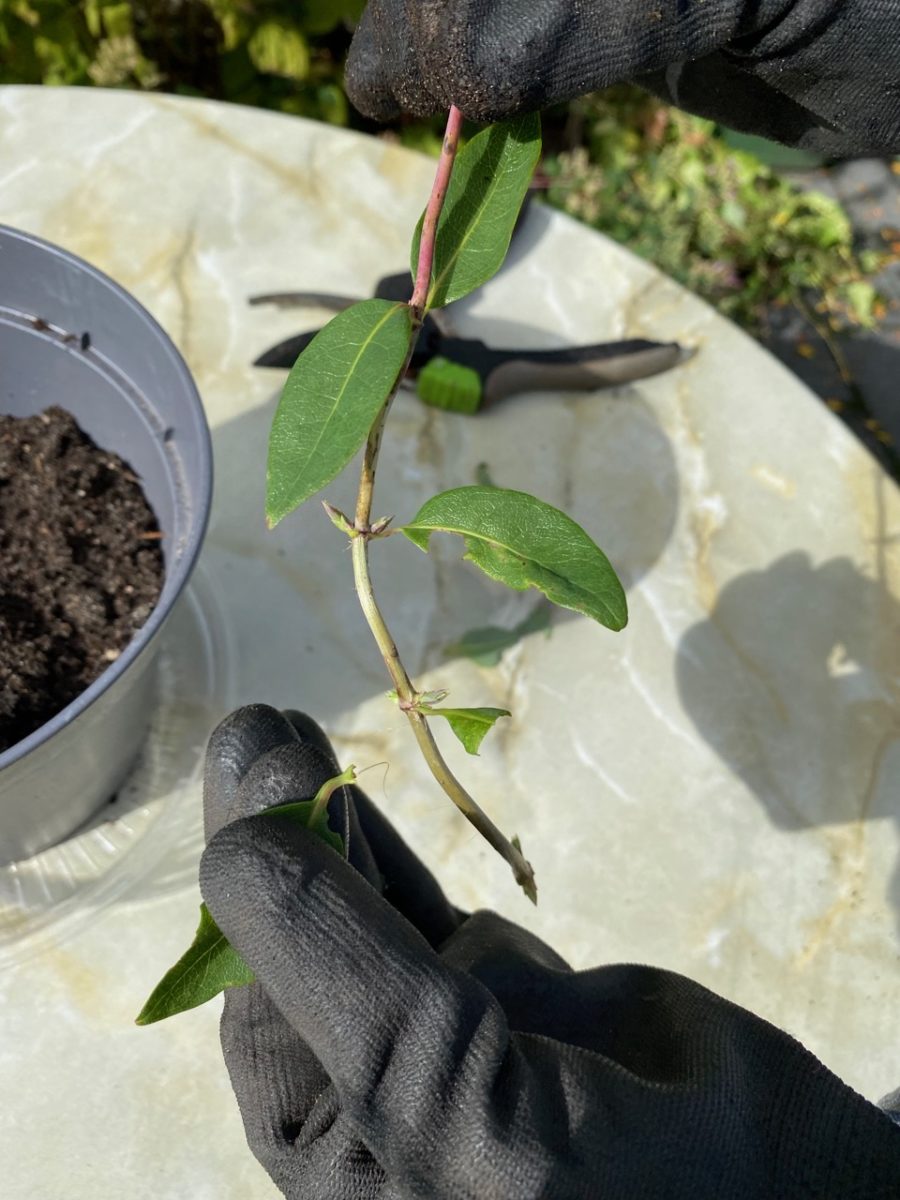
First, remove the bottom sets of leaves from each cutting. If you have longer cuttings with more sets of leaves, remove everything but the top leaves. This is the only part that will stay above soil level.
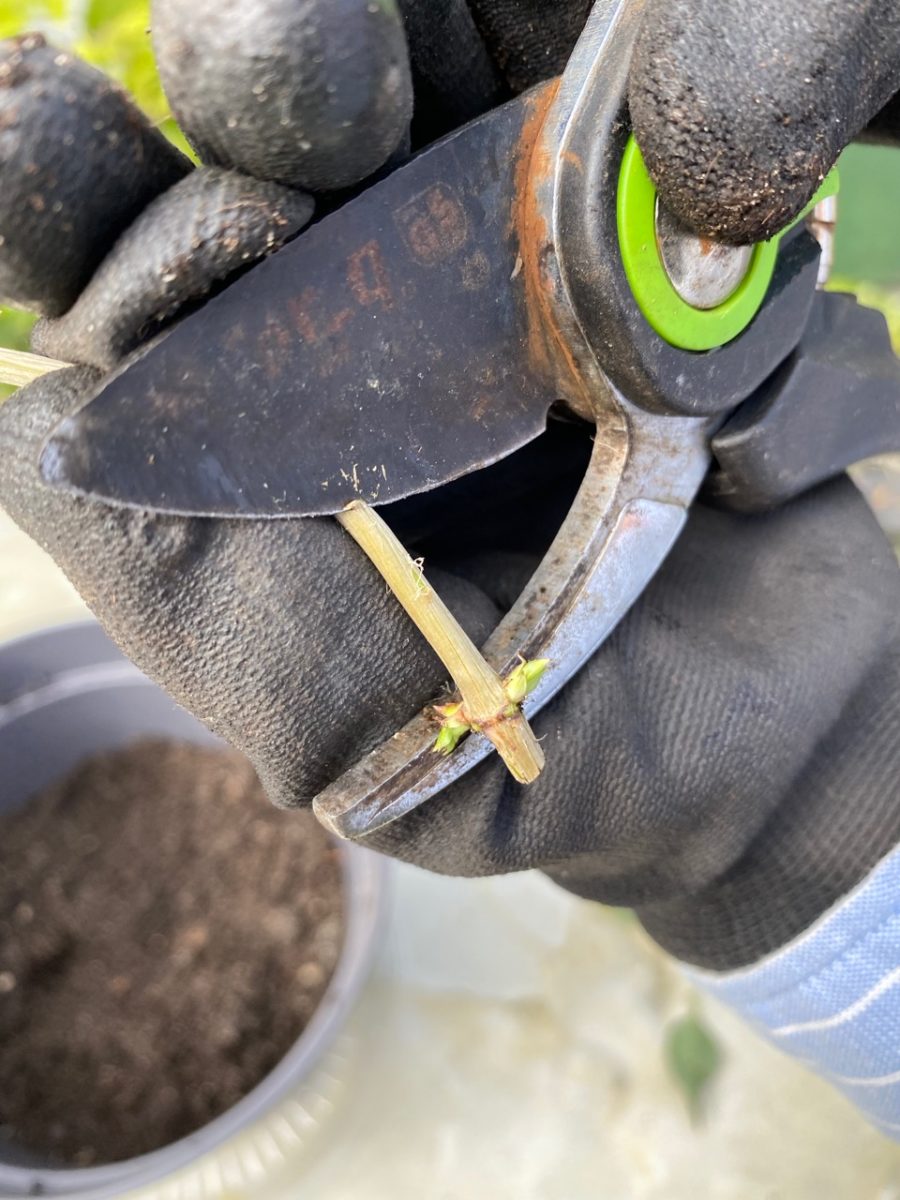
Then you’ll have to score the cuttings. Scoring simply means removing the protective bark off the stem in order to expose more of the cambium – the whitish-green layer underneath. In theory, this will open up more cells that could potentially grow into new roots.
Please make sure you’re using thick gardening gloves to protect yourself from any slip-ups as you slide the blade over the surface of the semi-hardwood stem.
At this point, you can also dip the cuttings into rooting hormone. I skipped this step because I think honeysuckle is a prolific propagator that doesn’t need extra help.
Step 4: Potting and aftercare.
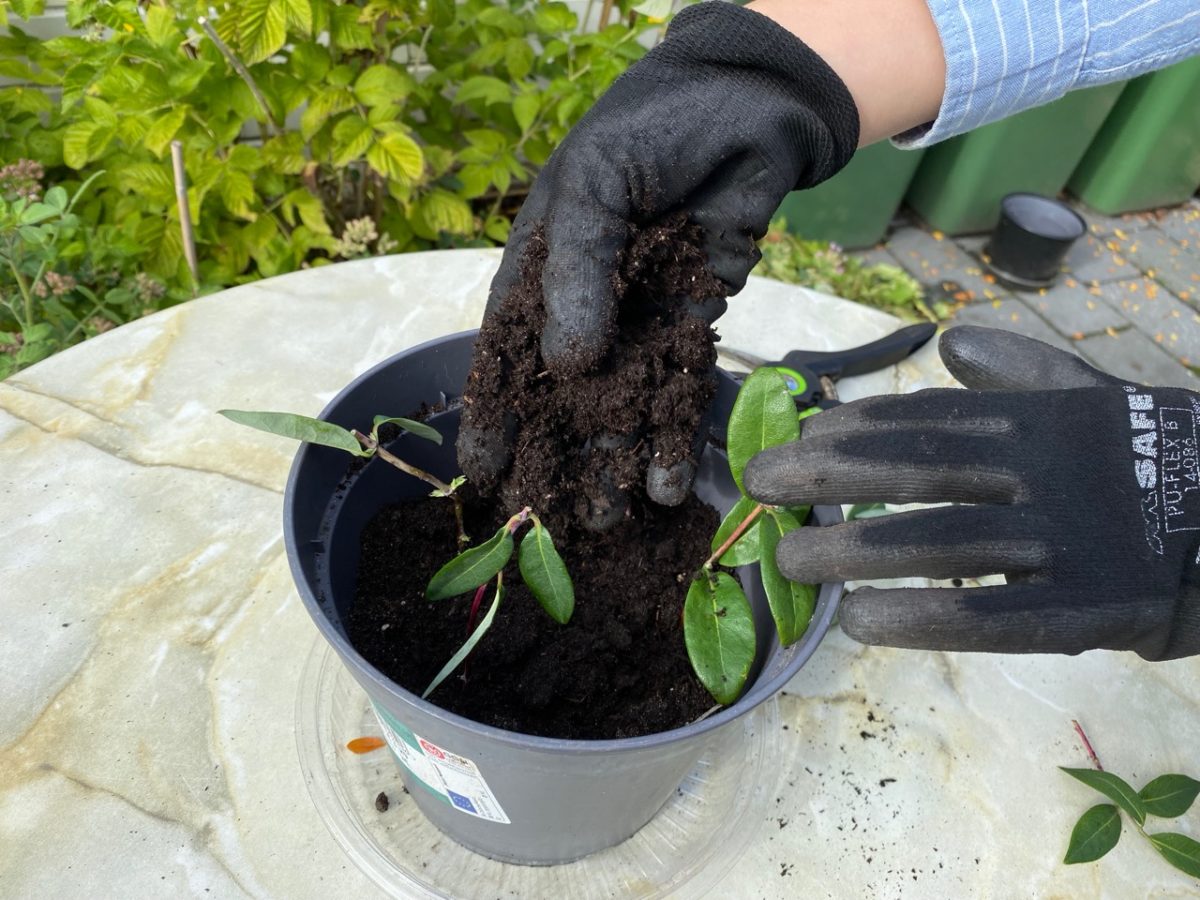
It’s time to insert the cutting into soil deep enough to cover at least one set of leaf nodes. If your container is tall enough, covering two sets of leaf nodes would be even better. Finish by topping everything up with more compost and giving it a good watering.
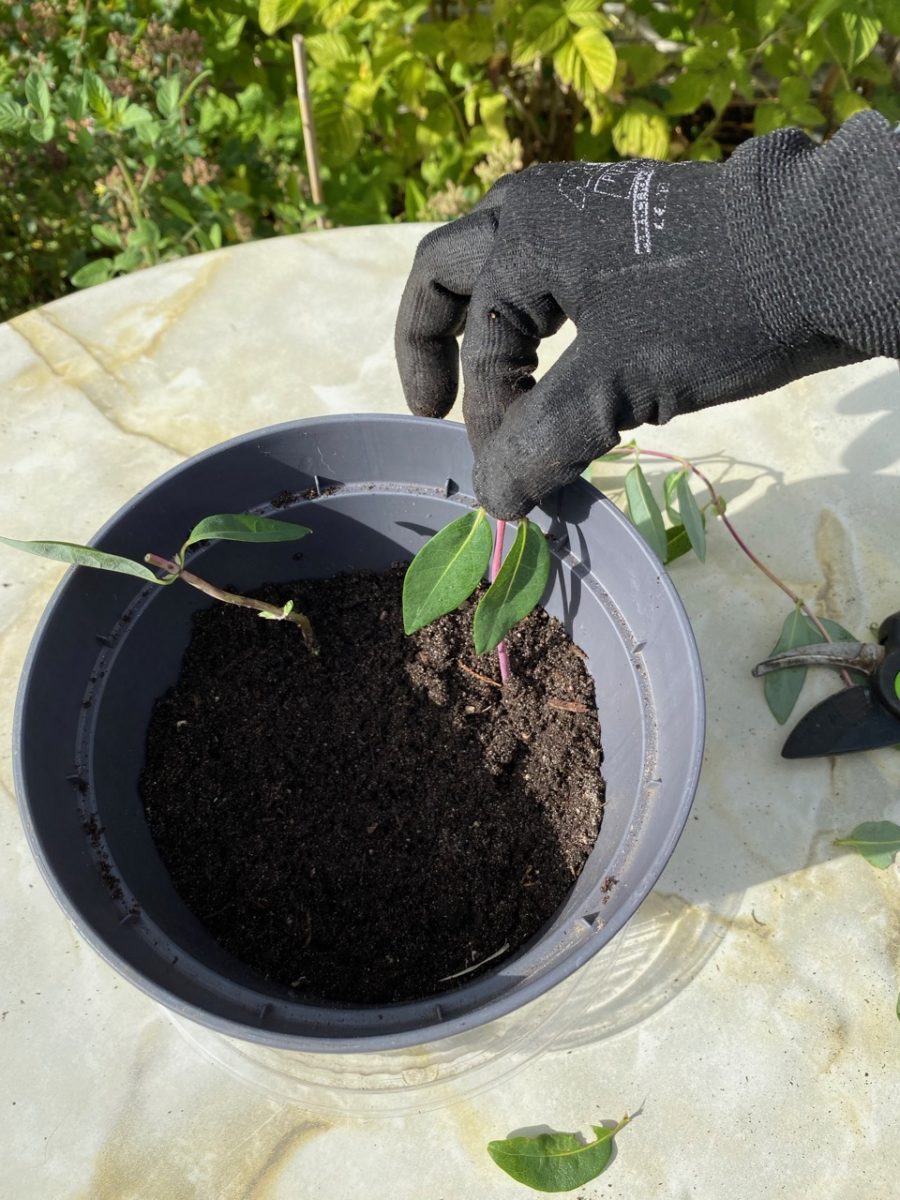
Keeping the soil slightly moist (but not waterlogged) in the first couple of months is the key to being successful at propagating most plants. Remember that your cuttings haven’t yet formed roots, so the water absorption will be slow to begin with. But the cuttings need water in order to start growing roots. So it’s important to walk that thin line between overwatering and underwatering.
If you’re propagating in the summer, you can place a gardening cloche or a plastic bag (propped up by chopsticks or short bamboo canes) on top of the pot to prevent quick evaporation due to the heat and strong sunlight.
I’m propagating this honeysuckle in the fall, so I won’t be covering the pot for now. I will move it to a sheltered location (still outdoors) if the temperature dips below freezing. It takes about one or two months for a root structure to form on a new cutting, depending on factors such as temperature, humidity and the strength of the cutting you started with.

Even though I do most of my propagation in the fall, I prefer to wait until spring before I transfer the plants to the garden. The milder spring temperatures, coupled with spring showers and more daylight, make it an easier transition for the plants.