Snake plants (Sansevieria) are the perfect beginner houseplant.
They are almost impossible to kill, tolerate a wide range of conditions, and handle a missed watering or two incredibly well. Plus, they make a stunning structural feature in any corner of your home.
As easy as they are to care for, you can run into some problems when growing these plants.
Related Reading:
Several of them are caused by a plant that is root-bound. Snake plants don’t mind being overcrowded in a pot, but they do eventually need to be repotted.
Even if they haven’t outgrown their pot, after several years, the soil quality disintegrates, requiring a top-up anyway.
Luckily, repotting your snake plant is an incredibly easy process. All you’ll need is a new pot, some homemade potting mix, and 15 minutes free time.
5 Signs Your Snake Plant Needs To Be Repotted
First, let’s make sure your snake plant really does need repotting. Repotting a plant that doesn’t need it can cause unnecessary stress. Always repot only when absolutely necessary, indicated by these few signs.
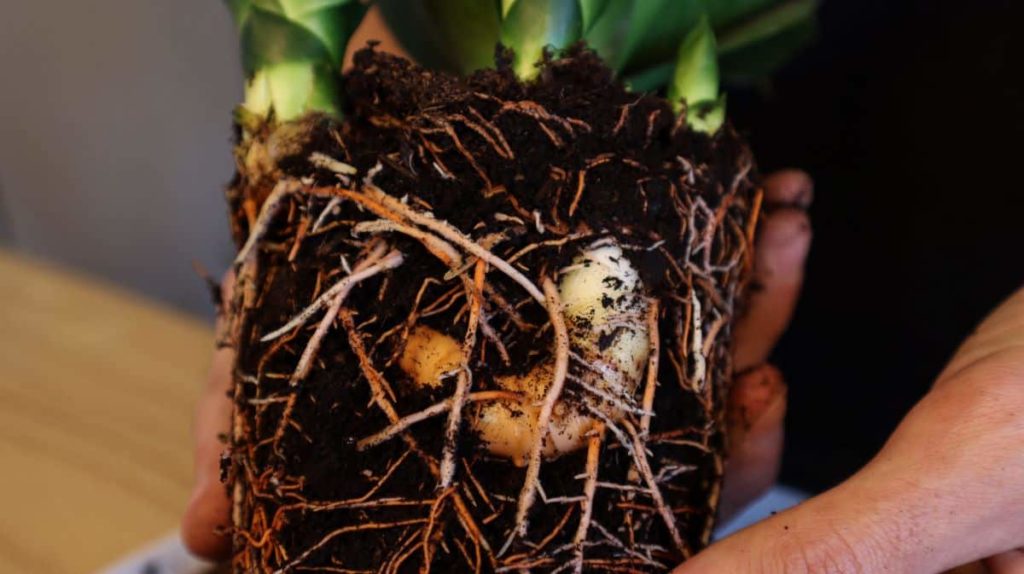
1. The roots are growing from the drainage holes
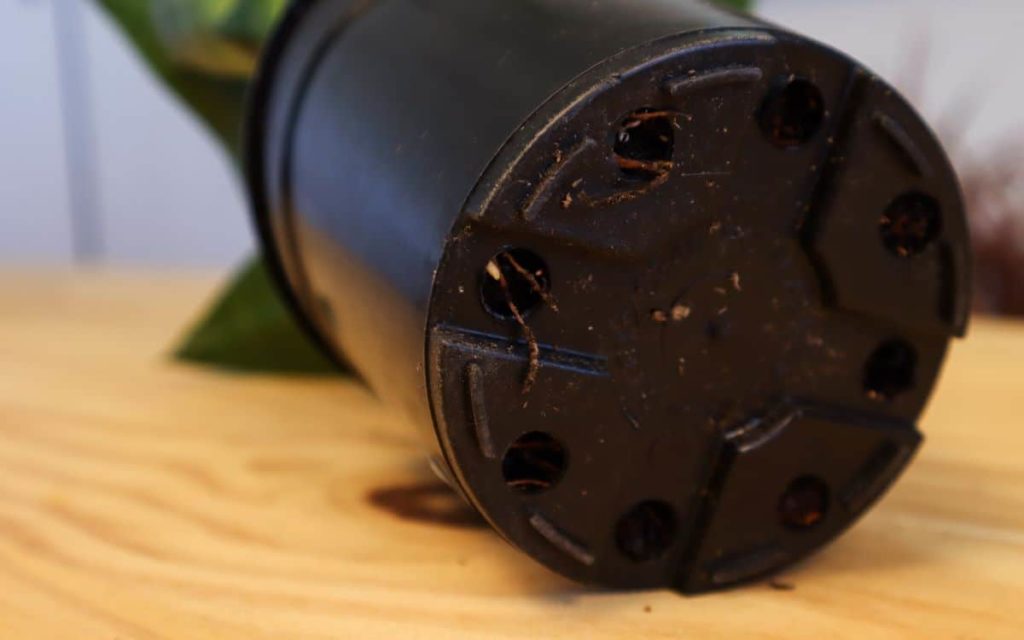
This telltale sign applies to all houseplants. If you see any roots growing out of the drainage holes, your plant definitely needs repotting.
This is a sign that the roots have nowhere else to grow, forcing them out the bottom of the pot. It is likely that most of the pot is taken up by roots at this point that have no more space to expand.
If you leave your pot in this condition, it will struggle to take up water and nutrients from the soil due to overcrowding. This will stunt the plant’s growth and will ultimately kill the plant. As soon as you see roots creeping out the drainage holes, gather your materials and get repotting.
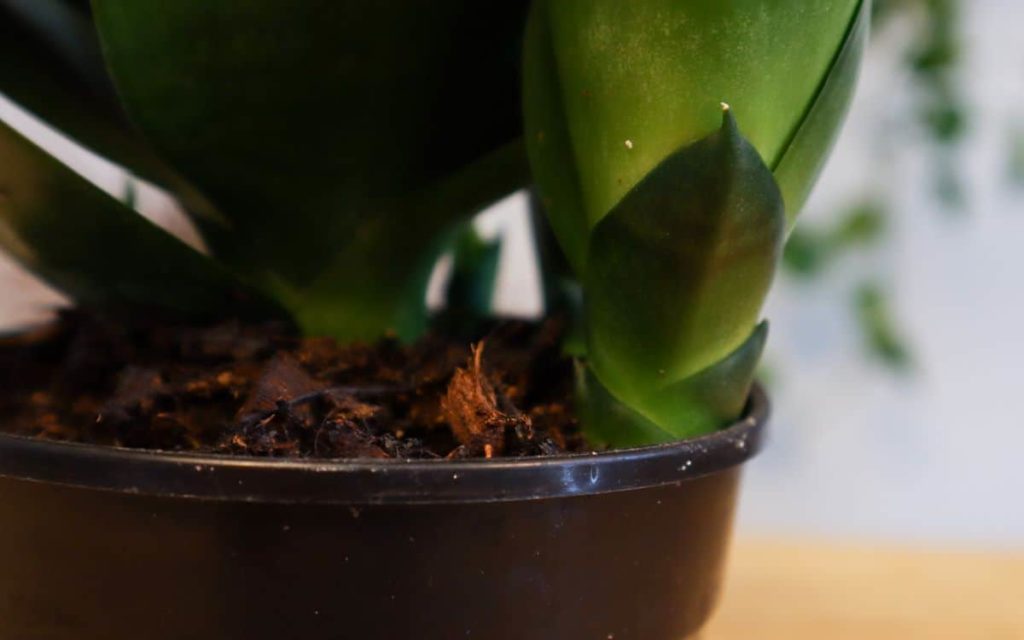
2. The soil drains too quickly
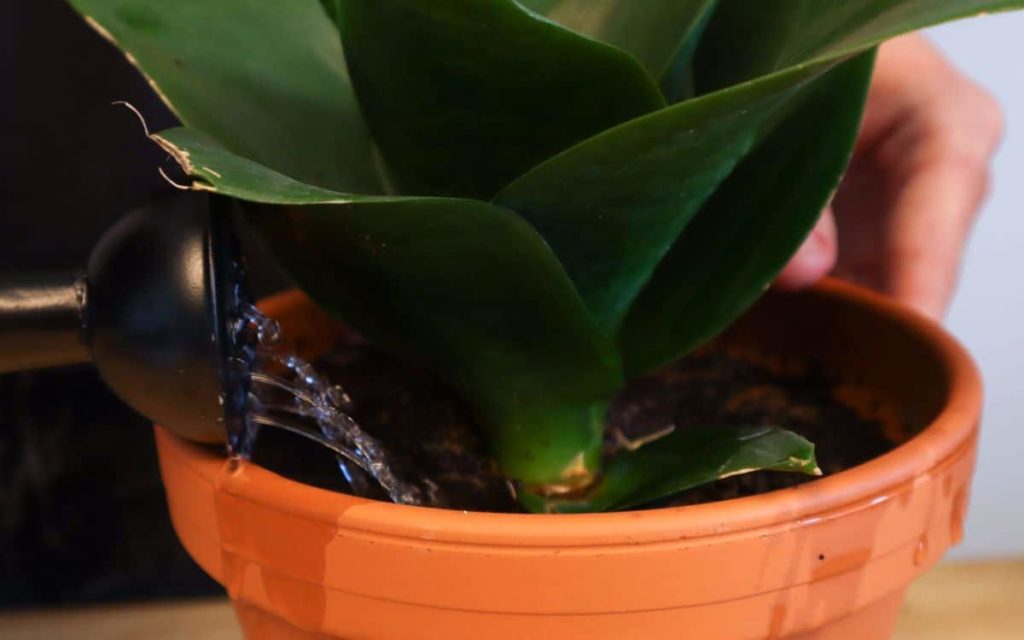
A pot that drains too quickly, where water appears to run out the bottom of the pot almost immediately rather than saturating the soil, will not produce a healthy plant. Snake plants don’t need a lot of water and thrive on neglect, but they will suffer in extended periods without it.
Water draining too quickly is a sign of poor-quality soil. Over time, with frequent watering and root growth, the soil begins to disintegrate and lose its structure. It cannot hold on to water or nutrients anymore, and thus cannot deliver it to the roots of the plant.
This can also be the case if the roots have overgrown in the pot. The roots begin to take up all the space, leaving less and less for soil. As it becomes compacted or escapes the pot, there is less soil to hold water, leaving it to run out the sides.
Even if your snake plant hasn’t necessarily outgrown its pot, this is a sign that it needs a soil refresh and would benefit from repotting.
3. The pot is cracking
In extreme conditions, the snake plant may grow so vigorously and take up so much space that it actually causes the pot it’s in to crack open. You can feel if a pot is on the verge of cracking if the rhizomes are pushing on the edges and distorting its shape.
While snake plants can handle some overcrowding, they will not be able to survive in a cracked pot. The moisture will leave the pot far too quickly and the roots will begin to spread outwards, breaking the confines of the soil. Before your plant even gets the chance to crack the pot it’s in, repot it.
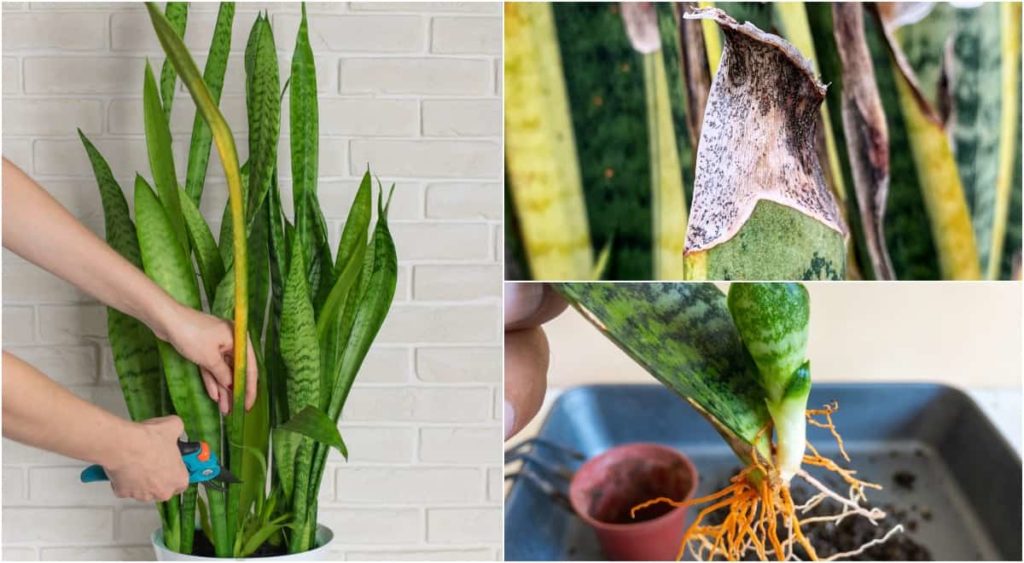
4. The plant has several pups
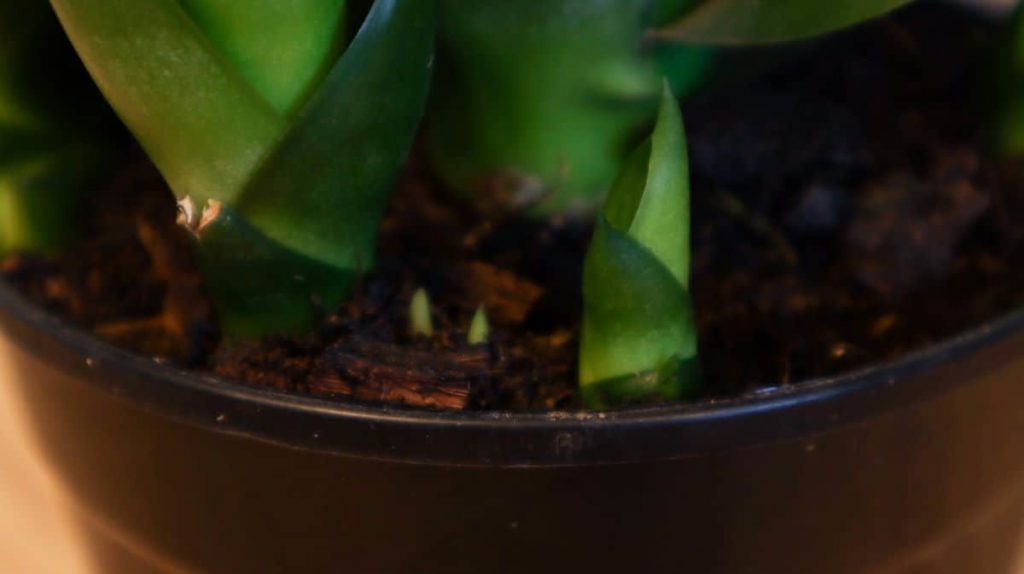
Snake plants spread by producing new shoots, also called pups, from the base of the plant. These look like tiny snake plants emerging from the soil close to the plant, connected by a rhizome. While a single pup does not necessarily mean the plant needs to be repotted, a plant with several pups will eventually grow bigger and outgrow the pot it is currently in.
If this is the case, you have the opportunity to propagate while repotting. Pups with enough roots can be removed from the parent plant with a sharp knife and repotted into individual pots to grow into even more fully-fledged plants.
Here’s a brilliant guide for propagating snake plants from pups – plus three other methods.
5. The plant keeps falling over
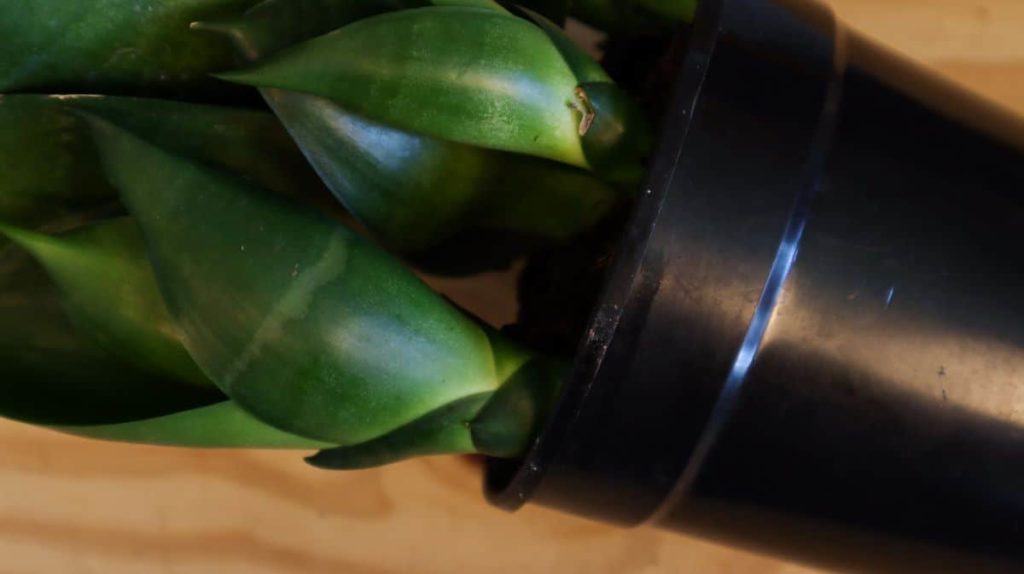
Snake plants grow tall, thick leaves and strong rhizomes that can make the plant top-heavy. This, combined with disintegrating soil, can cause the pot to continually tip over. This disturbance is not great for the plant, but it also signals you make want to give your snake plant a bit more space to grow.
As a general rule, your plant should never be more than twice the size of the pot it’s in. When repotting, choose a pot just one or two sizes up. A pot with too much extra space will hold too much water, resulting in root rot. These slow growers won’t need repotting for another few years in a pot just a few sizes bigger.
Related Reading: The Elusive Snake Plant Flower: How To Get Your Snake Plant To Bloom
How To Repot A Snake Plant – Step-By-Step
Prepare The Soil

Start by preparing the foundation of all healthy plants – soil.
Plants grown in a pot require different soil than plants out in a garden. That’s because garden soil is too dense for containers and compacts easily, holding too much water and not draining well.
Garden soil can also harbor pests and diseases that can impact your plants, or carry weed seeds that continue to germinate and steal nutrients.
You can either buy a houseplant potting mix from your local nursery, or make your own.
Making your own allows you to tailor the soil to your snake plant’s needs, which can be quite particular in comparison to other houseplants.
Snake plants have similar leaves to succulents in that they hold a lot of water. This is why they can tolerate a missed watering or two, but also requires that they have very well-draining soil.
These plants are very susceptible to root rot, and excess water will ultimately damage the roots and the leaves, causing them to droop and become mushy.
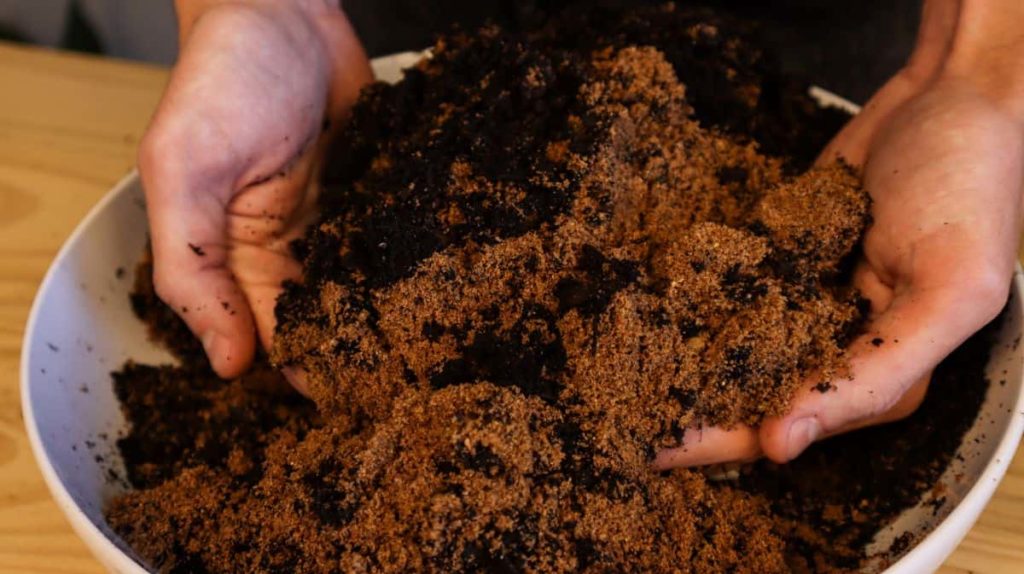
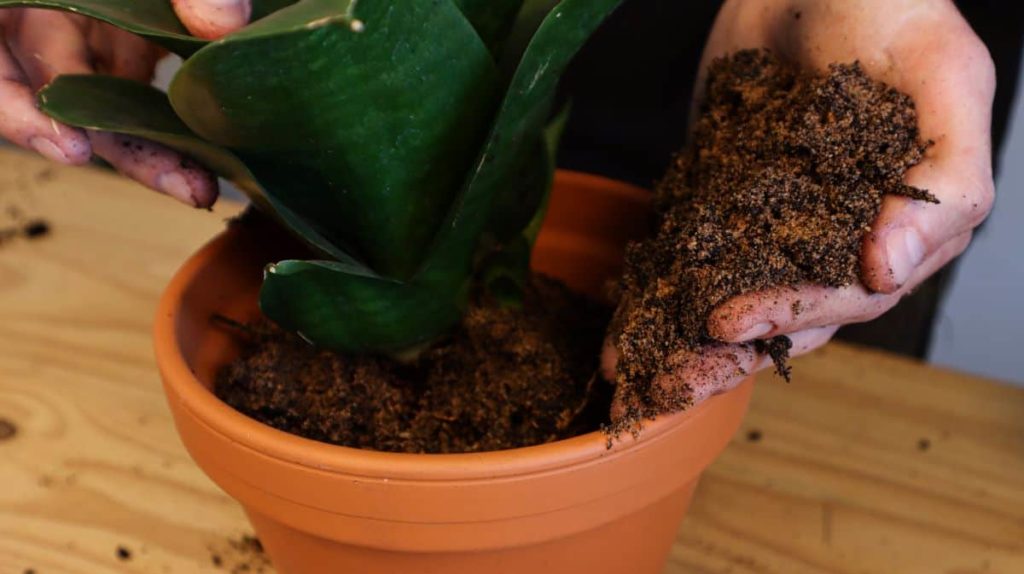
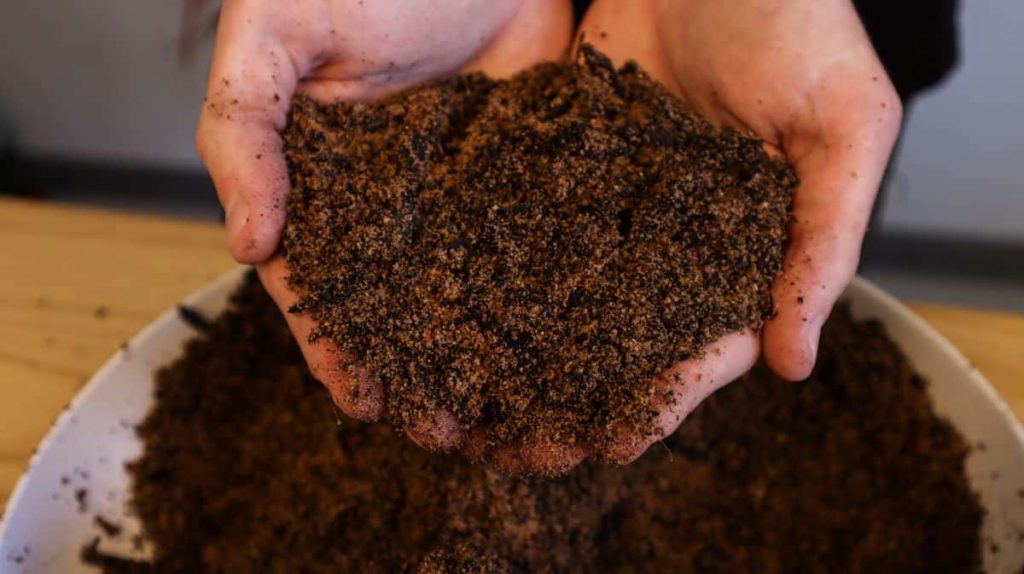
The ideal soil for snake plants is coarse and very well-draining.
To make your own mix, combine half of a high-quality standard potting mix with half river sand. This greatly improves drainage and better replicates the conditions snake plants prefer.
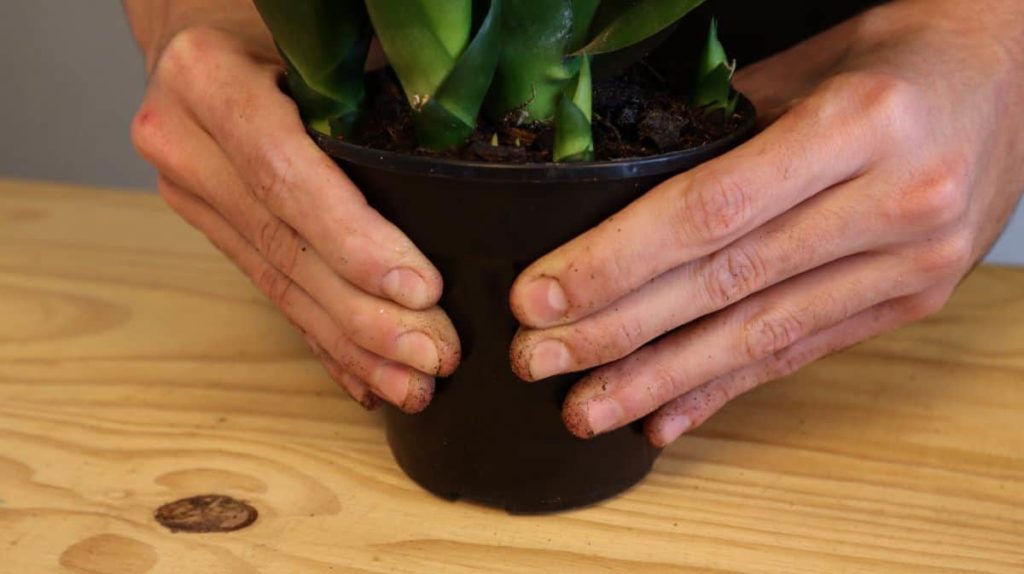
Remove The Plant
With the soil set aside, you can focus on the plant. Before removing, squeeze the sides of the pot (if it hasn’t cracked already) to release the soil from the sides.
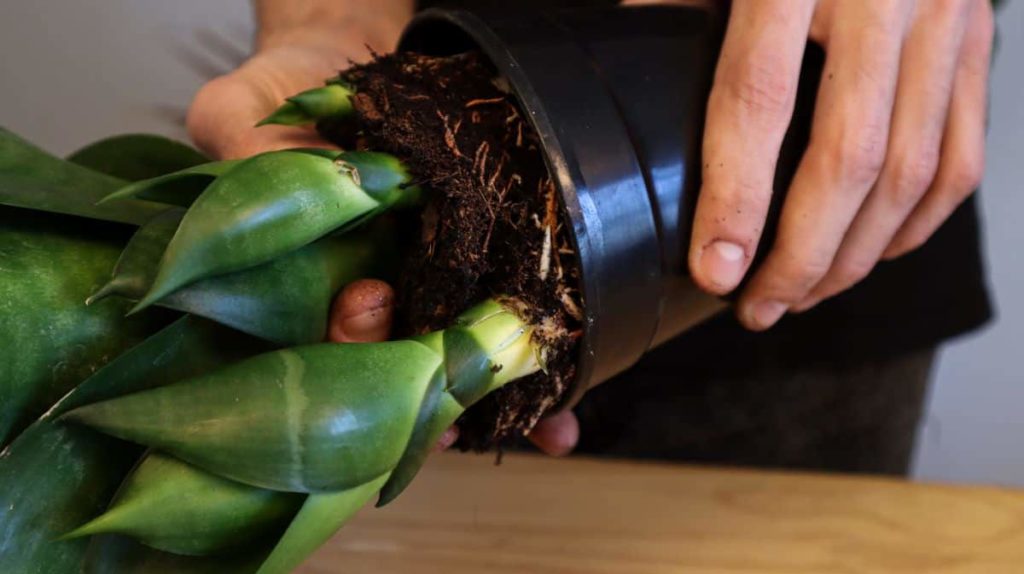
It’s best not to water your plant for several days before starting to make this process of removal far smoother.
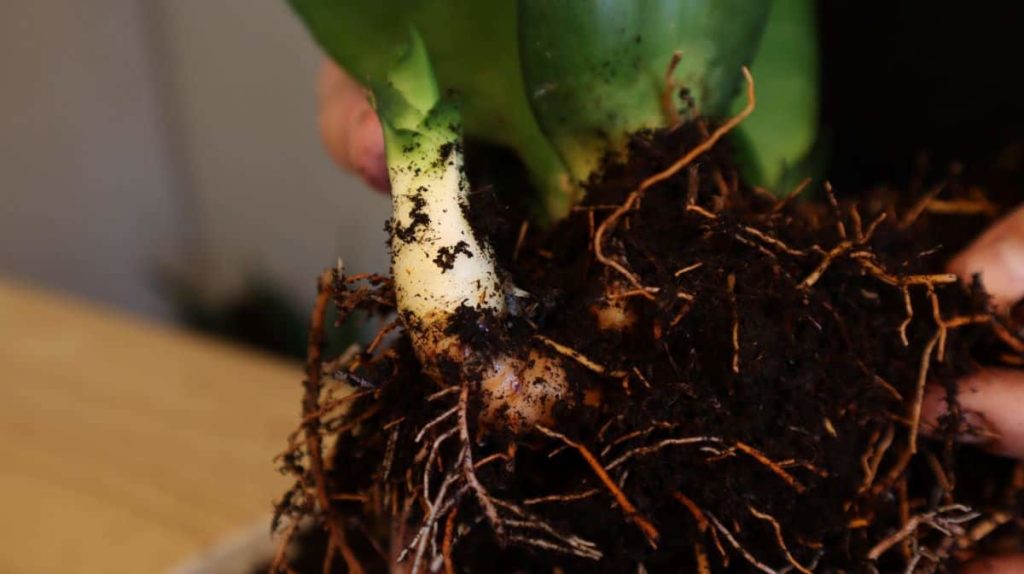
Then, turn the plant upside down and slowly pull it out of the pot. If the soil quality is not great, you can shake off any soil still clinging to the roots now to give it a fresh start.
If you notice any bacterial or fungal signs in the soil once pulled, remove it completely and wash the roots with water to get rid of any residue.

Cut Off Any Pups
Once the roots are visible, you should be able to see the rhizomes of any pups ready for propagation.
If there aren’t too many, you can leave them on the plant if you’d like, but they will eventually grow into full plants that will overcrowd the pot sooner or later, necessitating another repotting. Plus, this gives you the chance to grow even more snake plants. It’s a win-win.
Ensure the rhizomes are clearly visible and the roots are completely cleaned. Then, cut through the rhizome with a very sharp knife, making as clean a cut as possible.
Each section should have enough roots to be able to establish itself alone. If the pups do not have enough roots, leave them on the plant to grow further before removing them.
A pup without roots will not establish and still needs to gather nutrients from the parent plant to grow successfully.

Separate each pup from the parent plant. Keep all the divisions aside to be planted into new pots at the same time.
Fill The Pot
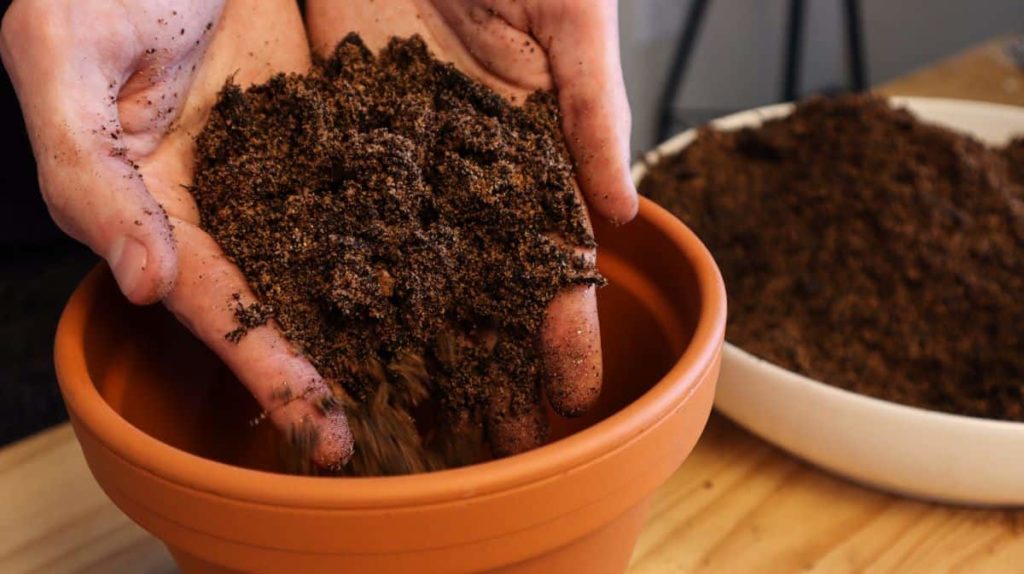
Fill the pot about 1/3 with your soil mixture. If the drainage holes of the pot are large, you can cover the bottom with a layer of pebbles before starting to prevent the soil from falling out of the bottom.
Do not compact the soil before planting – it should be as light and airy as possible.
Replant
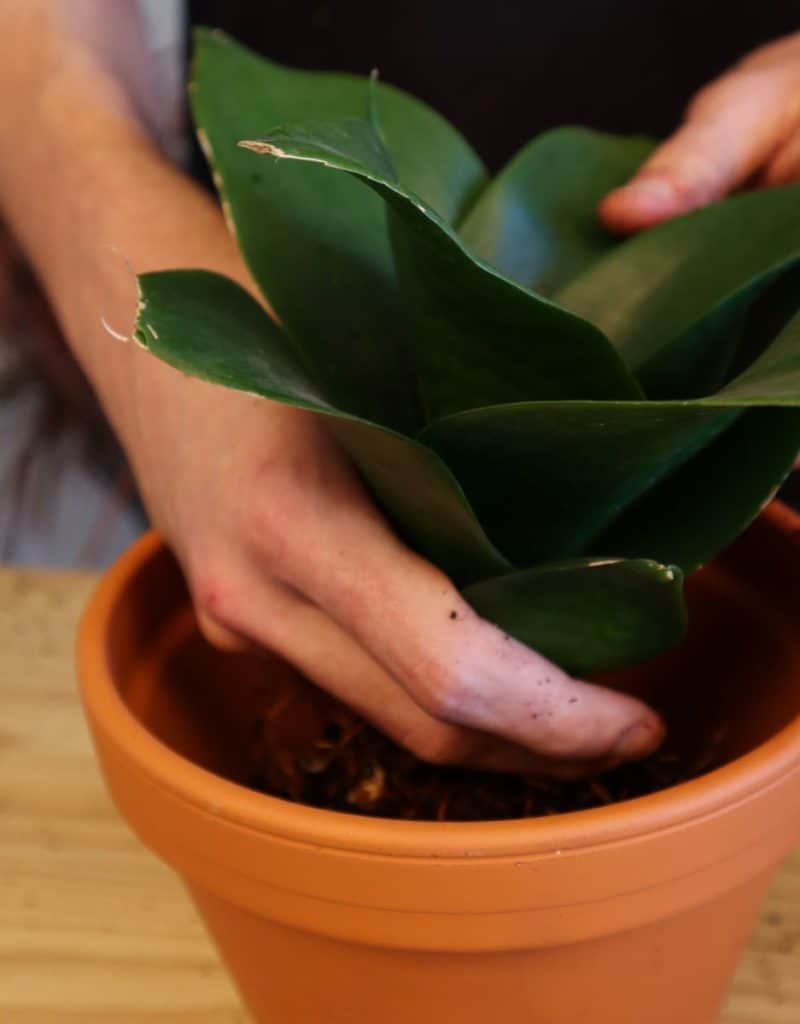
Place the plant in the center of the pot on top of the bottom layer of soil. Holding it in place, fill around the roots with extra mix until it is filled to a few inches below the top. The soil should not cover the crown of the plant that can rot if left in moist soil.
Once filled, gently press down on the top layer of soil. This secures the plant in place and gets rid of any large air pockets in the pot.
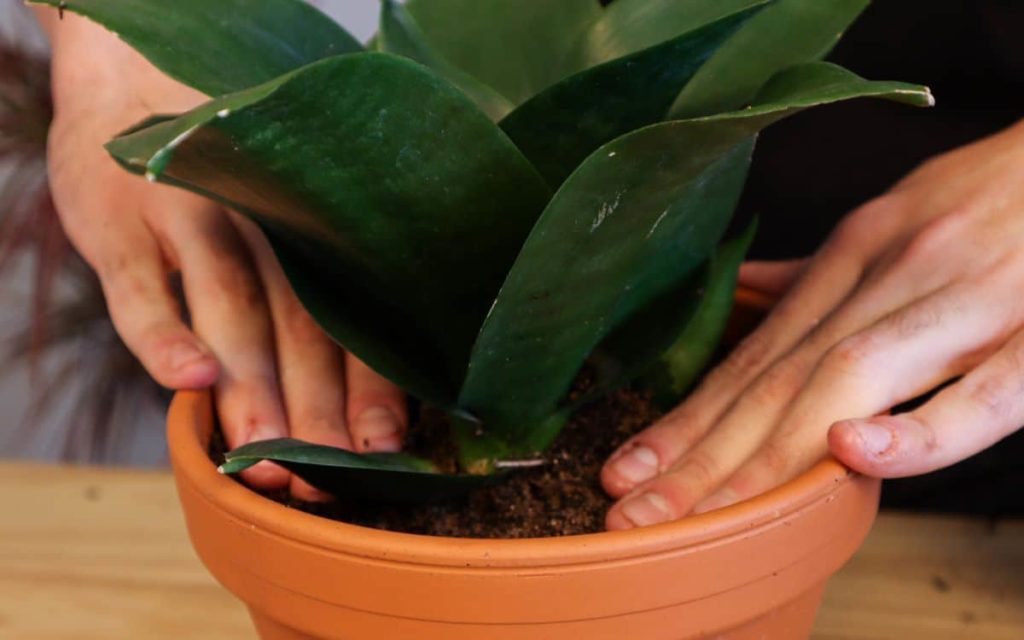
Water thoroughly immediately after planting to encourage the roots to grow. This will also prevent shock as roots do not like to be exposed to the air and dried for long periods of time.
Place the plant back in its home in bright indirect sunlight to enjoy its new pot for the next couple of years.