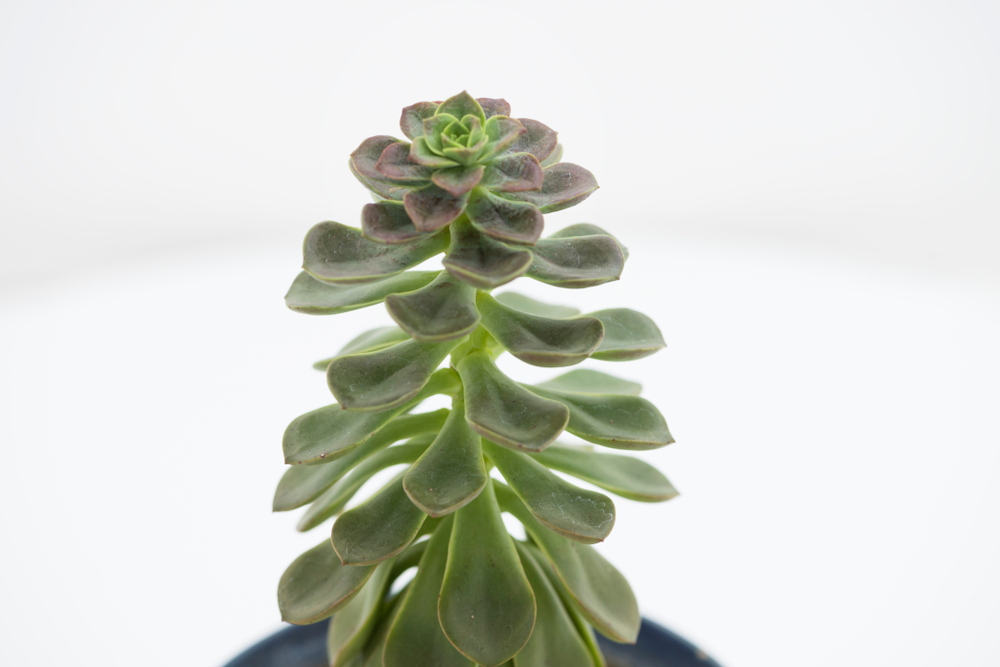
Succulents are beloved around the world for their geometric patterns and compact shapes. Thanks to their interesting look, this fascinating group of plants has been adopted by houseplant lovers everywhere looking for an alternative to the tropical leafy usuals commonly grown indoors.
Unfortunately, succulents are not ideal plants for indoor growth. Our indoor environments are not closely matched to their sunny, hot and dry native habitats. This mismatch leads to a number of problems when growing succulents as houseplants, including stretching.
Leggy succulents are a common problem with a simple fix – propagation.
There are also a couple of ways to prevent stretching in future, making sure your plant remains as compact and plump as the day you bought it.
Why Do Succulents Stretch?
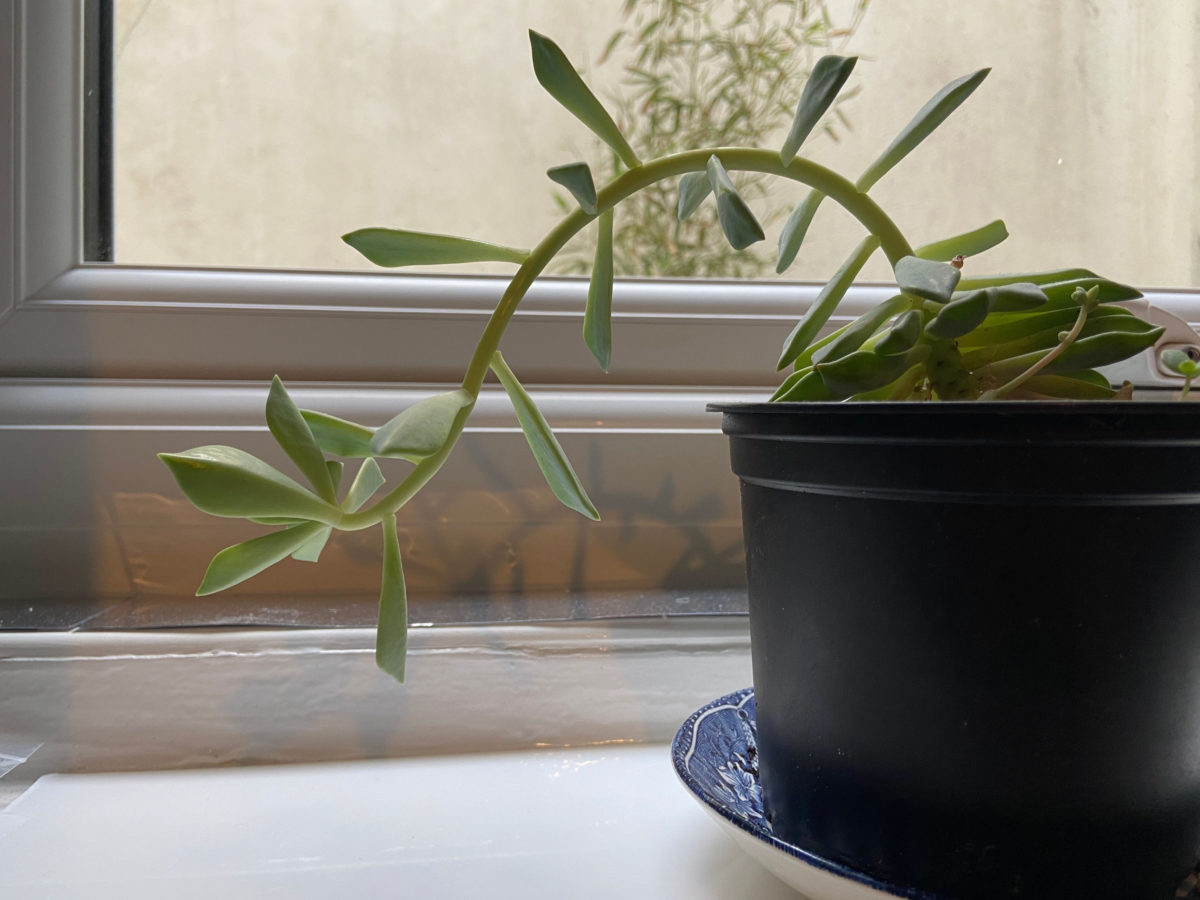
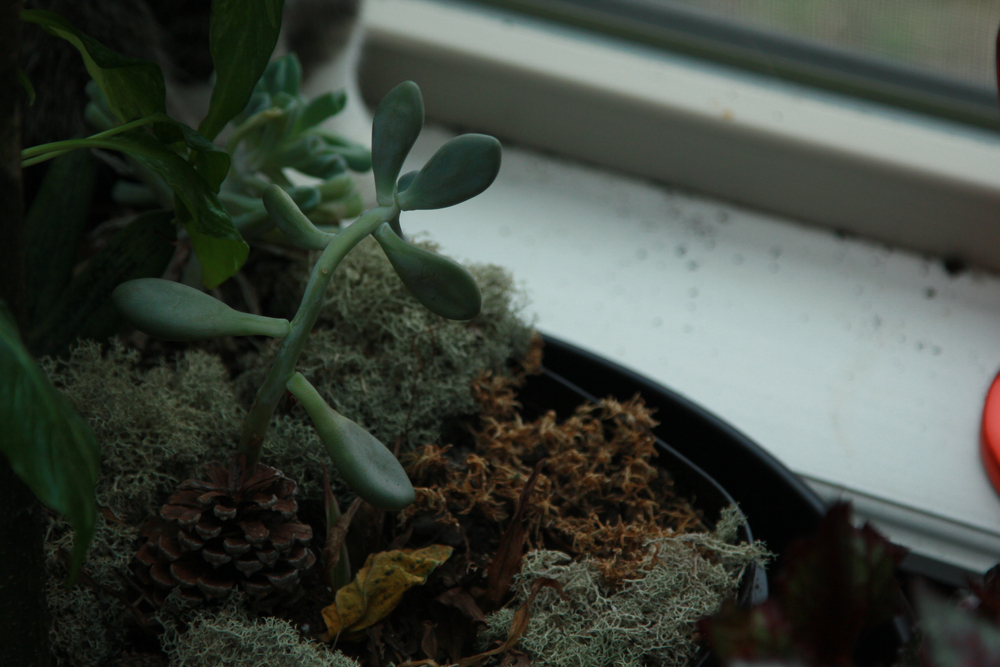
The process of stretching in succulents is known as etiolation. This occurs when your compact plant does not get enough sunlight to grow efficiently.
Rather than shriveling up and dying off, your plant will go into survival mode in low-light areas. Sensing the nearest and strongest light source, spaces between the leaves will begin to stretch out in search of direct sun. The leaves will become smaller and diminish along the stem as it reaches for more sunlight.
Unfortunately, there is no way for this growth to return to normal once it occurs. Moving it to a sunnier spot will not shorten the length of the existing stems. Instead, follow these steps to rectify growth by propagating.
How To Fix Leggy Succulents
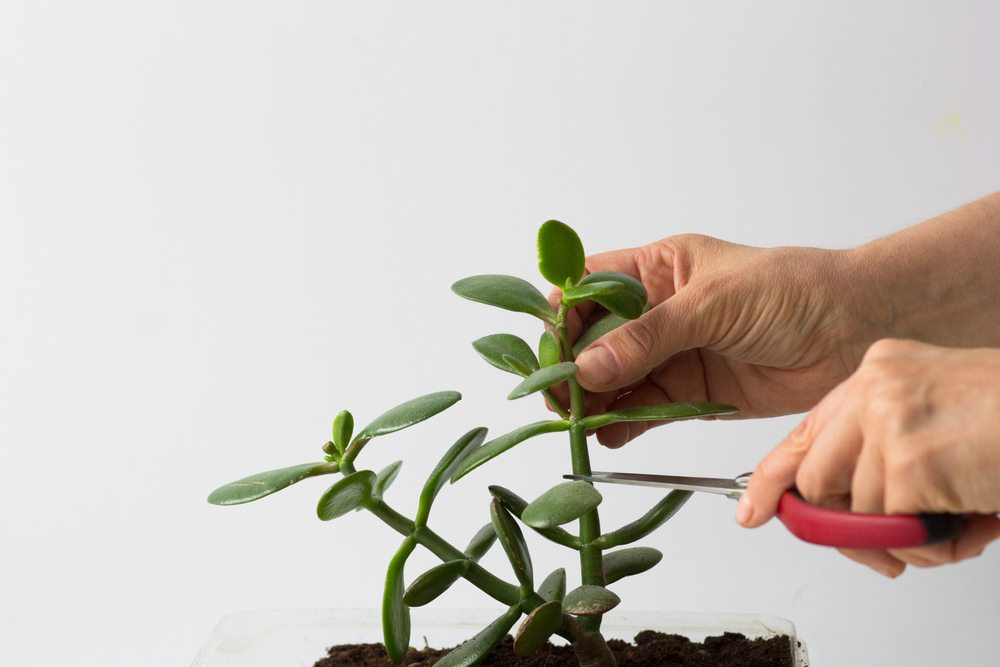
Remove The Top
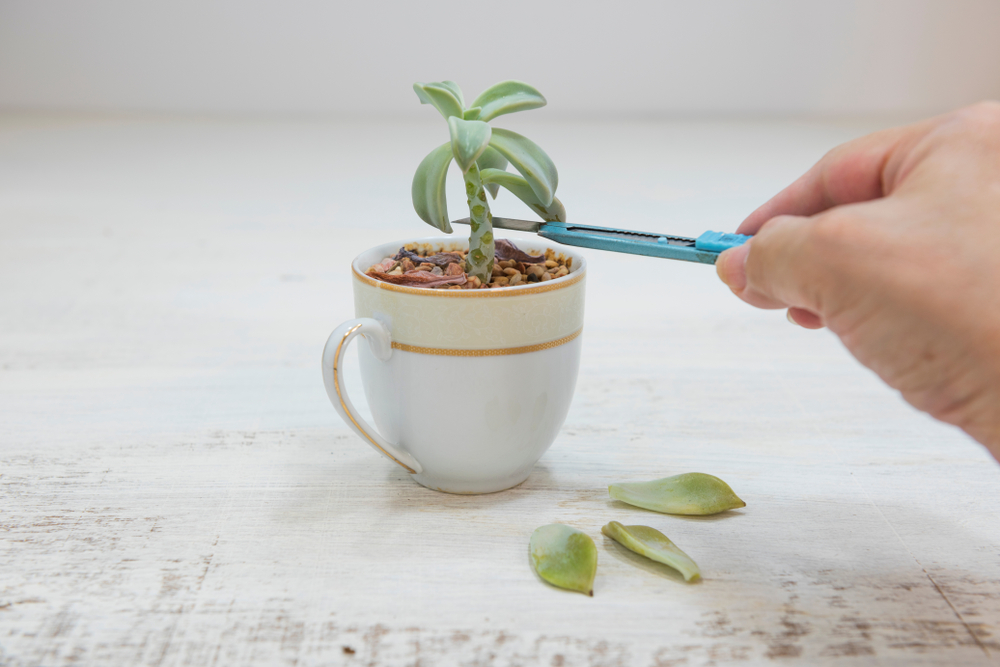
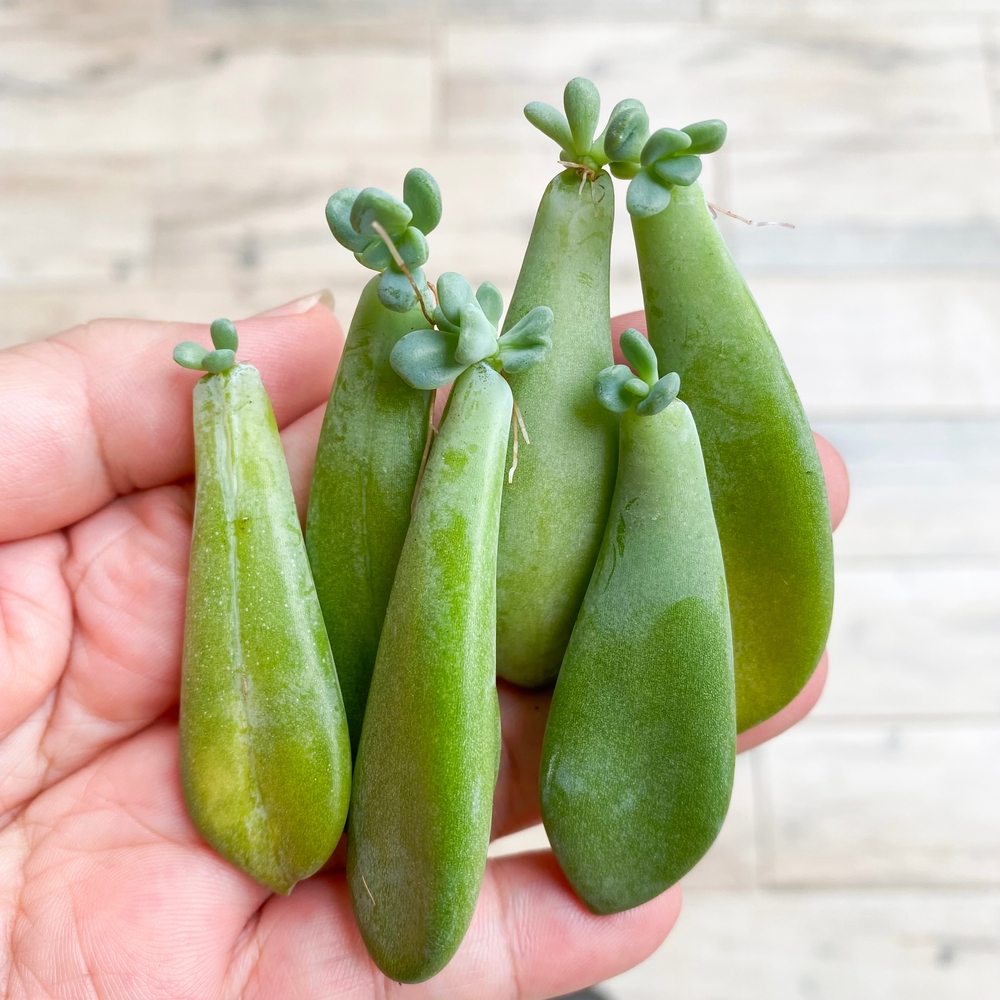
As dramatic as it may seem to go chopping up your succulent, it is the only way to make sure the new growth is compact and strong. Succulents are resilient plants that can root just about anywhere (except wet soil), so you should have no trouble getting cuttings of the plant to root and grow again.
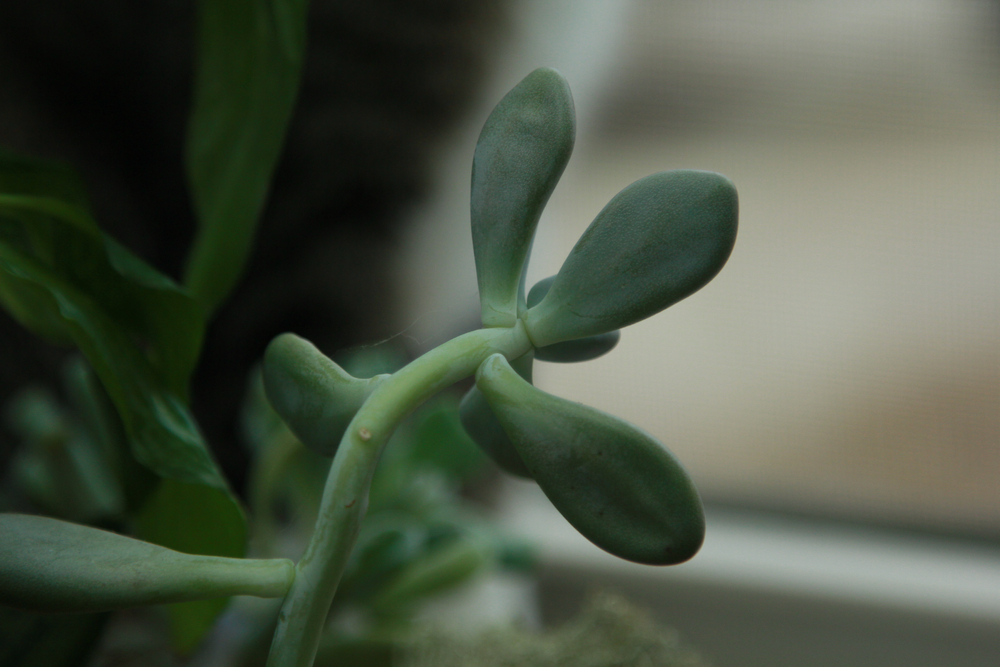
Grab a sharp pair of pruning shears and make sure they have been recently cleaned to avoid transferring any diseases. Then, trim the top off the succulent, leaving a little piece of stem at the base to anchor into the soil. This top growth should be the most compact with a couple of leaves, giving it strong chances of rooting quickly.
Set it aside and take a look at the rest of the stem. You can either continue taking stem cuttings down the plant, keeping a couple of leaves on each compact cutting, or you can remove the leaves individually.
Remove Lower Healthy Leaves
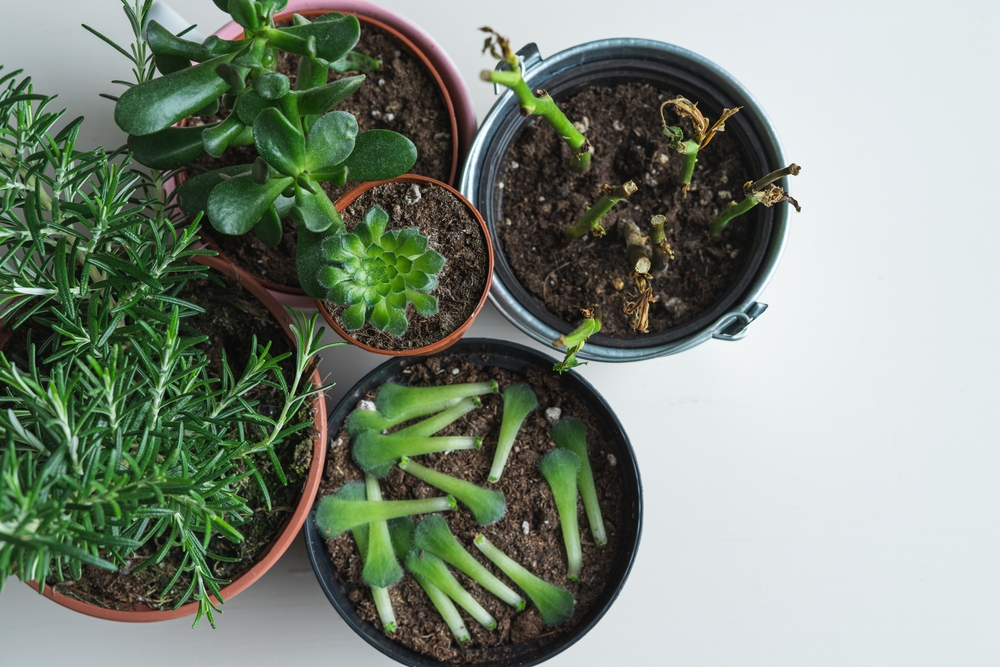
Removing the leaves to propagate will yield the most plants at one go – as long as those leaves are healthy and disease free. Leaf cuttings also develop brand new plants at their base, giving you a stronger chance of healthy growth than if you used a thin and scraggly stem cutting.
When removing the leaves, peel them off the stem to include the node, avoiding any damage. If you split the leaf or snap it off in the wrong place, simply discard and move on to the next one. You only need a couple of strong leaves to propagate new, healthy plants.
Leave To Dry
Once you’ve removed the top and single leaves or stem cuttings, place them on a piece of newspaper and leave them to callous in a dry place. Once the ends seal over, the cutting will be far less likely to rot with exposure to moisture.
While you can plant them straight away, the risk of rotting is high, so waiting a couple of days is recommended.
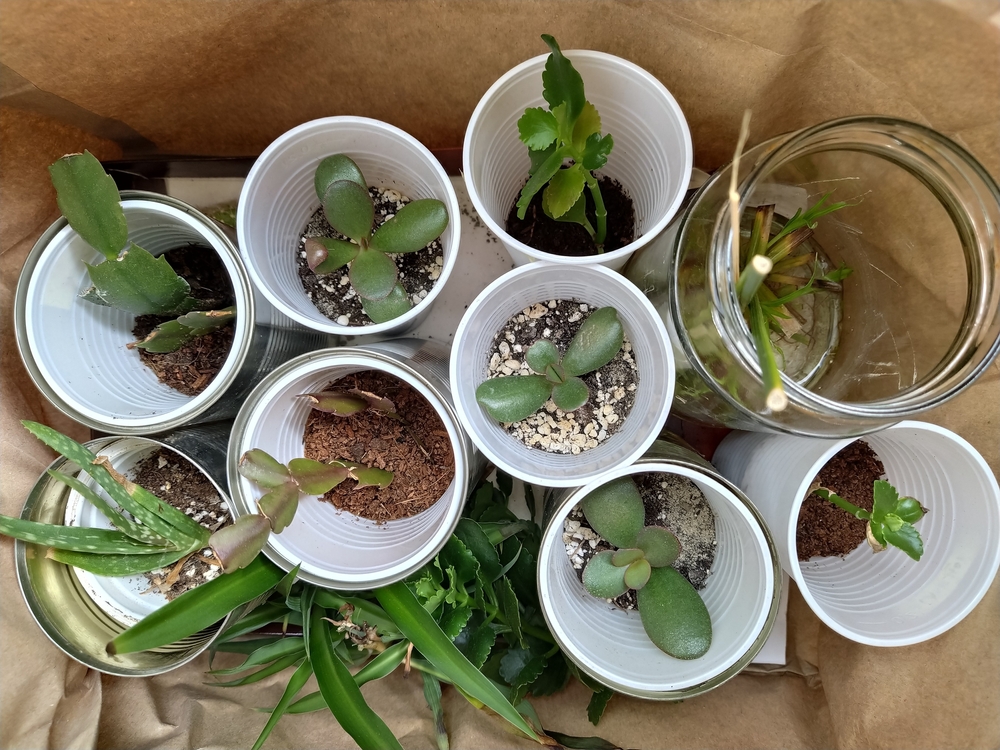
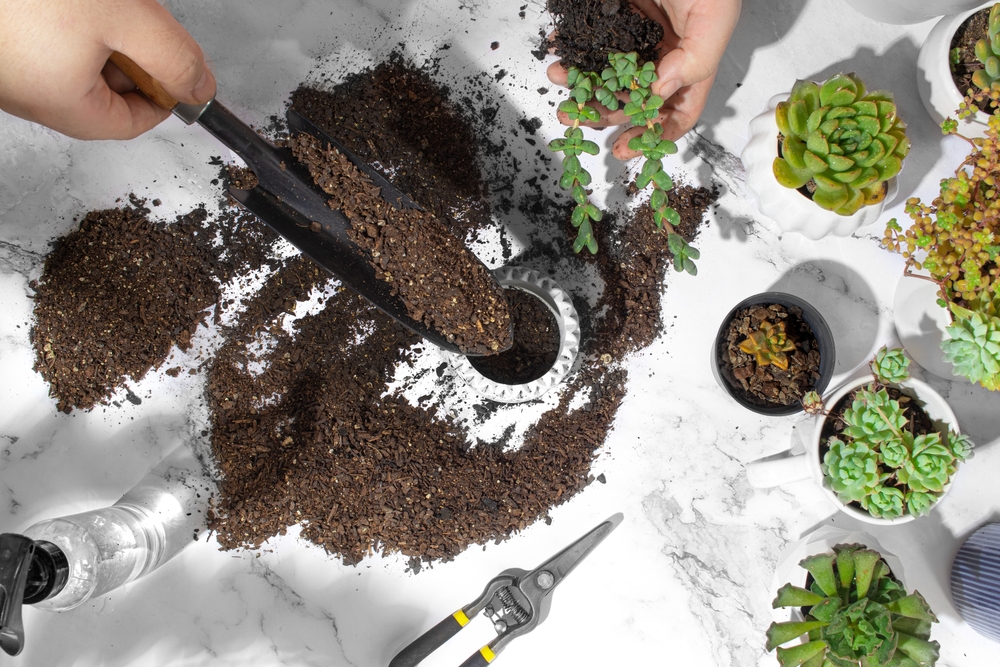
Prepare The Soil Mix

When your cuttings are ready to plant, start by preparing a soil mix. Standard succulent and cacti potting mix, such as this one, will have the perfect consistency to drain well and prevent rotting. You can also amend potting soil with high amounts of sand and bark to create the gritty texture these plants love.
Fill a small pot with your chosen mix to prepare for planting. If you have multiple stem cuttings, prepare a small pot for each one. When planting individual leaves, seed trays or large shallow containers work best. No matter what option you choose, ensure your container has plenty of drainage to prevent waterlogging.
Replant The Cuttings
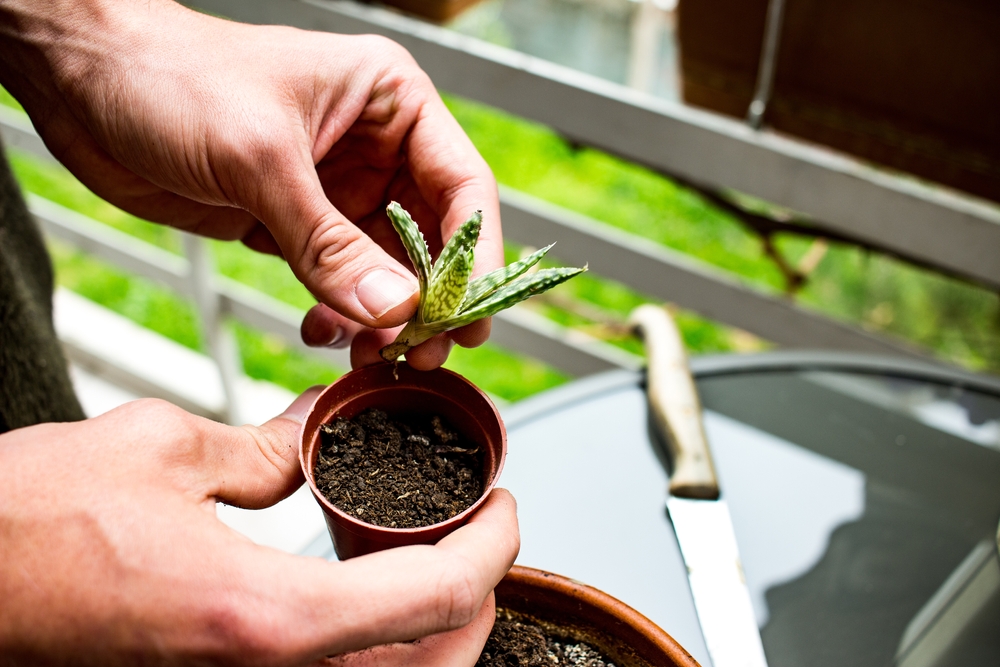
The next step is by far the easiest – simply pop the cuttings on top of the soil. You can bury the stem of the top slightly to anchor it in, or simply lay it on top of the soil.
The same goes for individual stem cuttings. They don’t need to be buried very far to produce roots. As long as they have contact with the soil and won’t be jostled with wind, they should root with no problems.
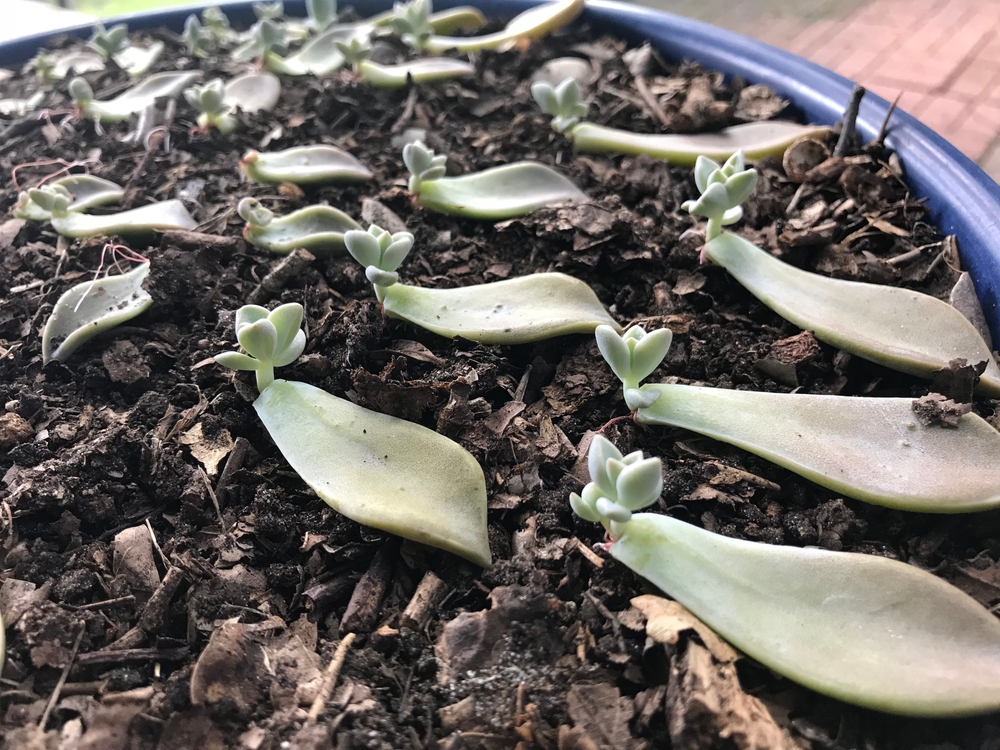
The leaves should not be buried at all. Lay them on top of the soil on their sides to allow the root growth to travel downwards. Eventually, this main leaf will shrivel and die off, making way for a small plantlet to appear at the base.
Moisten The Soil
To encourage root growth, you can moisten the soil slightly after planting. This is best done with a spray bottle to add slightly moisture, rather than keeping the soil wet for long periods. Avoid wetting the leaves if possible, preventing chances of rot.
Alternatively, you can moisten the soil before planting, leaving the excess to drain through the drainage holes. This stops any water from getting trapped in between the leaves, preventing rotting.
Wait For New Growth
Move your containers or trays to a warm and bright spot and simply wait for new growth to appear. It will take a couple of weeks, but you will soon notice growth developing at the base of the single leaves.
For the top, it may be harder to tell when new growth has developed. If you want to check on root growth, simply pull on the stem gently. Any resistance indicates the plant has anchored into the soil successfully.
Transplant
The top can stay in the same container to grow until it appears to need more pot space. But, if you’ve planted individual leaves together, they will eventually need to be transplanted to grow on their own.
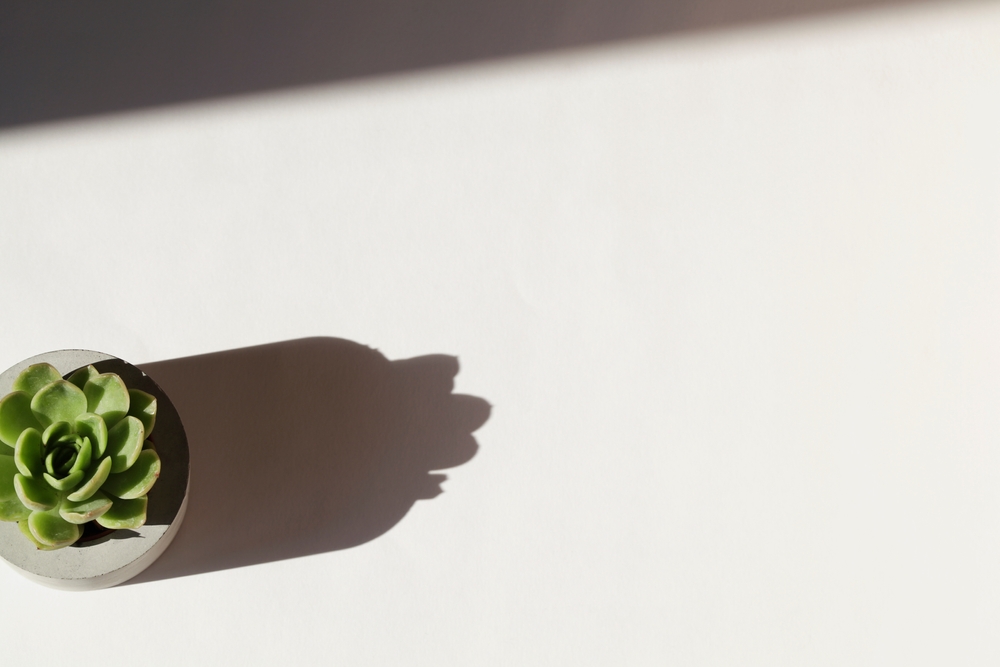
Move to individual pots filled with succulent soil mix. Slow down on watering, especially soon after transplanting, to prevent shock. Your succulents should be happy in these pots for months on end before they need to be moved again.
How To Stop Succulents From Stretching
Although fixing a stretched succulent is not a difficult process, it’s far better for their health and your schedule to stop them from stretching in the first place. Follow these tips to keep your succulents happy and compact.
Give Them The Right Amount Of Sunlight
The most important factor to consider is light levels, especially when growing indoors. Succulents are not made for shade or, by extension, indoor growth. These plants love full sun and hot, dry conditions in their native habitats, an environment not easy to replicate indoors.
Make sure your succulents are getting a full day of direct sunlight if you want to keep their shape. If you can’t manage a full day, a minimum of four hours should be enough to keep them happy.
Also consider changes in the quality of sunlight throughout the year. Four hours of direct sun during a cold winter is likely not strong enough to maintain growth, while they may be able to get by on a little less during hot and intense summers.
Use your intuition, look out for early signs of stretching, and move your plant to a brighter spot when needed.
Rotate Your Pots
Succulents can quickly become lopsided if one side is closest to the light source at the expense of the other. To maintain even and geometric growth we all look for in these plants, rotate the pots slightly around once a week to ensure each side gets an equal amount of sunlight.
Prune When Needed
If you notice your succulent beginning to stretch, it’s best to catch the problem early. You can go through the processes of propagation, or simply prune off the problematic areas and move the pot to a brighter spot to continue growing. Don’t forget to replant any cuttings you make to grow even more of your favorite plants.