
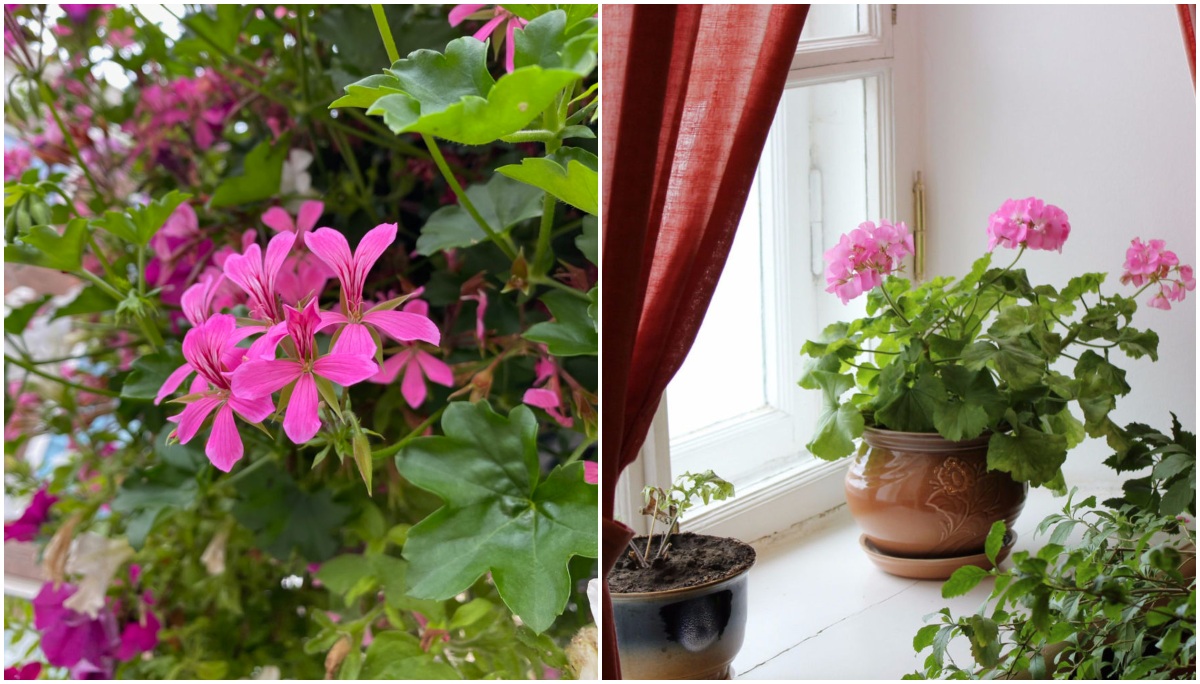
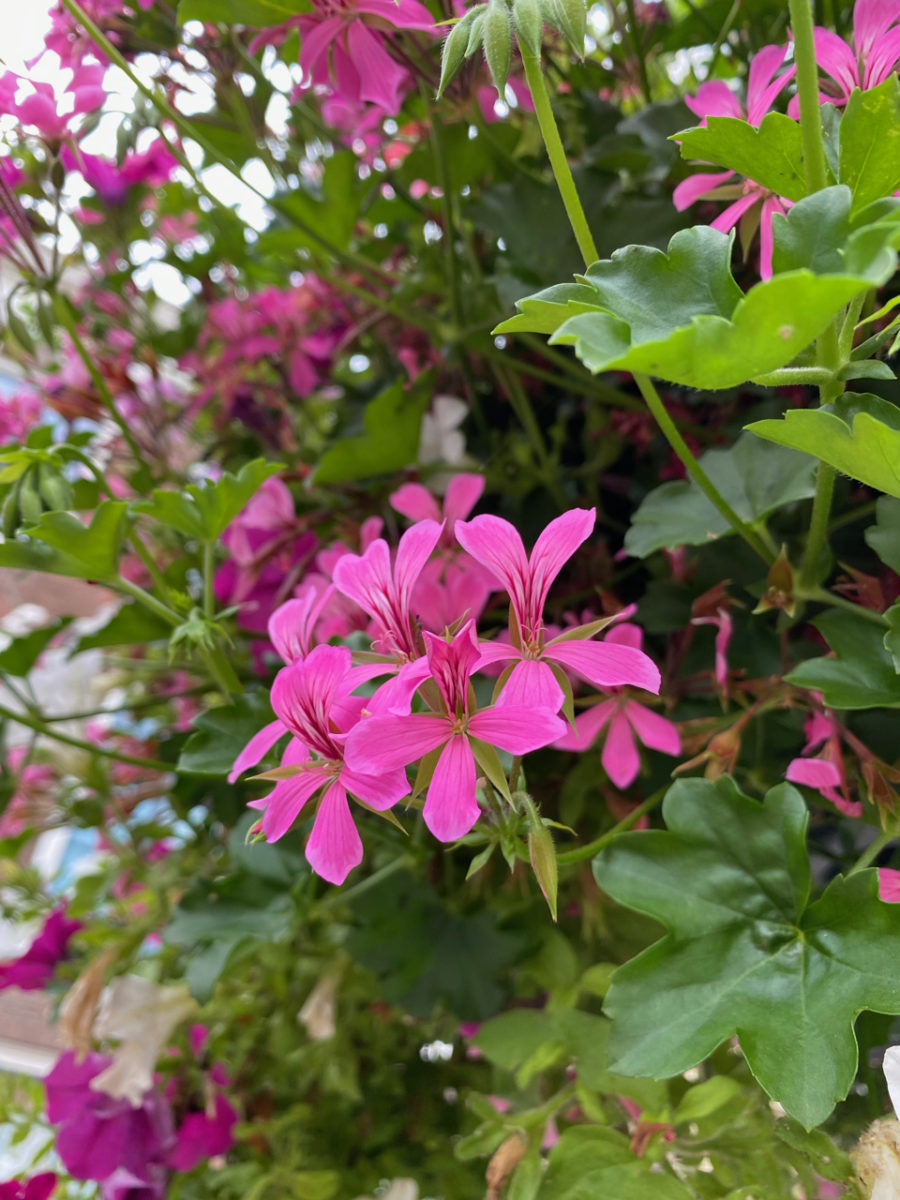
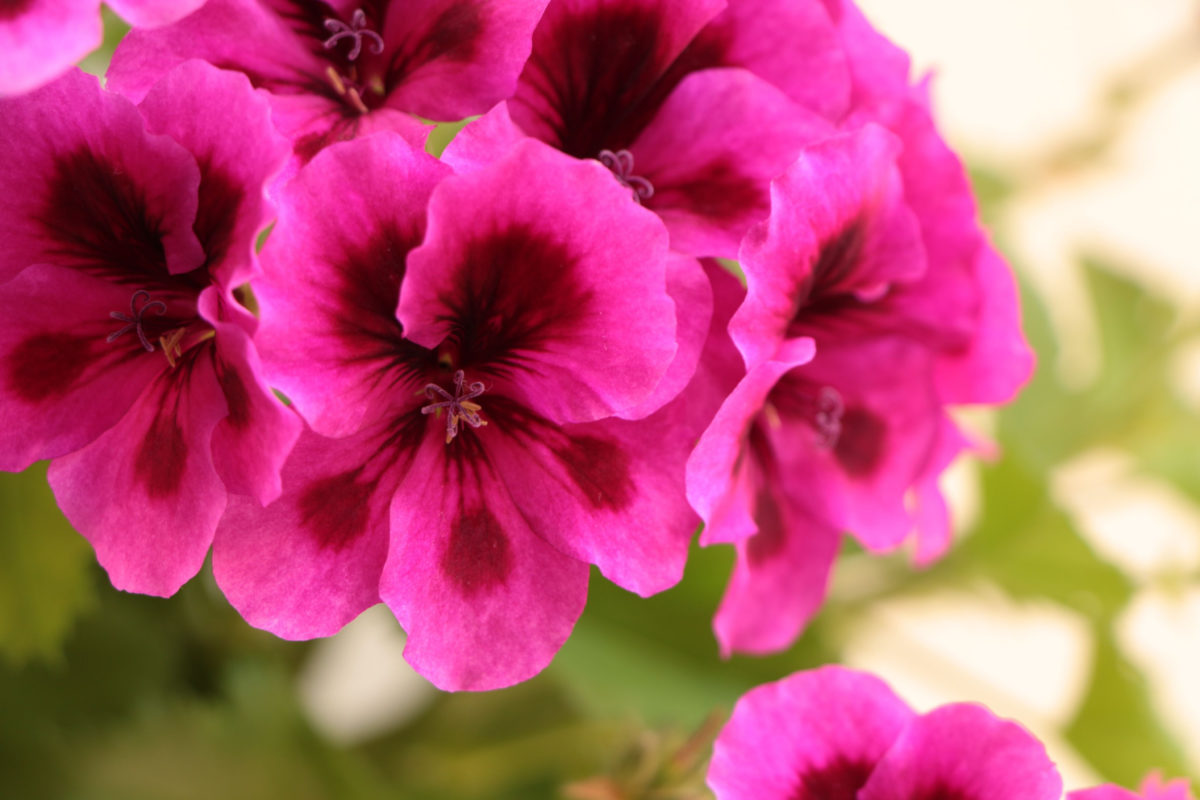
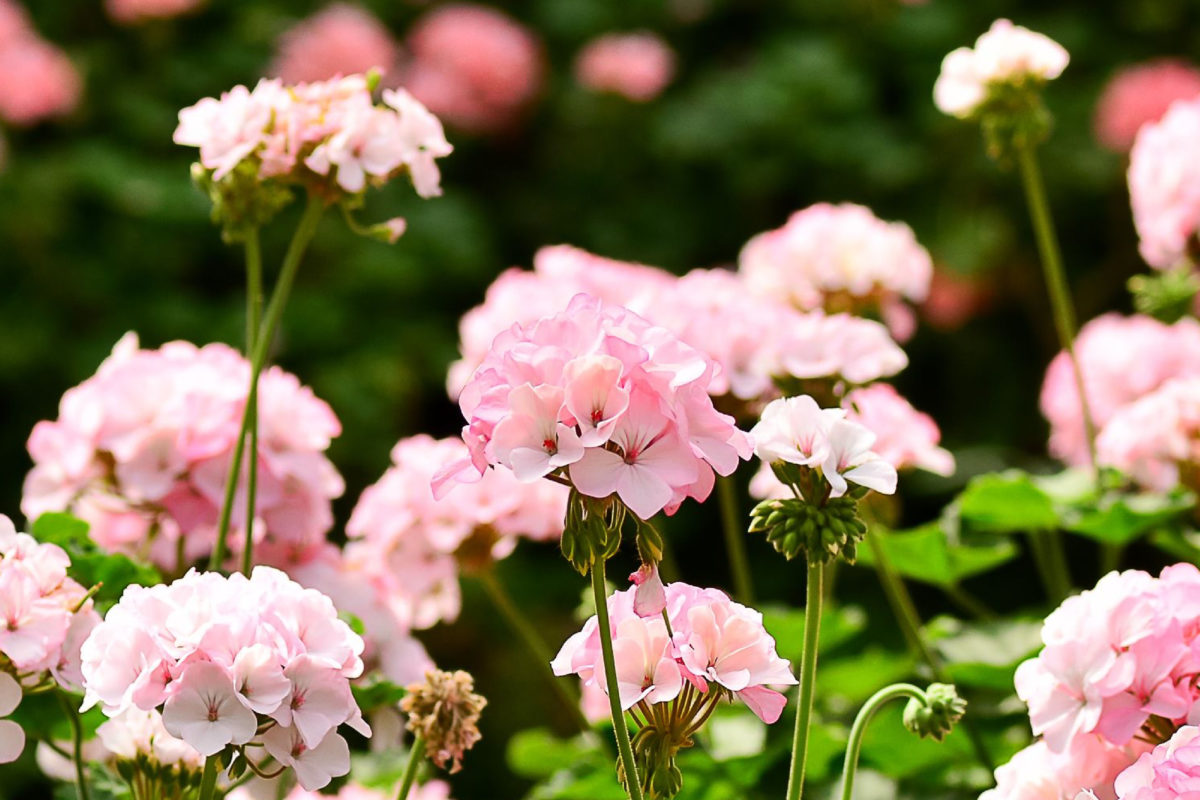
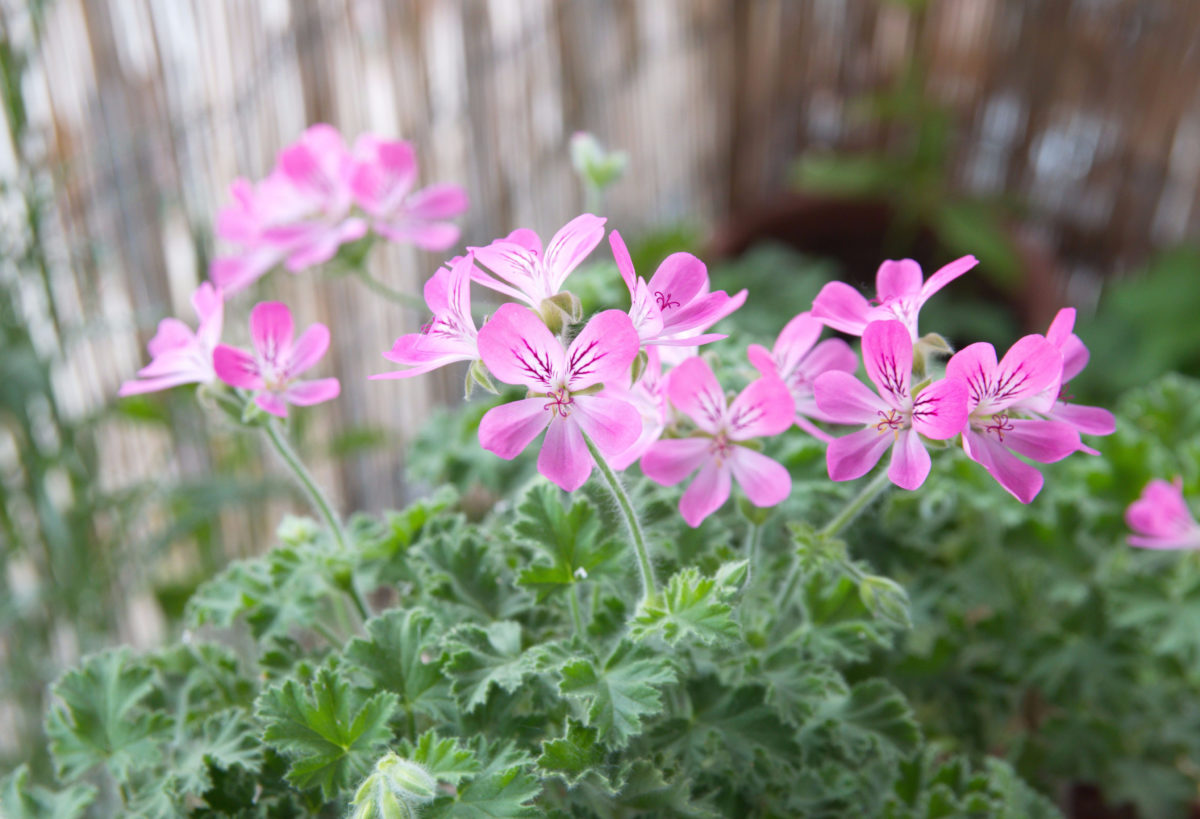
As a gardener, growing annual geraniums feels very much like I’m gaming the system. I get a low-maintenance plant with attractive foliage and blooms that last for almost three full seasons. Geraniums are versatile plants, so I get to grow them in flower beds, window boxes and hanging baskets.
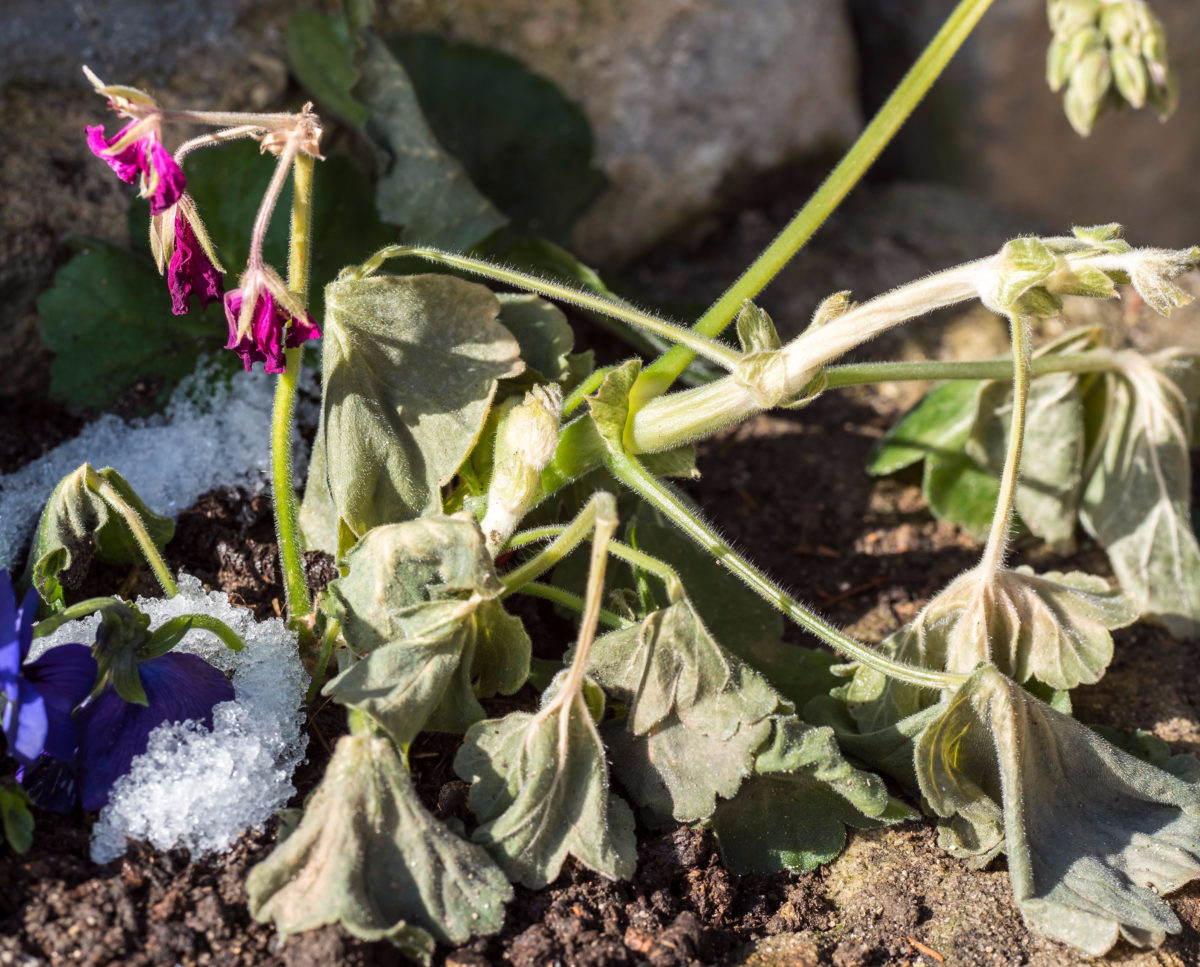
But the one thing stopping us, gardeners, from feeling like we’ve won the plant lottery is the fact that annual geraniums don’t fare very well in cold weather. As soon as the temperature drops below freezing, it’s time to say goodbye to these cheerful plants.
The geranium love story doesn’t have to end this way. You can overwinter tender geraniums indoors and have them ready to go next year. In this post, I’ll talk you through the most successful methods to overwinter your geraniums.
Before I get to the step-by-step instructions, let’s get the taxonomy confusion out of the way, shall we?
The geraniums we’ll be talking about in this post are, in fact, pelargoniums.
Why not call them by their actual name then? Because most backyard gardeners still call them geraniums. In fact, after a quick dig down the Google rabbit hole, I found that there are almost five times more online searches for “how to overwinter geraniums” than for “how to overwinter pelargoniums.”
Who knew that the American/British quip about the English language “you say po-tay-toe, I say po-tah-to” – with the understanding that we both know what we’re talking about – would have an equivalent in garden-speak?
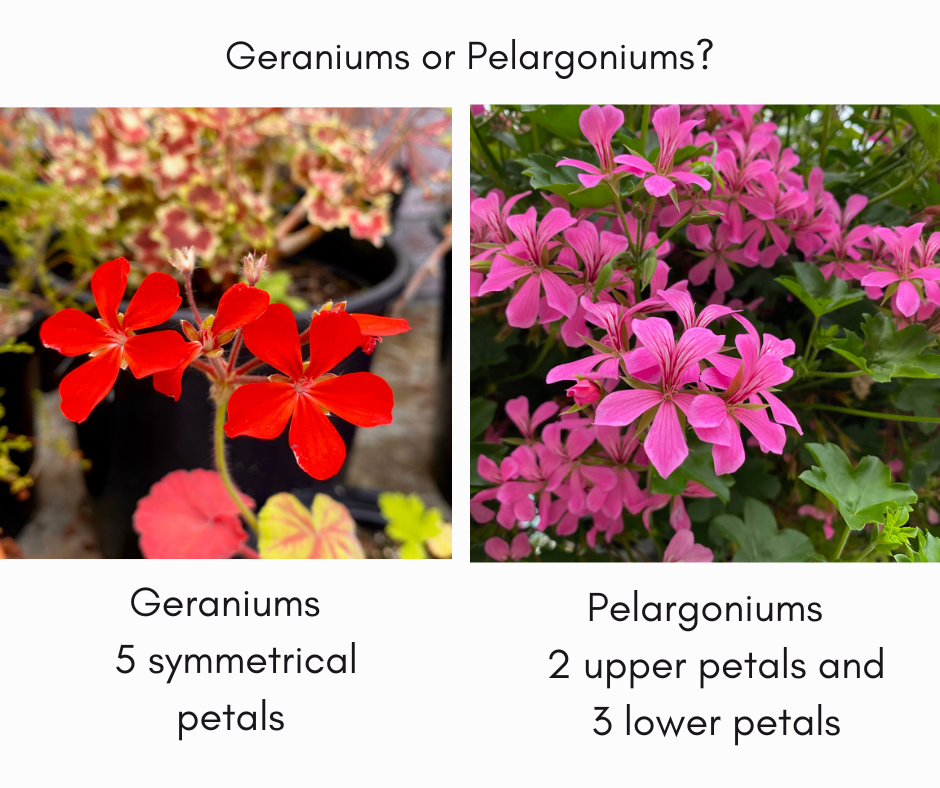
What’s the difference between a geranium and a pelargonium?
It’s easy to get the geraniums and pelargoniums confused since they look very much alike (especially with all the hybrids that have been flooding the market since the 1970s) unless you’re a very keen observer of very small petals. Even their common names are confusingly similar (storkbill and cranesbill).
Perhaps the root of the confusion is the fact that they belong to the same family, aptly named Geraniaceae. Even the International Geranium Society agrees that using “geranium” to refer to “pelargonium” is not that big a deal.
Will the real geranium please stand up?
Knowing whether you have a true geranium or a pelargonium geranium in your garden makes all the difference if you’re trying to figure out how to overwinter them. Here are a few pointers to help you determine what you’re growing in your garden.
Pelargoniums (genus Pelargonium)
- Are also called annual geraniums, storkbill geraniums, tender geraniums or half-hardy geraniums;
- Are a native of South Africa;
- Are considered tender or half-hardy in four-season climates;
- Are very sensitive to low temperatures;
- Must be overwintered indoors;
- Have flowers with five petals arranged as two upper petals and three lower small petals;
- Generally have a tall stem that may become woody.
Geraniums (genus Geranium)
- Are also called hardy geraniums or cranesbill geraniums;
- Are a native of Southern Europe;
- Are considered winter hardy (though there are a few exceptions);
- Will die down in winter, but will come back the following year;
- There’s no need to overwinter them indoors;
- Have flowers with five petals, but all the petals are symmetrical;
- Generally tend to grow low to the ground and spread horizontally (have a mounding habit);
Whatever you may want to call them, here are three methods to overwinter pelargonium geraniums year after year for an abundance of summer and fall blooms. For the sake of clarity, I’ll be calling all pelargoniums by the name of (annual/tender) geraniums in this guide.
How to Overwinter Geraniums
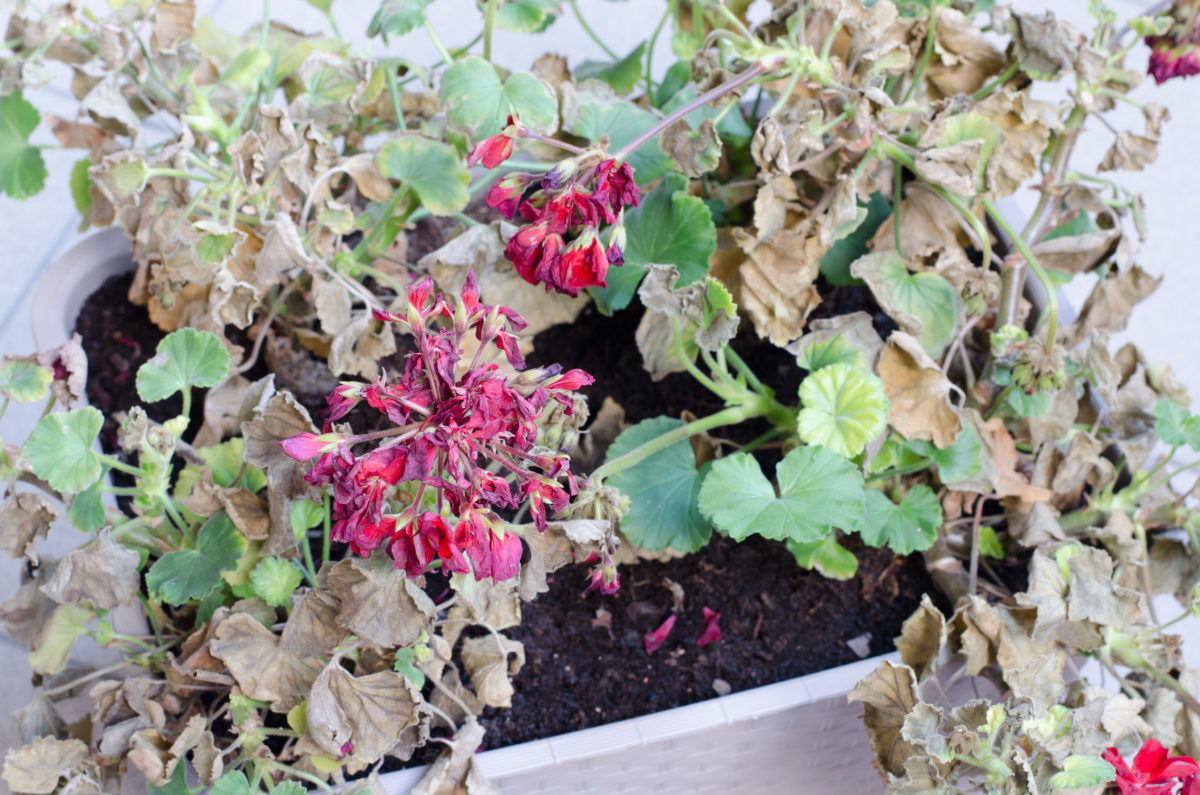
Annual geraniums are a sight for sore eyes, gracing our gardens (or window sills) from mid-spring to late fall. These plants are as beautiful as they are low-maintenance, so no wonder we’d like to see more of them next year. But as I mentioned above, if left unprotected, tender geraniums will die out completely once the first frost hits.
Here are three methods to overwinter your geraniums that will enable you to enjoy the same plants for years to come. Since all these methods will bring your geraniums indoors, make sure you thoroughly inspect the plants for signs of pests or diseases (such as rust and mildew). Remove dead and dying flowers and leaves and make sure you only bring in clean healthy plants.
Method 1: Overwinter geraniums as bare-root plants.
Pros: This method works well if you’re overwintering a lot of geraniums and you’re running low on space.
Cons: Some of the bare roots may die because of drying out too much, so you still need to do a bit of root maintenance in the winter. It also takes longer to get your geraniums started in spring, compared to the other two methods. Depending on how late you restart them, you likely won’t have geraniums in the ground until May.
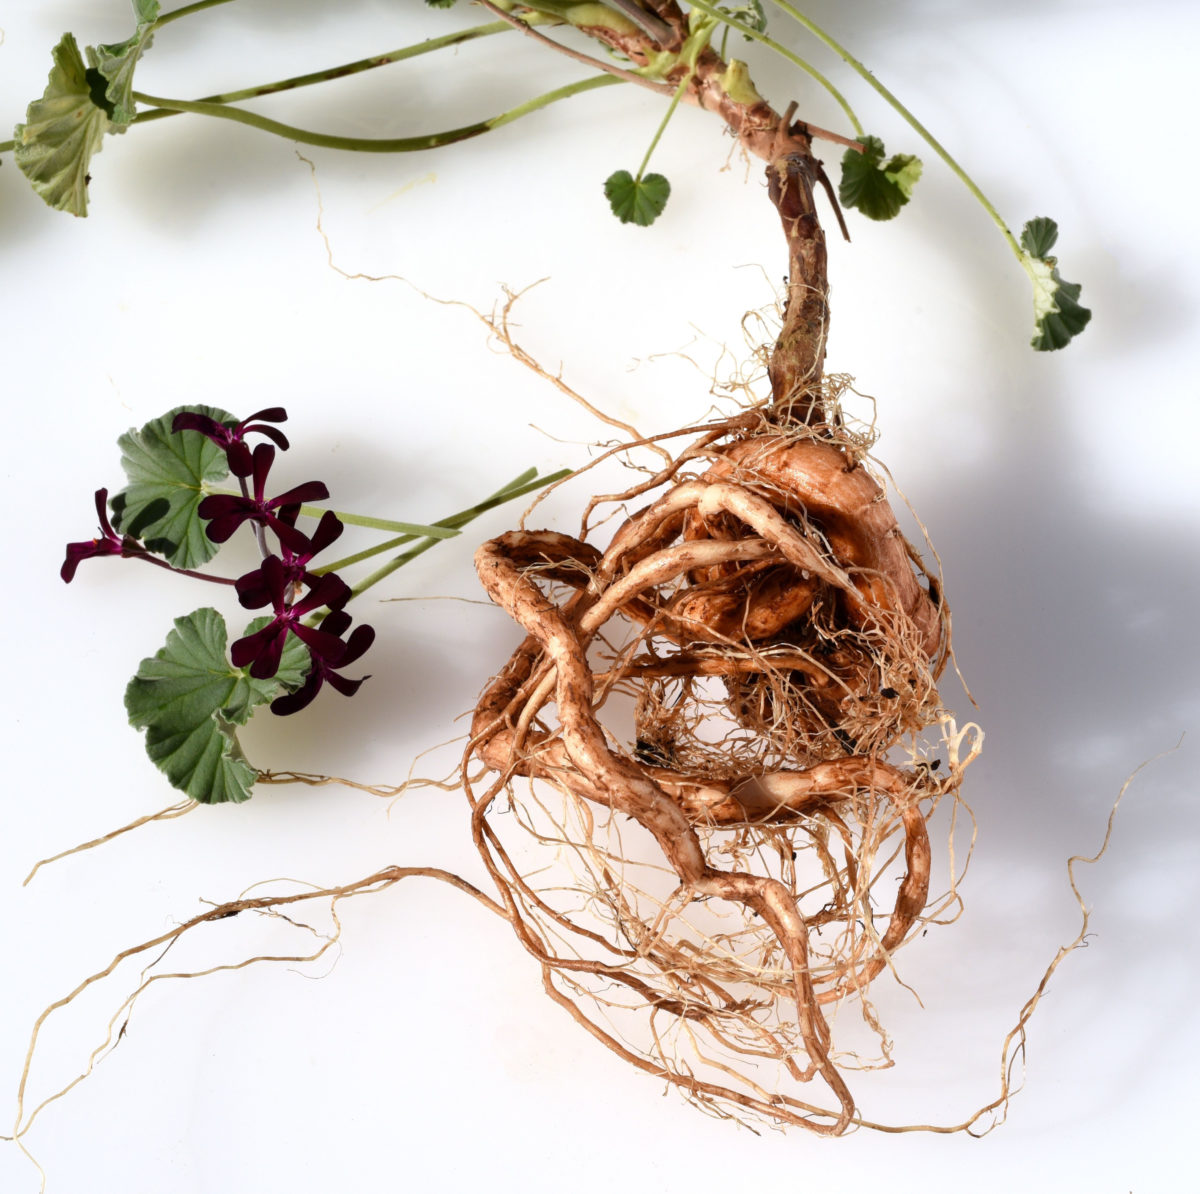
Saving geraniums as bare-root plants over the winter months is a tried and true method. I’m old enough to remember my great-aunt hanging geraniums on the barn rafters when I was a kid. She would just pull the plants from the garden (leaves and all) and tie them up with twine, to my great fascination.
Nowadays, I don’t know anyone who has a barn, so we’ll just have to make do with garages, enclosed porches and basements. And because of the space constraints, hanging entire plants isn’t practical anymore, so just saving the roots and a portion of the stem will have to do.
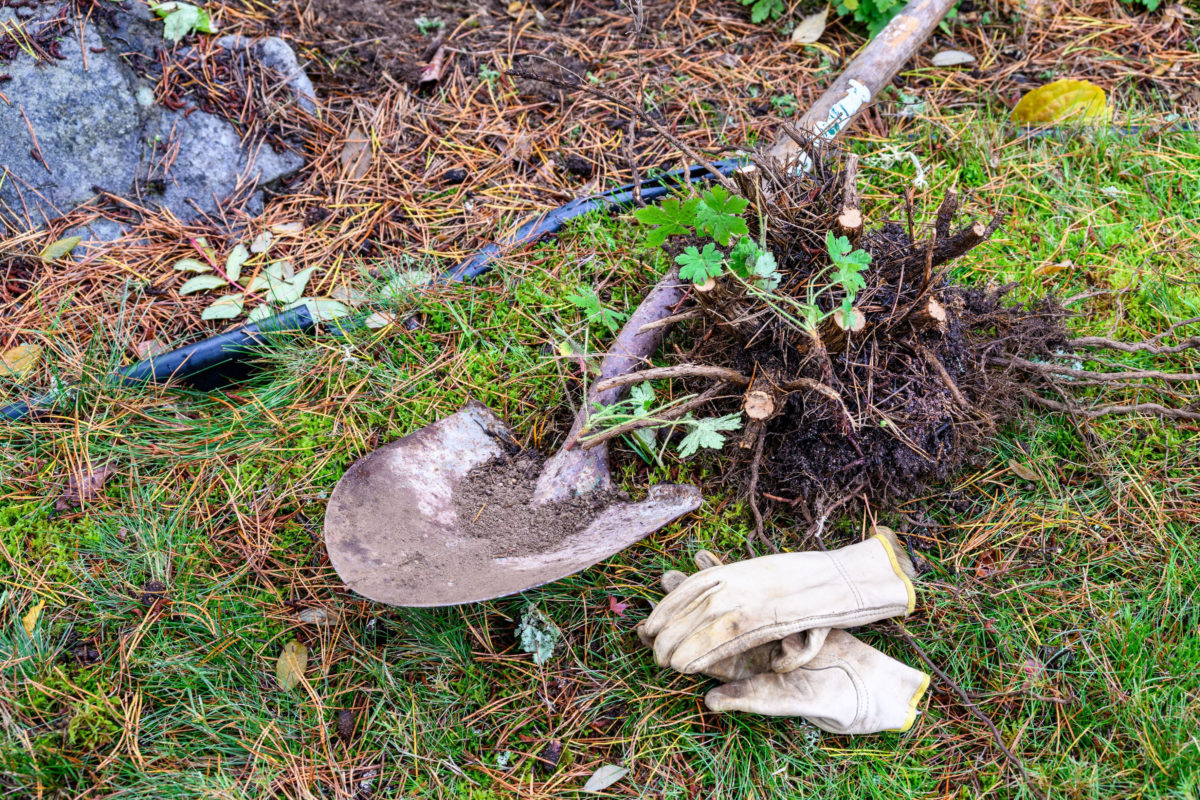
Step 1: Dig up your geraniums.
If possible, try to wait for a dry spell before you dig out your geraniums, since the soil will be easier to work with. You’ll have to do this before the first frost, otherwise you risk your geraniums being killed by the cold weather. Using a spade, dig a square around the root structure of the geraniums, grab a handful of stems and pull them out gently. Shake off the excess soil or, if necessary, wash it off in a bucket or with a hose. Always allow the roots to dry after you’ve washed them, preferably in a shady spot. Whatever you do, don’t leave the bare roots in the sun for too long.
Please remember to wear gardening gloves, since the tiny hairs that coat all the parts of the plant may cause mild skin irritation (and even a more severe allergic reaction in some people).
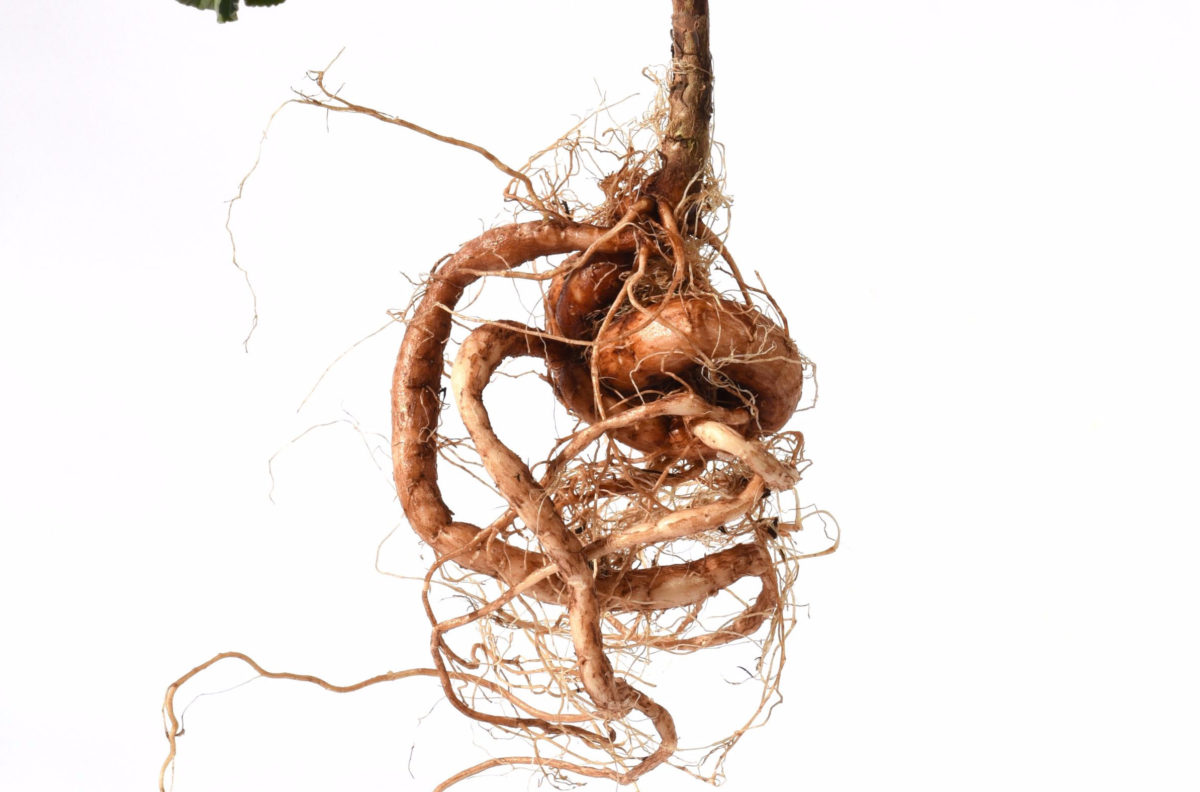
Step 2: Trim your geraniums.
Storing the entire plant over winter is not necessary and not practical for most of us. So trim about two-thirds off the top of the plant and dispose of it in the compost.
Some gardeners prefer to trim the excess foliage before they dig out the plant. I prefer to trim it back after I lift the plant out of the ground because seeing how large the roots are gives me a better idea of how much of the plant I want to keep. When you’re a gardener keen on overwintering as much as possible indoors, space is at a premium.
Step 3: Store your geraniums in a cool, dry place.
The easiest way to store your geranium roots is by hanging them upside down in a spot that stays cool (ideally anywhere between 40F and 60F), dark and relatively dry. Garages, cellars, basements or enclosed porches work well, provided they meet these three conditions. Cold frames and greenhouses may get too cold or too humid, but that depends on your weather and your setup, of course. Wherever you choose to overwinter your geraniums, make sure the temperatures don’t go below freezing.
You can hang up the roots as they are, or you can place them in a perforated paper bag. If you have no overhead space available, storing the roots in a cardboard box also works well. But don’t seal the box, and if you need to store something else on top of it, make sure you perforate it for proper ventilation.
If you’re storing a large number of plants, be generous with how much space you give each. You still want a bit of airflow, so don’t overcrowd more than three or four root crowns in the same box or bag.
Step 4: Check in to say hello periodically.
I mentioned that the storage room needs to be dry (to prevent mold and mildew from developing), but not too dry. If you forget about your geranium friends and let the roots get too dry for too long, they might dry out completely and not produce any new plants next spring.
You can prevent this by checking in periodically (once a month should do it) to moisten the roots. You can do this by soaking them for 30 minutes in water, then letting them dry before putting them back into storage. Or you can simply wrap them in a wet paper towel. The dry roots will gradually absorb the moisture of the towel.
It’s ok for the leaves to dry off and fall, if you left any leaves on the plant at all, as long as the root crown is still flexible and doesn’t snap when you gently try to bend it.
If your storage space is humid (as unfinished basements and cellars tend to be), you may be able to skip this step. However, it’s a good idea to just check in on your stored plants just in case you weren’t so diligent about saving only the healthy pest-free plants. Remove and dispose of any roots that may have developed mold or that have become shriveled or soft.
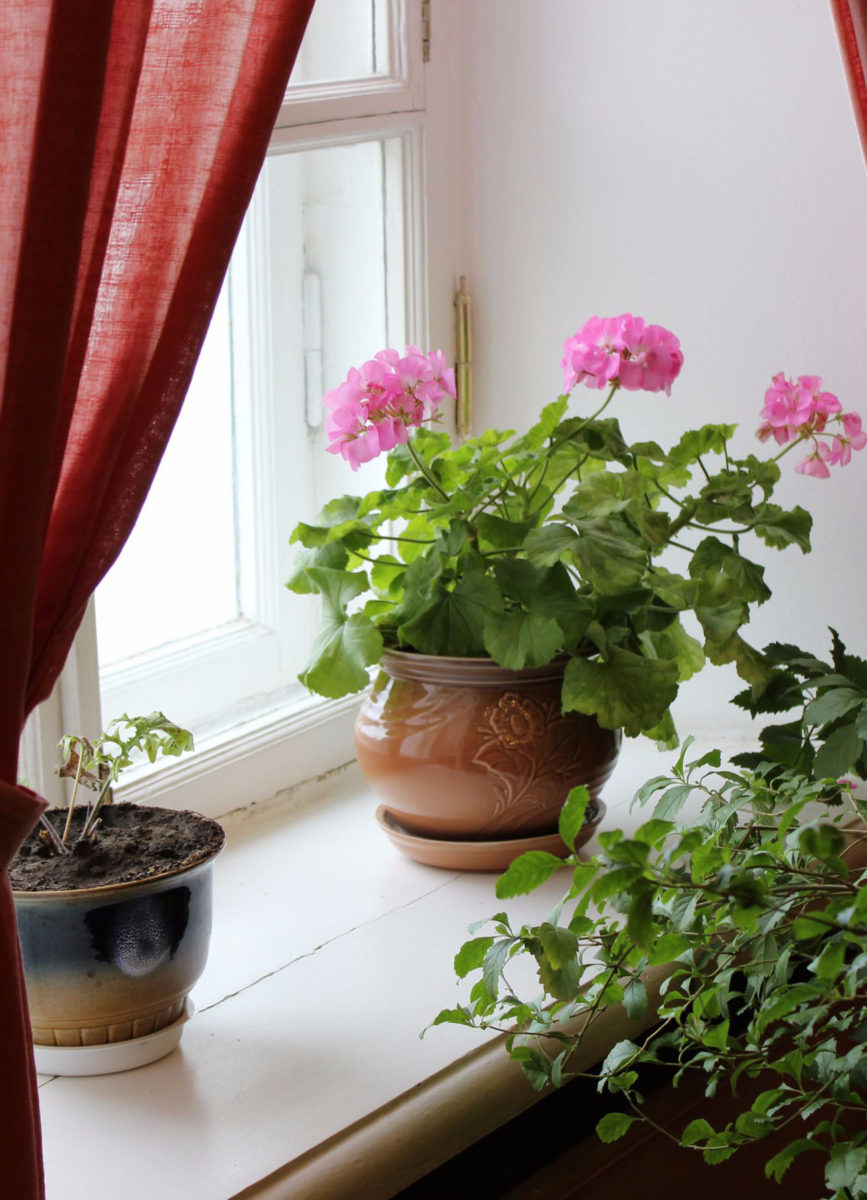
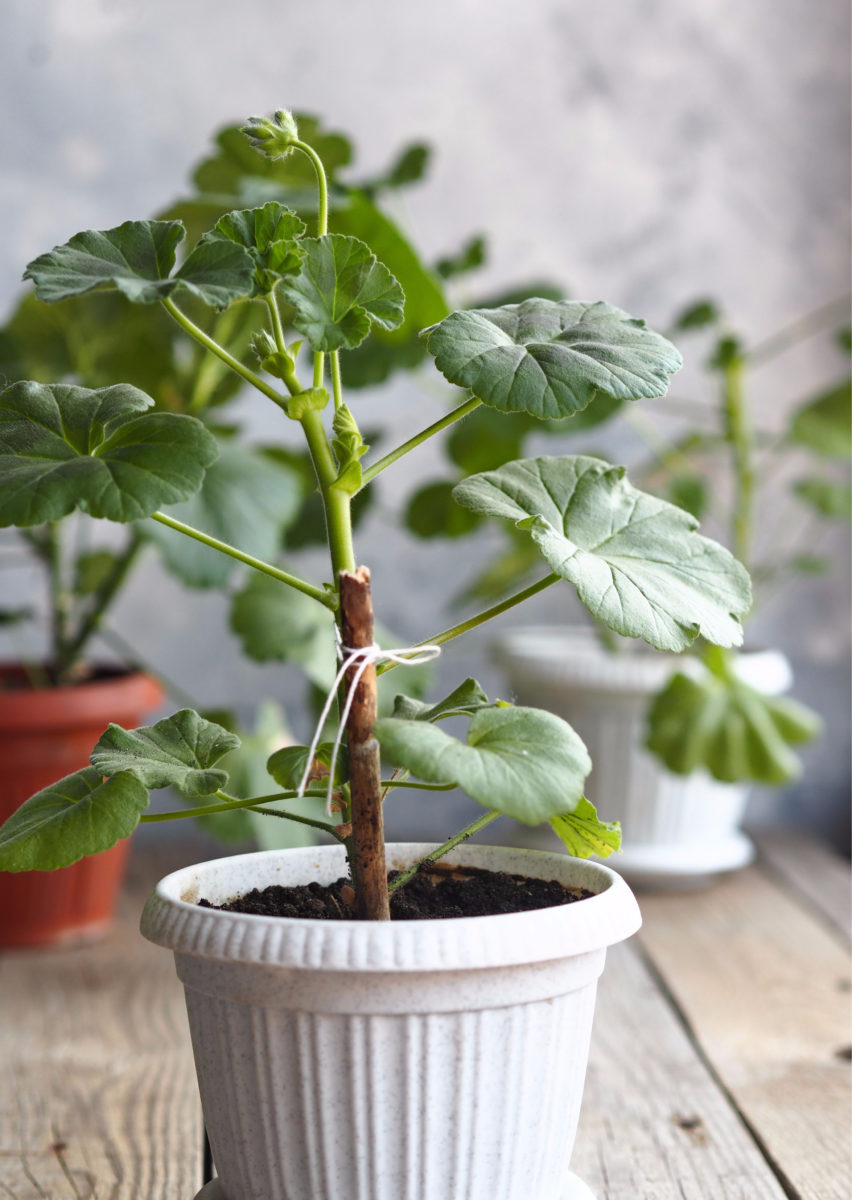
Method 2: Overwinter your geraniums as houseplants.
Pros: You get to enjoy beautiful geraniums indoors, and some of them might even bloom over winter. Since the plants don’t need to be restarted in spring, you’ll be able to get them in the ground earlier, weather permitting, which will result in larger, showier blooms.
Cons: Depending on how many plants you’re overwintering, sunny indoor spaces may be at a premium in the winter. And unless you really thoroughly clean and repot your geraniums, you risk bringing in garden pests that may spread to your other houseplants.
Step 1: Dig up and clean your geraniums.
The first step will be exactly the same as the one I described for the bare-root overwintering method. Even down to cleaning the dirt off the roots. I know it’s tempting to just take a chunk of garden soil, pot it up and put it indoors, but please don’t. True, you’ll save some time and money, but you risk bringing in all sorts of creepy crawlies indoors.
Which brings me to the next step:
Step 2: Pot your geraniums into fresh potting soil.
Don’t get me wrong, creepy crawlies are our friends when we’re outside in the garden, but if you skip repotting, you might have to waste some time evicting the earthworms that turn your desk into a highway. Been there, done that!
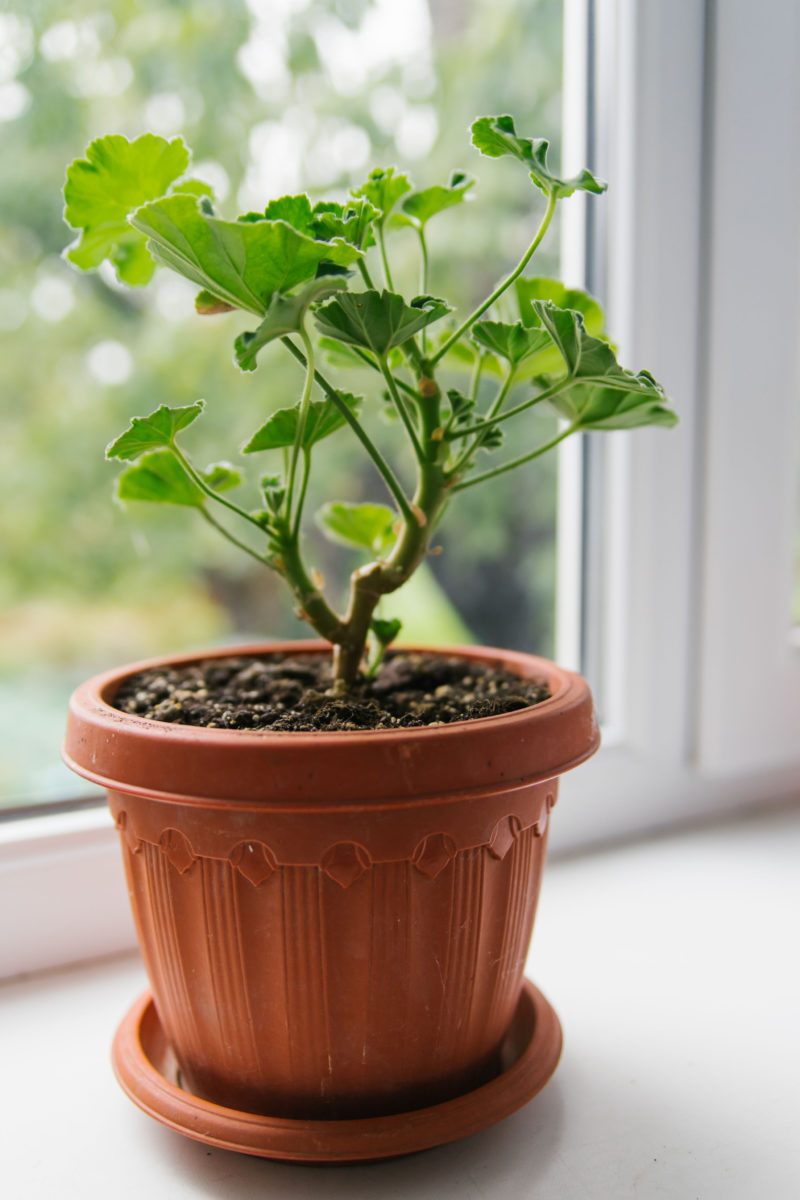
Another reason why you can’t just use soil from the garden when you bring your geraniums indoors is that it’s often too dense for pots. Potting soil (which usually contains perlite or vermiculite) is specially formulated to retain just enough moisture, but not as much so as to risk root rot.
Step 3: [Optional] Trim back your geraniums.
Now that you’ve repotted your geraniums, you may want to trim them back to make them a bit more manageable indoors. Some cultivars are small enough not to need a haircut, but most plants will benefit from a good trimming to encourage them to bush out rather than grow leggy. You can prune back a third to a half of the plant without causing it too much distress.
This step is optional and depends on where you intend to keep the potted plants over winter.

Step 4: Give them the right conditions.
At this point, you can start treating your geranium as a houseplant. Place it in a sunny window or as close as possible to a source of natural light. A sunroom, greenhouse or conservatory are great places to overwinter geraniums, as long as the temperature stays above 40F.
Keep the pots watered (but not soggy) since the plants will continue to grow and some will even bloom over winter. Make sure the spot you choose for your geraniums is well-ventilated and not close to any sources of direct heat, such as fireplaces, radiators or baseboards.
If indoor geraniums don’t get enough sun, they’ll tend to grow spindly and weak. No problem though, as you can just pinch them back to encourage side-branching. Alternatively, you can let them grow leggy and prune them back in the spring before you take them out into the garden.
Method 3: Just take geranium cuttings to overwinter
Pros: Rooting cuttings is a cleaner method of overwintering geraniums since you don’t have to deal with the messy job of digging out and repotting your plants. It’s also a good method if you don’t have too much space to spare for geranium houseplants.
Cons: You’ll be starting with a smaller plant in spring, especially if you’re not meticulous enough in caring for the cuttings. Another (anecdotal) observation is that not all my geranium cuttings developed roots. This is easy to work around by taking more cuttings from more plants, just to hedge your bets.
What should I do with the geranium that you took cuttings from?
You can simply leave it in the garden and clean it up come spring, if you’re lucky. But don’t expect it to make it through the winter, especially if you get an extended period of hard frost. If you have a mild winter season and your annual geraniums manage to pull through, just call it a bonus and share or swap the cuttings with other geranium aficionados. Another option is to dig up the plant, repot it and bring it indoors, just as I described in Method 2 above.
Step 1: Cut and clean your geraniums.
A good rule of thumb when you take a cutting is to start with the healthiest, largest plants and avoid the small ones that haven’t developed vigorous stems. Cut at least a five-inch piece of stem off the ends of strong shoots. Then clean up the stem you trimmed and remove the lower leaves.
Step 2: Choose your rooting medium.
Some gardeners prefer to root in water while others prefer a solid rooting medium. I choose to keep my geranium cuttings in water because it’s easy to see the root development. I also found it too much of a hassle to keep the soil evenly moist when I tried propagating in soil.
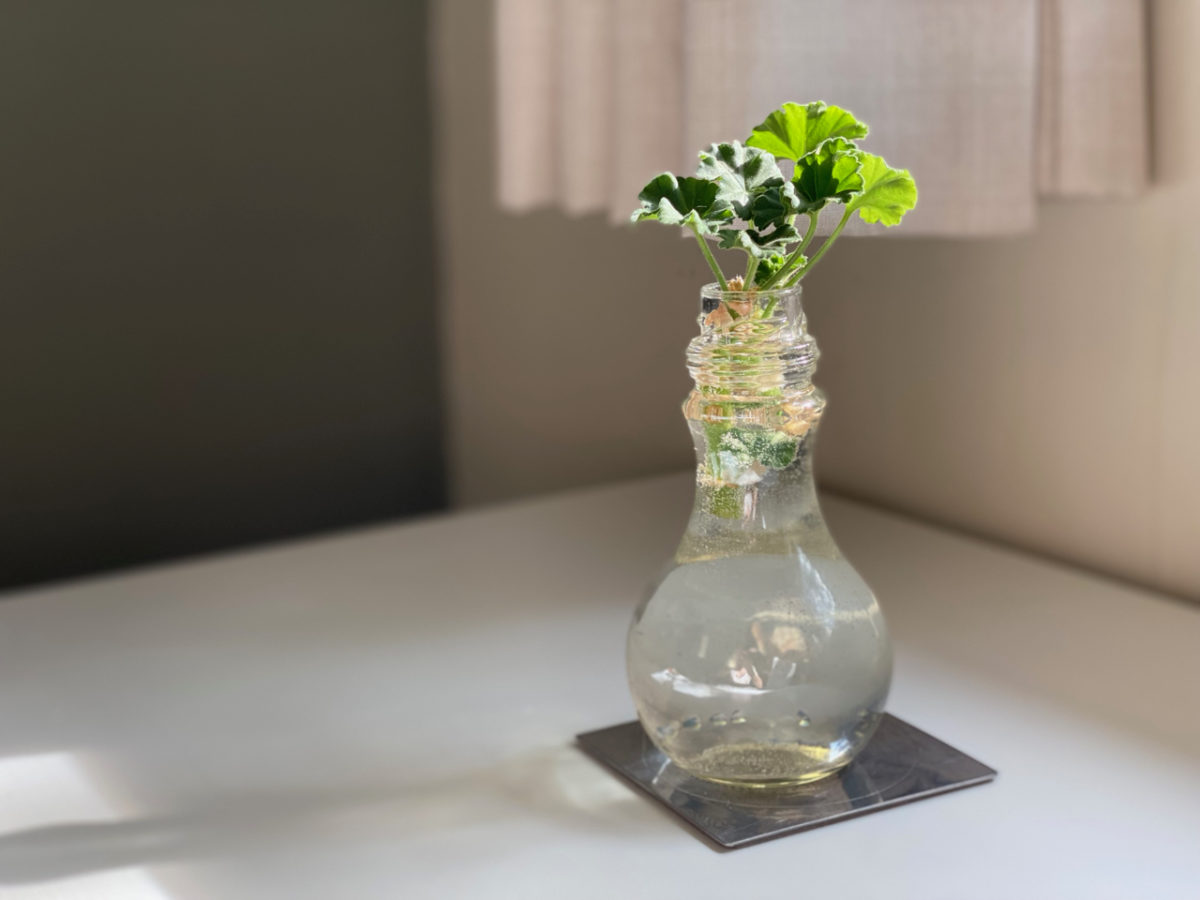
If you’re placing your cuttings in water, you have to remember to refresh the water every few days and make sure the stem and all the leaf nodes are properly submerged. Once your geraniums have roots, you can transfer them to potting soil, making sure you choose a container that has good drainage.
If you’re placing the cuttings in a solid rooting medium, you can dip them in rooting hormone first. Regular potting soil mixes might retain too much water, so look for a mix that is rich in perlite or vermiculite. Choose a pot that will allow you to insert the stem deep enough to allow it to stand up on its own while having a couple of leaf nodes underground.

Since there are no roots yet, there will be no water absorption, so the leaves that are left on the stem will start to wilt. Don’t worry, that’s normal and it won’t damage the plant long-term. But if you want to prevent water evaporation, you can place a clear plastic bag over the container, as long as you’re not in the habit of overwatering. Then place the cuttings in bright indirect light.
As with any type of cuttings, getting them to root in soil is a balancing act between keeping the soil just damp enough (to encourage root development), but not too moist (this will only encourage root rot).
How do you know if your geranium cuttings have rooted?
Just gently tug at the stem. If you feel resistance, that’s a good sign that roots have formed. If the stem feels either shriveled up or soft to the touch, then your cuttings have already died. Geraniums are slow to root, and depending on the light conditions and the variety you’re growing, it may take some plants up to six weeks to develop roots.
If you’re rooted your geraniums in water, you can choose to keep them in water or transfer them to soil.
Rooted plants will be relatively slow to grow during the cold months, so at this point you only have to do some light pruning, pinching off the spindly growth to keep the plant compact until it’s ready to go back into the garden come spring.
In any given year, I overwinter my geraniums in at least two different ways. I gently encourage you to experiment with a combination of these three different methods to see what works for your geraniums, your environment and your lifestyle. It’s a good way to learn and hedge your bets, especially if you’re a newbie at growing geraniums.