Peperomias, also known as radiator plants, are wonderful houseplants for collectors. This genus is so vast and diverse that you can have two right next to each other and not even know they are related. From trailing vines to upright compact plants, there is a peperomia for every indoor gardener and every area of your home.
Peperomias are one of the few plants that can be propagated from single leaves, as long as you have the right species to start with. Other species are easy to propagate via stem cuttings, allowing you to produce as many peperomias as you can manage without spending a cent.
How To Propagate From Stem Cuttings
Choose A Stem
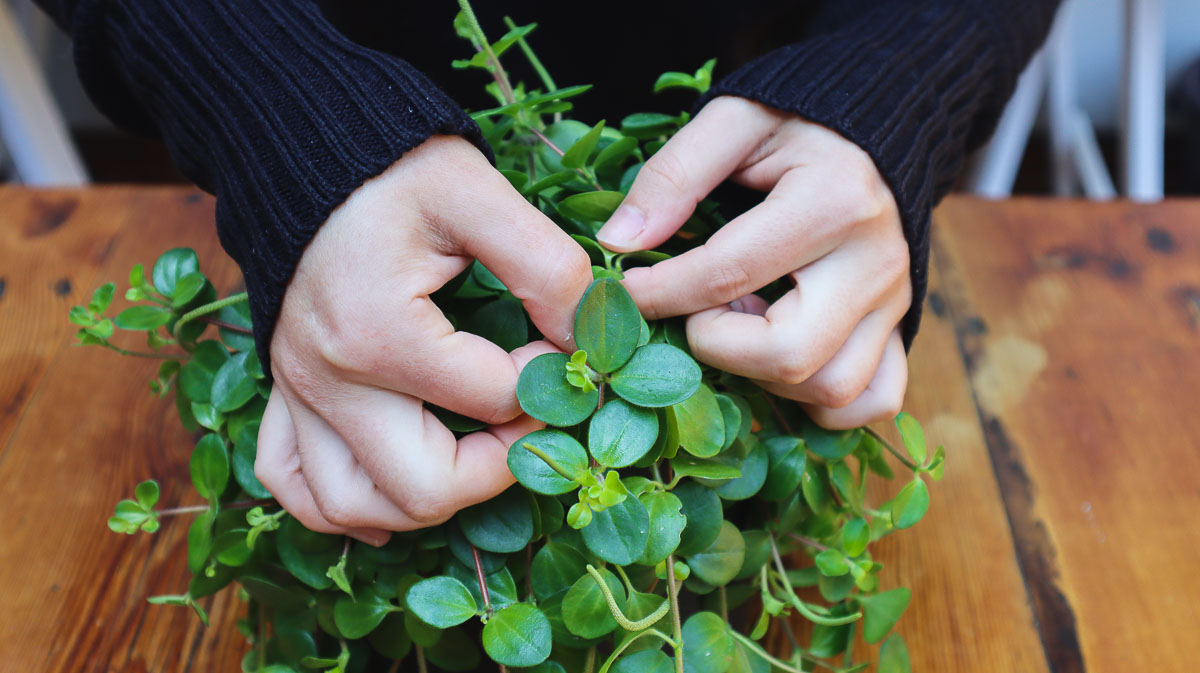
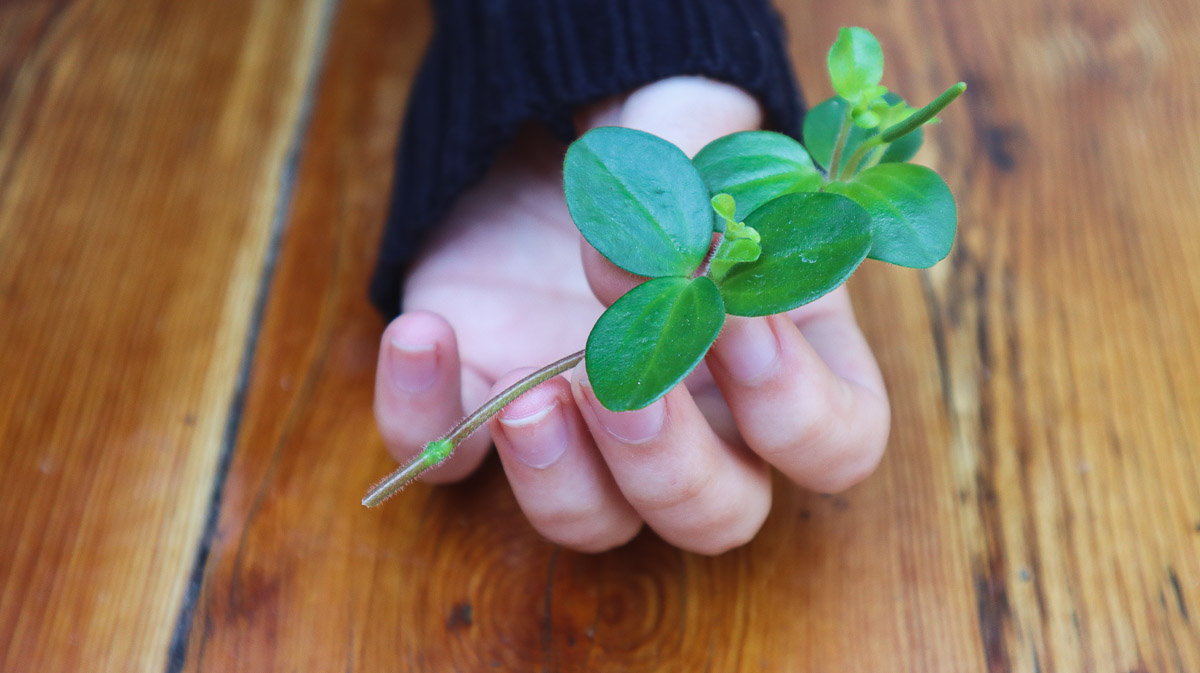
The right cutting of a Peperomia plant starts with a healthy and strong stem. You can cut at any point along a stem, as long as it has a couple of leaves and is around four inches long. Make sure the cutting you choose has plenty of healthy growth and no signs of disease to provide the best chances of rooting.
If you have an overgrown peperomia, this is the perfect time to propagate. Any cuttings you remove when pruning can be rooted to grow more plants without much extra effort from you.
Make A Cut

Grab a pair of pruning shears or scissors, ensuring they are clean and sharp to make as clean a cut as possible. Trim your cutting right below the point where a set of leaves emerges. Alternatively, you can trim right up to a set of leaves to keep the parent plant looking tidy, trimming the excess off your cutting afterward.

Remove Lower Leaves

To expose the nodes ready for new growth, strip the leaves off the bottom section of your peperomia cutting. If these leaves are planted under the soil or water line when rooting, they will simply rot, exposing your cutting to potential problems and limiting root growth.
Rooting
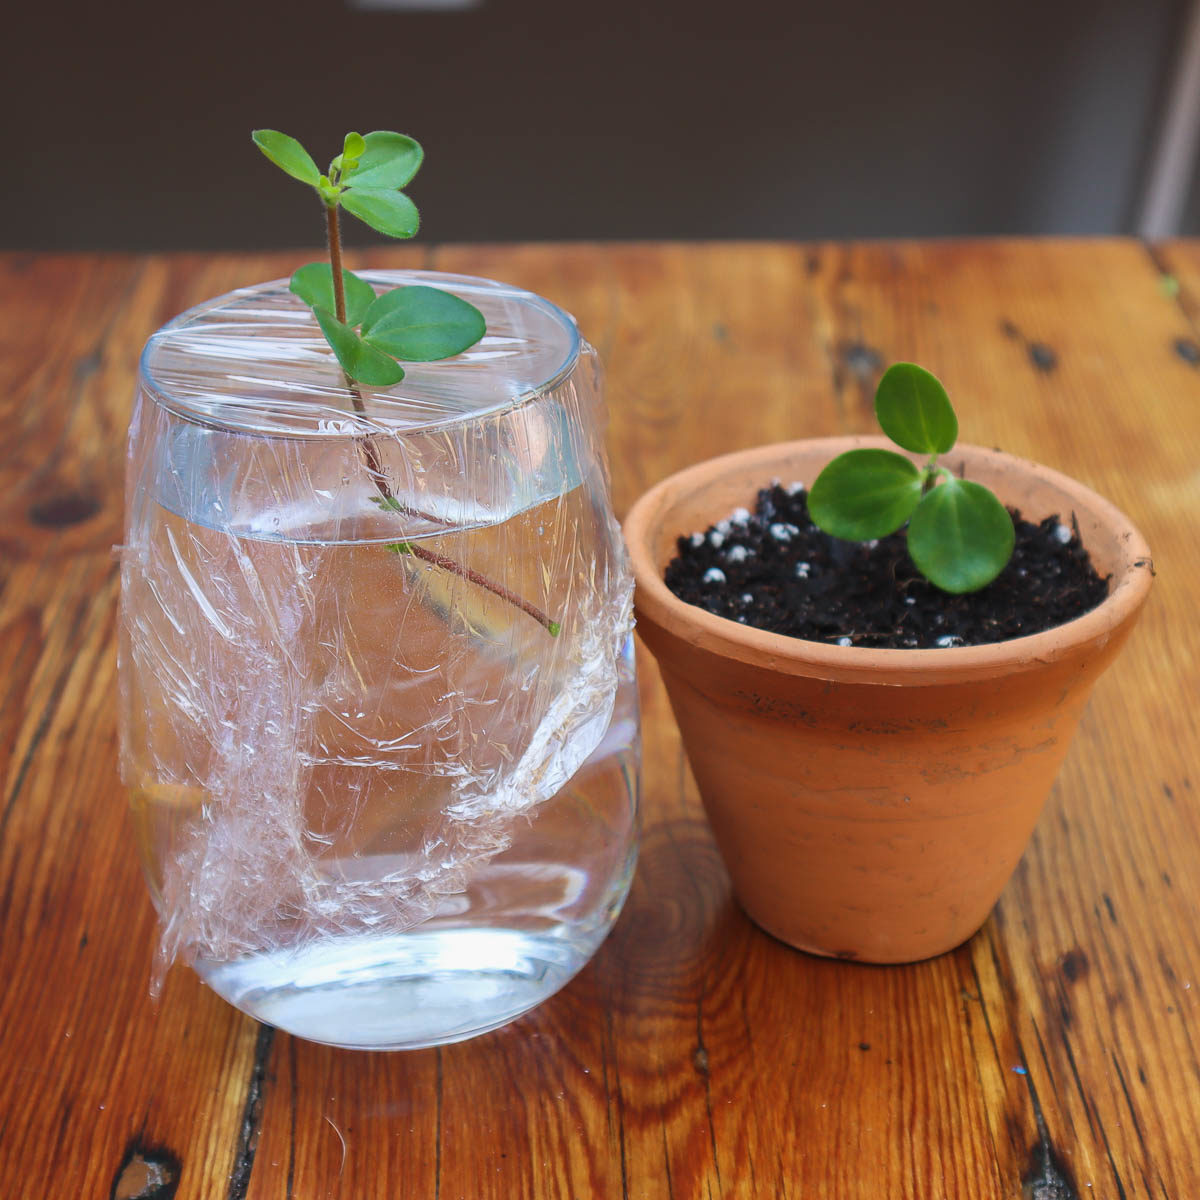
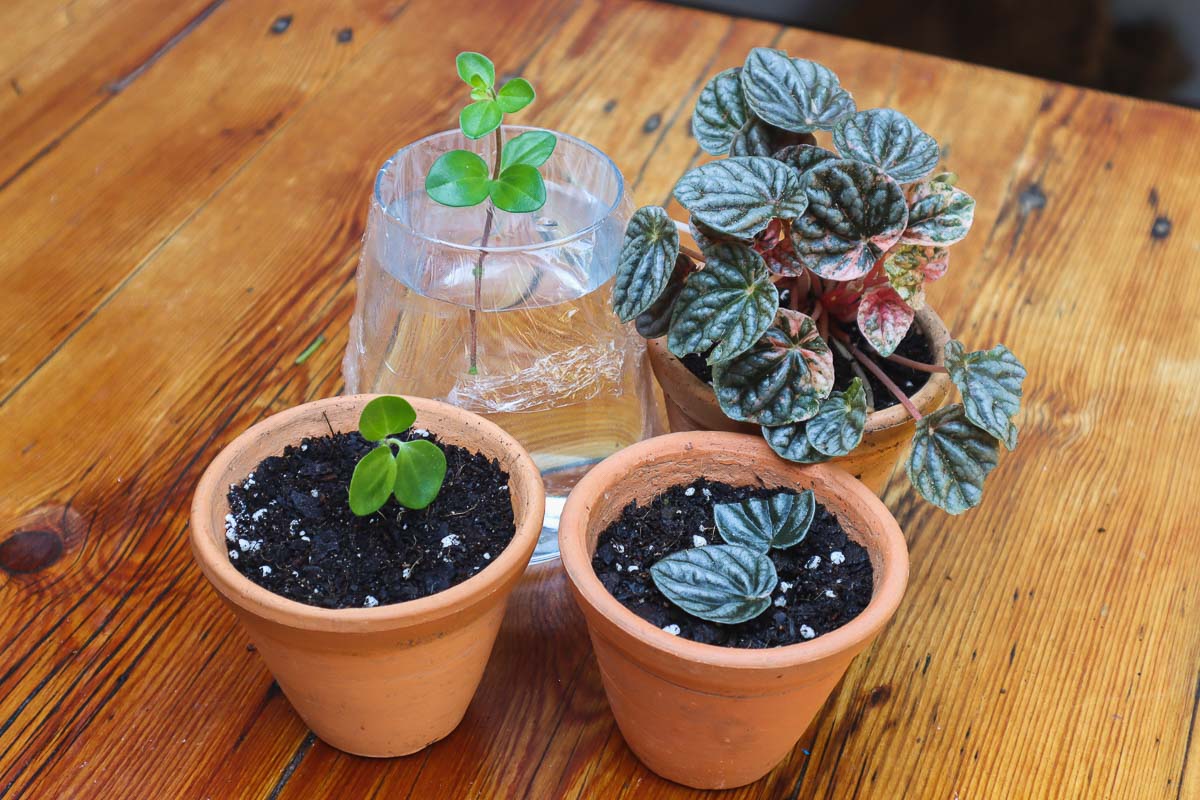
You have two options when rooting your peperomia stem cutting – water or soil. Rooting in water will allow you to watch for root growth, while rooting in soil will yield stronger cuttings less likely to experience transplant shock later on.

To root in water, simply pop the cuttings in a glass of filtered water or rainwater. Make sure only the bottom half of the cutting is below the water line – all remaining leaves should stay above the water. If your glass doesn’t allow you to hold the cuttings up, cover with plastic wrap and make a small hole, using the leaves to anchor the cutting above the glass.
To root in soil, make a light and airy propagating mix by combining equal parts perlite and coconut coir (or peat moss). You can also use a houseplant potting mix if you already have some available.
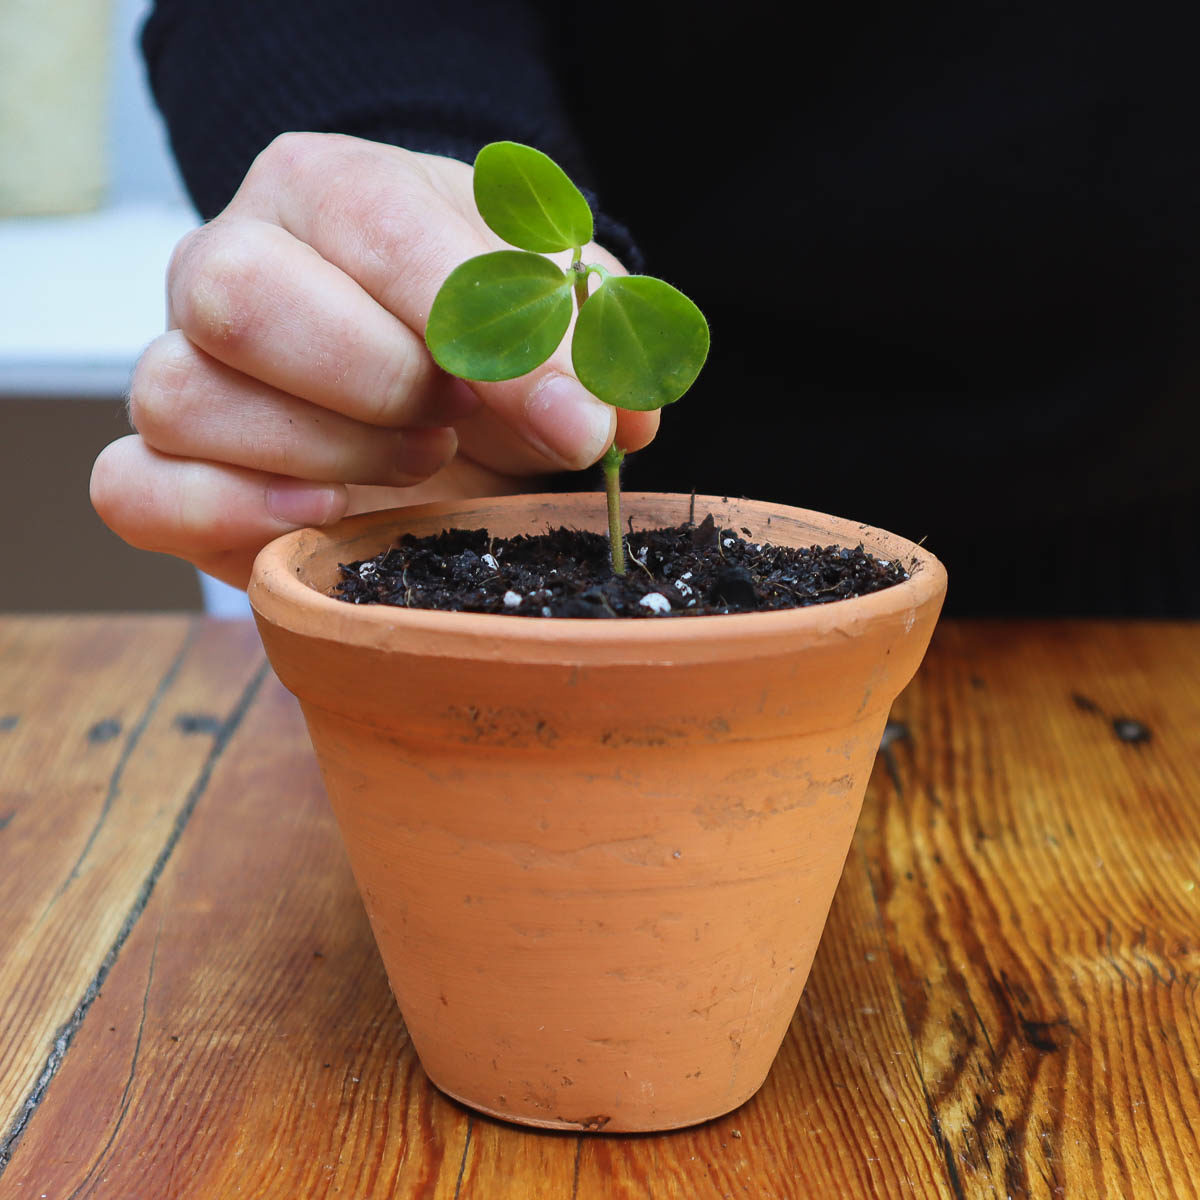
Fill a container with the mixture and moisten the soil before you start to check the drainage and make planting easier. Make a small hole with your finger, plant the cutting and press around the top to anchor it in place.
You can plant several cuttings in the same pot to root, transplanting them later into the right soil mix and their final pot when needed.
Care
Move your containers to a bright spot away from direct sunlight to avoid scorching the leaves. Continue to top up the water or moisten the soil to encourage root growth.
Transplant your cuttings when the roots are about an inch long. Don’t leave your cuttings in water for too long as this will make it harder for them to adjust to soil conditions.
How To Propagate From Leaf Cuttings
Choose A Leaf

Peperomias with larger leaves can be propagated from leaf cuttings, developing small plantlets at the base that grow into mature peperomia plants. For your leaf cuttings to develop roots, they need to be healthy and disease free. Choose a large leaf that’s not too young (or too old) for your best chances of rooting.
Make A Cut
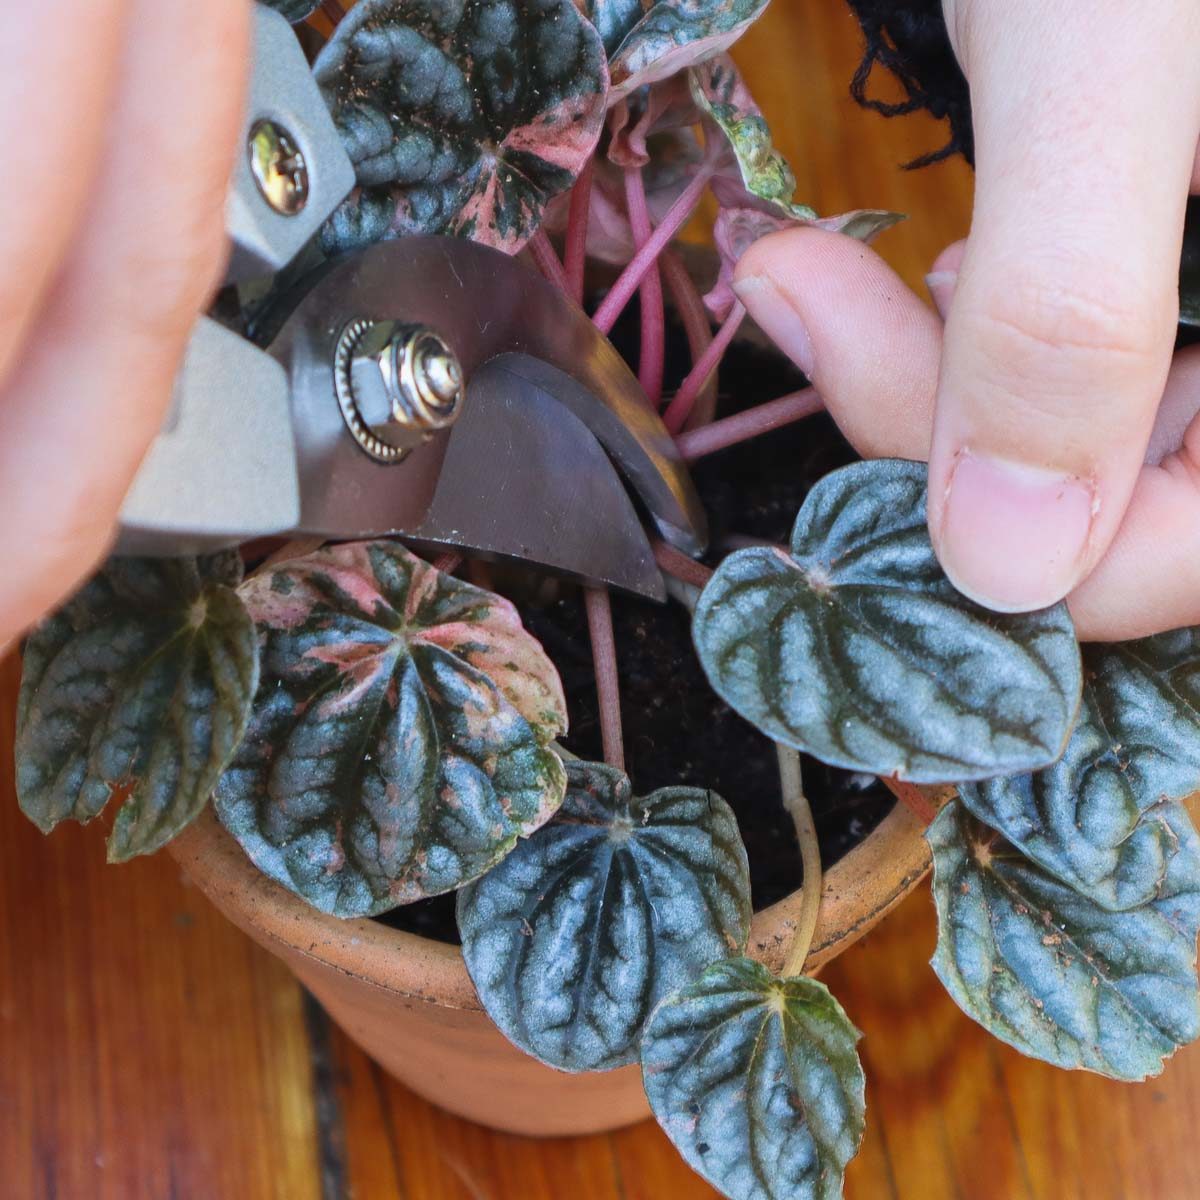
Next, use a sharp pair of pruning shears or scissors to trim the leaf off the plant. Cut as close to the soil as possible to keep the parent plant looking tidy. Any part of the petiole that is left will simply shrivel up and leave your plant vulnerable to disease, so it’s best to remove it all at once.
After that, you can trim the petiole down to a more manageable size, leaving just enough to anchor the plant into soil when propagating.
Trim The Leaf
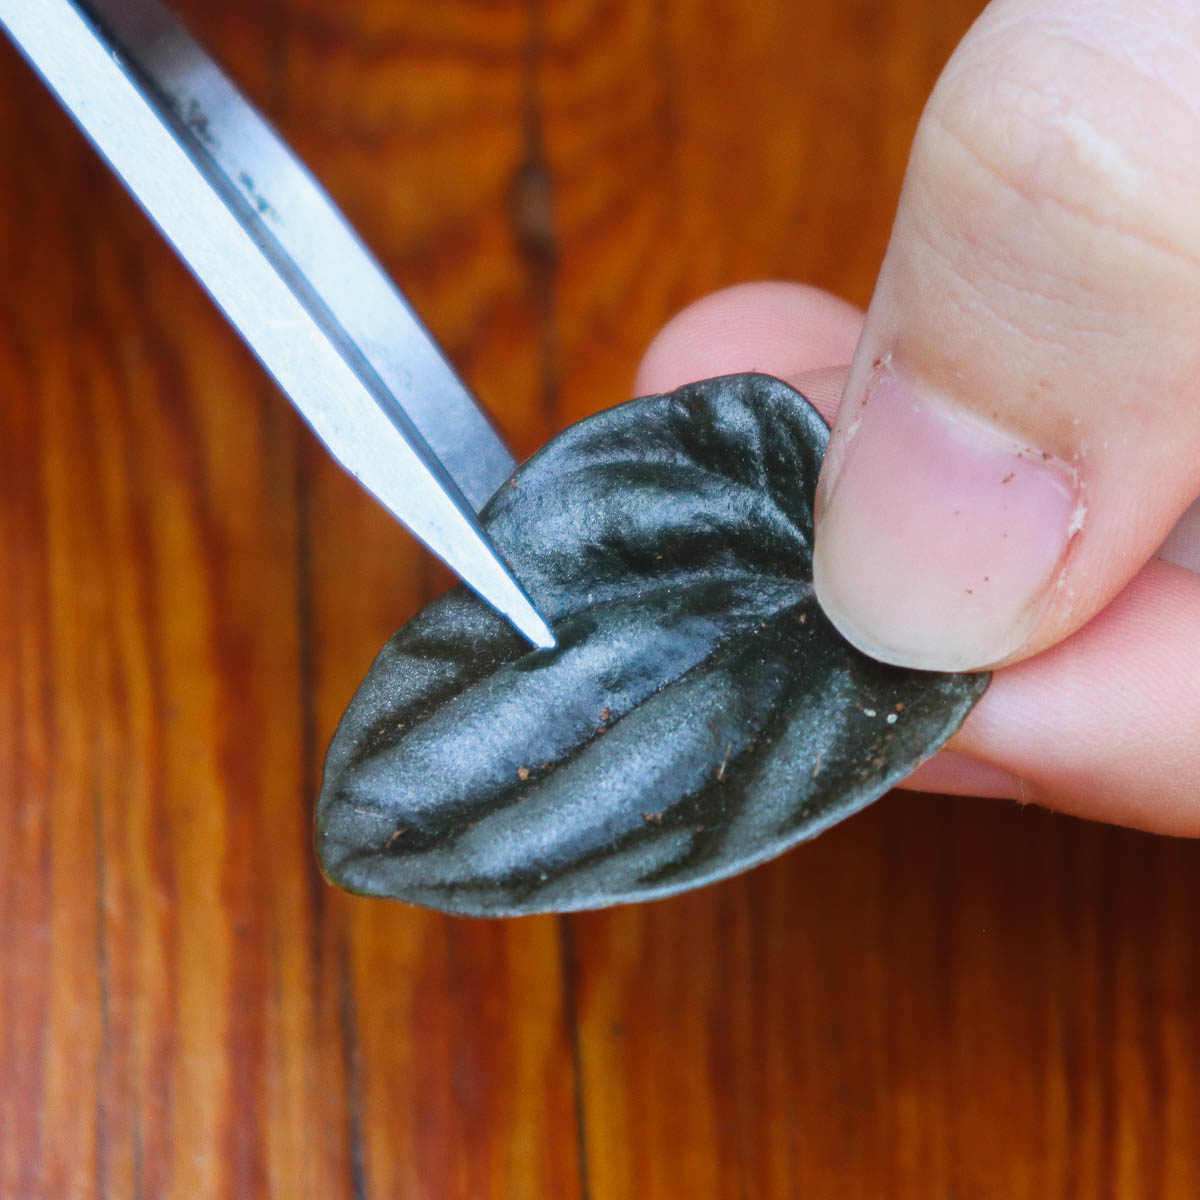
This next step is optional, depending on the size of the leaf. Smaller leaves may not need an additional trim, but large leaves often do. Due to their weight, larger peperomia leaves may fall over onto the soil, increasing your chances of rotting and decreasing your chances of root growth.
In these cases, it’s best to cut the leaf in half horizontally. This will also stop it from growing when planted, directing all available energy toward root growth.

The best part is, you can take these horizontal cuttings and root them as well. Simply dust the ends with rooting hormone before placing the cut side into the soil along with the rest of your cuttings. This method is not the most reliable in terms of root production, but it won’t do any harm to try it if you’re trimming the leaf anyway.
Root In Soil
Leaf cuttings can be rooted in water, but it is difficult to maintain the right water line while keeping the leaf above water. It is far easier to root leaf cuttings in soil, giving them something to anchor onto and making maintenance much easier to manage.
Grab a seedling tray or small pot and fill it with propagating mix. You can purchase these mixes online or make a light and airy one by combining equal parts perlite and coconut coir with added vermiculite to improve drainage. Moisten the soil before you get started to make rooting easier.
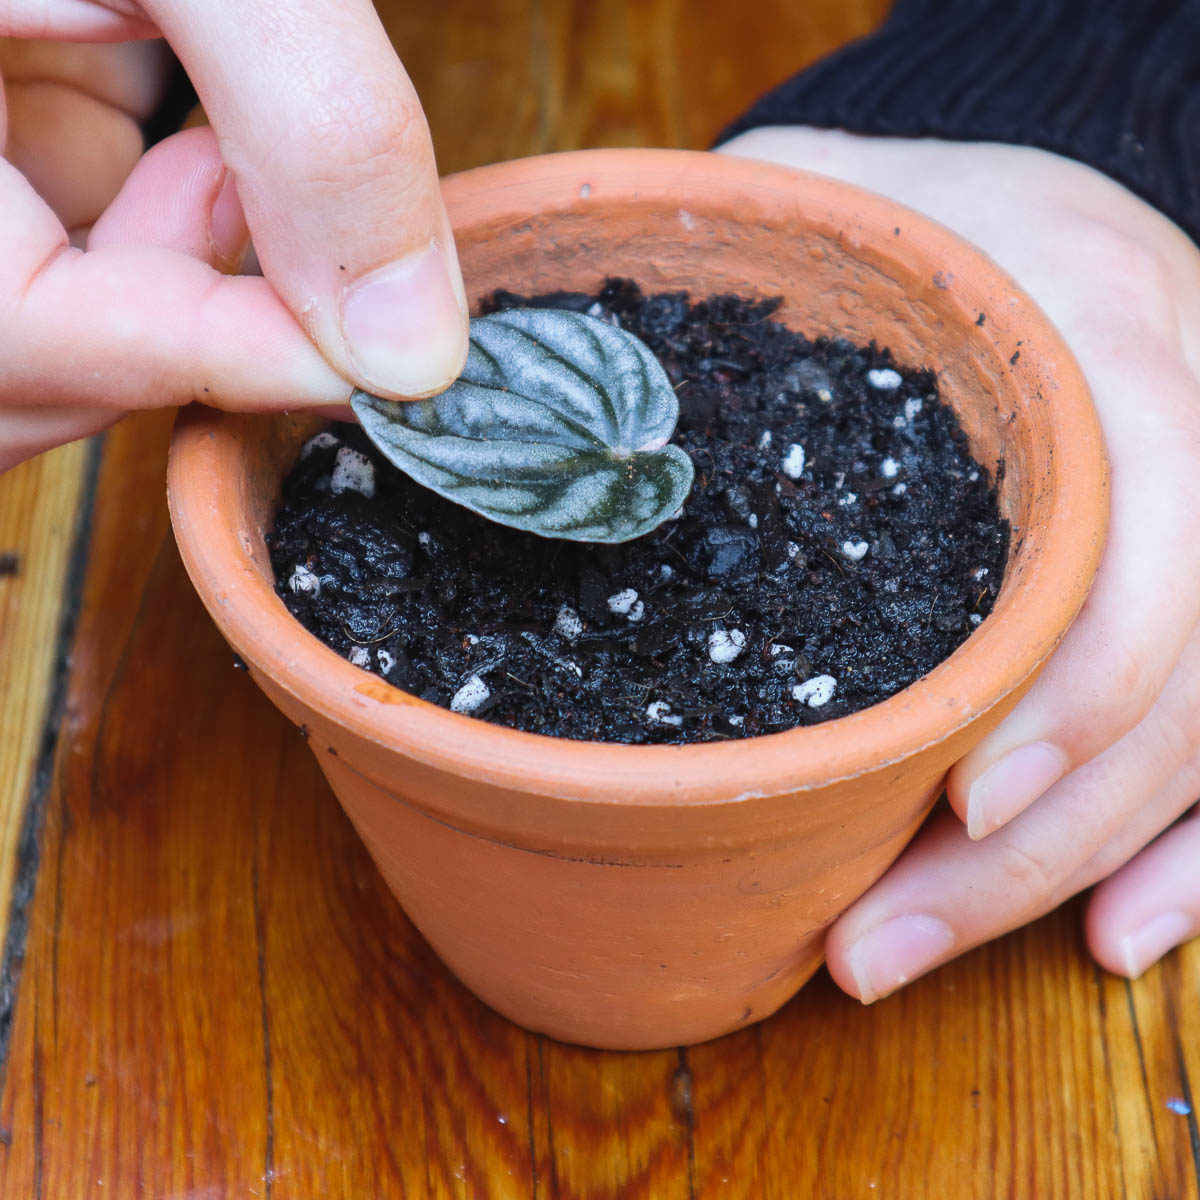
Then, simply press your leaf cuttings into the soil at a slight angle so the leaf remains off the soil line. If it does not stand up on its own, use a toothpick to rest the leaf above the soil line.
Cover
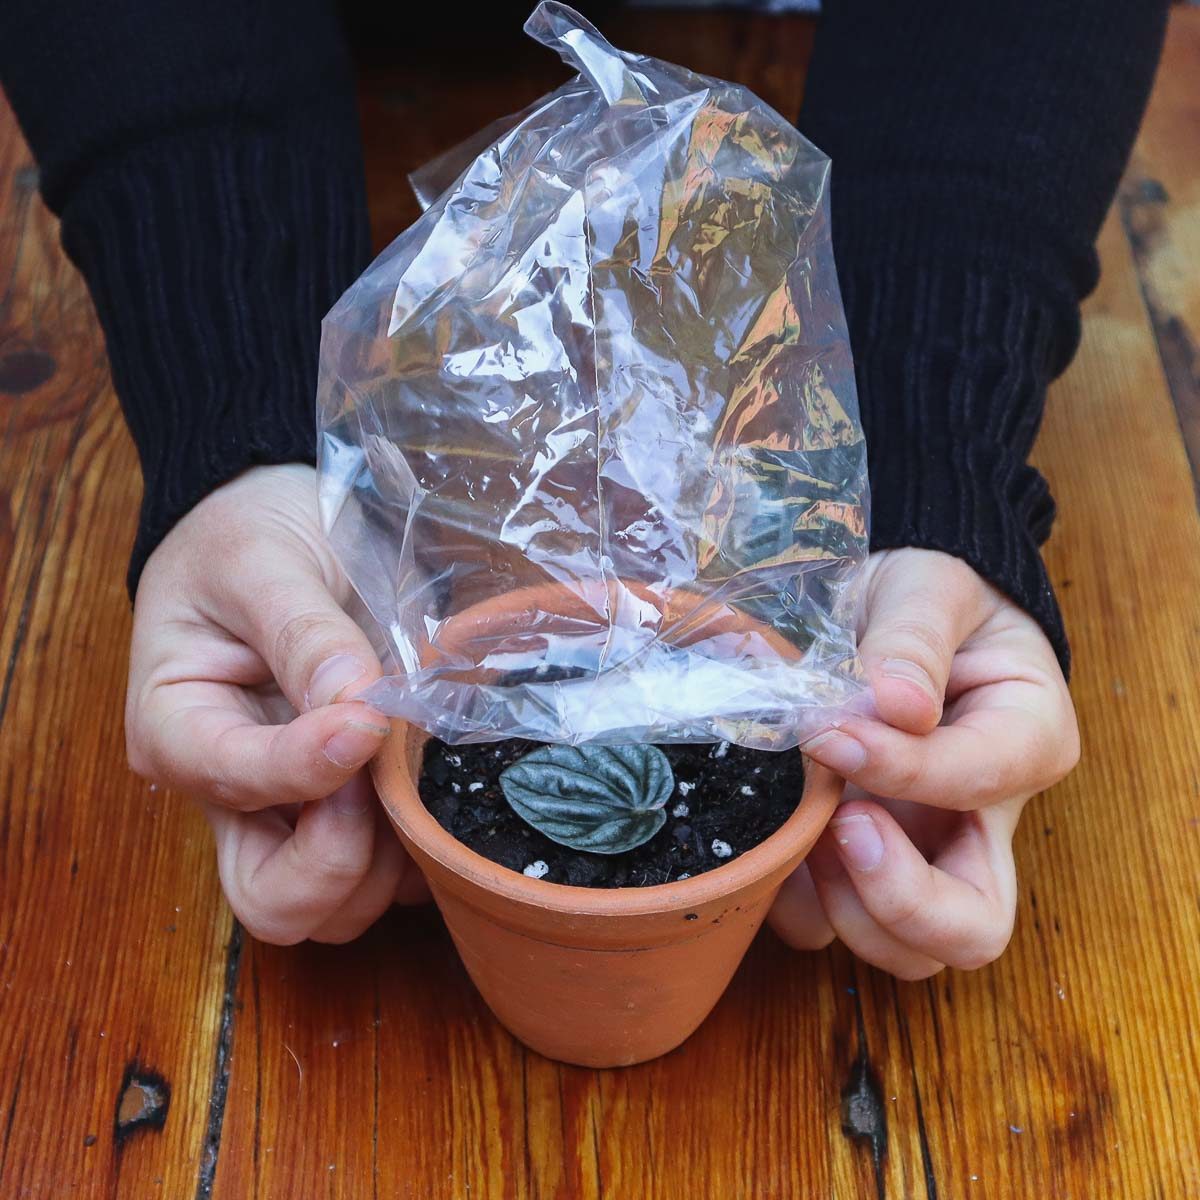
As leaf cuttings are slightly more difficult to root than stem cuttings, you need to ensure the environment is ideal for root growth. Warmth and high humidity are key to root production and need to be monitored if you want your propagation efforts to be successful.
To increase the humidity around your cuttings, simply cover with a clear plastic bag, making sure the sides don’t touch the cutting. Humidity will build up inside the bag, creating the perfect environment for root growth.
Care

Keep the soil consistently moist by lifting the plastic every couple of days and lightly misting the top layer of soil. The plastic will also help trap water inside, limiting evaporation and lowering your need to water often. Place the tray or container in an area with bright, indirect light and look out for signs of growth appearing at the base of the cutting.
Once a plantlet appears, allow it to grow to at least an inch or two tall before transplanting. Remove the original leaf, keeping the plantlet and all its original roots. Transplant into specialized houseplant potting mix and a larger pot to allow your new peperomia to grow to its full potential.