ZZ Plants (Zamioculcas zamiifolia) are renowned for their resilience and low-maintenance nature, making them ideal plants for beginners.
Due to their popularity, it’s not hard to see why houseplant enthusiasts want to grow as many of these stunning plants as possible.
Luckily, it’s easy to make more of these plants for free with various propagation methods. Choose to propagate from cuttings, leaves, or by division – or all three – for a mass of ZZ Plants you can grow almost anywhere.
How To Propagate From Stem Cuttings
Choose A Stem
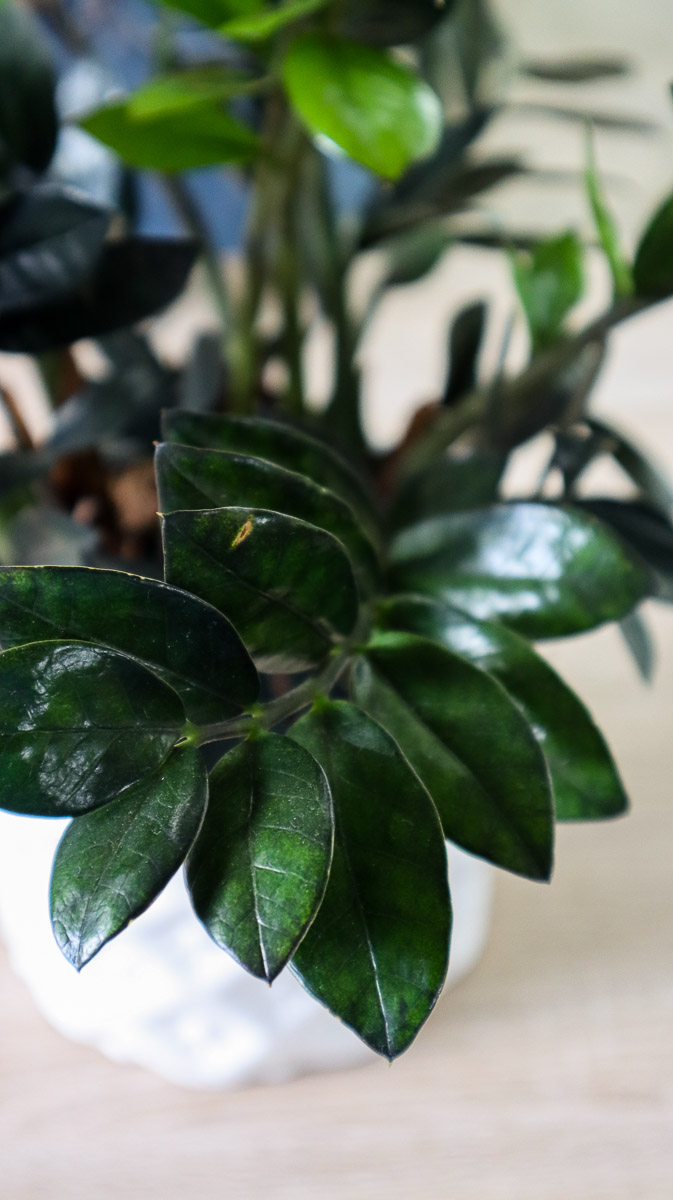
A healthy propagated plant starts with a healthy cutting. Take a look at your plant and choose a healthy stem (technically a petiole) with dense leaf growth and glossy, deep green leaves.
Avoid any stems with yellow or brown leaves, or those with areas of damage or disease, as these problems can spread to your new cutting.
Think about aesthetics when choosing your stem. Since there will be an exposed cut mark, choose an area that is covered by other foliage. Also consider the balance of the overall plant and potentially take two cuttings – one from either side – to maintain the plant’s shape.
Remove The Stem
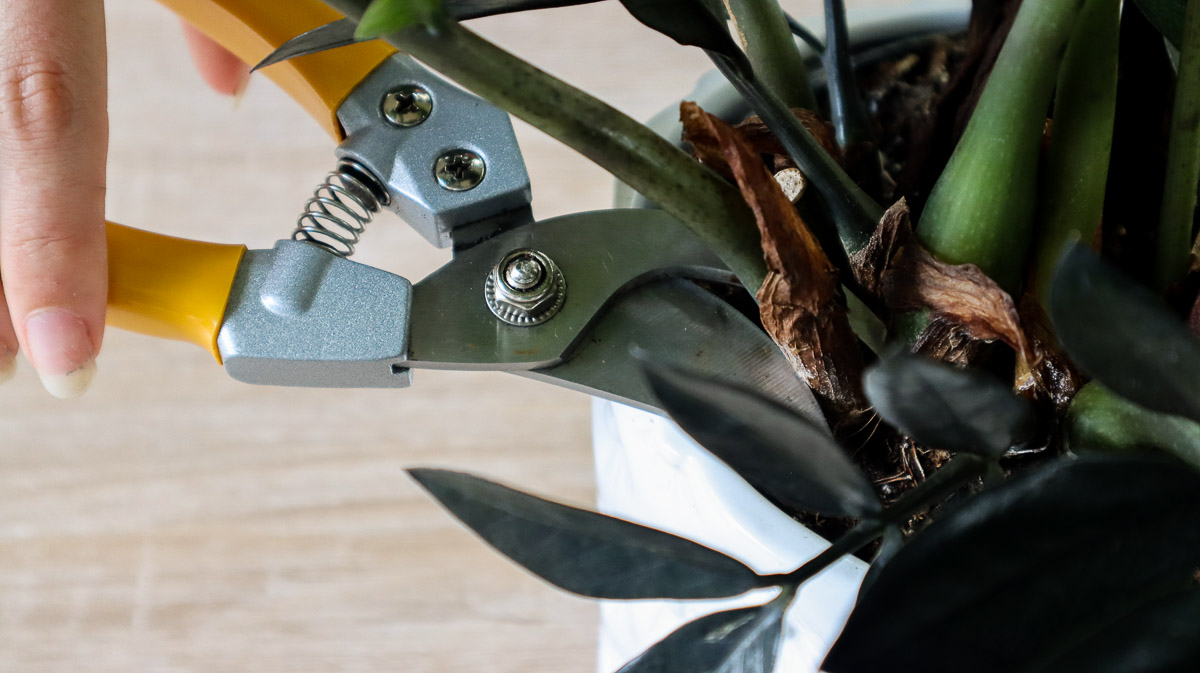
With your stem (or stems) chosen, grab a sharp knife or pair of pruning shears. The cleaner the cut your can make, the faster the plant will heal.
Before you start, make sure you clean and disinfect your tools. If they were previously used, any implements can harbor bacteria and disease that spread not only to the new cutting but also to the parent plant.
You can either remove only the end few inches of the stem or the whole stem at once. However, the stem won’t grow back once cut, so your plant will generally look tidier when the whole stem is removed.
Cut the stem into a minimum of 4-inch sections. You can keep longer cuttings if you want them to look more established while they develop roots, which I’ve done here.
Remove The Leaves
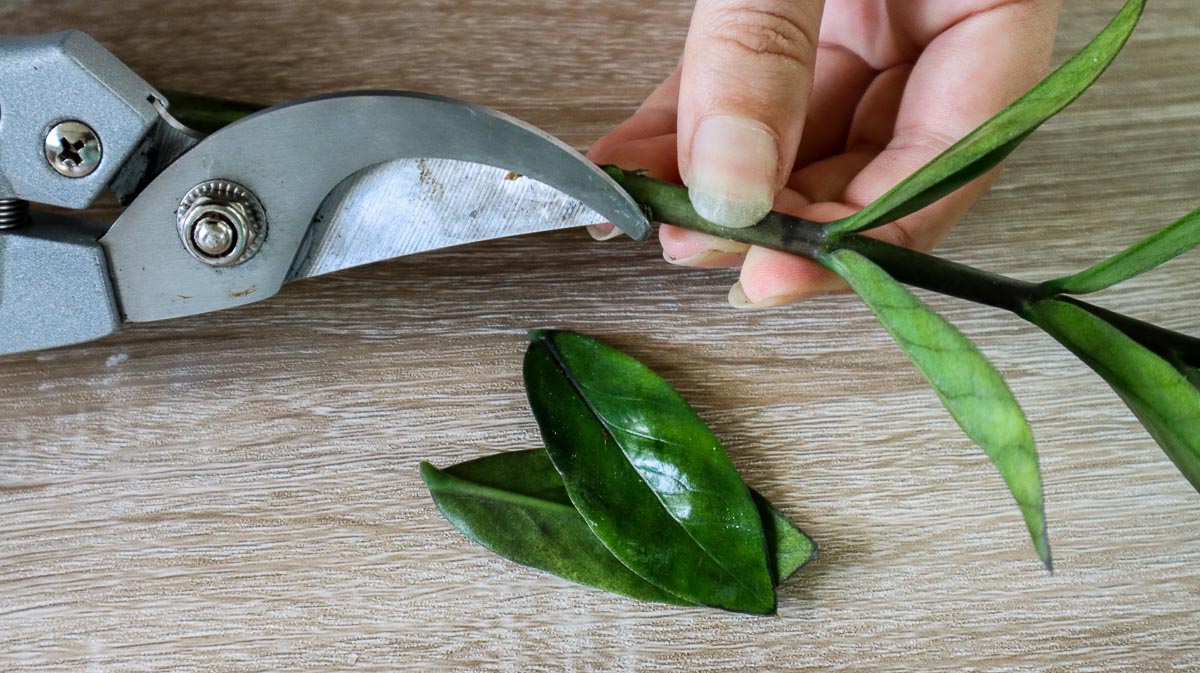
The bottom half of the cutting will either rest in water or in soil. That’s why it’s important to remove the leaves, leaving part of the stem exposed.
Simply pull the leaves off with your finger or trim them off with scissors. You don’t have to throw these away either – by following the next propagation method, you can use them to grow even more ZZ Plants.
Root
Like most stem cuttings, you can either root your ZZ Plant in water or soil. Water allows you to keep an eye on rhizome and root growth, but soil produces stronger roots more resistant to transplant shock.
To root in water, grab a glass tall enough to keep the cuttings upright. Make sure it is clean before filling to prevent bacterial growth. Then, pop the cutting in the glass so the bottom half is covered, and the leaves are out of the water.
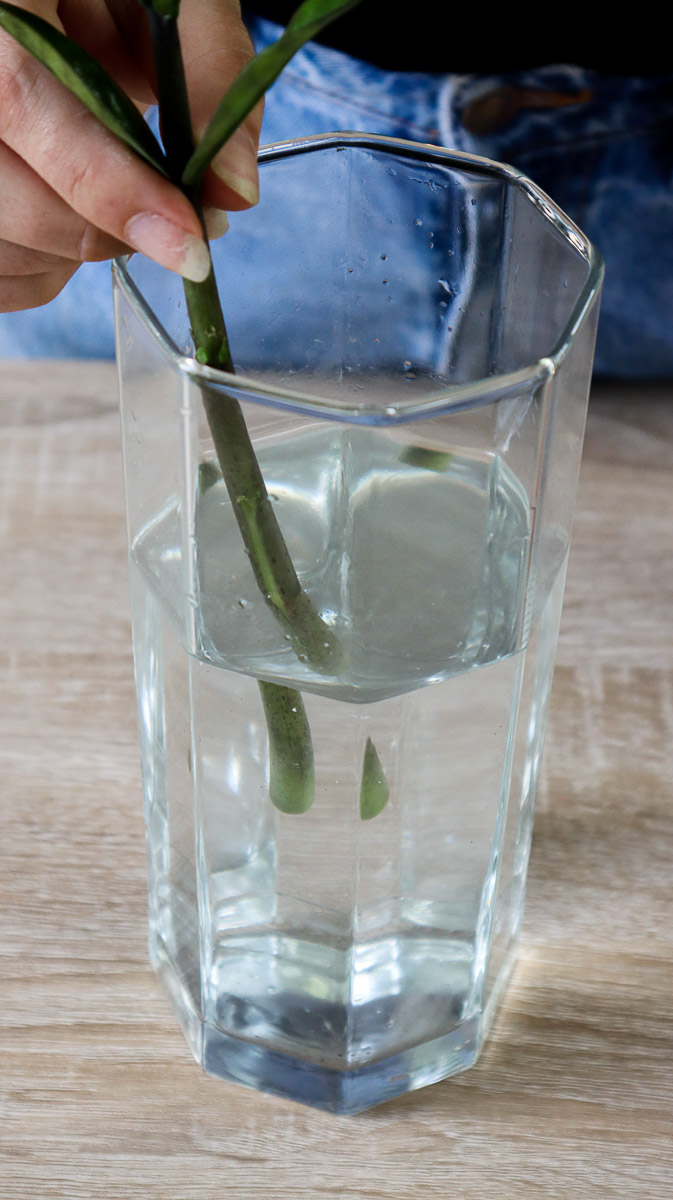
Leave the glass in a bright spot away from direct sunlight. Top up the water every few days and replace it completely around once a week.
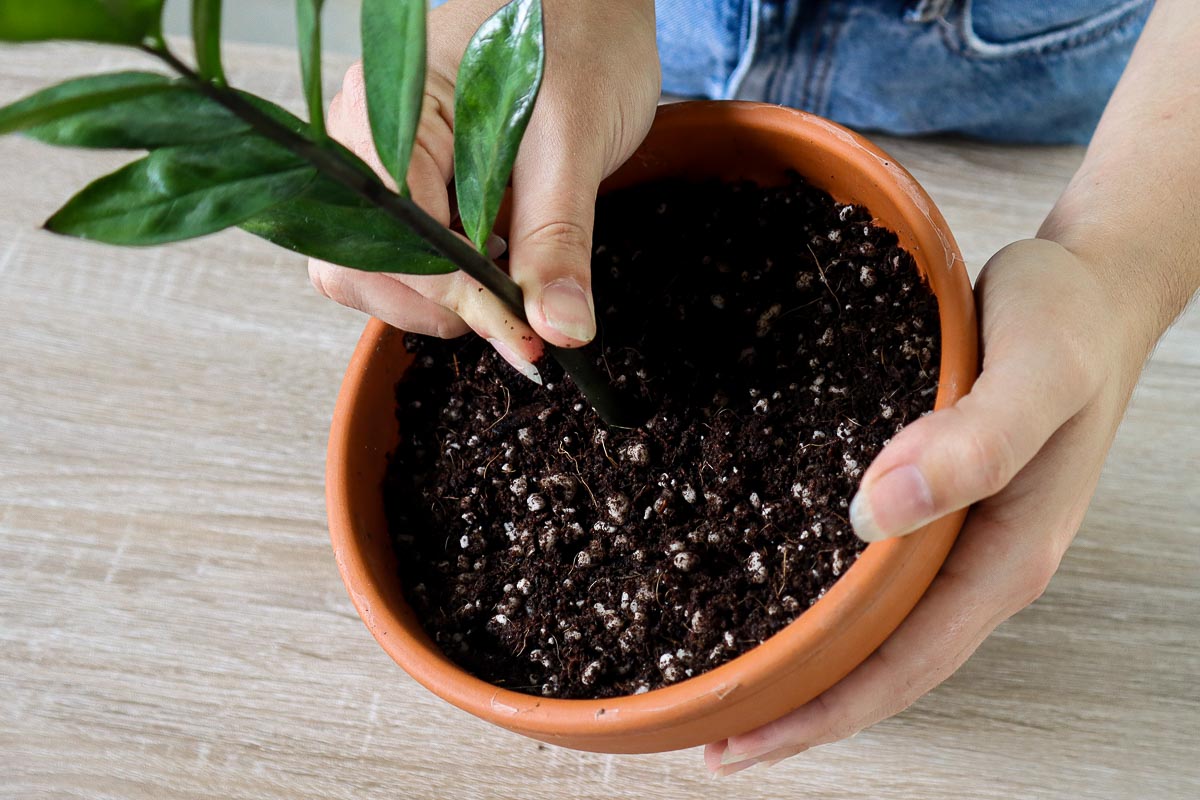
To root in soil, prepare a mixture of equal parts coconut coir and perlite. This mixture drains well enough to prevent rotting while retaining enough moisture to encourage rhizome and root growth. Fill a pot with the propagating mix and water to pre-moisten.
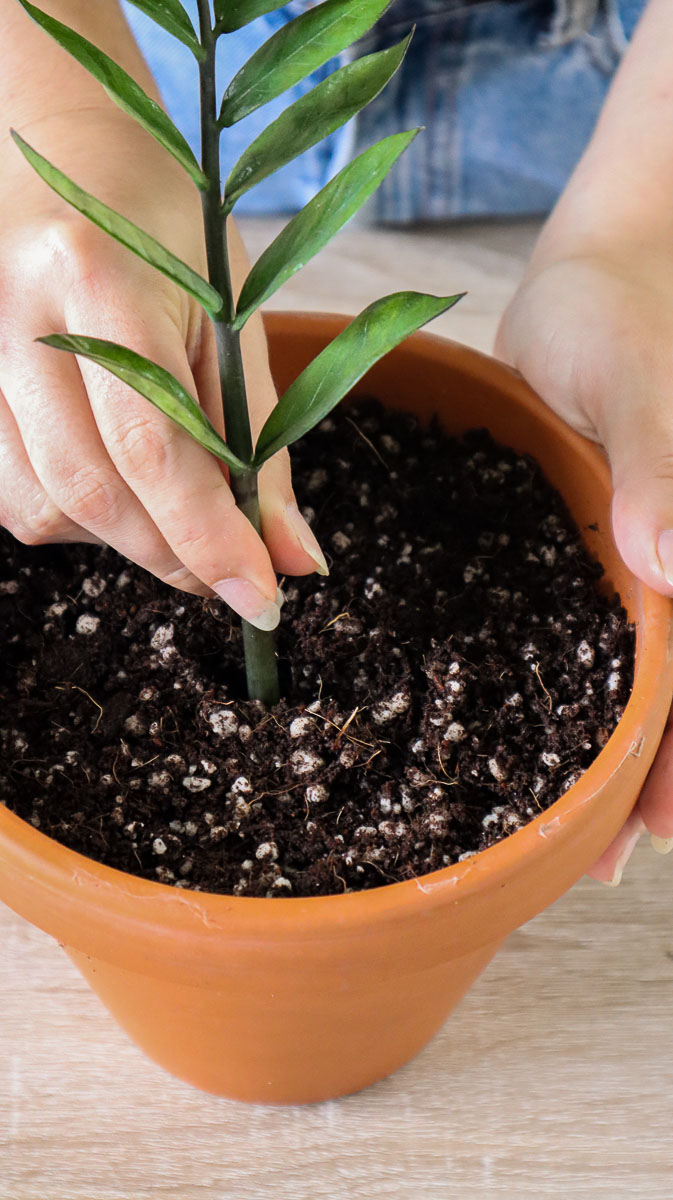
Make a few holes in the soil with your finger and plant the cutting, or several cuttings in the same pot if you have trimmed them. Press around the cutting to anchor it in place and move the pot to a bright spot with plenty of indirect light. Keep the soil moist but not waterlogged until signs of new growth emerge.
Transplant
Once the rhizome has developed roots an inch or two long in a few months, you’re ready to transplant your cutting.
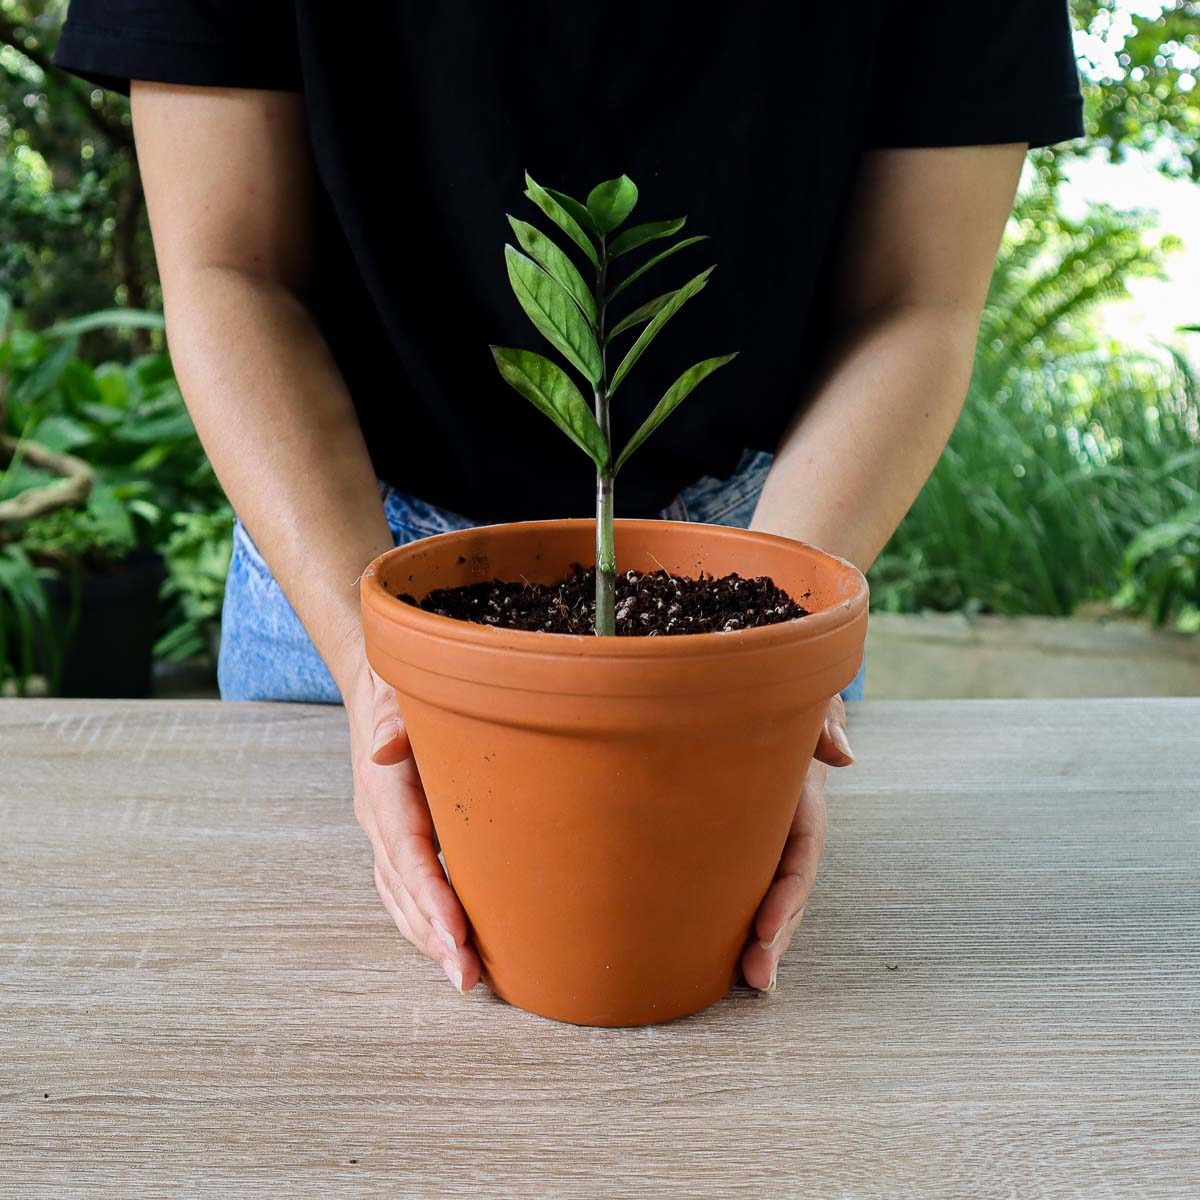
Fill a larger pot with houseplant soil mix, or mix your own by combining two parts potting soil with one part perlite and one part coconut coir or peat moss. Make sure the pot has enough drainage holes to prevent root rot.
Plant one or two cuttings in the same pot. Press around the plant to remove air pockets and water immediately after replanting.
How To Propagate From Leaf Cuttings
Remove A Leaf
Although not as common as stem cuttings or division, leaf cuttings are also a popular propagating option for ZZ Plants. If enough of the petiole is removed with the leaf, it will develop its own rhizome, eventually growing into a full plant.
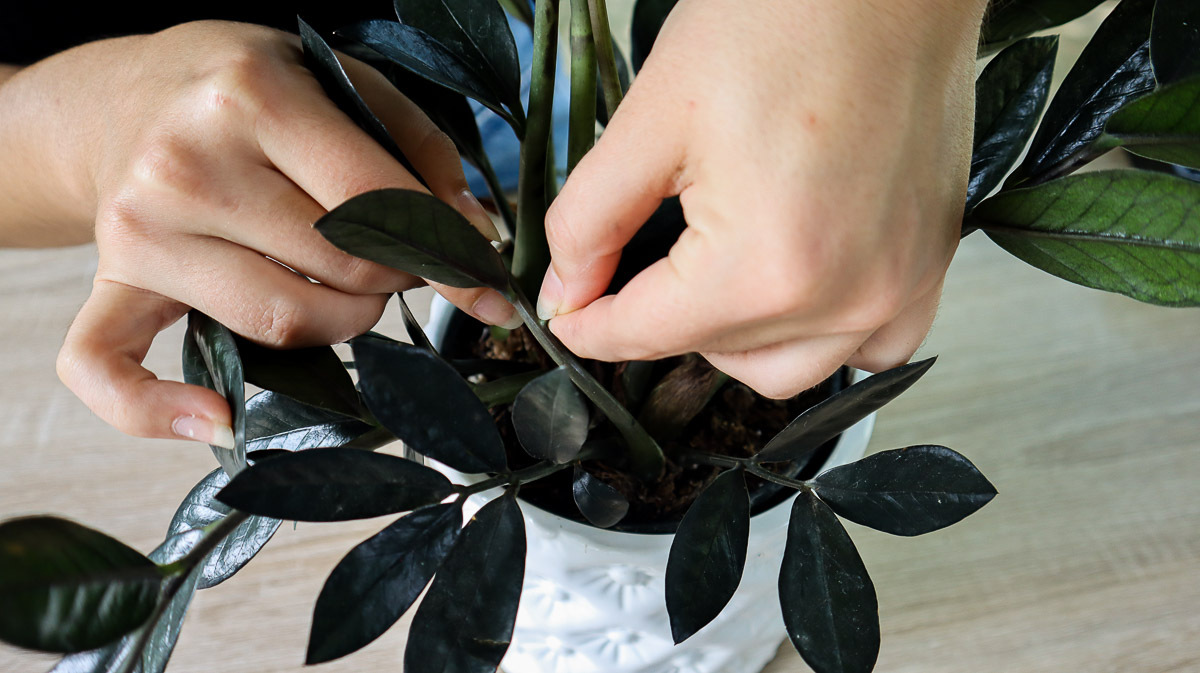
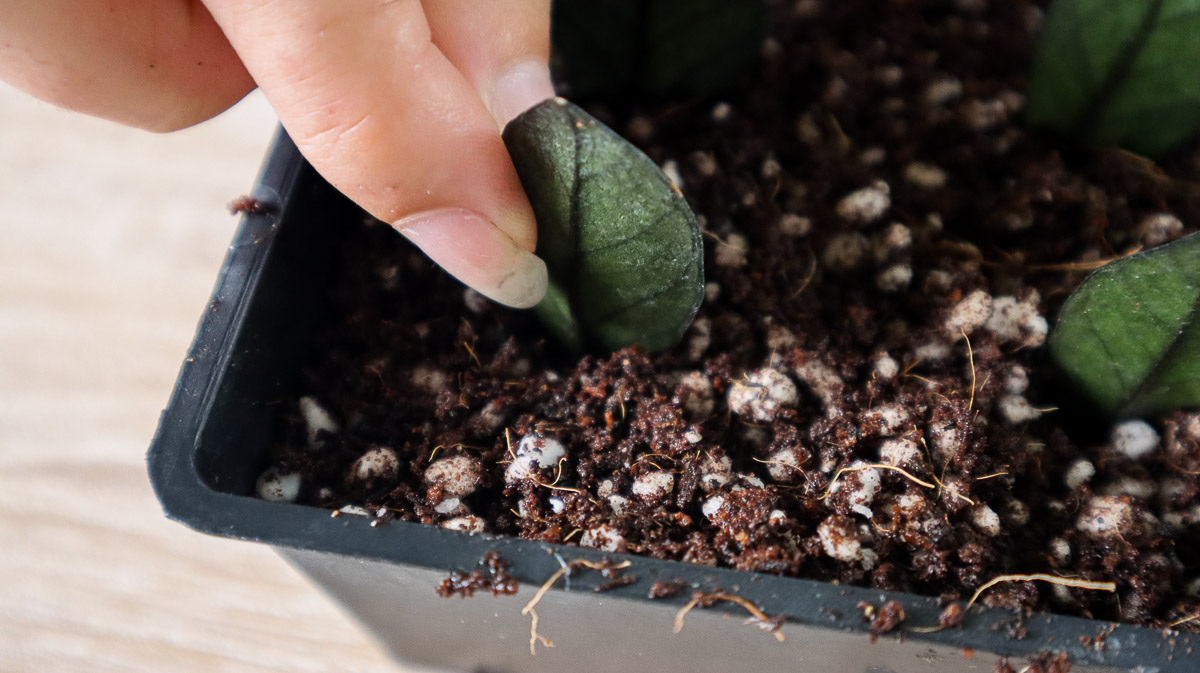
This process couldn’t be easier. Simply remove any healthy leaf from the main stem with your fingers, twisting as you go. Part of the stem needs to be attached to the leaf to develop a new rhizome.
You can do this with a single leaf, but as rooting is not as reliable for leaf cuttings, it’s best to remove a few at once. You can also use the leaves you removed from stem cuttings using the previous propagation method to try both at once.
Rooting
Rooting In Water
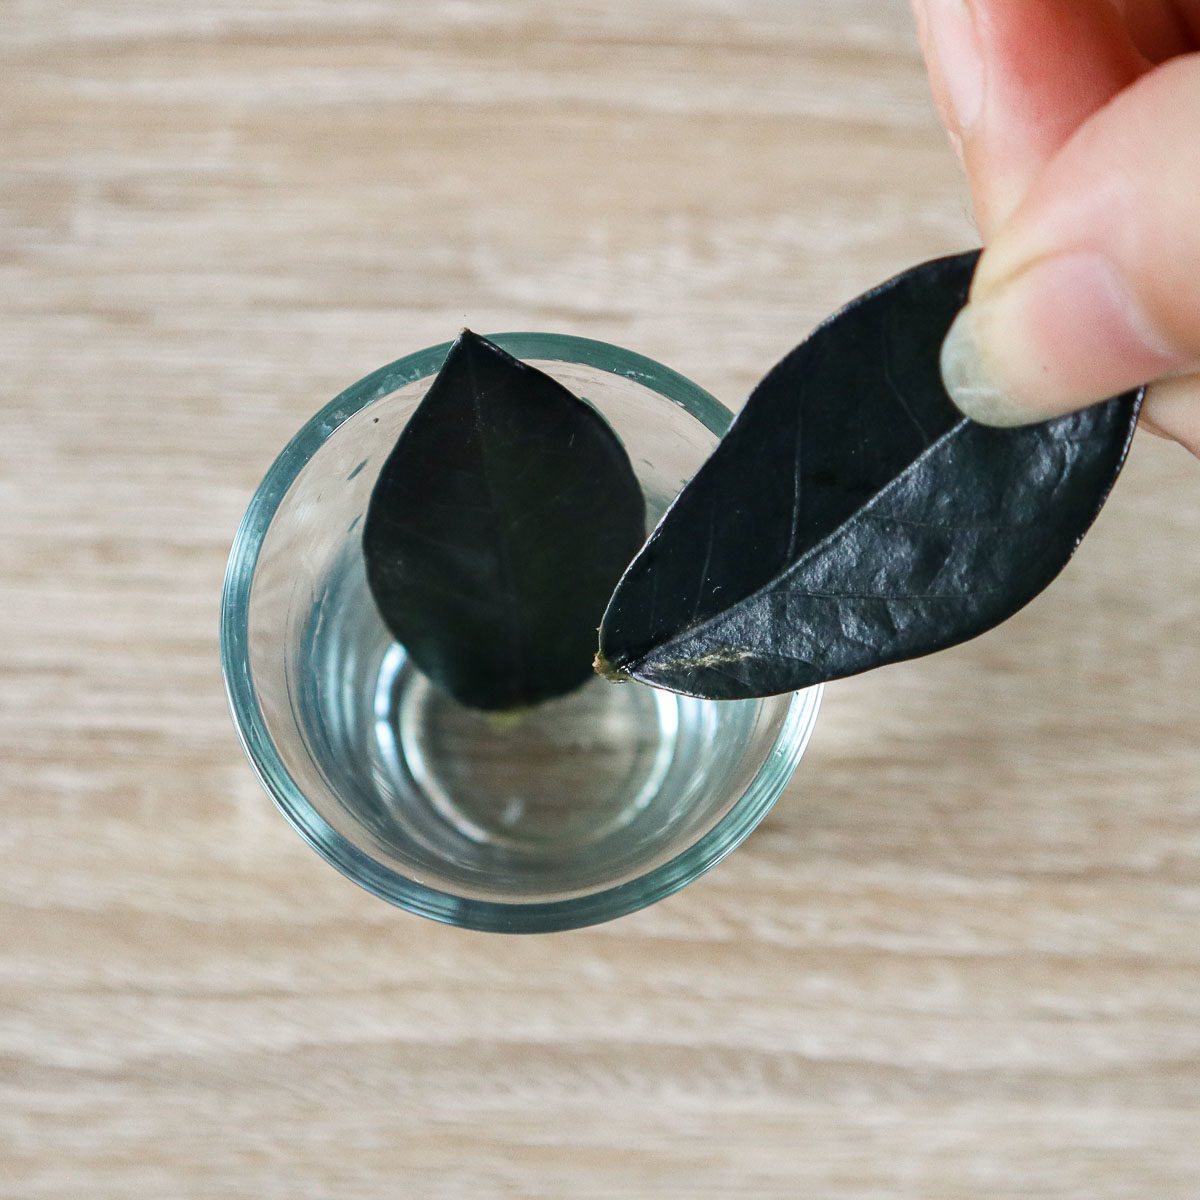
With the right glass, you can root these leaves in water. This is tricker than with stem cuttings as the water line needs to remain low to avoid touching the main section of the leaves, meaning it will need to be topped up regularly as it evaporates. A thin glass is also required to stop the leaves from falling over into the water and rotting.
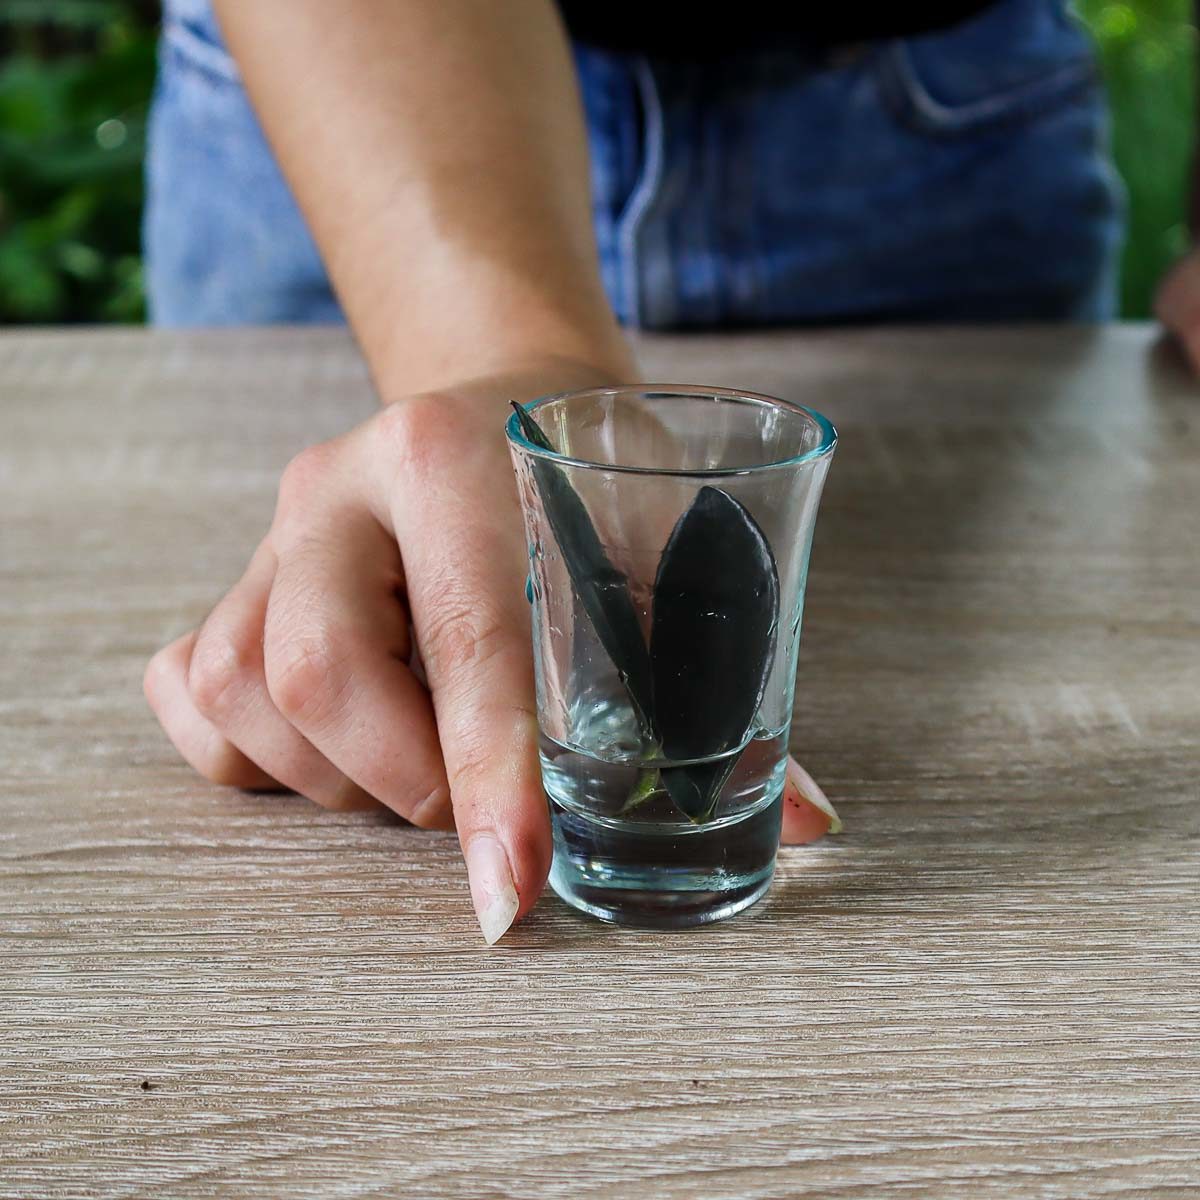
Fill your chosen glass with filtered or distilled water and rest the leaves inside. Continue to top up the water every day or few days as needed. Once you spot rhizomes growing on the ends of the leaves, transplant into soil.
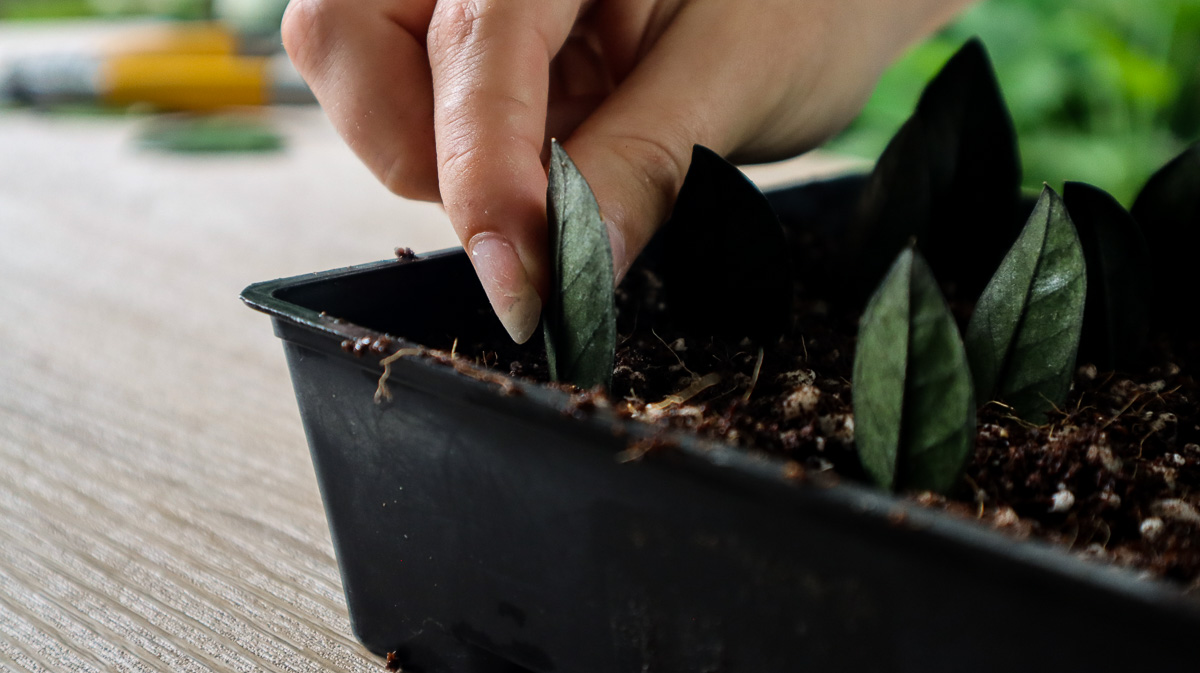
Rooting In Soil
Rooting leaves in soil generally requires less care and maintenance as the soil holds on to more moisture than the thin layer of water can provide, especially on a hot day.
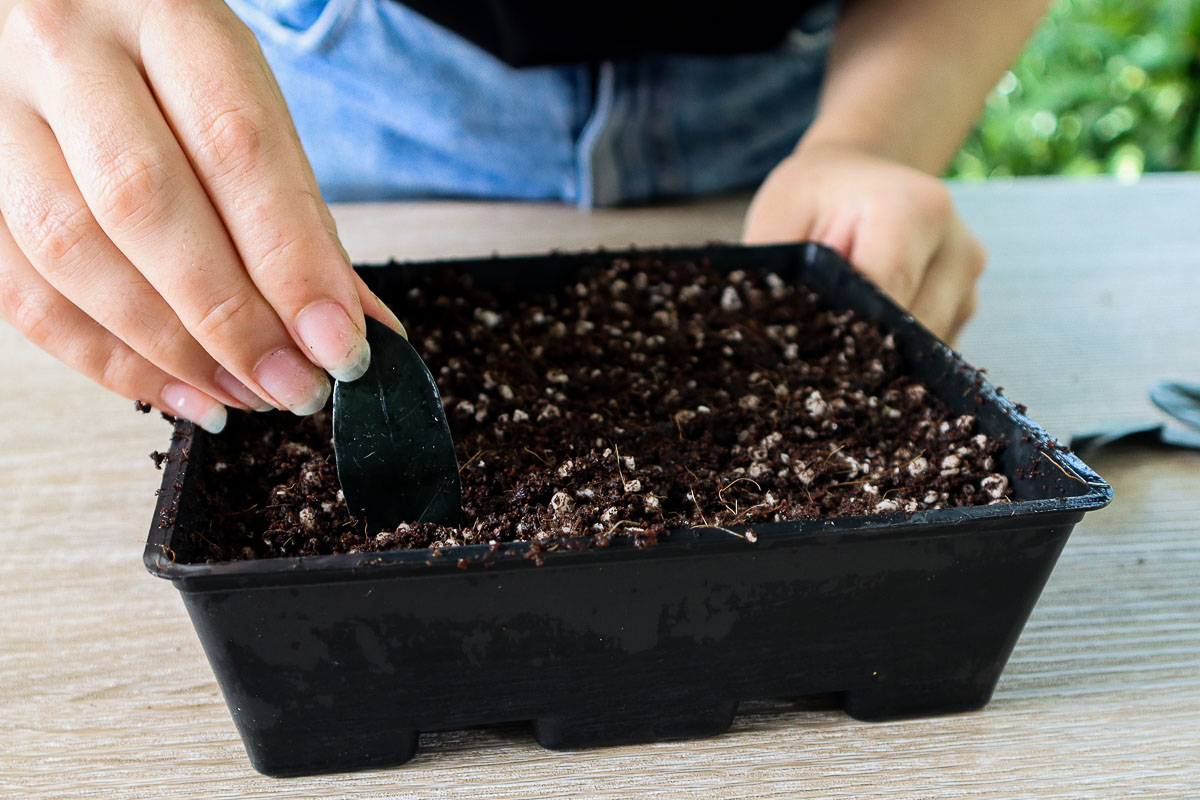
Creating a mixture of coconut coir (or peat moss if you already have some) and perlite, fill a tray and water beforehand, allowing the excess to drain. Then, simply press the leaves into the soil upright, leaving most of the leaf exposed.
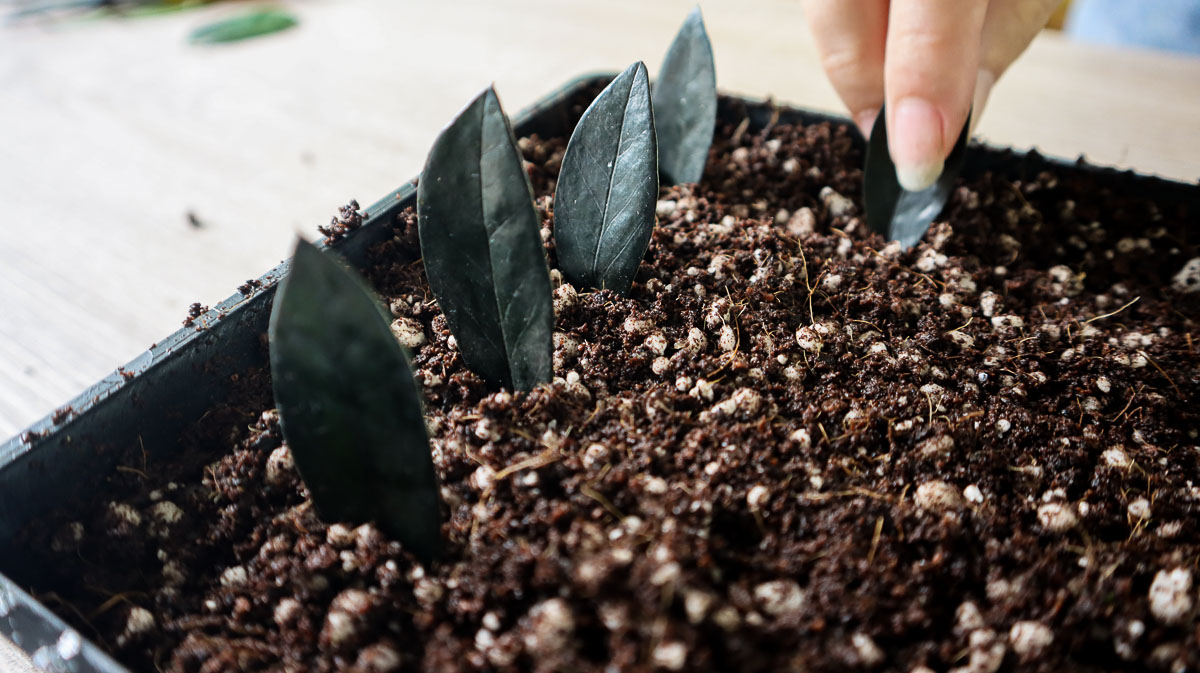
Keep the tray in a warm, bright area away from any drafts to avoid knocking the leaves over. It may take a few months for a rhizome to develop, and even longer for a full petiole to grow, but these wonderfully low-maintenance plants are worth the wait.
Transplant
When you notice rhizomes growing small roots, you can transplant the leaves into a pot with more space for growth or leave them to grow longer roots before transplanting to prevent shock.
As with stem cuttings, simply prepare the soil mixture and plant as normal. Leave the new pot in a spot with bright indirect light and keep the soil evenly moist but not waterlogged until new growth appears.
How To Propagate By Division
Remove The Plant From The Pot
One of the easiest ways to instantly get two plants out of one is to propagate by division. This is only possible with established plants, but it does also improve their growth by limiting overcrowding and giving them more space to expand within the pot.
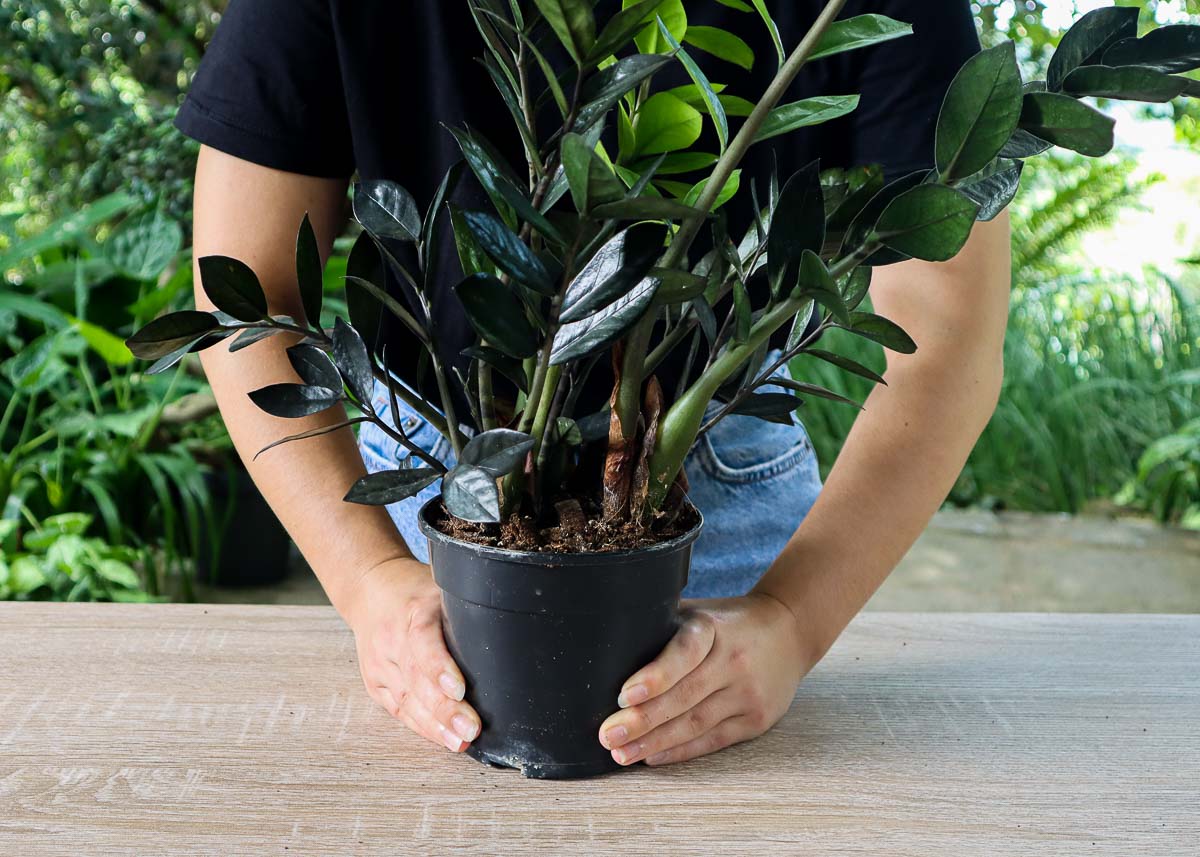
As with repotting, start by removing the plant from its existing pot. Hold off on watering a couple of days before you get started to make removal easier. If it’s still stuck, squeeze the sides of the pot gently to release it.
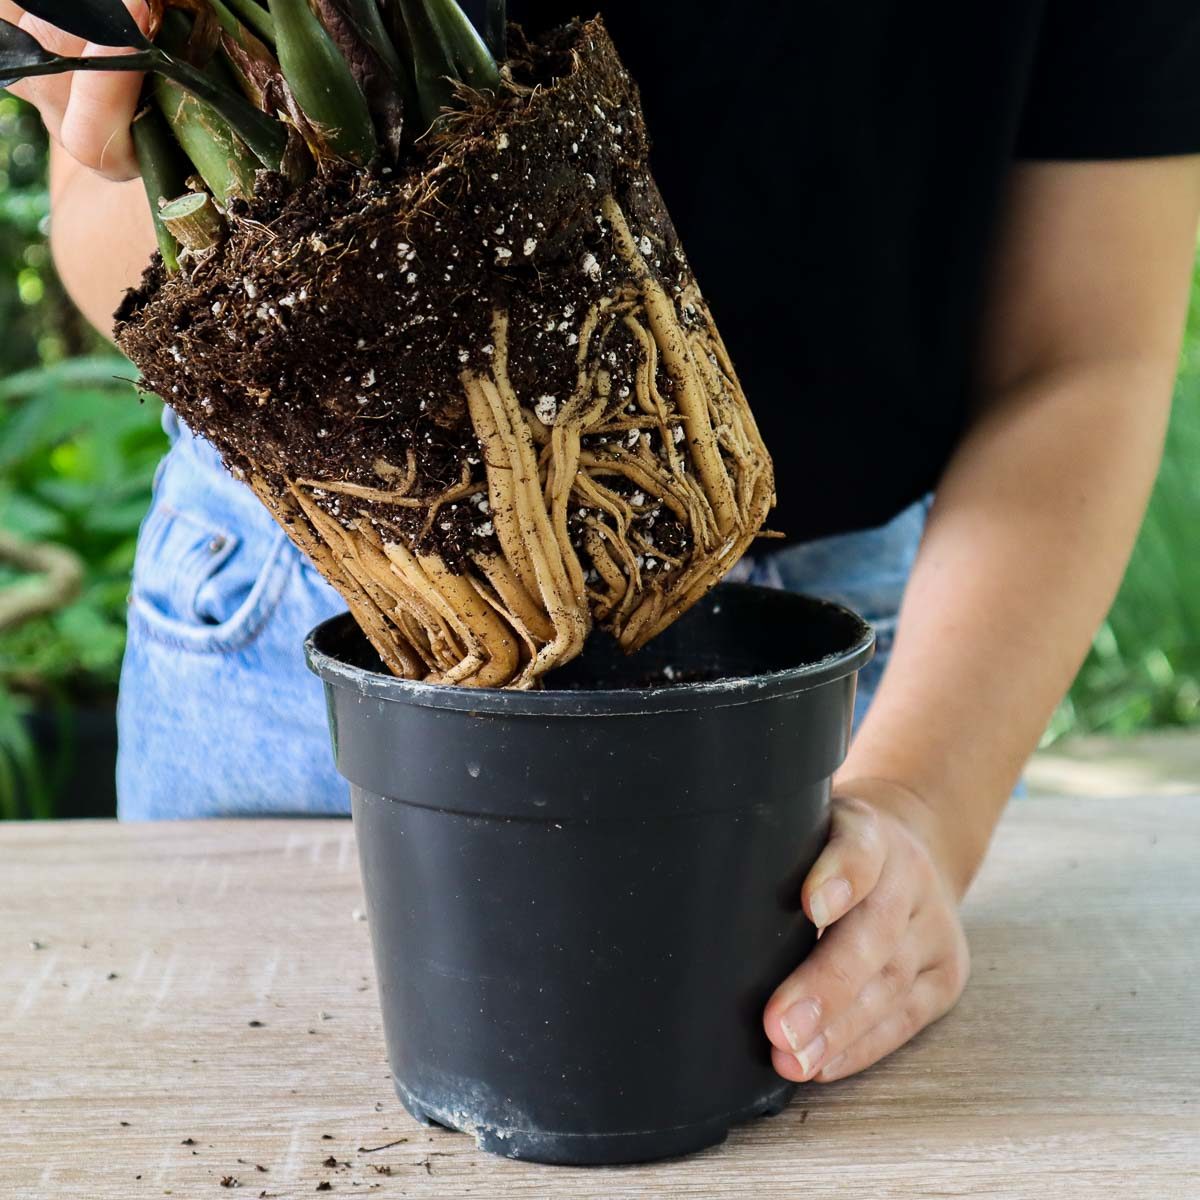
Shake off all the old soil to make the root growth easier to see. You can also rinse them under water to remove any traces of old soil before separating.
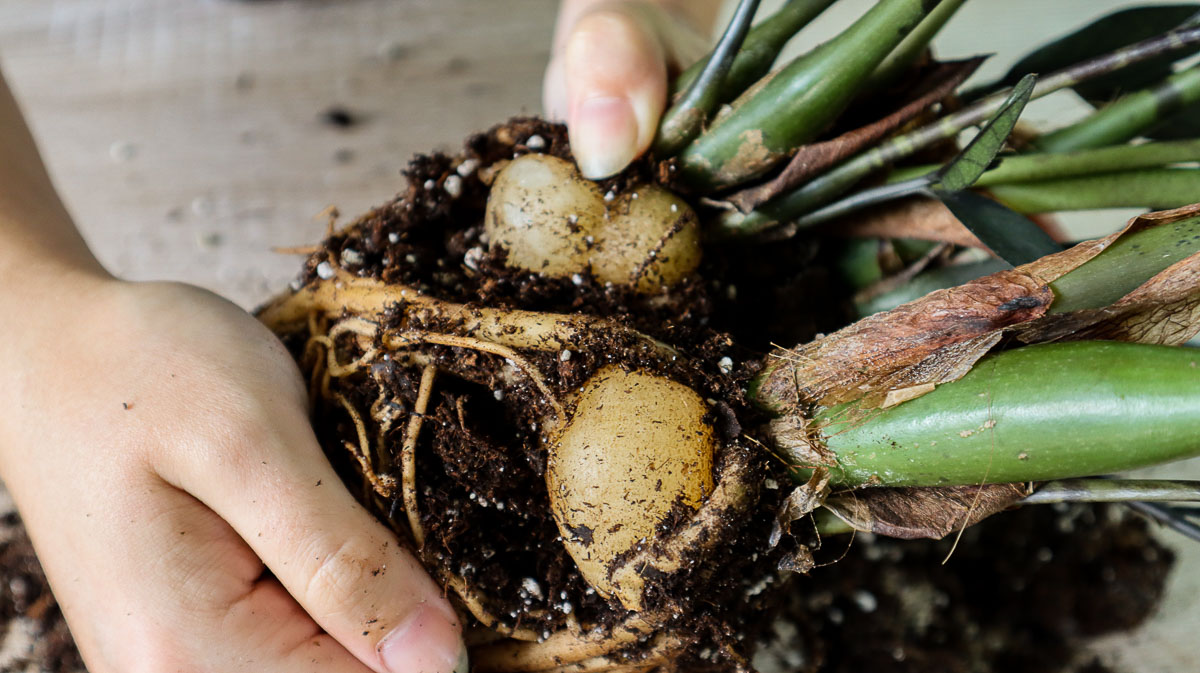

Divide Into Sections
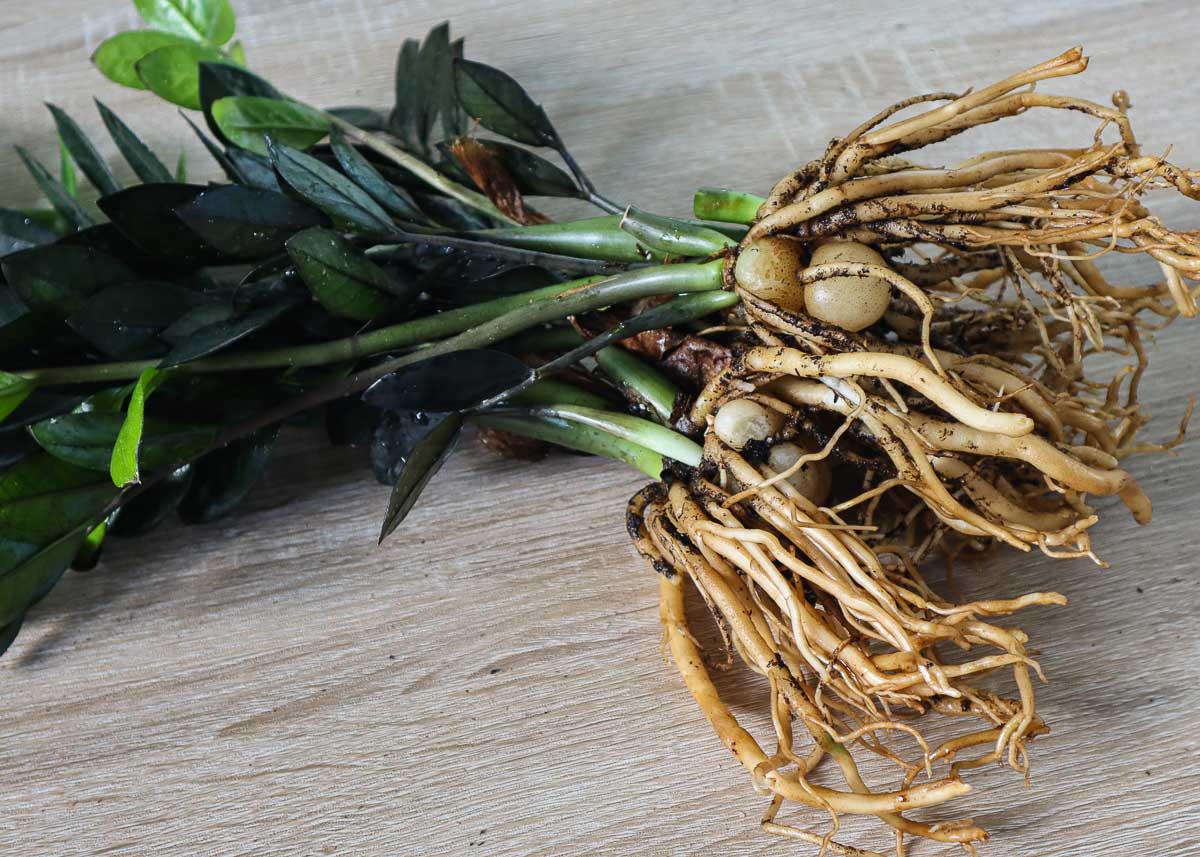
With the rhizomes and roots clearly visible, you should see clear sections that the plant can be split into. Each section should have plenty of root growth to prevent shock and stress when transplanting.
Some divisions can be pulled apart while others will require cutting. Make sure you use a sharp knife to separate them as any damage will take longer to heal, leaving your plant vulnerable to pest and disease infection for a longer period.
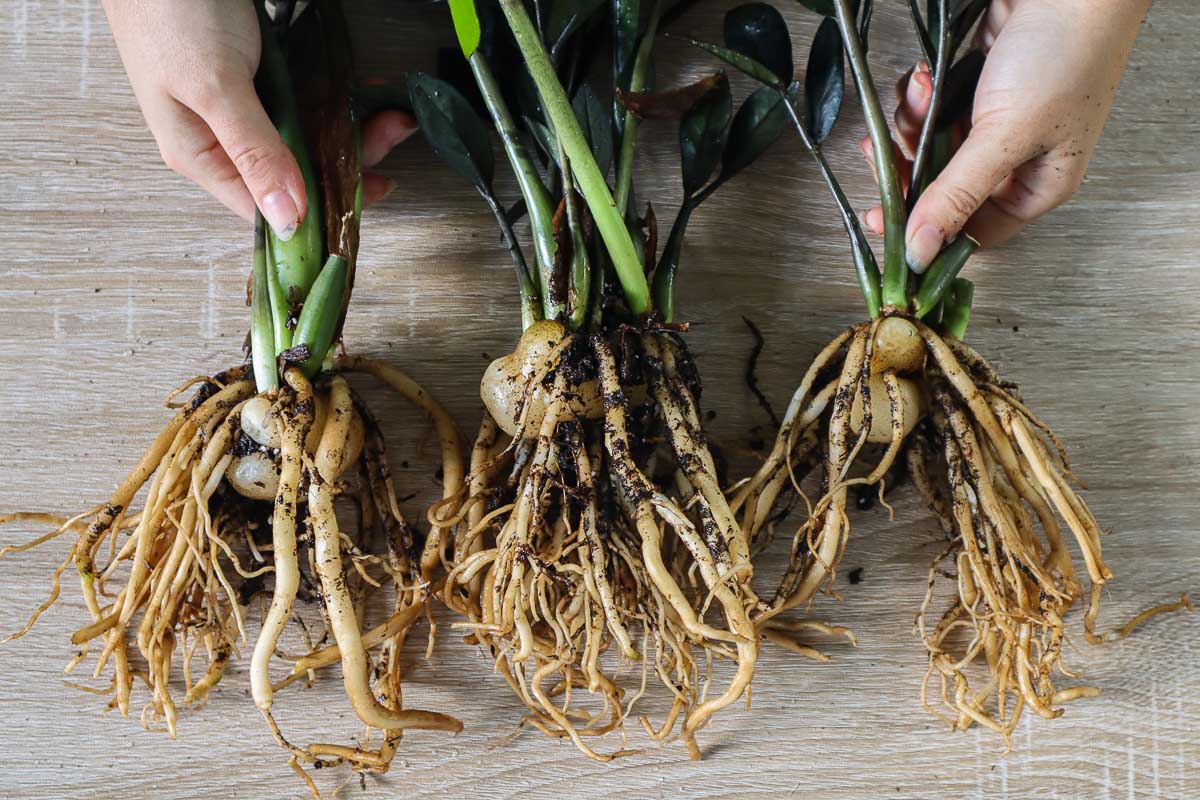
If your ZZ Plant is very overgrown, it may be hard to identify the easiest way to separate it. Luckily, they can still survive if cut into small sections, as long as there are enough roots on each section. Use a sharp and disinfected knife and cut straight into the rhizome, avoiding root and stem damage as much as possible.
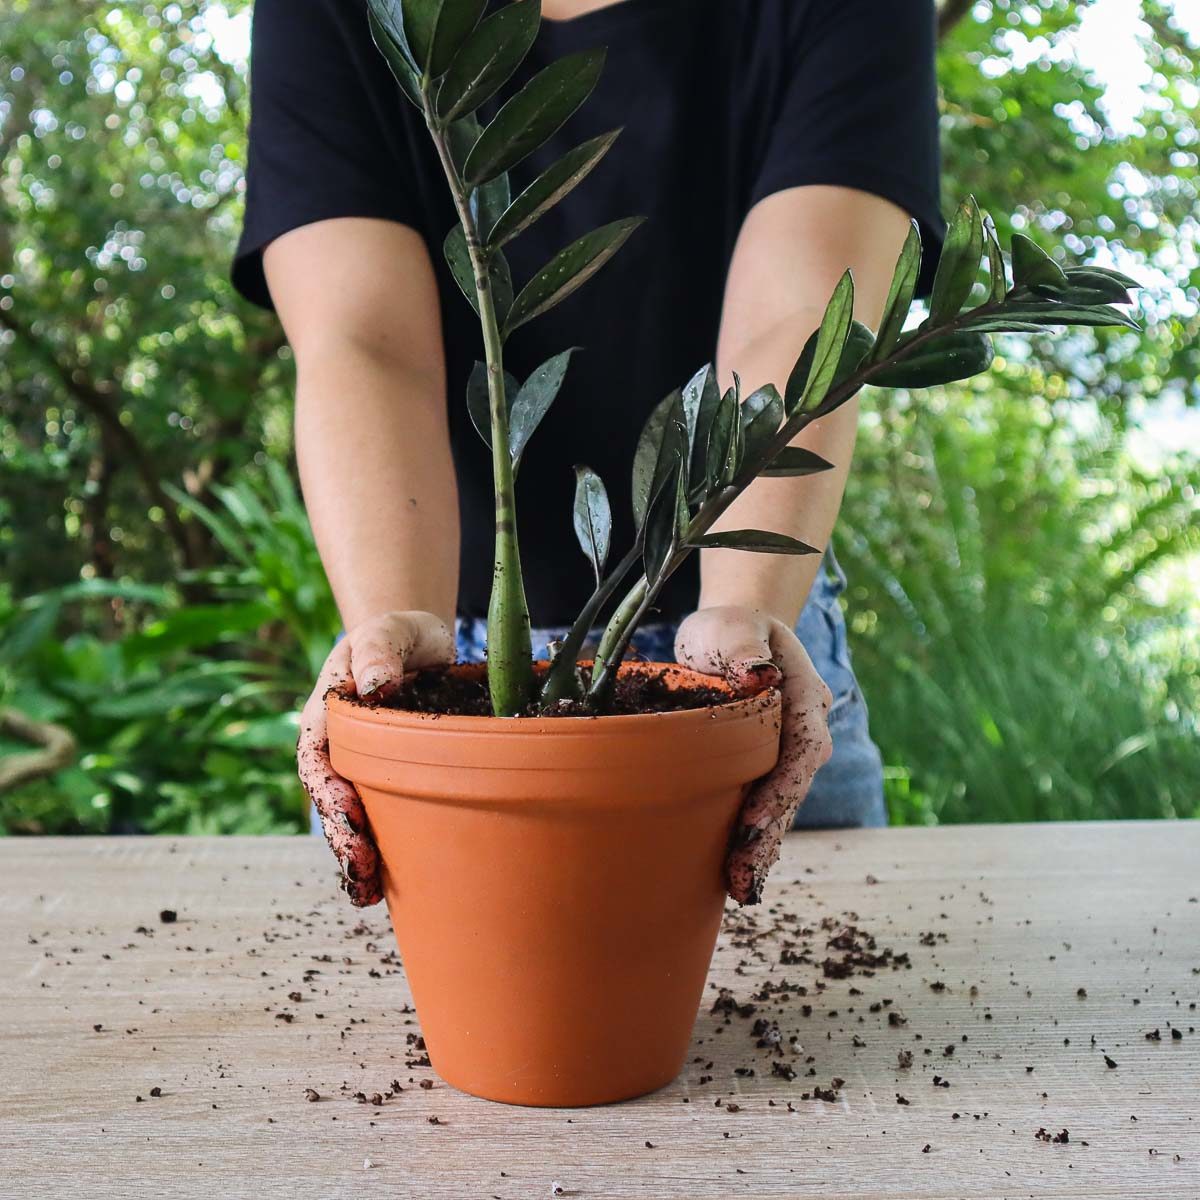
Repot
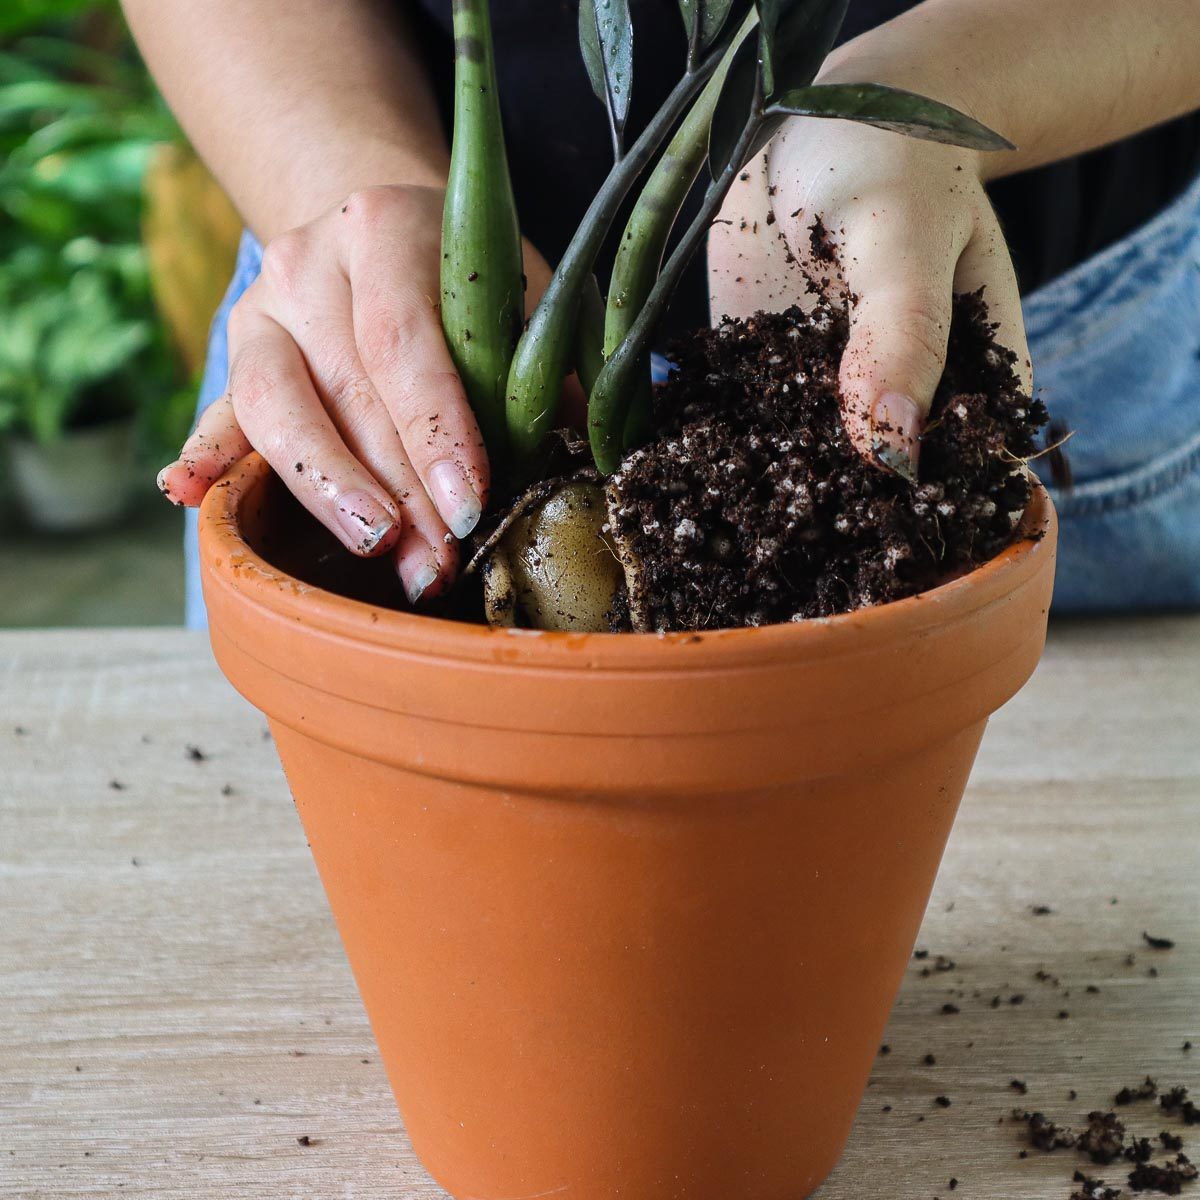
Prepare as many pots as there are divisions by filling with a specialized houseplant potting mix. Plant each division in a separate pot by filling with soil, holding the plant inside, and filling around the gaps with more soil up to an inch or two below the rim.
Press down around the base to anchor the plant in place and water well. Leave the new pots in a spot with bright indirect and continue to water well until the plants are settled.