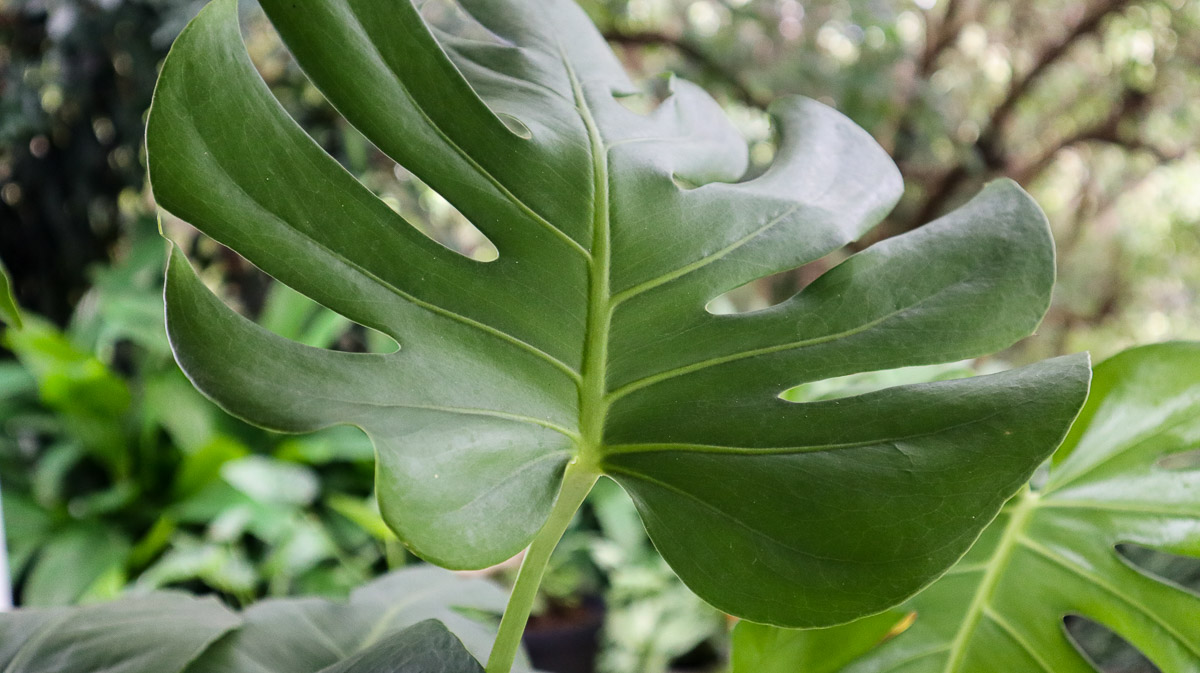
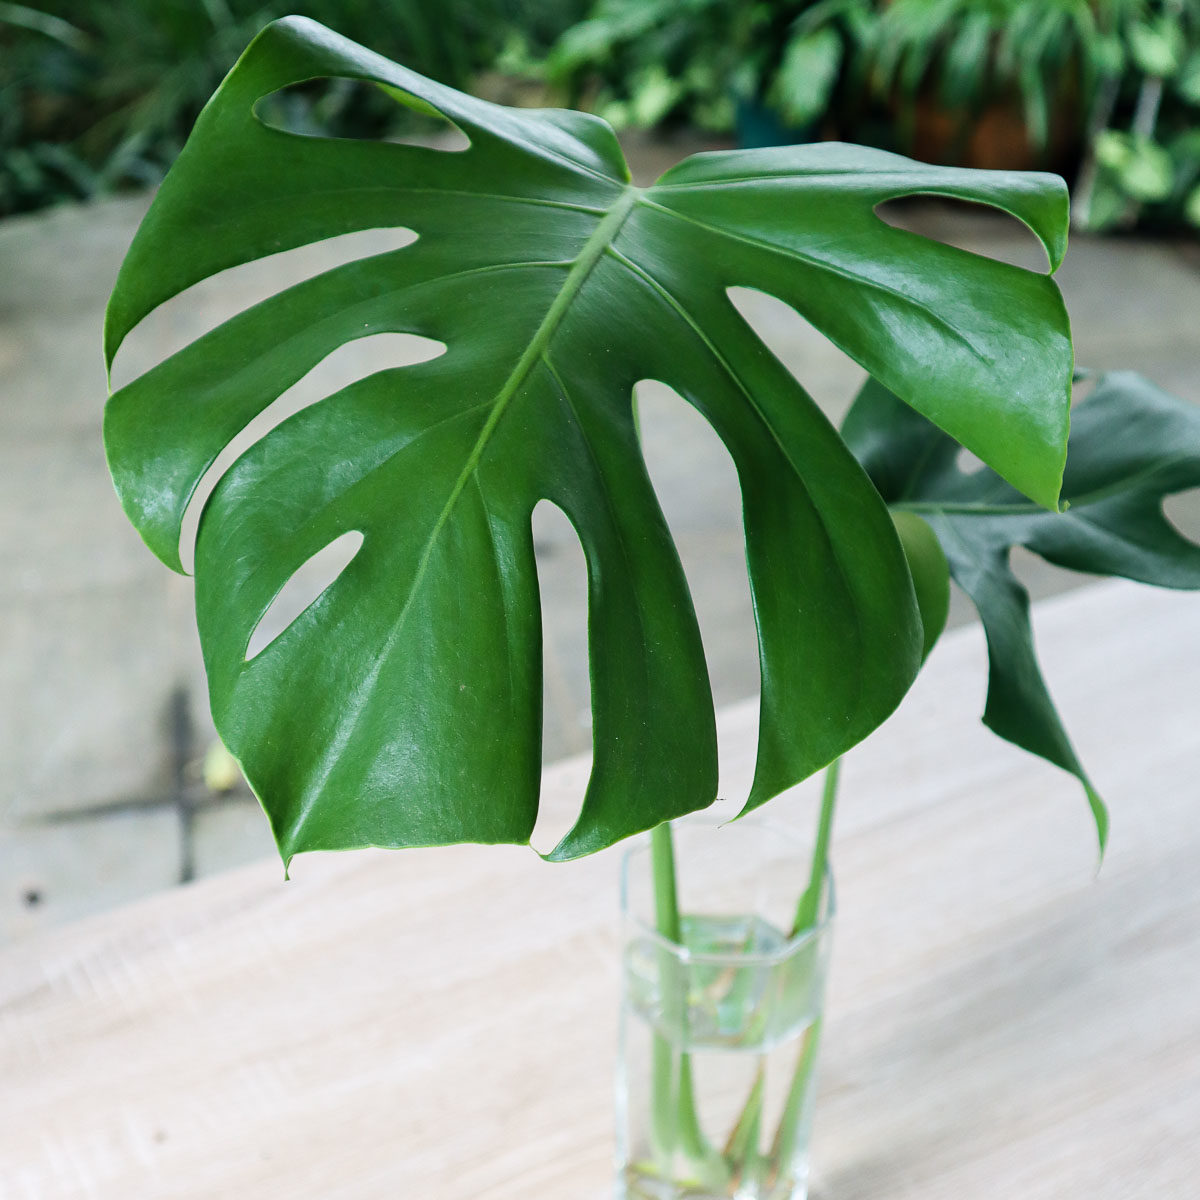
The Monstera has remained at the height of the recent houseplant craze for several years. Beloved for their gorgeous fenestrated leaves, interest shows no signs of slowing down.
If you haven’t already, you can jump in on the Monstera trend by using one of the many propagation methods available. And, if you already have one (or many), you can use these methods to make even more of your favorite plants.
3 Ways To Propagate Monstera
1. Stem Cuttings
Stem cutting is one of the easiest ways to propagate a Monstera. With healthy leaves, the cutting can also serve as a decorative feature, eventually becoming a brand new plant.
Choose A Stem
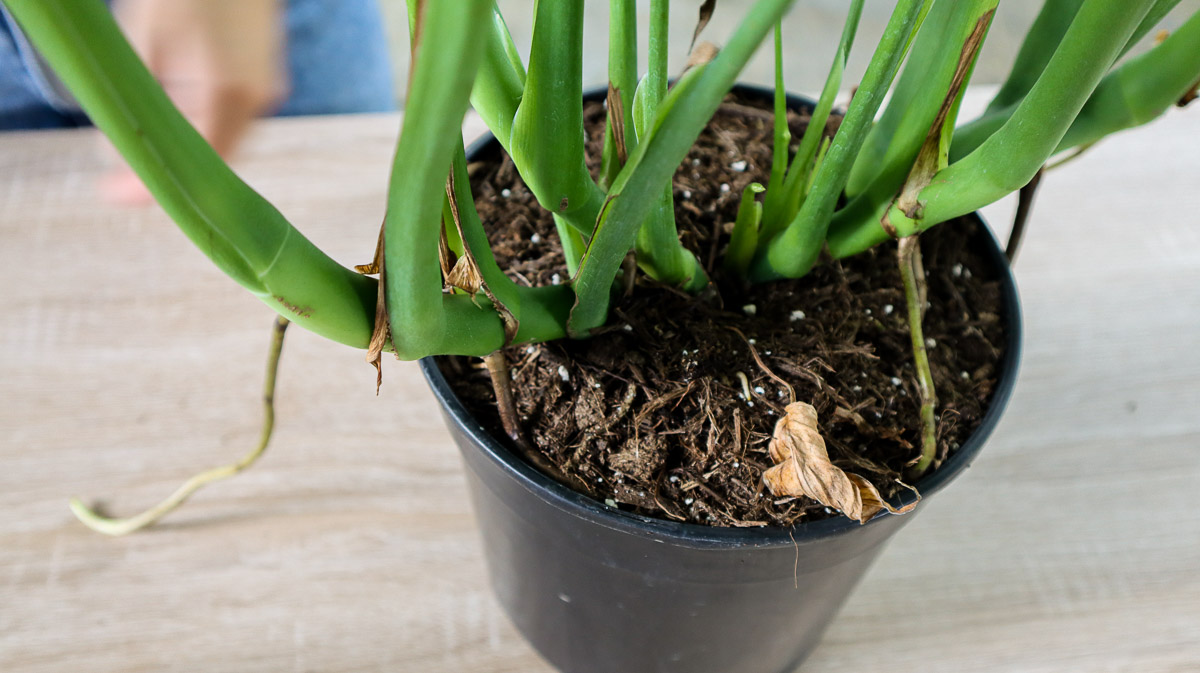
Take a look at your plant and identify a green, healthy stem with at least one leaf. Thicker stems that already have aerial roots will have the best chance of successfully rooting. Aerial roots will also speed up the process, allowing you to transplant quicker.
For smaller plants, it’s best to take one or two cuttings at most to avoid shock in the parent plant. In larger plants, take multiple cuttings and root all at once to produce a fuller new plant or multiple Monsteras.
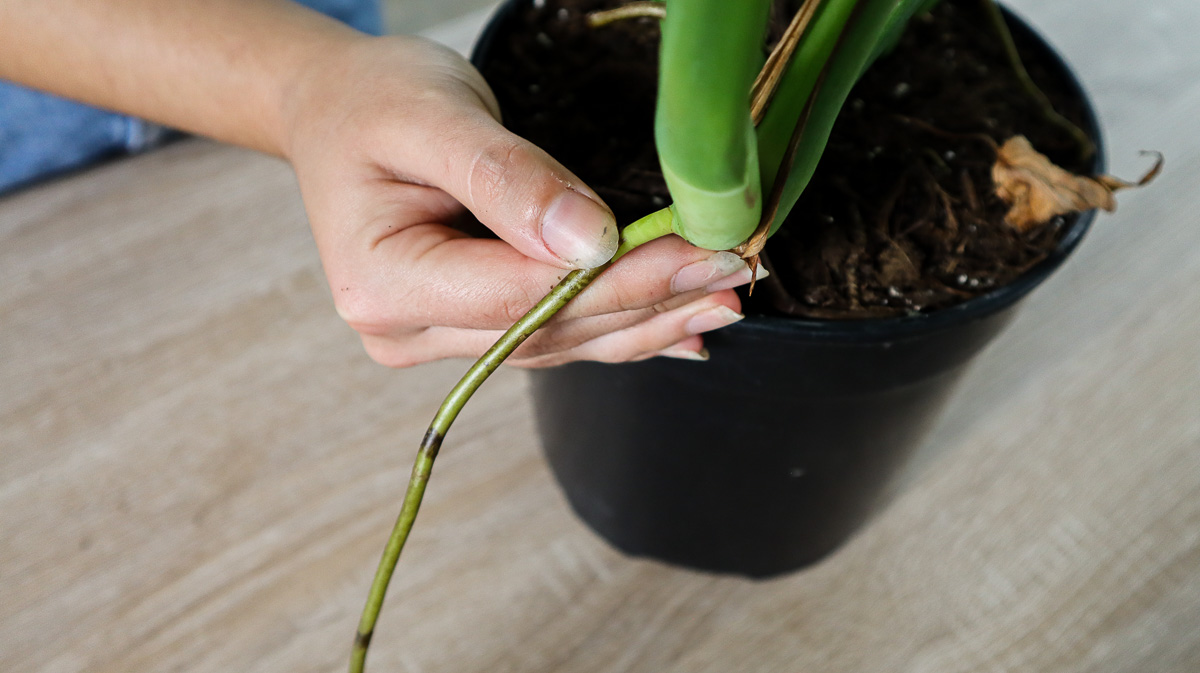
Make A Cut
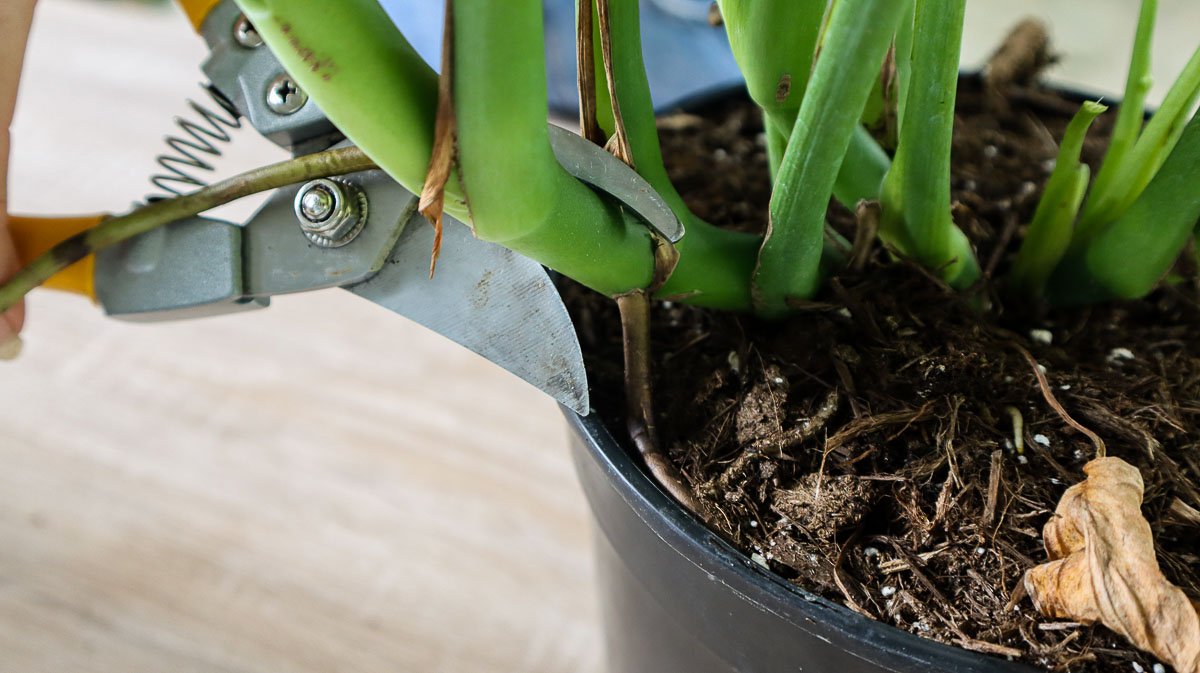
Once you’ve identified the perfect stem, grab a sharp knife or pair of pruning shears. Make sure your tools are clean and free of debris to avoid spreading any disease to your cuttings or the parent plant.
Follow the stem down to the node near the base of the plant. Slice the stem right below the node, ensuring you don’t damage any roots or the node structure.
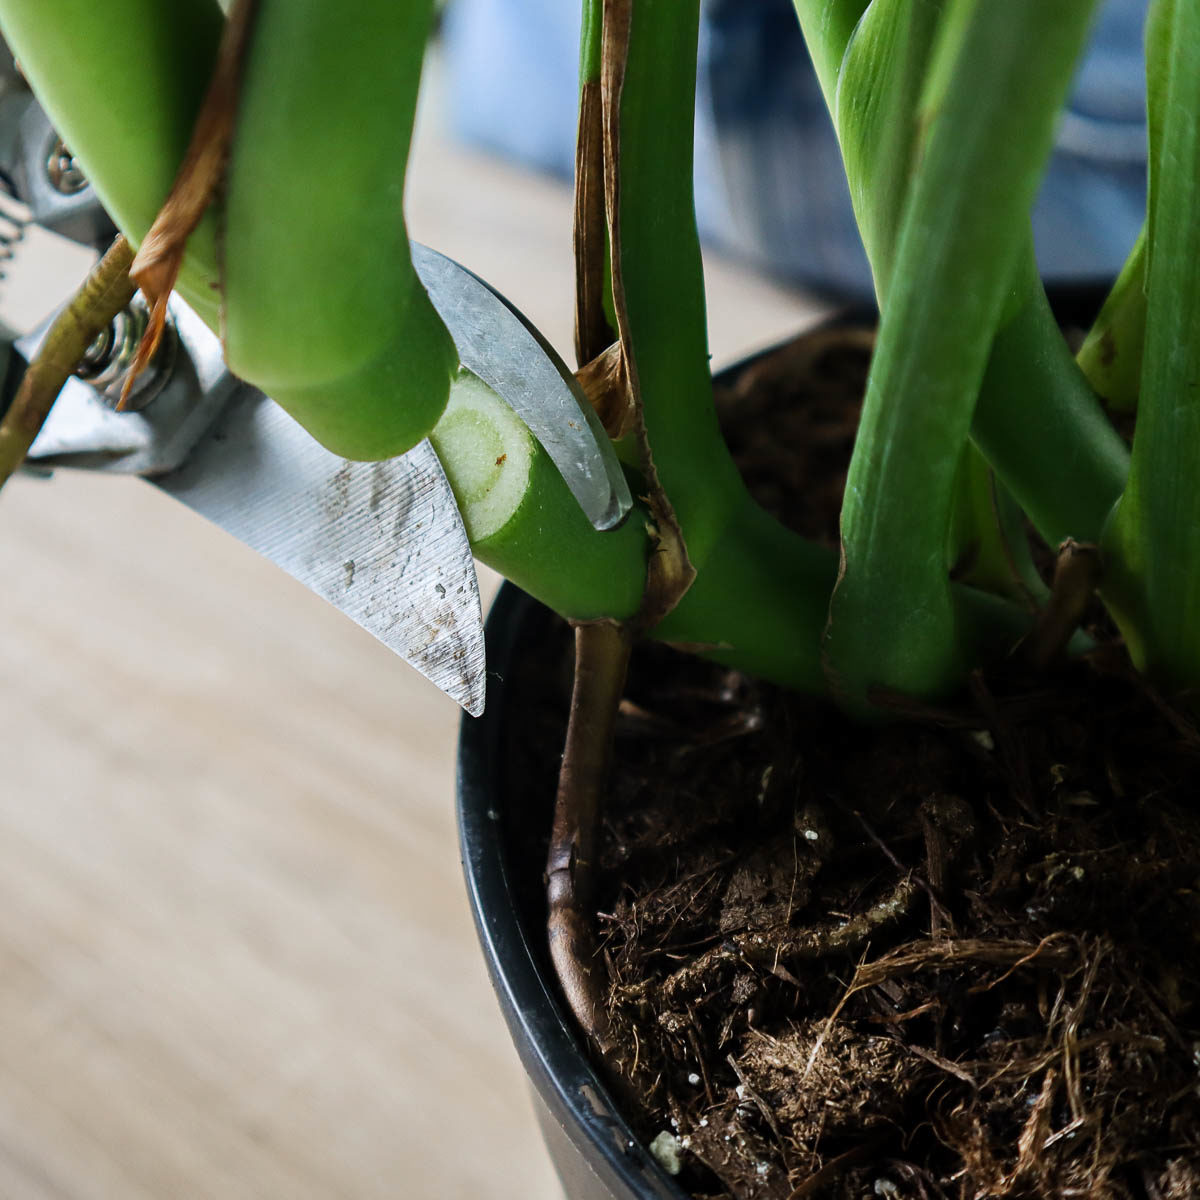
If there are any side shoots or extra leaves, trim those off to leave one or two leaves on the plant. This will ensure most of the energy goes toward producing new roots rather than maintaining existing foliage.
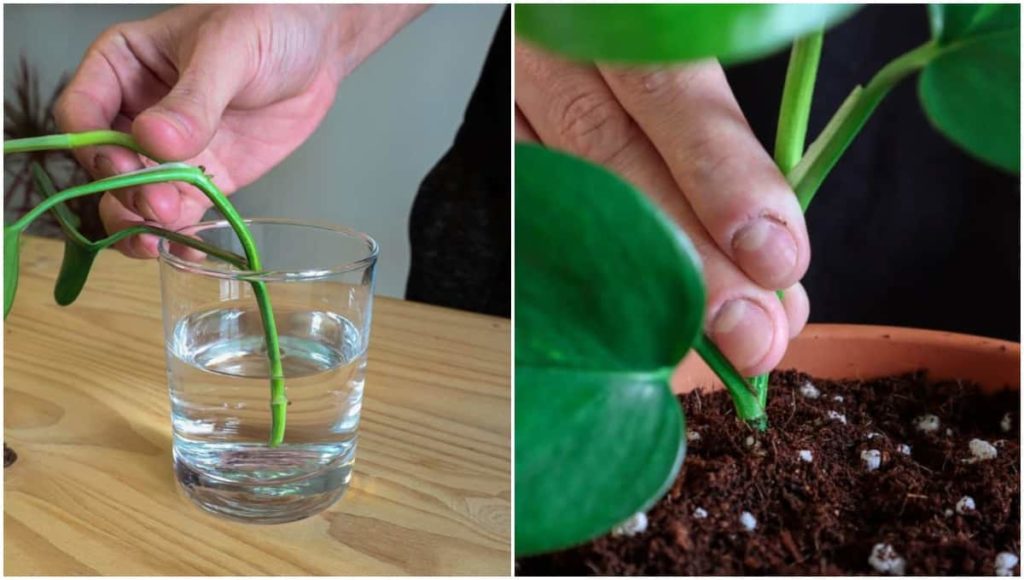
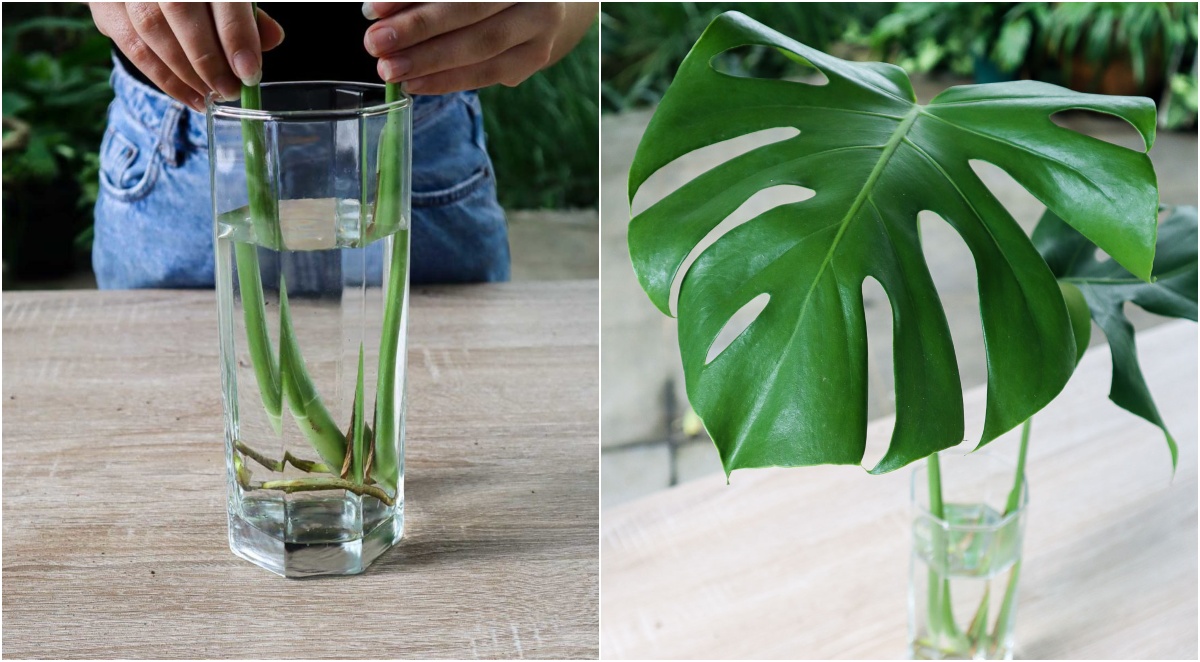
Root In Water
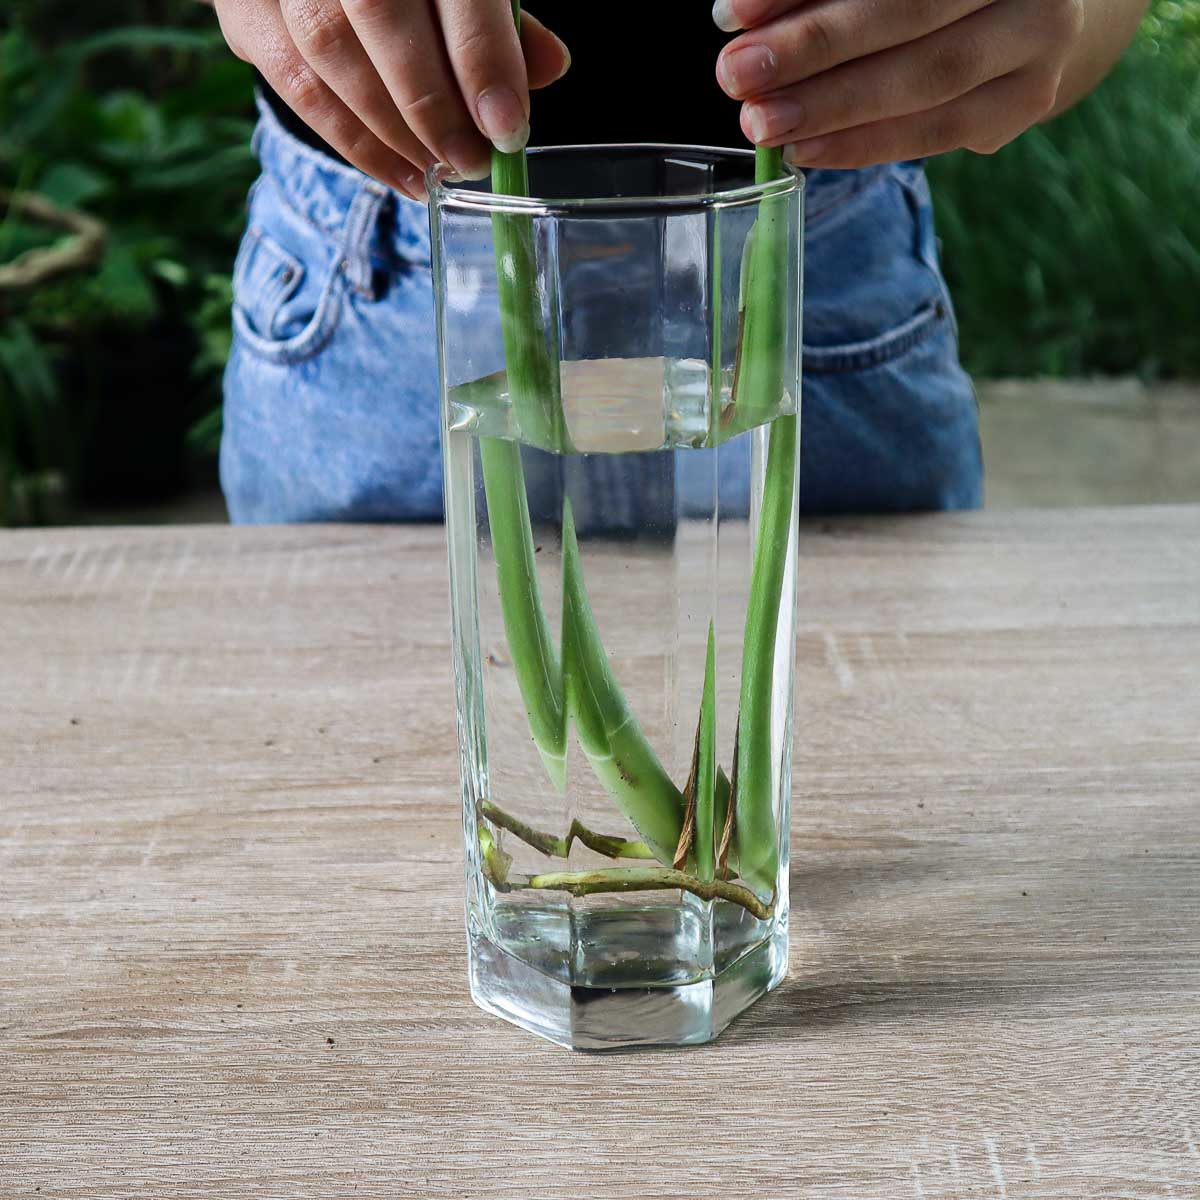
Of all the wonderful houseplants to propagate, Monsteras are the best to propagate in water. Their stunning leaves are often used as décor and feature in bouquets, so your propagation station can double as decoration while you’re waiting for root growth.
For this process, a specialized propagation station is ideal to make the leaves truly stand out. However, any glass or vase tall enough to hold the stems will be suitable.
Fill the glass with room temperature filtered or distilled water and pop the stem in the bottom. Cutting at an angle will stop the bottom from resting at the base of glass, preventing water uptake. Move the glass to a warm area with bright indirect light as direct sun can scorch the leaves.
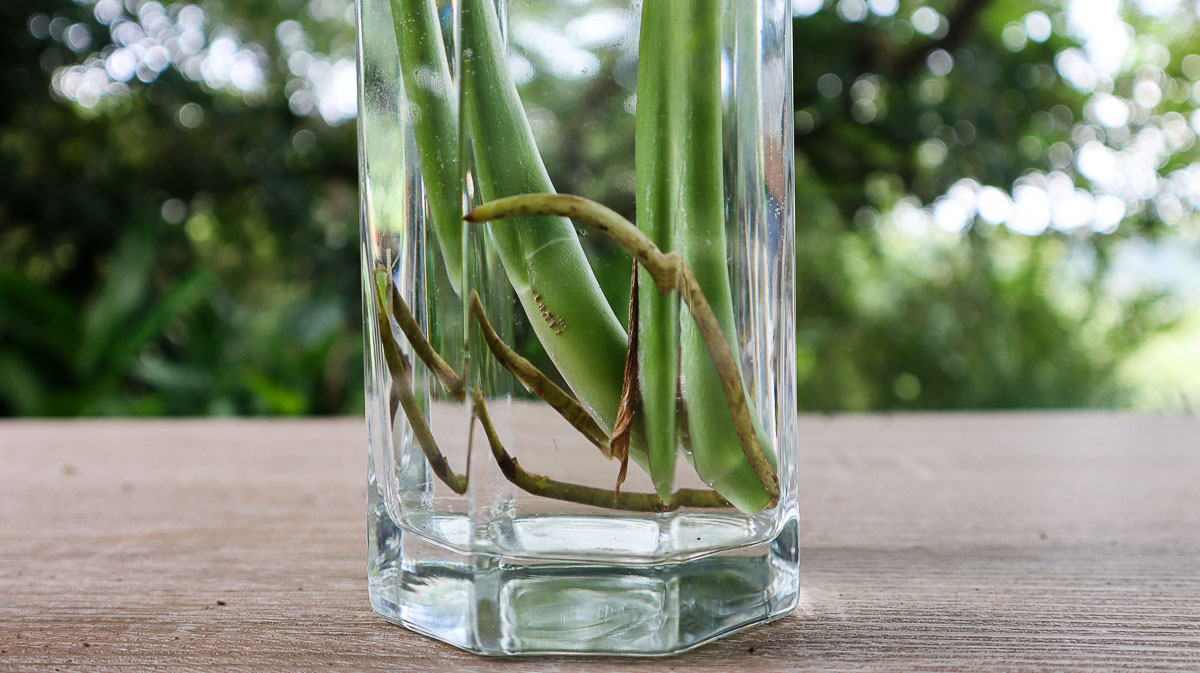
Top up the water every few days and change it completely once a week, cleaning the glass while replacing to prevent bacterial growth.
You can also root straight into soil if you want to skip the transplanting step. However, this doesn’t allow you to keep an eye on the progress of root growth. You’ll need to wait patiently for new growth to emerge from the soil to determine whether your propagating efforts were successful.
Transplant
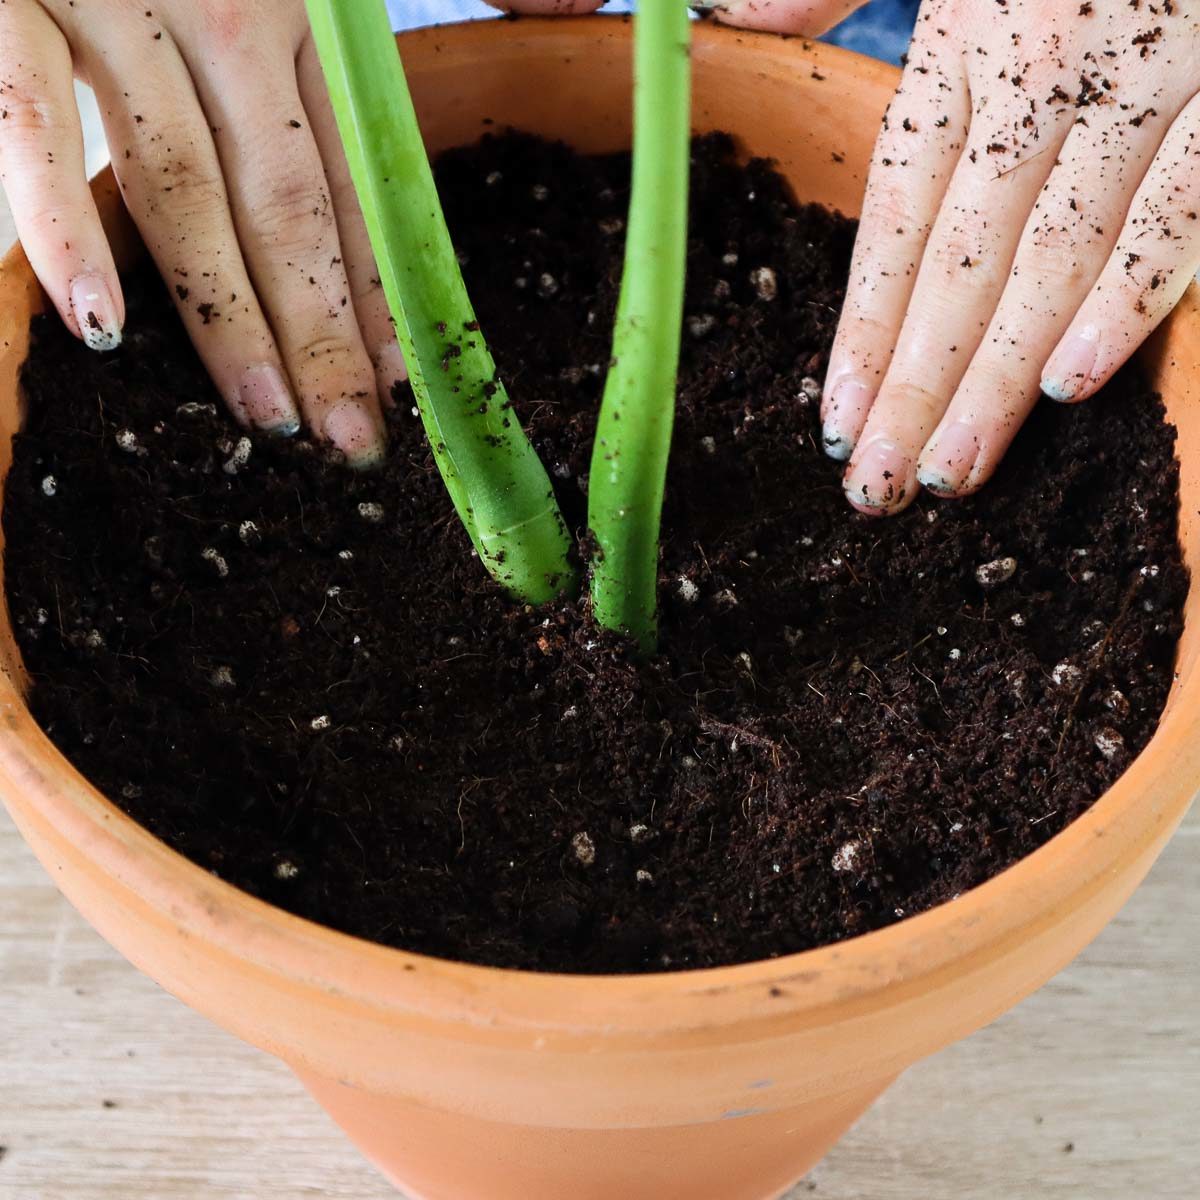
When the roots have grown several inches long, transplant the cutting into fresh potting soil. While you can leave the cutting in water with additional fertilizer, the longer you leave the cuttings in water, the more difficult it will be for them to adjust to soil conditions later on.
Fill a pot with houseplant soil mix that is airy and well-draining to prevent root rot. Your chosen pot should also have enough drainage holes to stop water from collecting in the container. Plant the cutting in the center of the container and press down around the soil to anchor in place.
Water immediately after planting and move to an area with bright indirect light. The plant may struggle initially after transplanting, but once established you should start to see new growth emerging.
2. Air Layering
Air layering is a slightly more technical process than the other methods, requiring the right tools and a steady hand. However, as the stem stays on the plant, it is a more reliable way to ensure healthy root growth without removing the stem from the plant completely.
Find A Node
For this process to work, an incision needs to be made close to a node. Follow the stems down to the base of the plant and find one with an aerial root. Thicker stems are easier to cut into.
Once you’ve chosen your stem, prepare your blade by cleaning with a 5% bleach solution to avoid spreading disease. It should also be very sharp to make a clean cut that encourages root growth rather than inhibiting it.
Make A Cut
Grab your knife and make a small cut in the stem near the node. This is not always a necessity but does encourage faster root growth at the site of the cut due to the hormones produced by a wounded plant.
Don’t cut too far into the stem to limit the risk of damage. A small cut is enough to spark new growth in the area.
Wrap
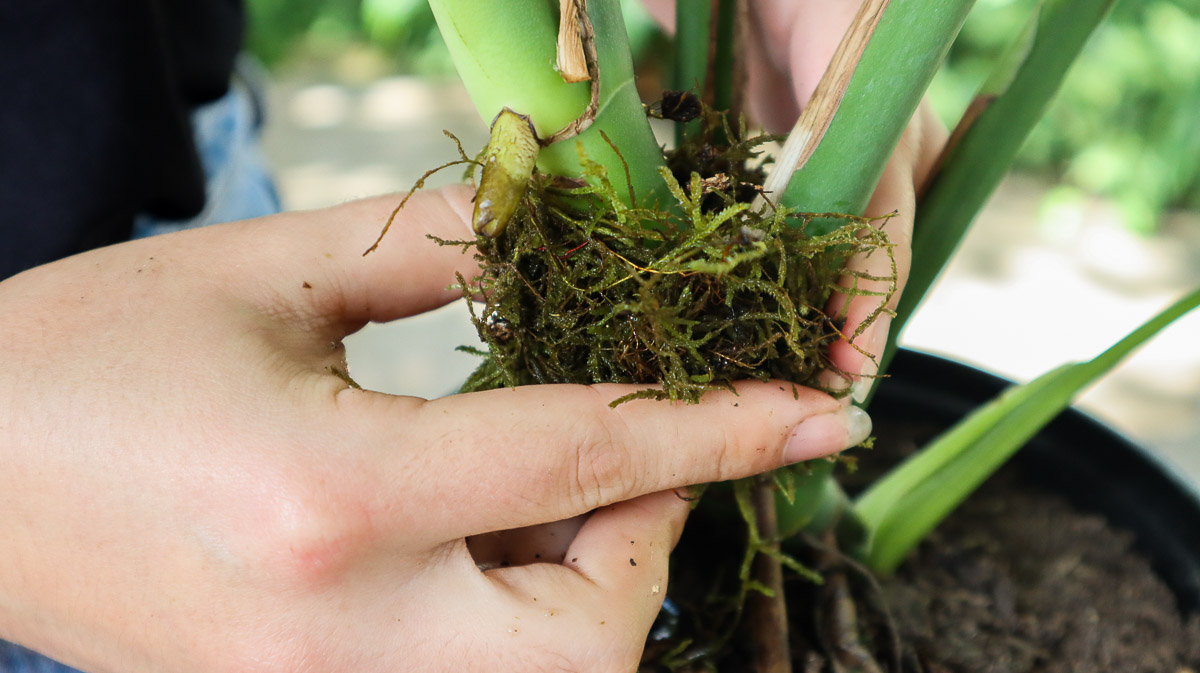
Gently fill in the incision with pre-moistened sphagnum moss. It should be moist but not dripping to prevent any rot. Wrap the area around the cut with more moss until it is completely covered. Hold in place and cover with plastic wrap to seal.
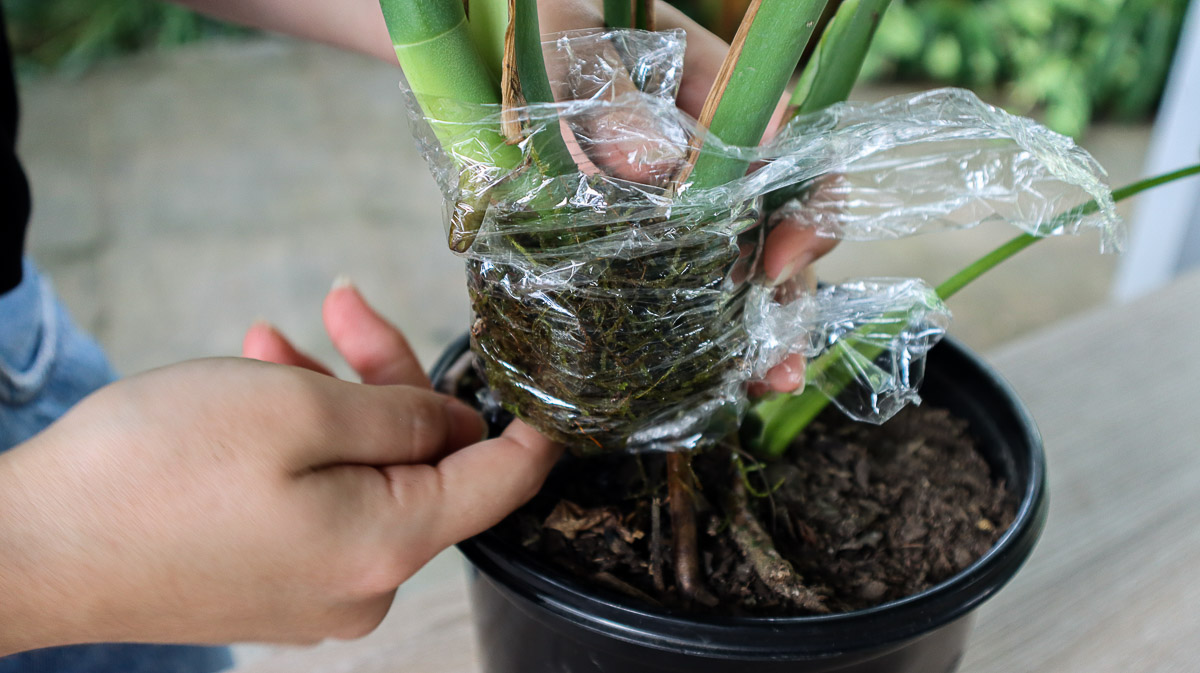
You will need to keep the moss moist to encourage root growth. Every few days, remove the plastic and spray with a misting bottle to maintain moisture.
Transplant
After a few weeks, you should see further root growth popping up through the moss. Simply trim the stem off right below the root growth and transplant into a new pot.
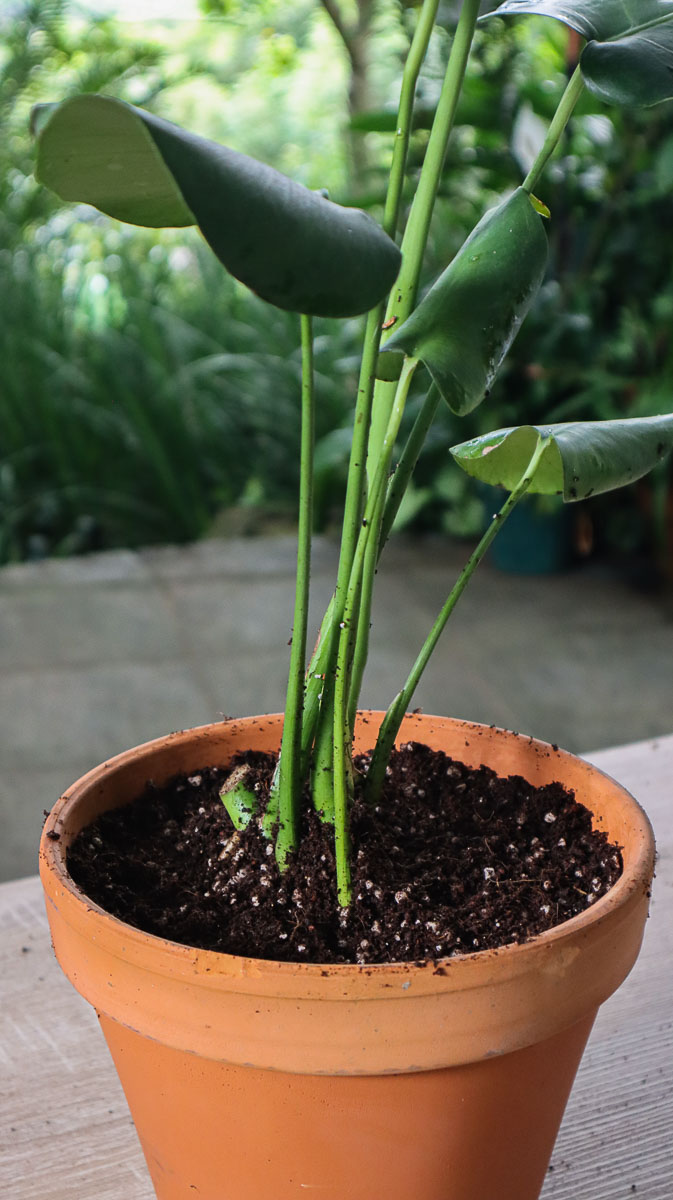
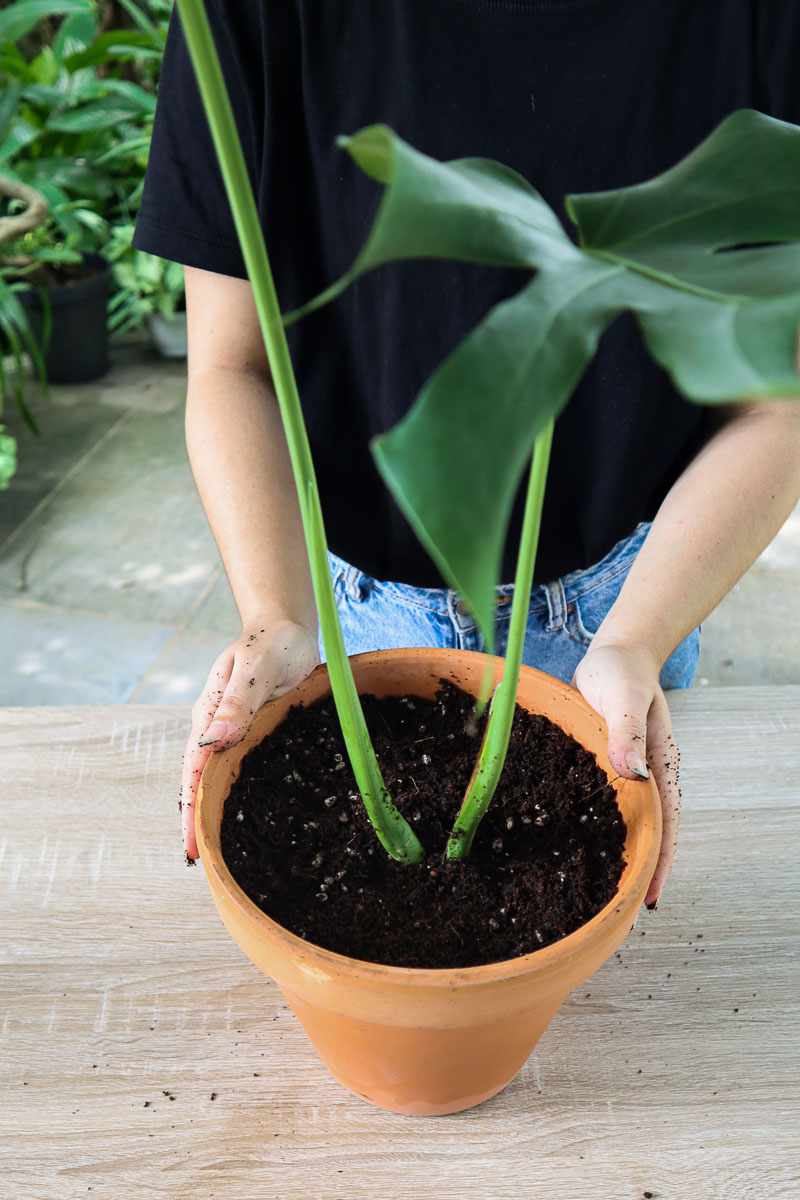
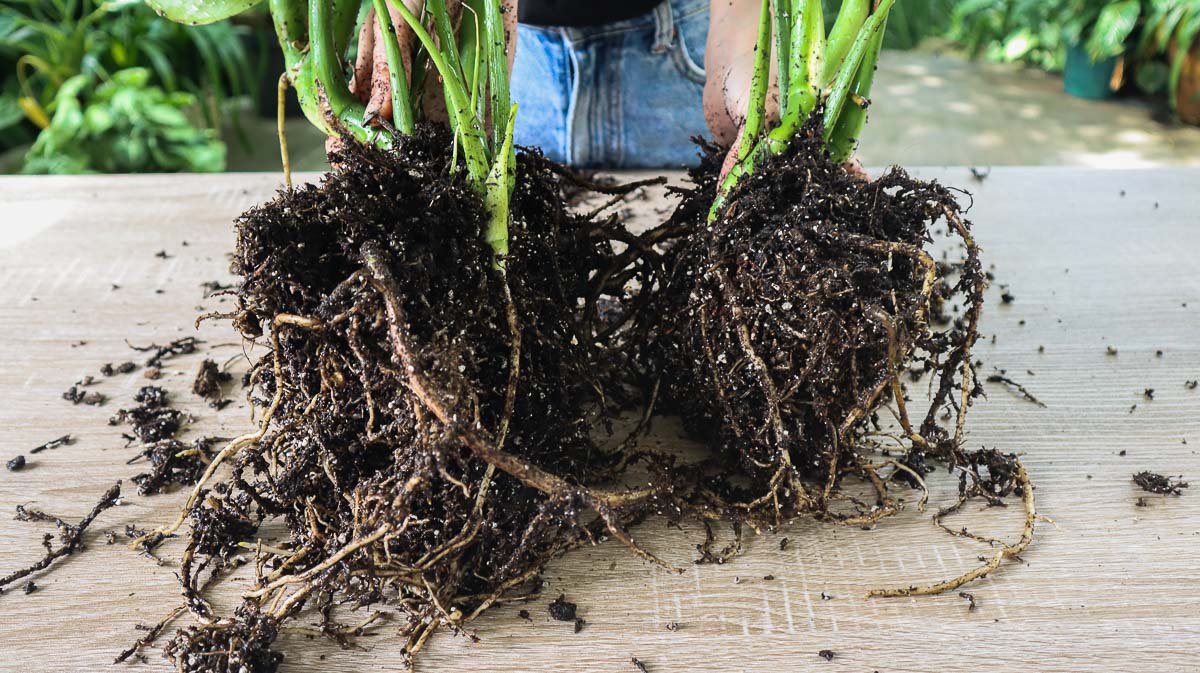
3. Division
If your Monstera has begun to outgrow its pot, division may be a better propagating option. This will give each section more room to grow and gives you many plants out of one virtually instantly. It’s also super easy to do.
Remove From The Pot
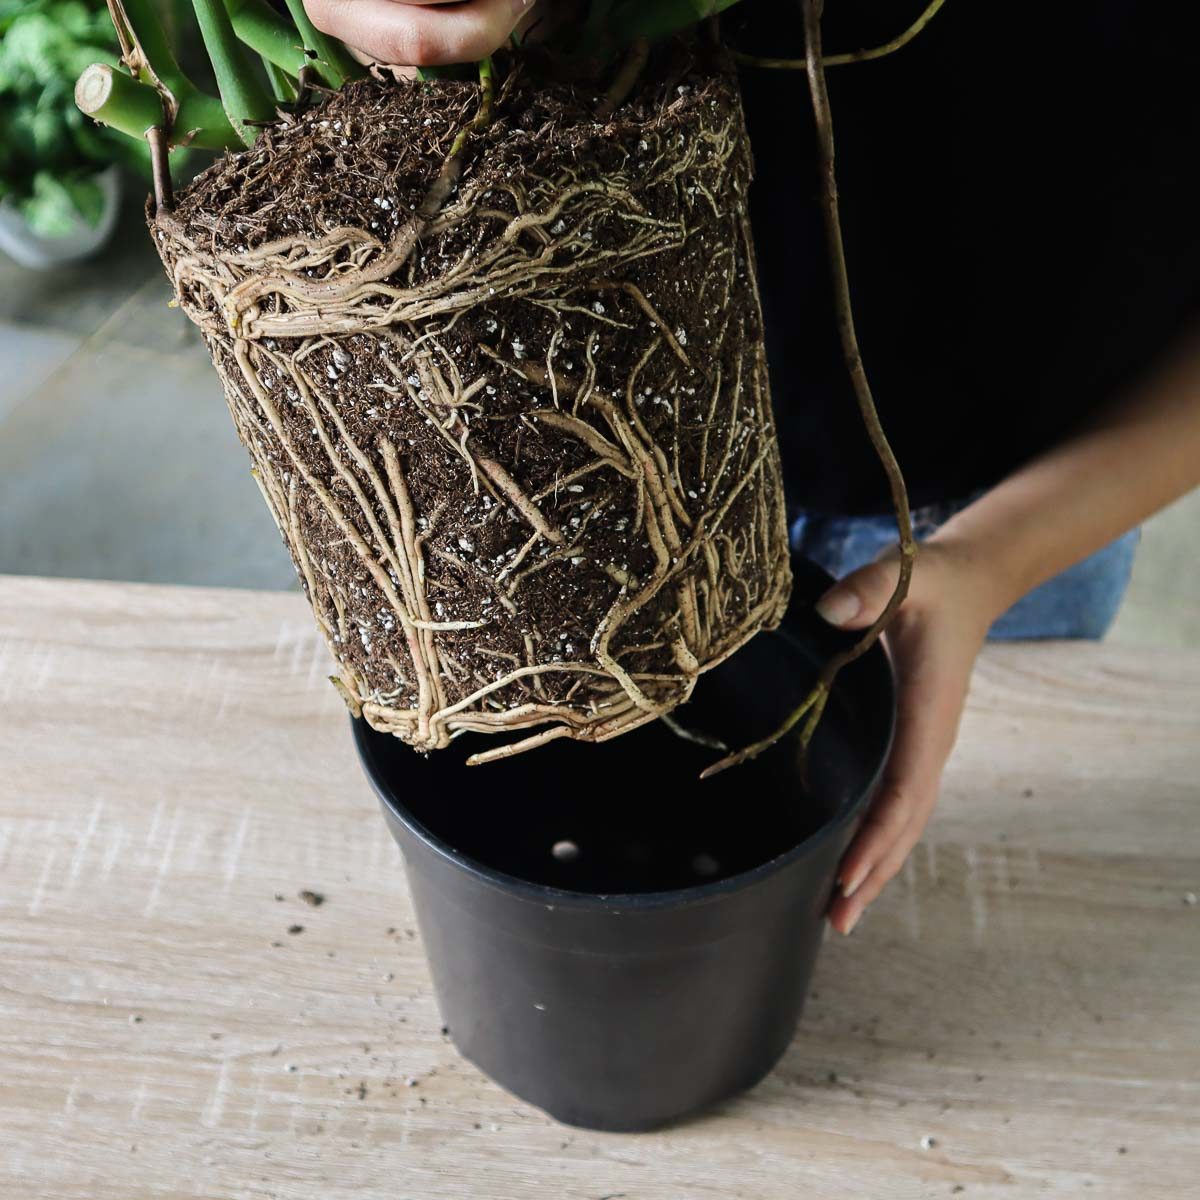
Lift the plant out of the pot and shake off the excess soil to expose the roots. If you’re struggling to pull it out, squeeze the sides of the pot to release it. You can also wash the soil off the root growth to make each section easier to see.
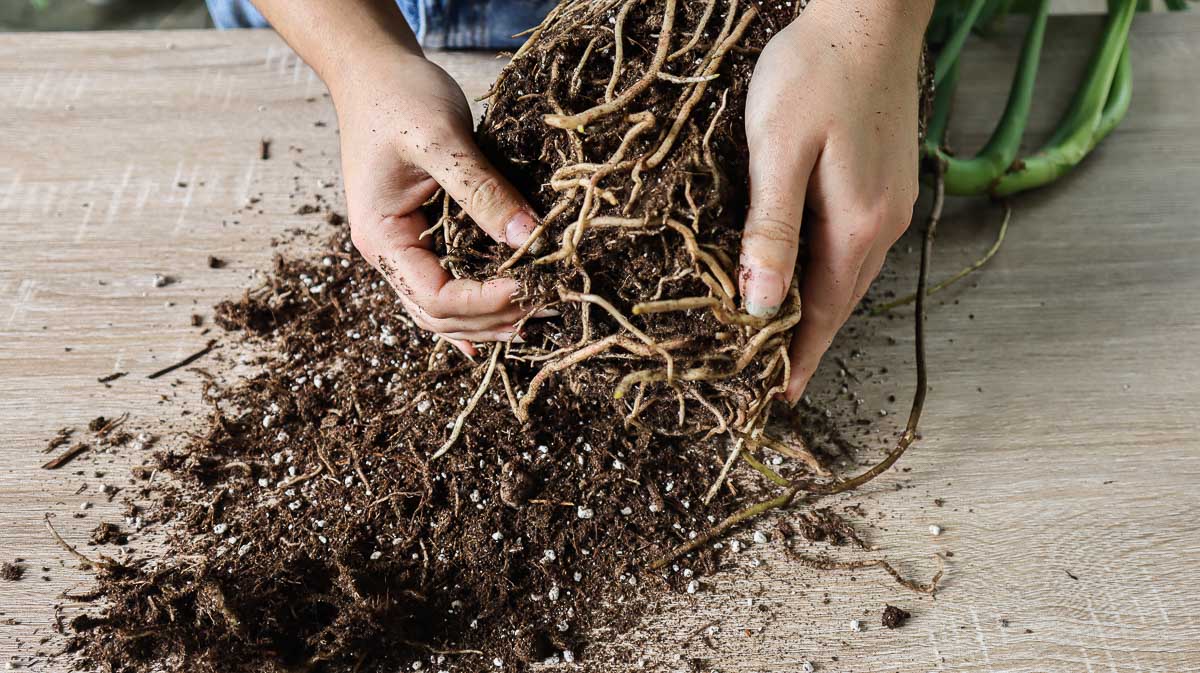
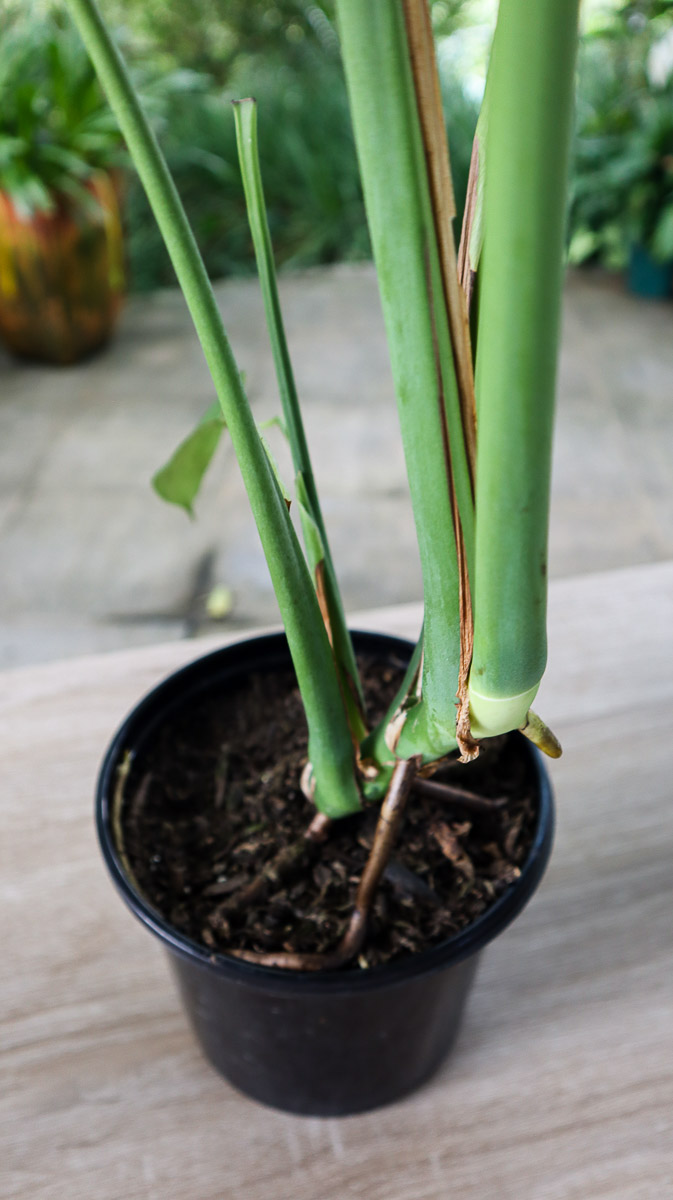
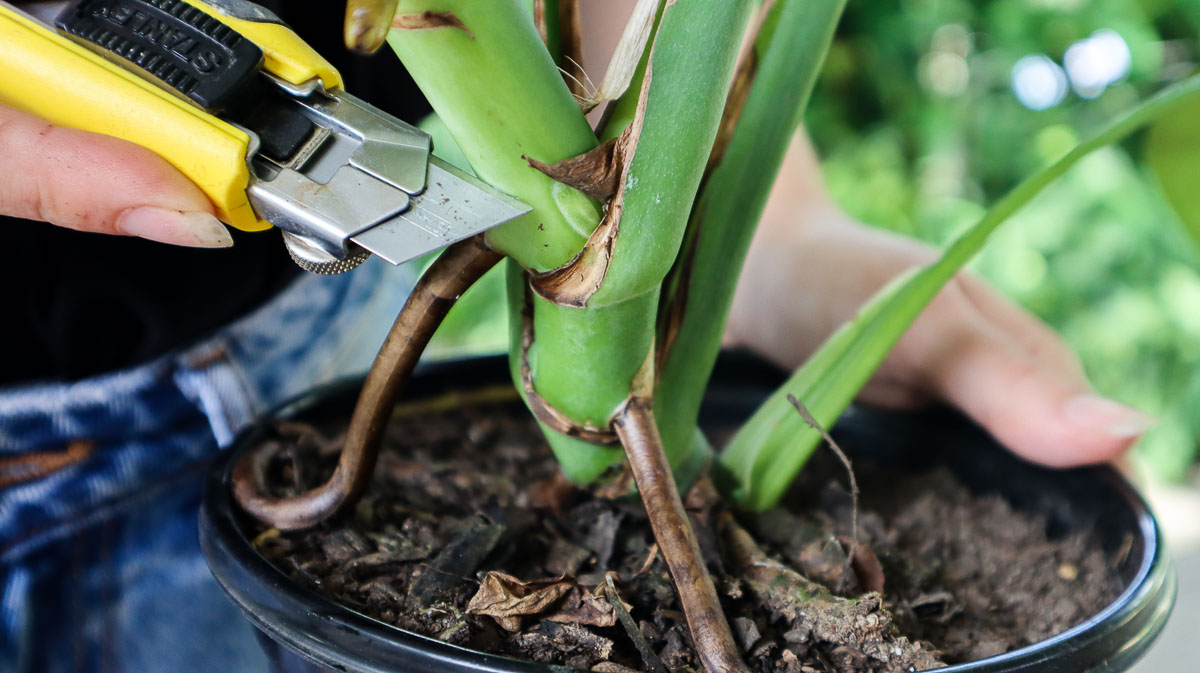
Cut Into Sections
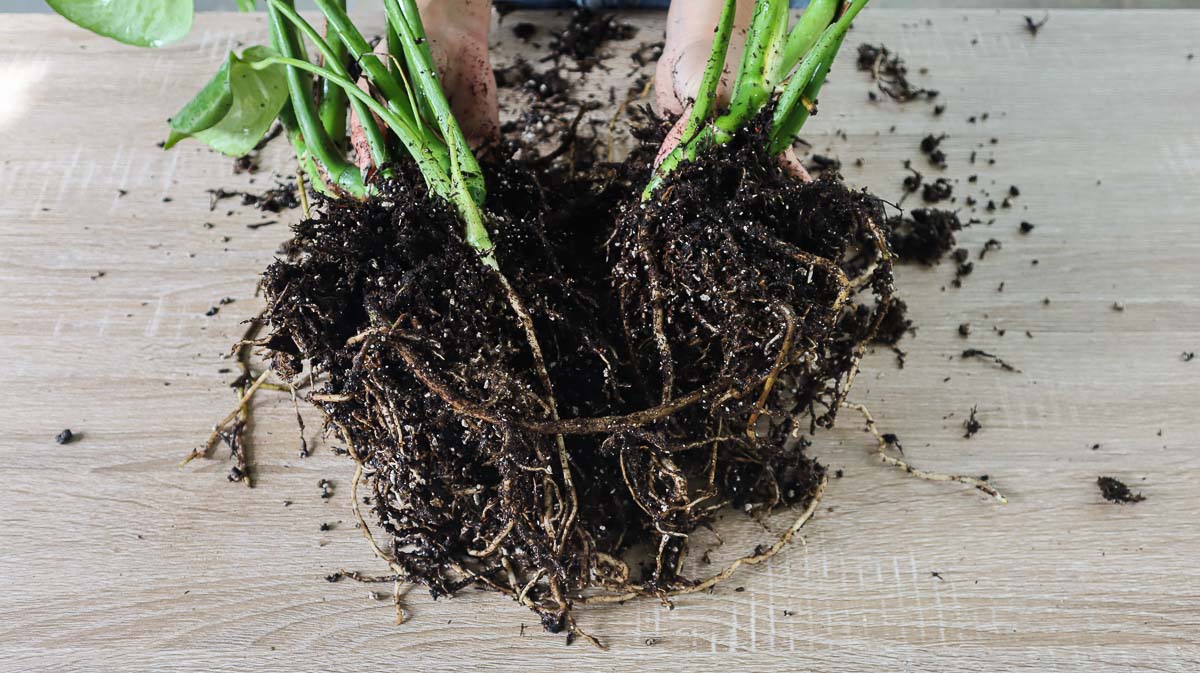
Identify sections with a few leaves and plenty of root growth. Then, pull apart or cut the stems with a sharp, disinfected knife to separate the plants. Make sure the cut is clean as it will be more vulnerable to rot and damage until it heals.
Repot
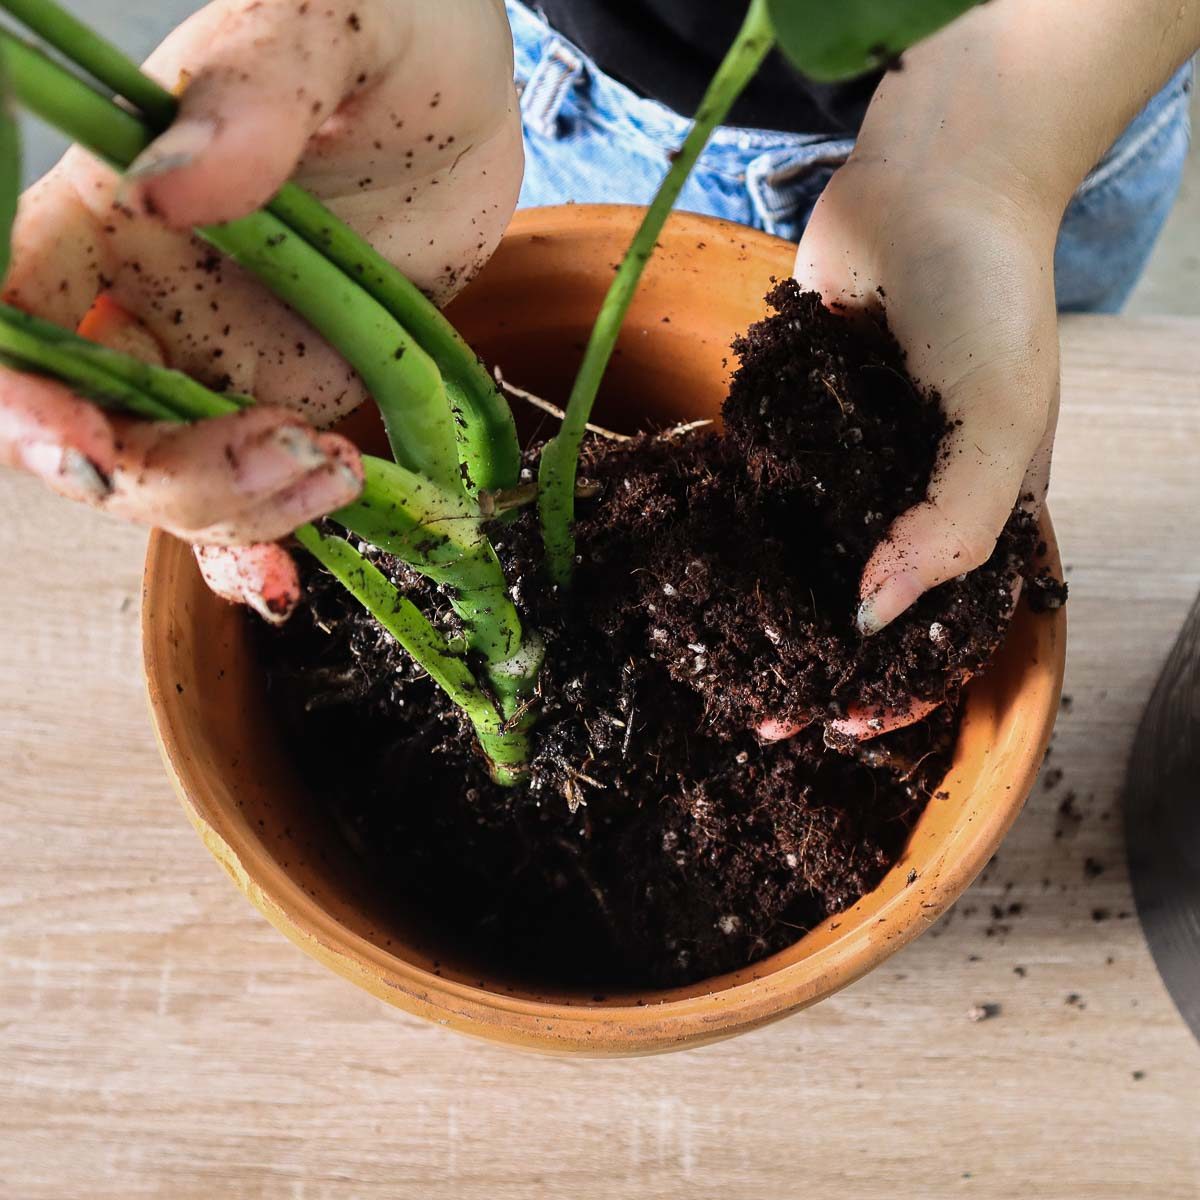
Prepare as many pots as there are divisions with a well-draining houseplant potting mix. Make a hole in the center and plant, making sure not to plant too deeply to prevent rot. Water each of the divisions to remove air pockets and encourage new root growth.