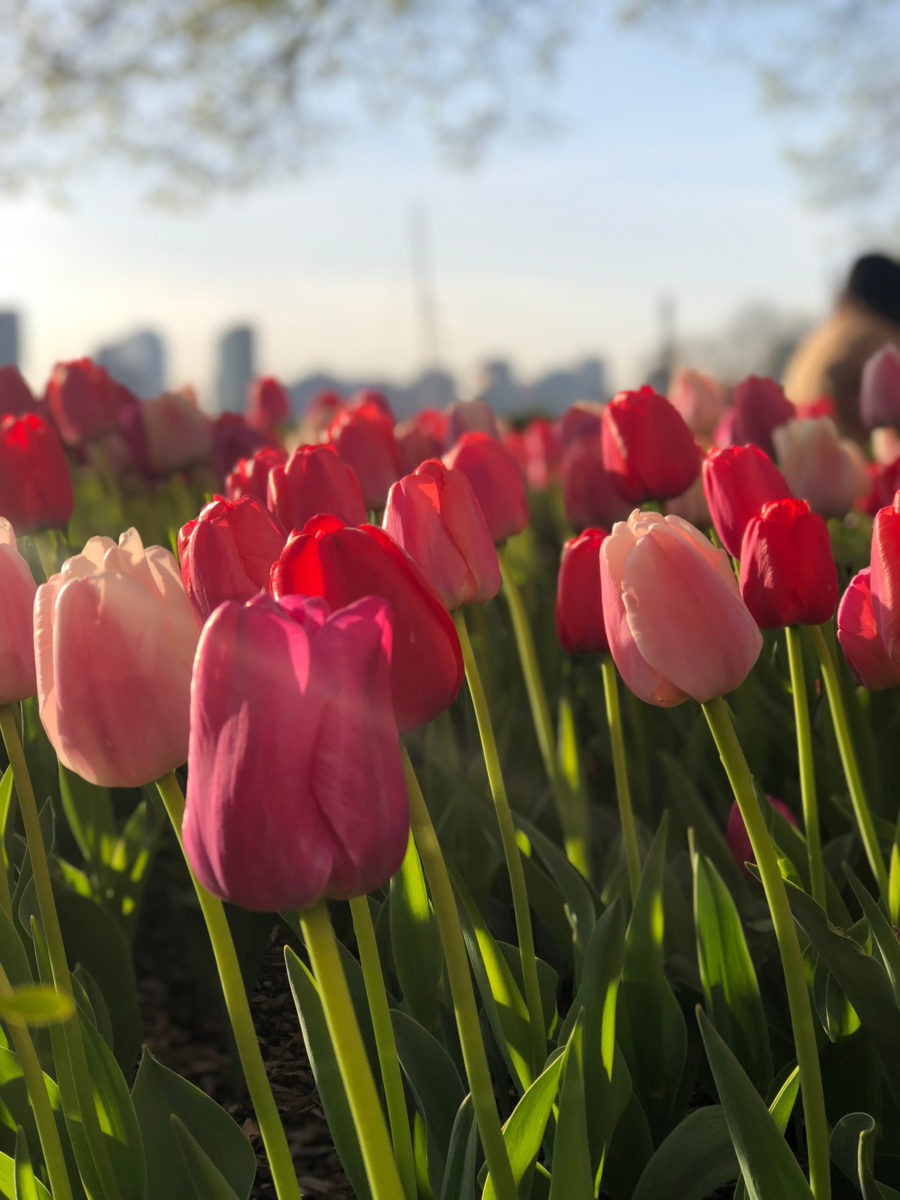
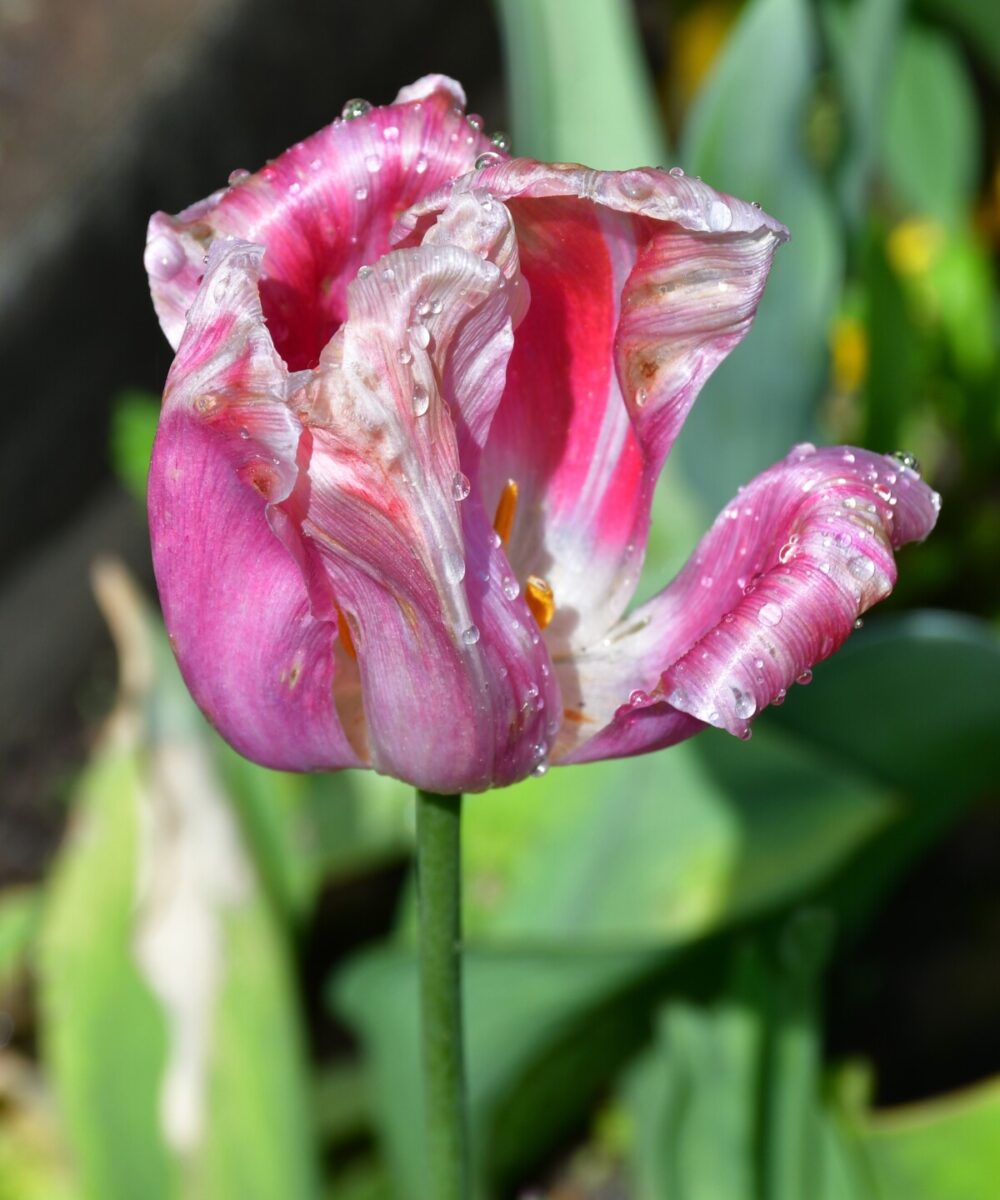
Tulips are exotic, brightly colored, cold-loving beauties of the bulb world that are well worth growing.
With the right treatment, the right temperature, and the right care, it’s not difficult to grow these bulbs in your own backyard.
But, their flowering season must (unfortunately) come to an end. Luckily, there are a few easy tasks you can do toward the end of the season to ensure your tulip blooms are even better next season.
About Tulips
Tulips are from the genus Tulipa, a member of the lily family originally found in the mountainous areas around Turkey.
Today, more than a million tulip bulbs in full flower can be found on display at the annual tulip festival in The Netherlands, when fields upon fields of beautiful flowers bloom in spring.
Nowadays, tulip production can be found in 15 countries around the world, including The Netherlands, Japan, France, and Poland – mainly for the cut flower industry. The Netherlands produces around 4.5 billion tulip bulbs each year of which half are used in the cut-flower industry.
Throughout history, tulips were considered a symbol of wealth and power. By the 17th century, tulips had found their way to the Dutch markets where a bidding war resulted in a ‘Tulip Mania’ between 1634 and 1637. The cost of a tulip bulb soared, believed to cost as much as a house. Just as it began, the tulip craze crashed and the tulip industry morphed into what we have today.
Tulip Flowering Season
Tulip bulbs are planted in fall 6 – 8 weeks before the ground freezes. Timing is crucial – plant too early and there is a risk the bulbs will rot; plant too late and the soil will be frozen.
As a general rule, the ideal time to plant tulip bulbs is when the temperature is between 30F and 55F, or generally below 60F.
The ideal planting zones for tulips are between 3 and 7. In warmer regions (Zones 8 – 9) the fall temperatures are too warm, so it’s better to plant later in November or early December. In Zone 10, wait until January.
You can store the bulbs before planting in these areas in the refrigerator to give them the cold treatment they need to bloom in spring. Keep away from any fruits that contain ethylene like apples, bananas, pears, peaches and melons to prevent damage.
Early-blooming and mid-season blooming bulbs planted together will extend the flowering time from early to late spring and beyond, depending on the climate in your area.
What To Do At The End Of The Season
Once your tulips are finished flowering, don’t forget about them altogether. If you want them to flower again year after year, there are two ways to keep them for the following season.
Your choice will depend on the conditions of the soil, the weather, and the climate.
Leave Them In The Ground
In their natural habitat, tulips grow in cool and dry climates. If this matches your region, it’s a good idea to leave them in the ground for the next three years or so.
As the seasons progress, however, they will start to lose their vigor and you will find fewer and fewer flowers each year. At this point, you can purchase new bulbs or simply top them up every year. It’s also a good idea to move your bulbs every three years for a boost of extra nutrition in the soil from a new zone of the garden.
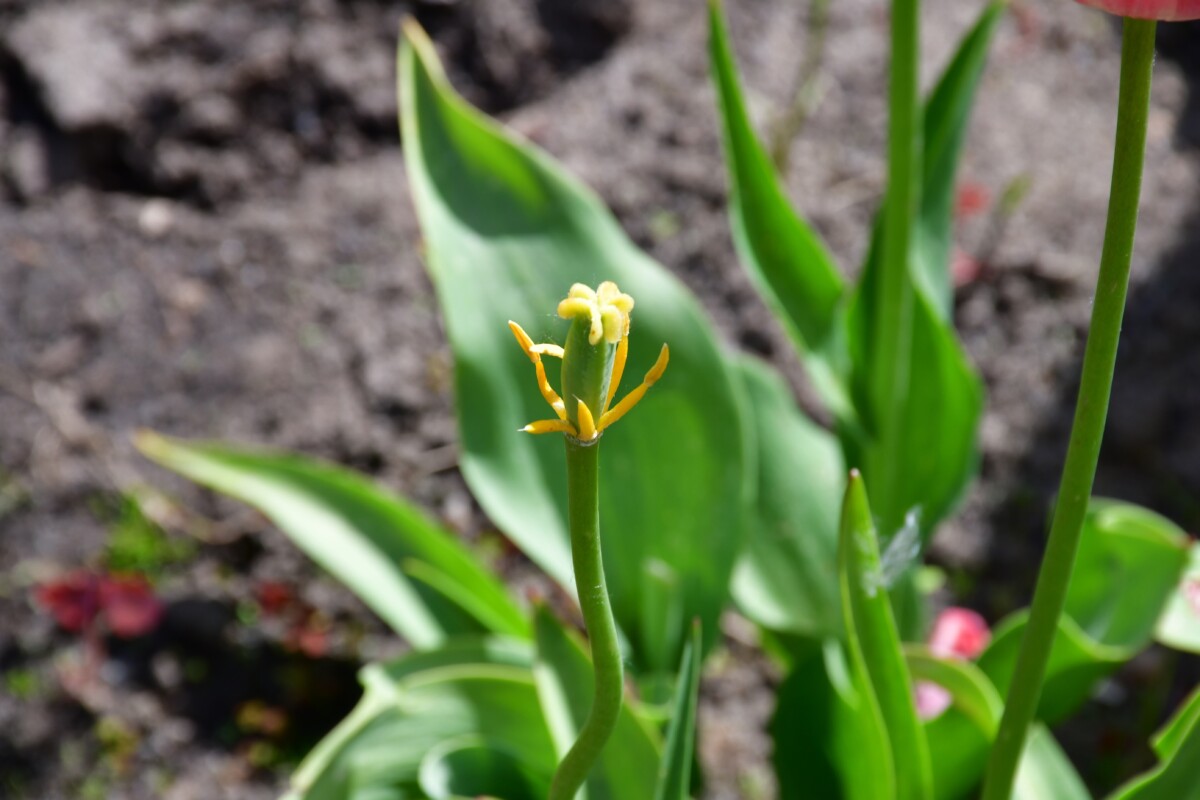
To get them ready for the new season, tulips need some extra care. As the flowers start dying off, deadhead regularly, but keep the leaves on the plants. The leaves of the tulips will help feed the bulbs for storing food. Nutrients will be gathered from the surrounding soil too, so keep up with the fertilizer program until the end of the season.
Allow the leaves to turn yellow and then brown before trimming them back. They may look a little untidy, but this is essential to allow the bulbs to store food for the next season.
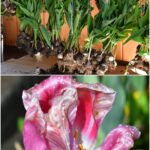
Lift and Store
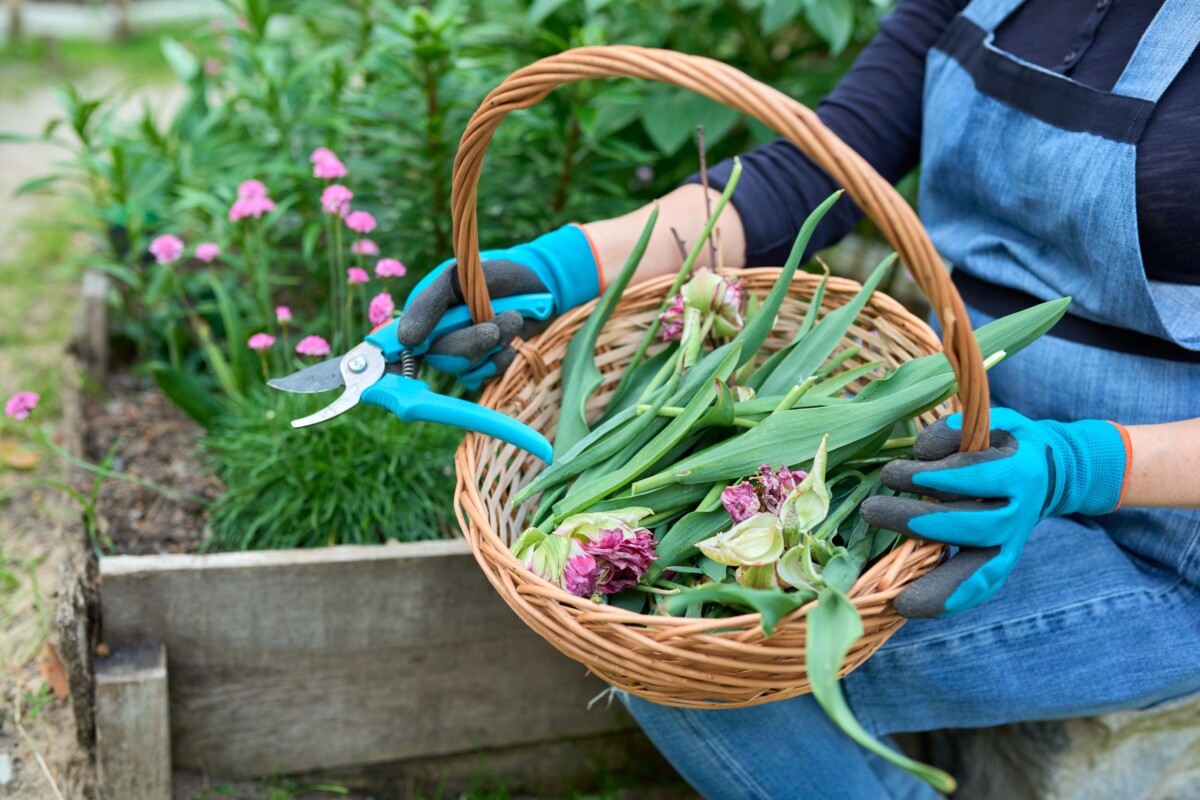
For areas with high rainfall or high temperatures, it’s best to lift and store tulip bulbs for planting again in the fall.
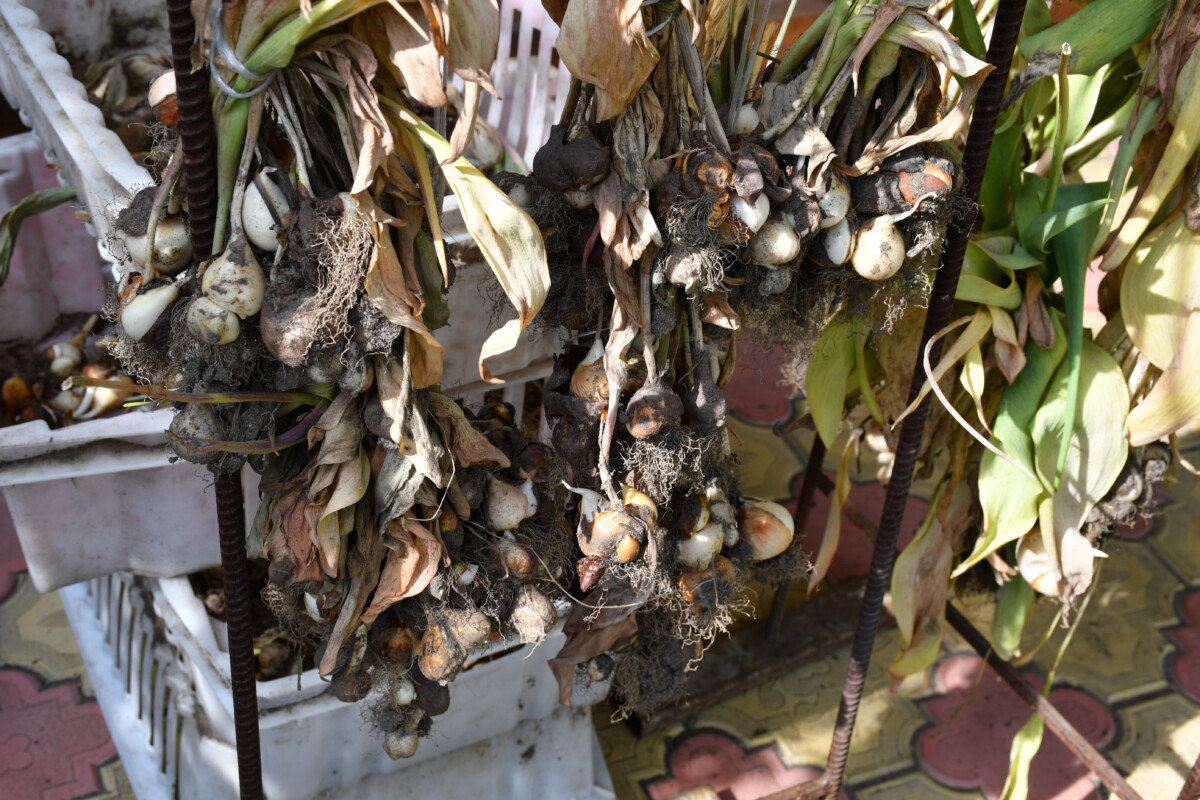
Once the bulbs have finished flowering, leave the plants for about 6 weeks until the leaves die down completely. When the leaves are yellow to brown, the plant should have stored all possible nutrients, ready to be lifted.
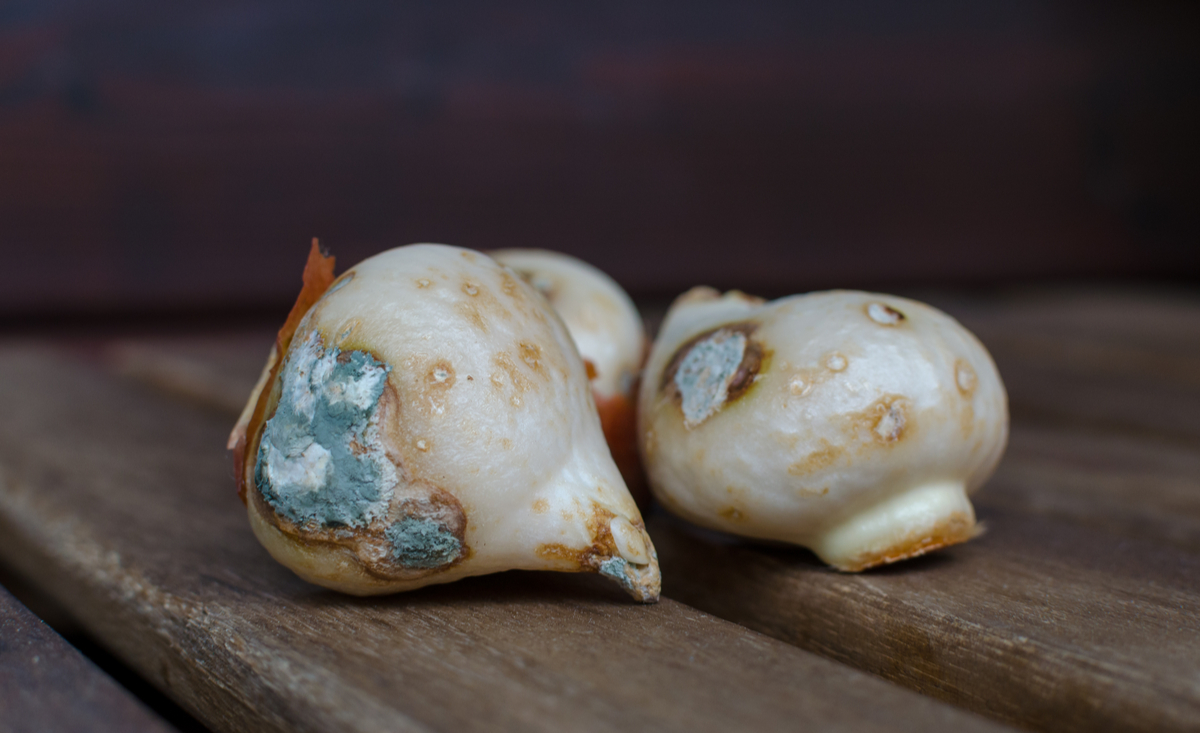
Use a garden fork and lift carefully with the leaves intact. Brush off any soil and discard any damaged or diseased bulbs.
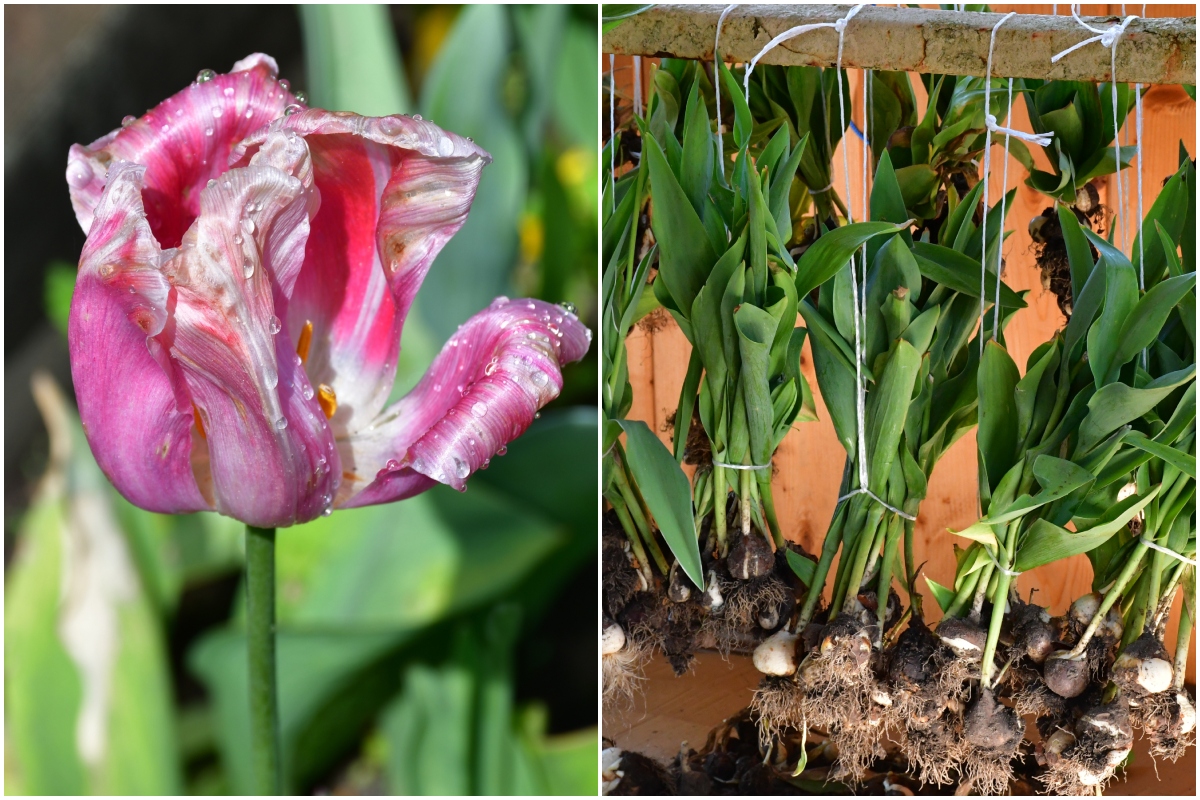
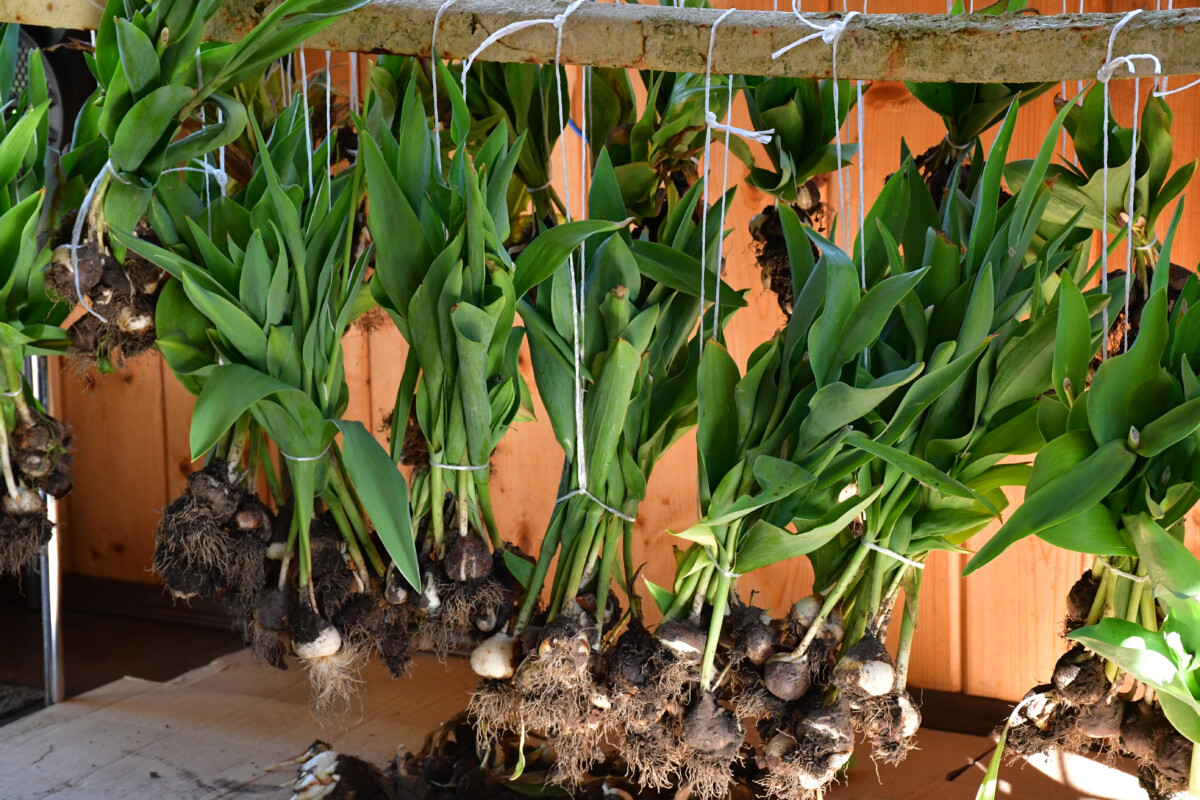
Place on a tray lined with newspaper or hang them and leave them to dry out completely for a few days in a dark, dry, cool area.
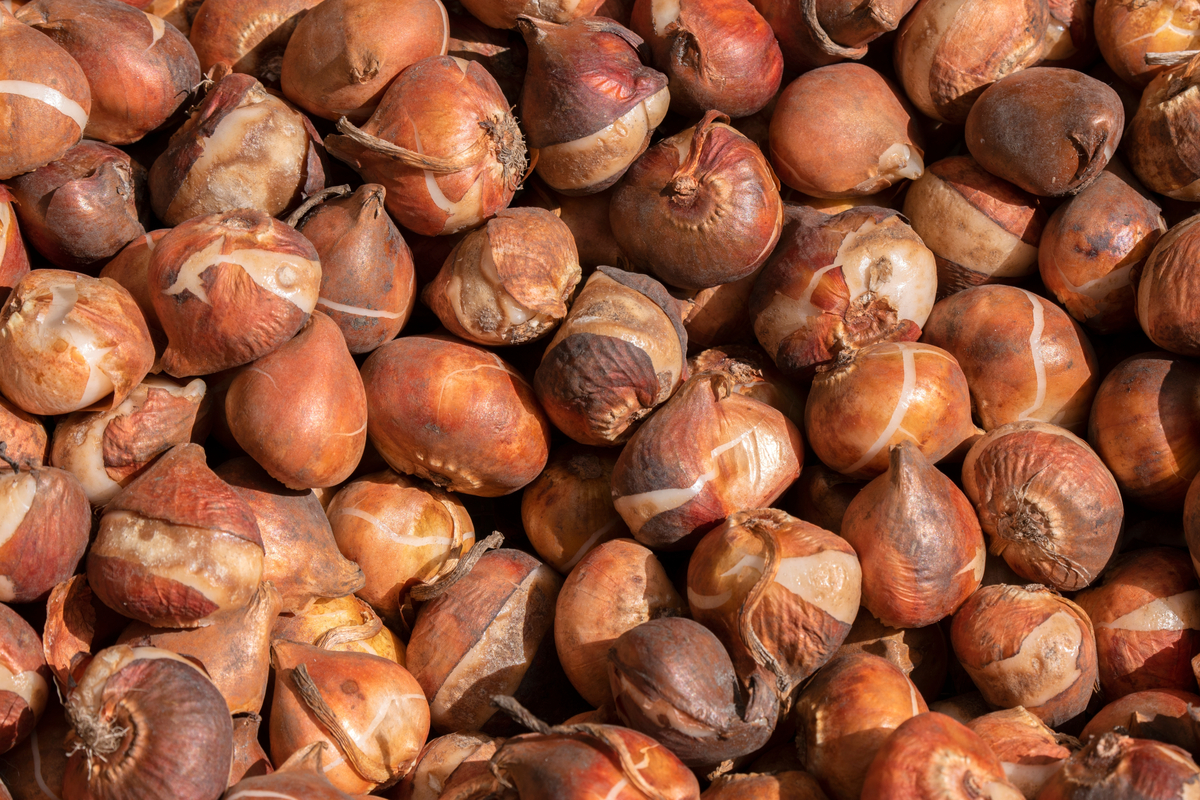
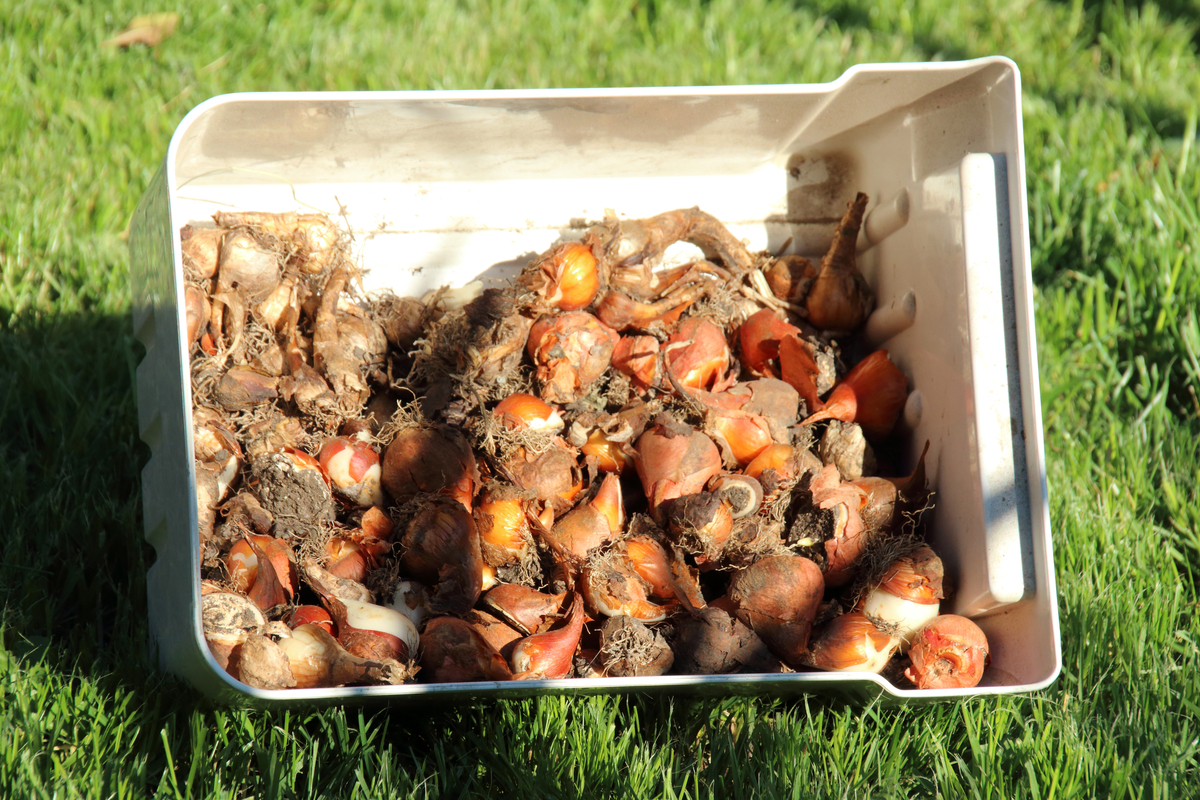
Cut off the leaves, label, and store in paper bags until the next planting season.
Get Ready For Planting
When fall comes, make sure your bulbs have been cooled down sufficiently – even refrigerated – for a few weeks before planting. They like rich soil with plenty of added compost and a slightly acidic pH between 6 and 7. The soil should be loose and never compacted which leads to rot.
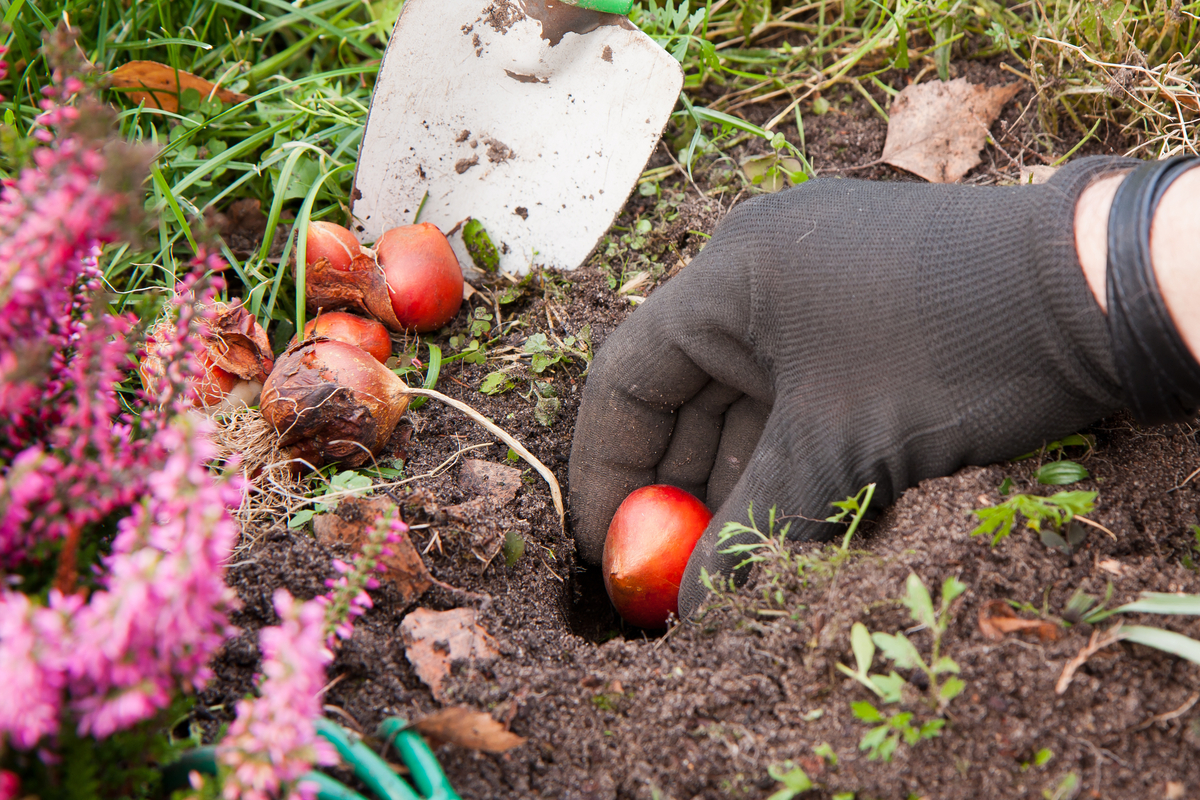
The bulbs will need water right after planting to trigger growth. Feed with bulb food when the shoots emerge in spring. When fertilizing, always dissolve in water and add it to the top of the soil. Avoid adding in the hole when planting as this may damage the emerging roots.
Once planted, give the bulbs some time to settle in, waiting for their stunning flowers to emerge the following spring.