

At any given time throughout the growing season(s), I keep a running list in my head of how I can get more plants for my garden. Preferably for free. Preferably with very little effort.
I’m indiscriminate about what plants. I love them all. But if I happen to succeed in propagating some of the perennials that are on the more expensive side of the aisle, I’m extra happy.
Shrubs? Yes, please.
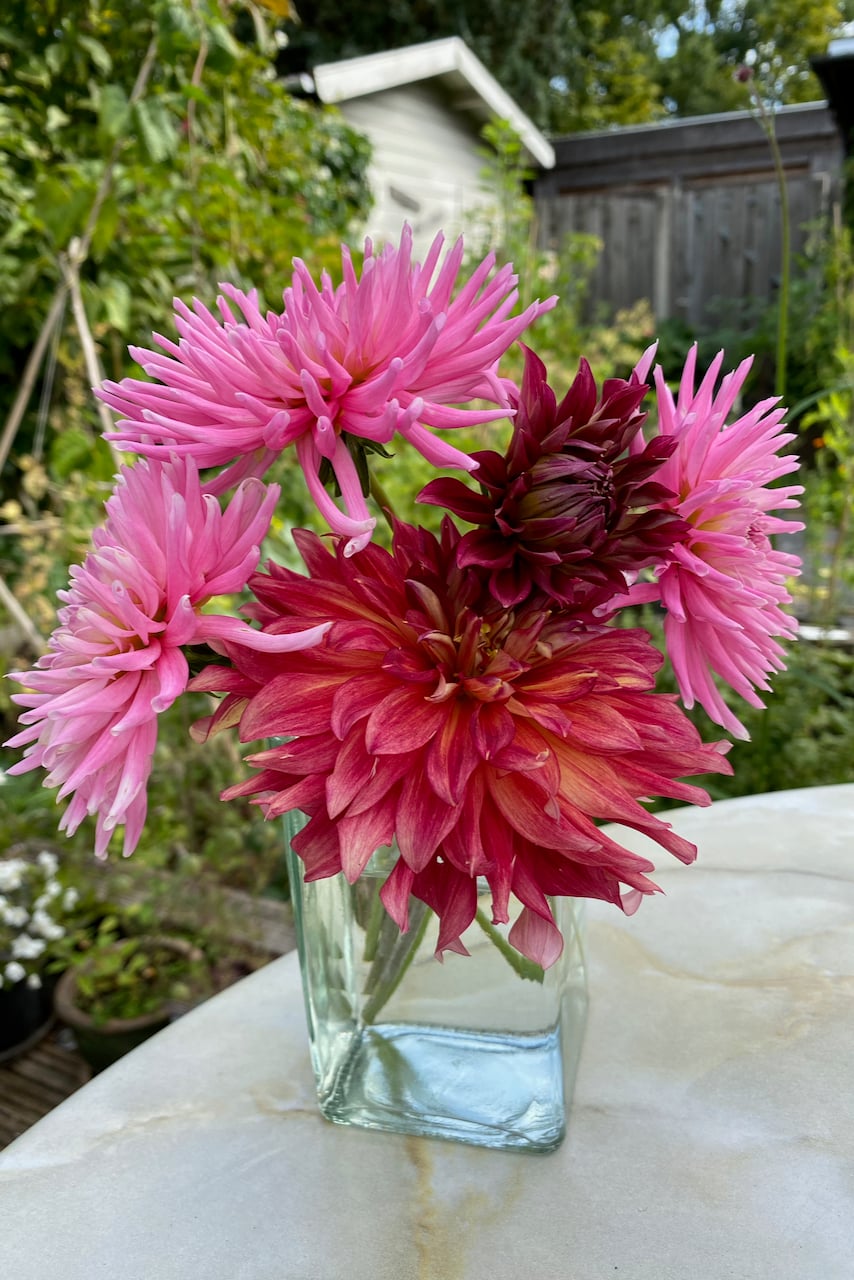
Tubers? Even better, since my favorite tubers – dahlias – usually come in small bags and it gets expensive quickly.
For the past few years, I have been experimenting with taking dahlia cuttings. And for the past few years, it has worked a treat. It’s one of those gardening tasks that I couldn’t believe worked so well; and I definitely was a bit miffed that I didn’t try it sooner.
Wait, can you really take dahlia cuttings?
I was a bit skeptical at first too. Because I kept thinking about how dahlia stems look like later in the season, all hollowed out, especially the larger dinnerplate varieties (such as the popular Café au Lait). But I researched it, I tried it, and it’s been working out a treat.
We can take dahlia cuttings in both of these two scenarios:
- We have started dahlias in pots indoors and we’re ready to transplant them outside.
- The dahlias have overwintered in the ground, and they’ve started growing shoots again, but they haven’t flowered yet.
Is either of these scenarios preferable?
No, not really. I found that what makes more of a difference is how well I take care of the cuttings rather than when I take them.
Here’s how to do it. I will demonstrate on some dahlias that I’ve started indoors in pots. They’re now large enough to go in the ground, but not before I work my propagation magic.
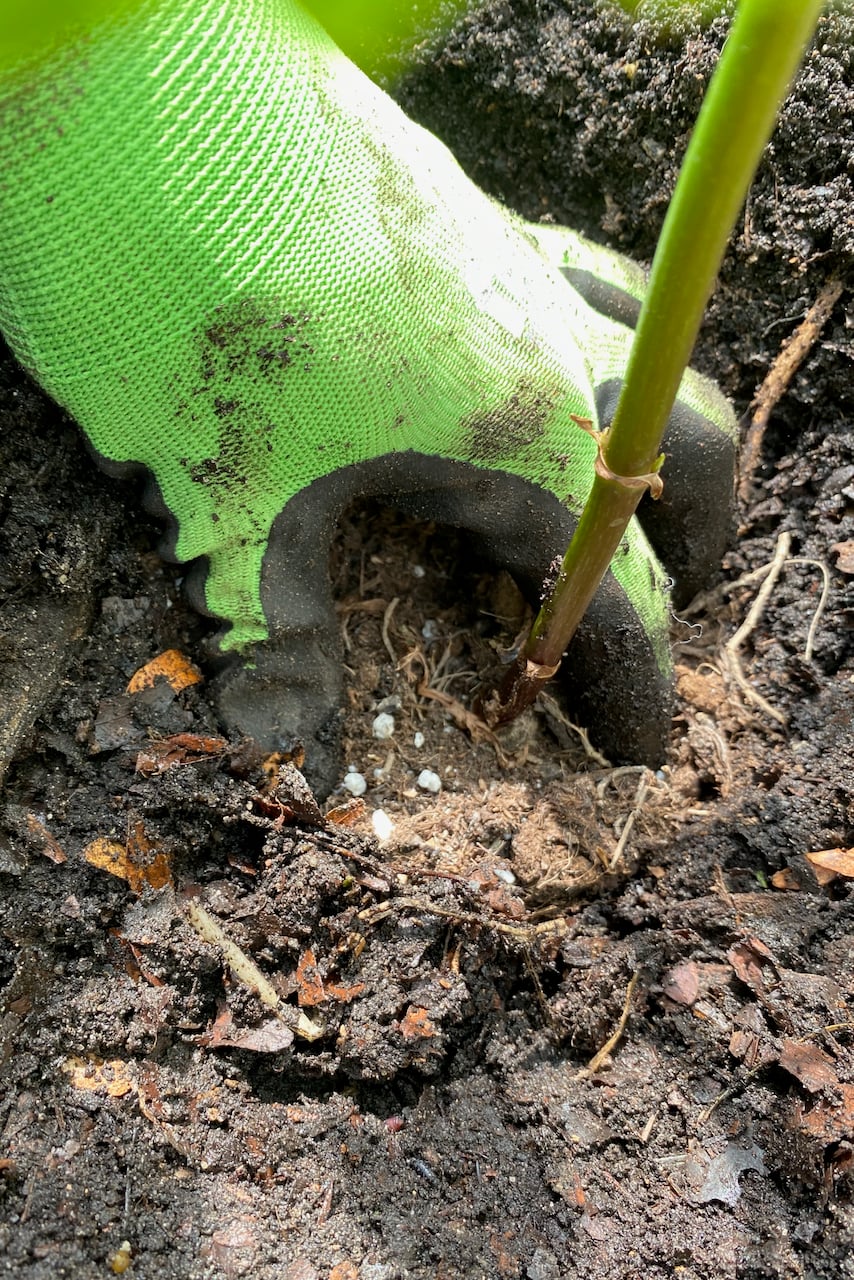
Step 1: Expose the tuber.
If you’re propagating dahlias grown in pots, you won’t have to dig too much. You can see in this article that I don’t bury the tubers too deeply when I jumpstart them indoors and I don’t necessarily bury them all the way.
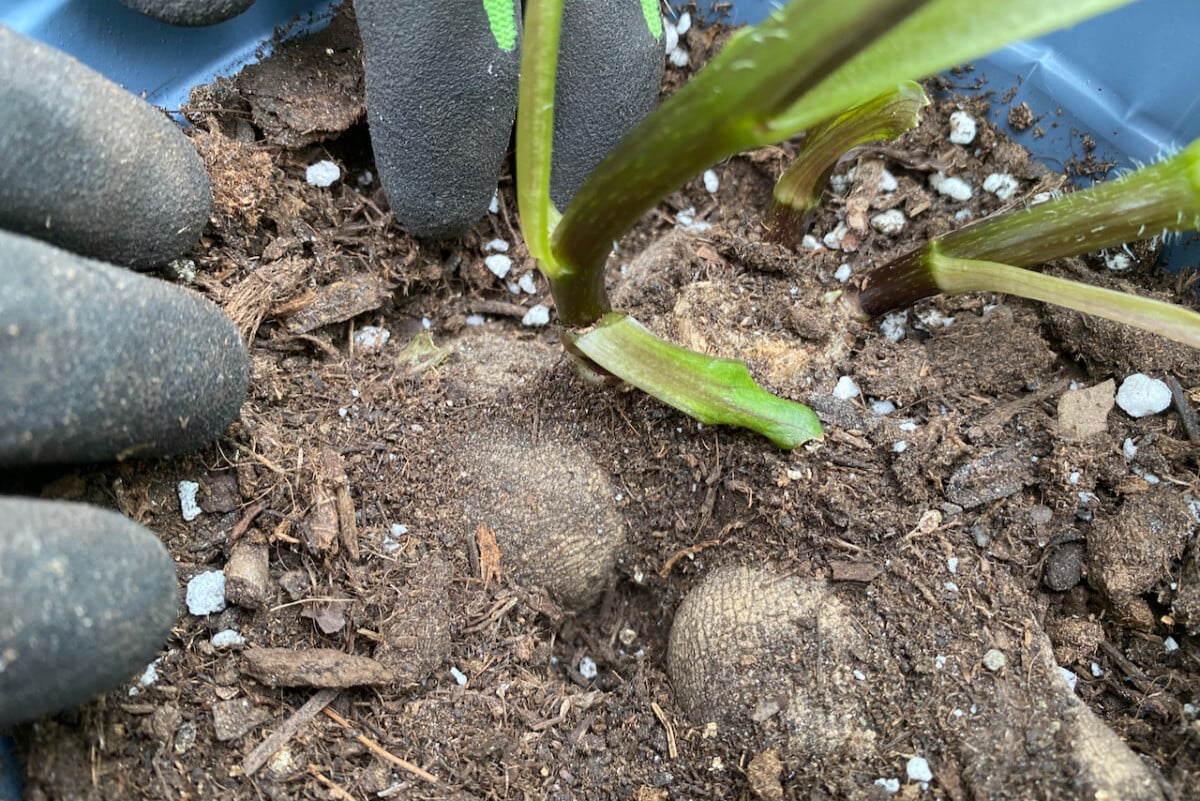
If you’re taking cuttings from dahlias that are already in the ground, you’ll probably have to scratch the surface a bit and find the top of the tuber. We’re looking for a few areas where the “eyes” of the dahlia have sprouted shoots. That’s where we’ll be cutting.
Step 2: Decide which shoots would make good cuttings.
At this point, our goal is to select vigorous shoots. Depending on how early or late we’re taking these cuttings, that may mean different things. But let’s aim for a shoot that has at least three sets of leaves and it’s at least three to five inches (about 10 – 20 cm).
It can be taller and it can have more sets of leaves, but if it’s too small, we might have trouble keeping it hydrated (as dahlias, even cuttings, are notoriously thirsty plants).
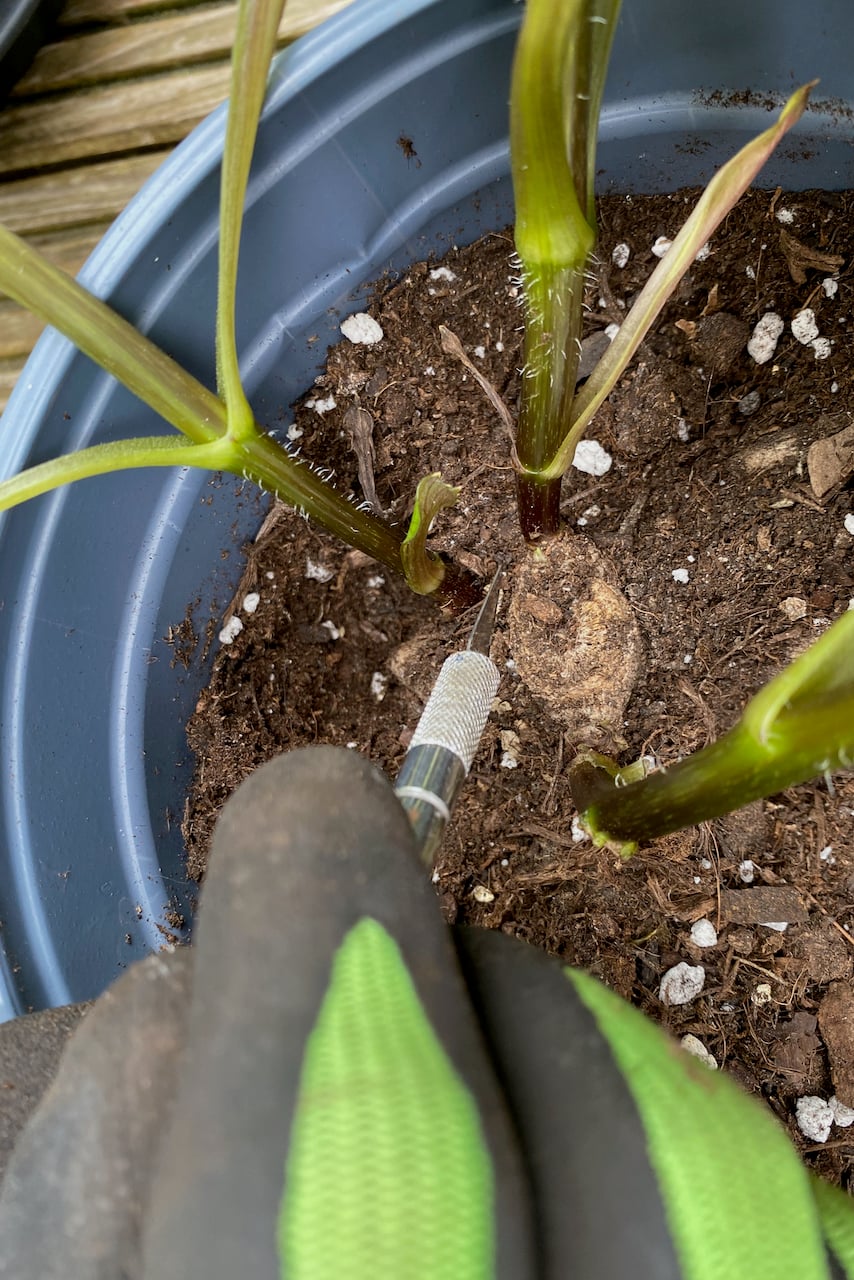
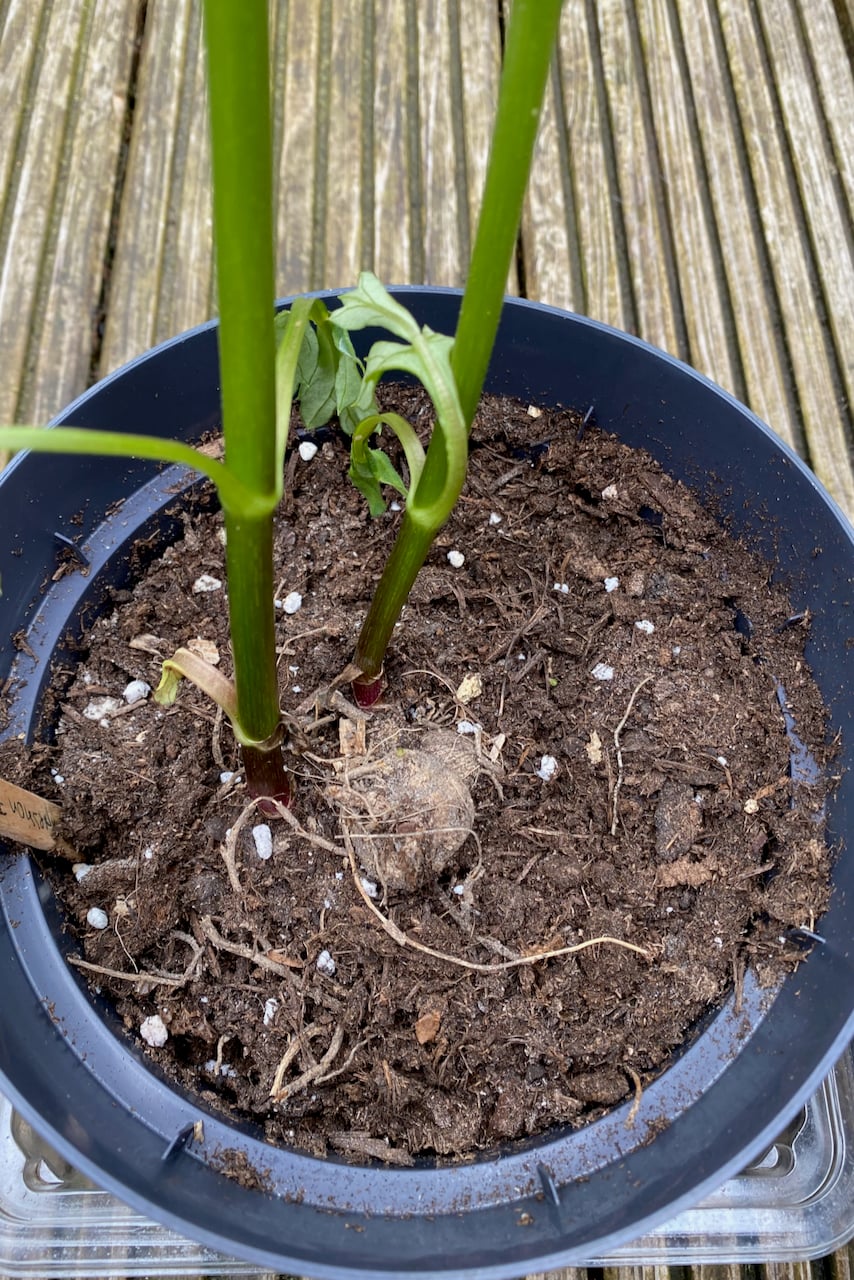
Step 3: Cut into the tuber.
It’s time to make the cut.
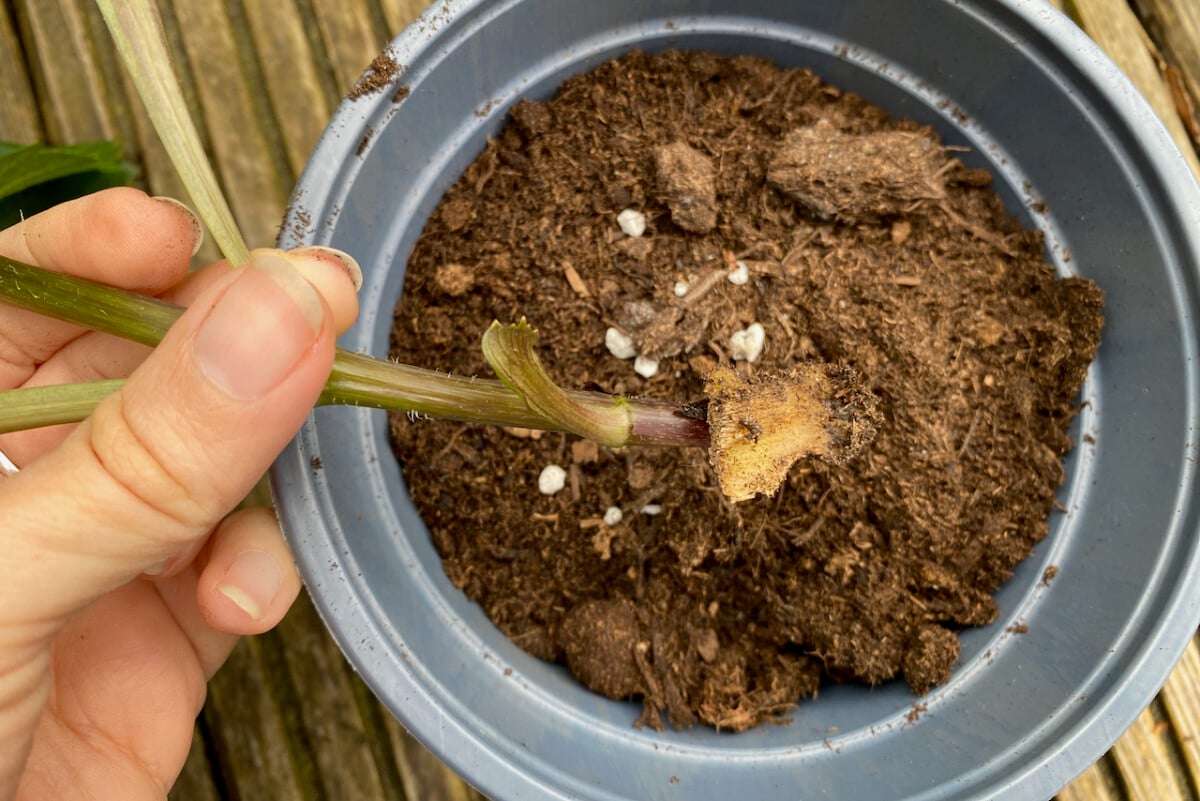
We’ll be taking a basal cutting that contains not just the shoot, but a small section of the tuber, right where the shoot is sprouting from. Simply cut into the tuber around the base of the shoot and detach the entire thing from the tuber.

Since the tuber is tough and starchy (kind of like a raw potato), I had to use a sharp blade to make a clean cut. Be super careful and don’t forget your gardening gloves if you’re using a sharp knife.
Does it matter how much of the tuber we chop off?
Technically, it doesn’t matter as much as long as we do take some. We’re taking a chunk of it because we want the energy and the growth hormone stored in it to help jumpstart our cutting.
But I try not to take too large of a piece, especially if I’m taking more than one cutting from each tuber. (Oh, by the way, it’s totally possible to get more cuttings out of one tuber.)
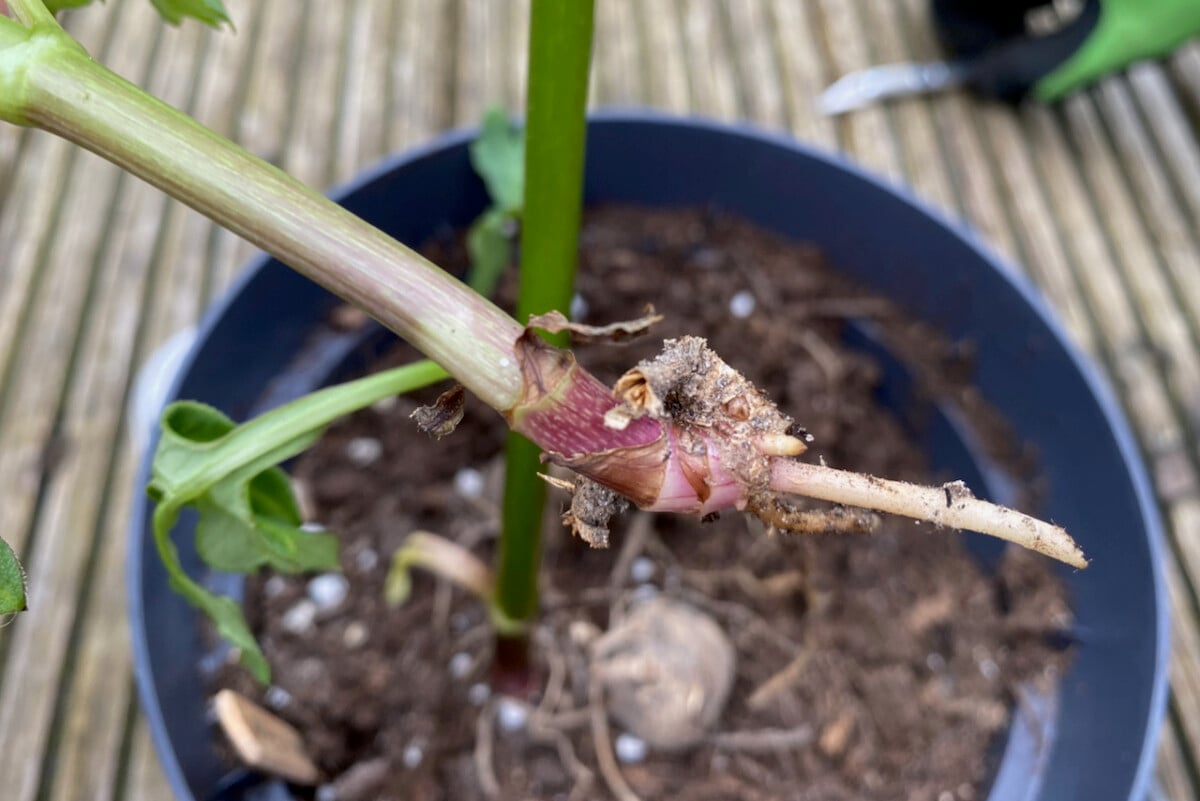
Here’s a smaller size of tuber cutting that I took. I’m happy to report that both the larger and the smaller ones grew perfectly into healthy new plants.
Do I really need to take a part of the tuber off?
I’ve been reading some guides in which gardeners did not take any part of the tuber off. They were simply cutting the shoots at the base and plopping them into soil.
I love gardening experiments, so naturally I had to run one side-by-side. The cuttings that didn’t have any piece of tuber attached, didn’t make it. All the ones that had a piece of tuber still attached, did.
Now I’m not saying it’s not possible to just grow cuttings in the absence of tuber tissue. All I’m saying is that it didn’t work for me. The cut shoots seemed to get dehydrated really quickly and went limp after a few days.
My attempts to revive them by watering them resulted in the opposite: the bottom half of the cutting, the part that went underground, got too damp and mushy. Out in the compost they went.
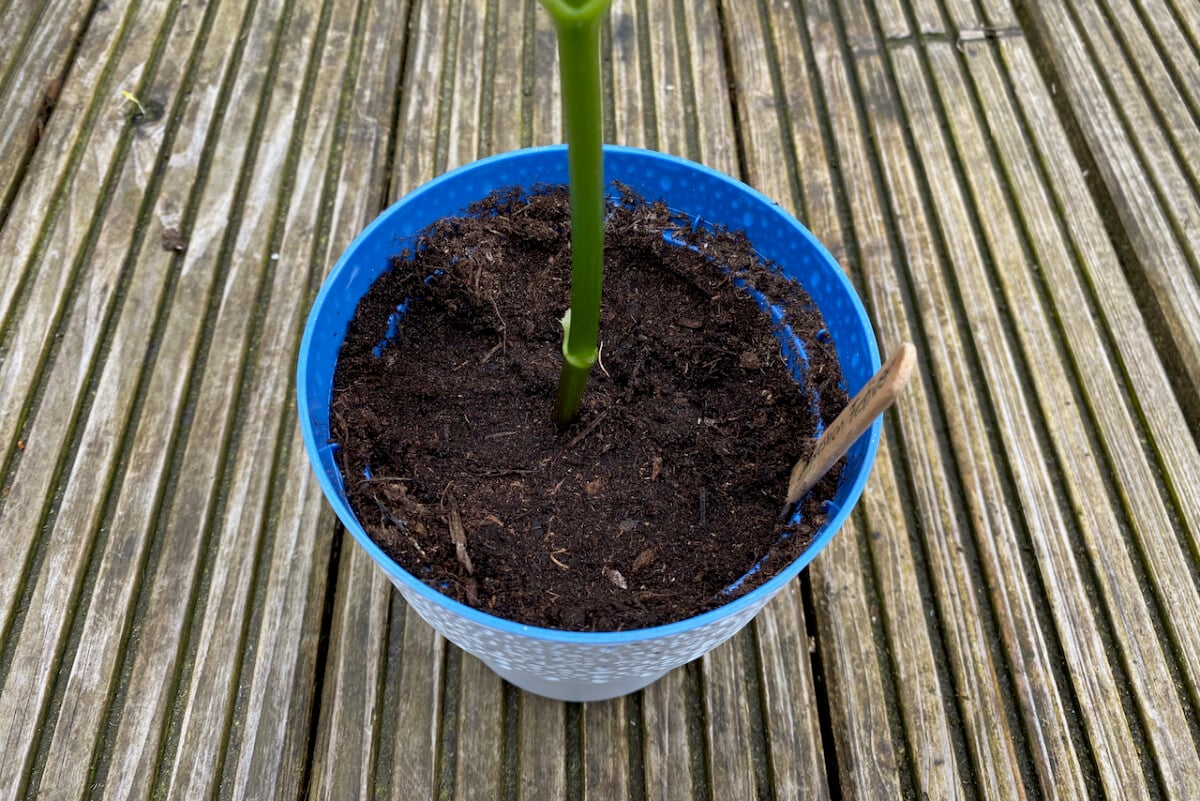
Step 4: Pot up the cuttings.
Now that we have our cuttings, it’s time to pot them up separately. I usually plant mine each in their individual pot. Dahlias grow a pretty vigorous root system, so combining more cuttings in the same pot (like I would with other stem cuttings) is just asking for trouble later down the line.
It doesn’t have to be a larger pot, but it does need to be well-draining soil. Adding a handful of perlite to potting soil will help with finding the right balance between well-draining and good water retention. And remember to keep the soil damp, but not saturated.
If the cuttings have a pair of leaves close to the base, please remove them now and expose the leaf nodes. Just so that the leaves don’t rot underground.
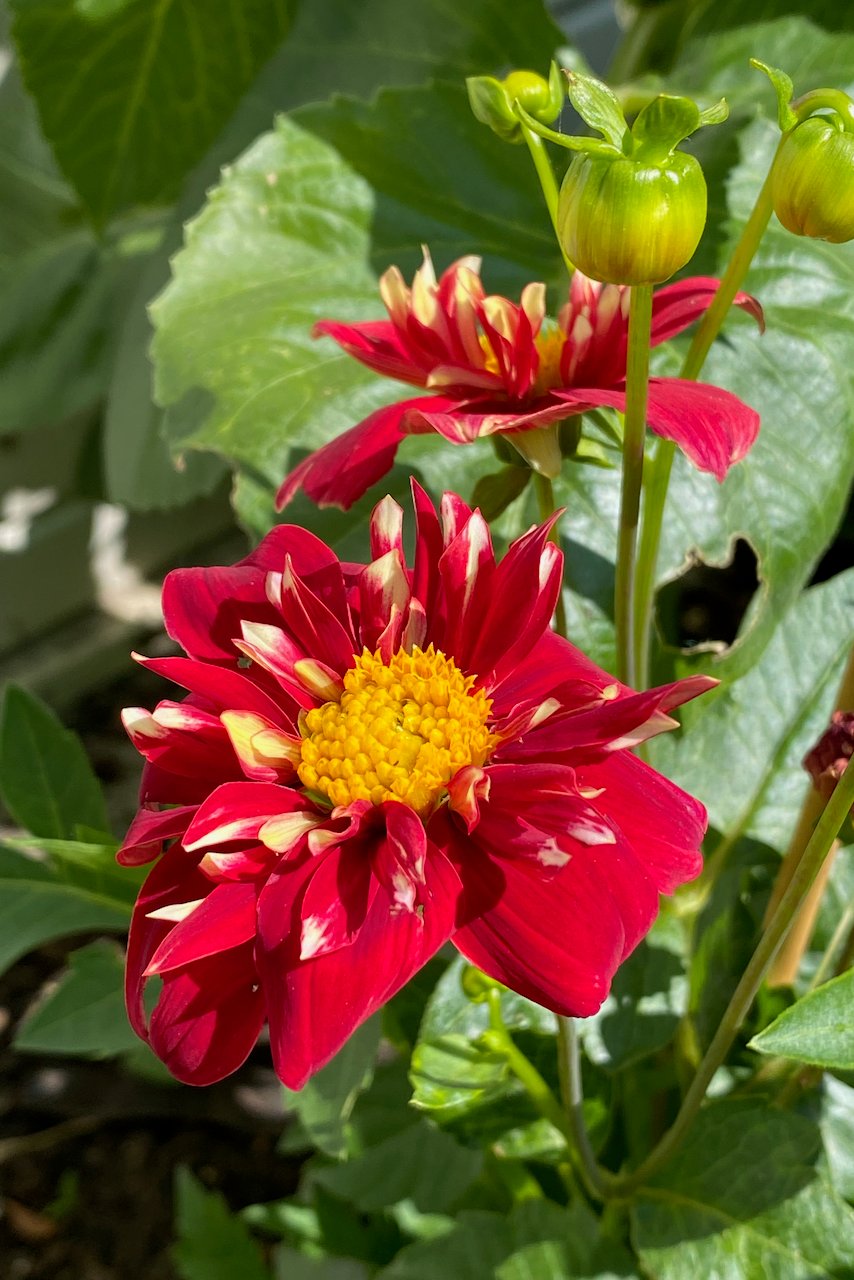
You’ll notice that my cutting is already showing signs of budding. That’s perfectly ok and it will continue to bloom even after it has been cut. Or you can simply pinch it off now and wait for flowering later in the season.
Can I put the cutting straight into the ground?
Yes, but only if you’re vigilant about two things.
First of all, the cuttings will not do well in full sun. So even though the mature dahlias will be planted in full sun, the cuttings don’t yet have the root structure to absorb moisture from the soil and keep this baby plant hydrated.
And on the same note, the same advice as above applies: keep the soil around the cuttings damp, but not saturated. I think this takes a bit more diligence to get right when we transfer the cuttings straight into the garden. So I strongly suggest that you don’t skip the intermediate step of rooting it in a pot.
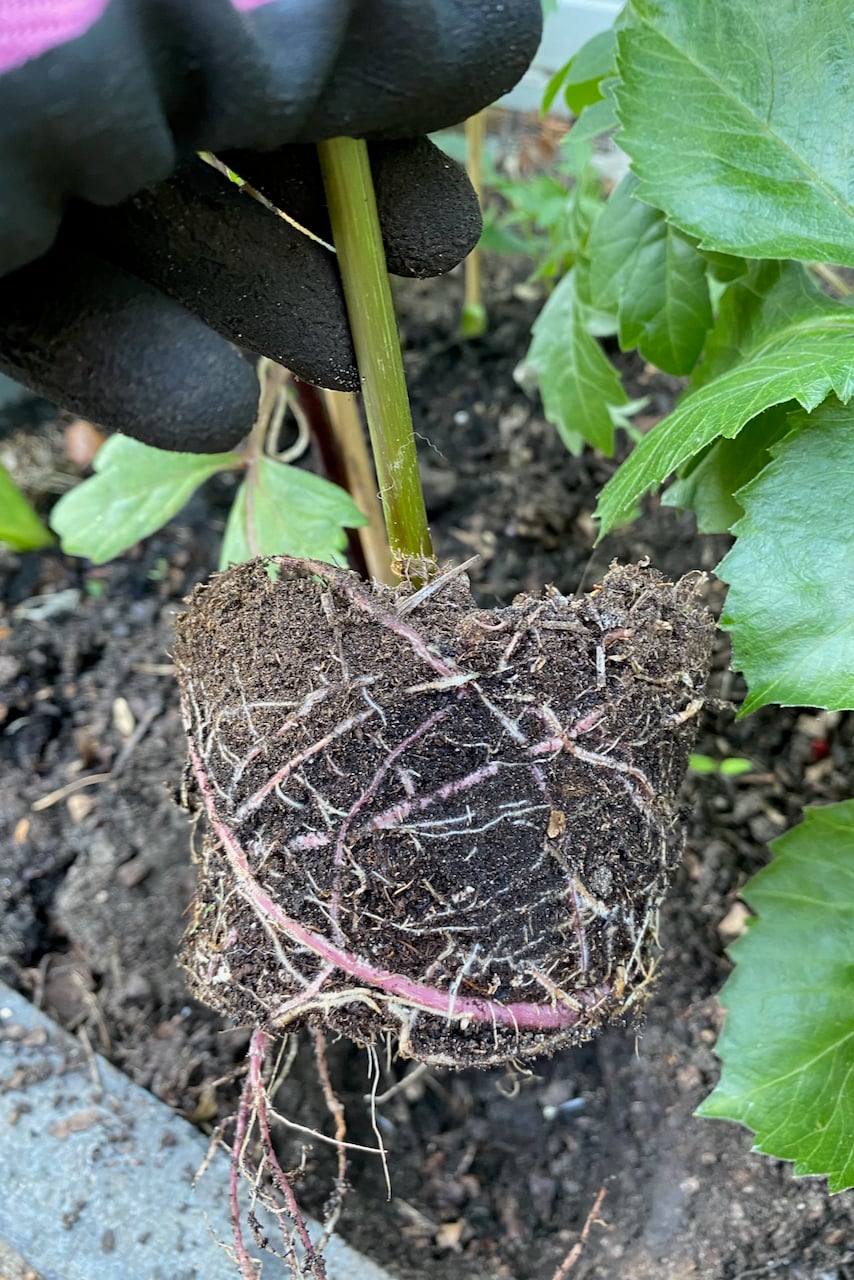
Plus, once the cuttings have a root system in place, it’s really easy to just pull everything out of the pot and plant it in the garden.
How long does it take for dahlia cuttings to form roots?
Based on my observations, it took about four weeks, on average, for roots to look like a real root system.
Dahlias are photosensitive, so if we’re taking cuttings later in the growing season, when the days are longer, they might take less time to develop feeder roots. If we’re taking cuttings as soon as the shoots are large enough (say, May), it will take longer. Once again, a little bit of patience pays off in gardening.
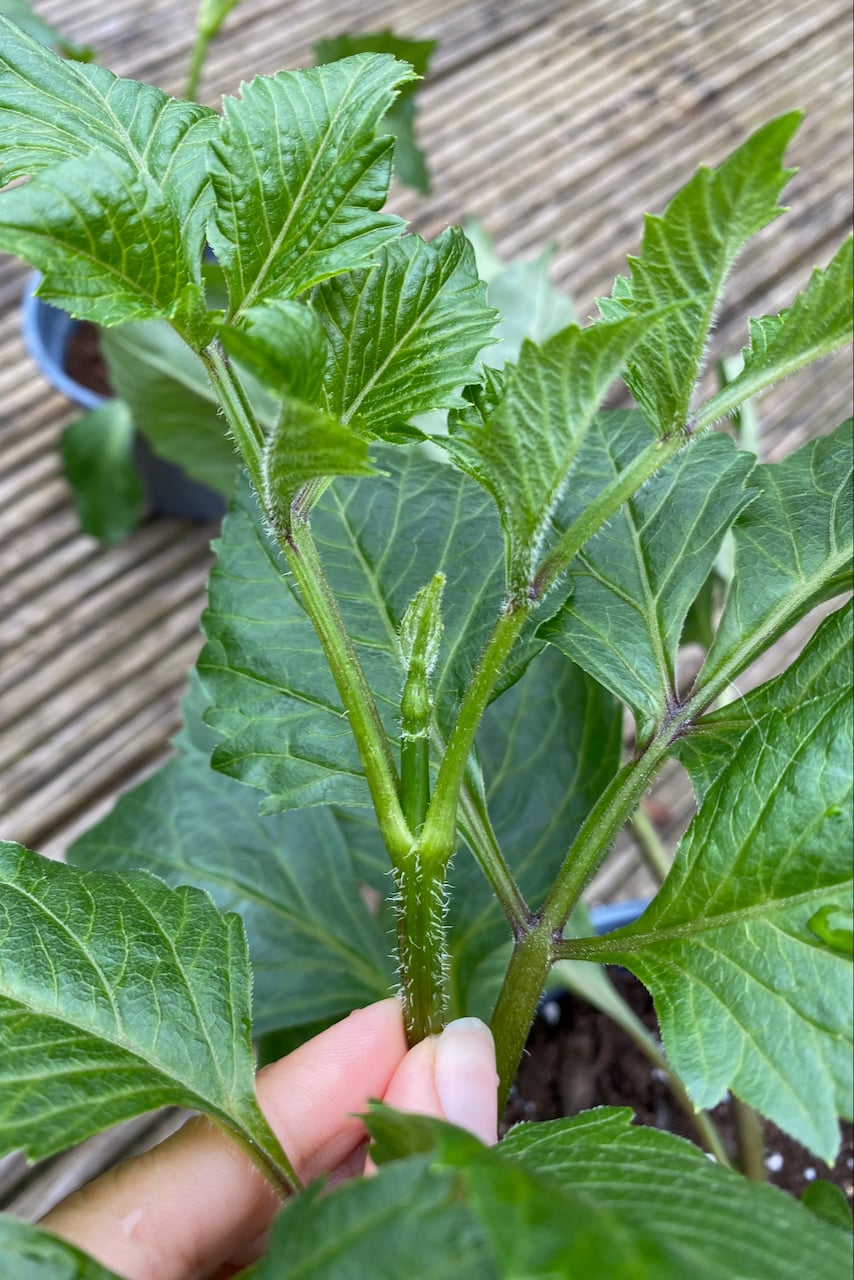
You’ll know that the cuttings have taken well when they start growing new shoots themselves.
Two scenarios when we shouldn’t take dahlia cuttings.
Don’t take dahlia cuttings if the tuber only has one shoot growing.
You might already know this, and it may sound like a super obvious piece of advice. But I’ll say it anyway, just so we’re clear.
If a tuber only has one shoot growing out if it, don’t cut that off. The shoot feeds the tuber and helps it grow. Once you cut it off, and in the absence of other growth, the tuber is dead. So we’ve theoretically not propagated anything.
This single-shoot tuber is usually a young one that has just been divided from a larger tuber. So all we have to do is postpone the propagation until next year, by which time it will have hopefully bulked up a bit.
Don’t take dahlia cuttings too late in the season.
Notice that I didn’t specify a good timing to take dahlia cuttings up until this point in the article. We could theoretically take cuttings from late spring to late summer, so the window is very wide. As long as fresh new shoots are coming out of the tuber, we could turn them into new plants.
However, if we take the cuttings too late in the growing season (which in my gardening climate starts being the case around late July, maybe the first week of August), they will not have time to develop into new flowering dahlias this year. Not before the cold starts settling in, anyway.
So while the cutting will grow just fine, we’ll end up having to take care of it indoors or in a sheltered location over the cold months. And be warned, it will die back naturally as it transitions into winter dormancy. And depending on how much time the tuber piece has had to store energy, well, it may not wake up again in spring.
I think that if you’ve ever taken stem cuttings successfully, you should muster up some courage and take dahlia tuber cuttings. They’re much easier to keep alive and root than any stem cutting I’ve ever taken.