
Most of the ornamental plants that I’m growing in my backyard are decidedly not native to the Northern Hemisphere where I garden. My camellias are native to Asia, as are my rhododendrons and even my tulips.
Yet somehow, probably because they have been used in gardens around these parts for hundreds of years, these plants still look like they belong.
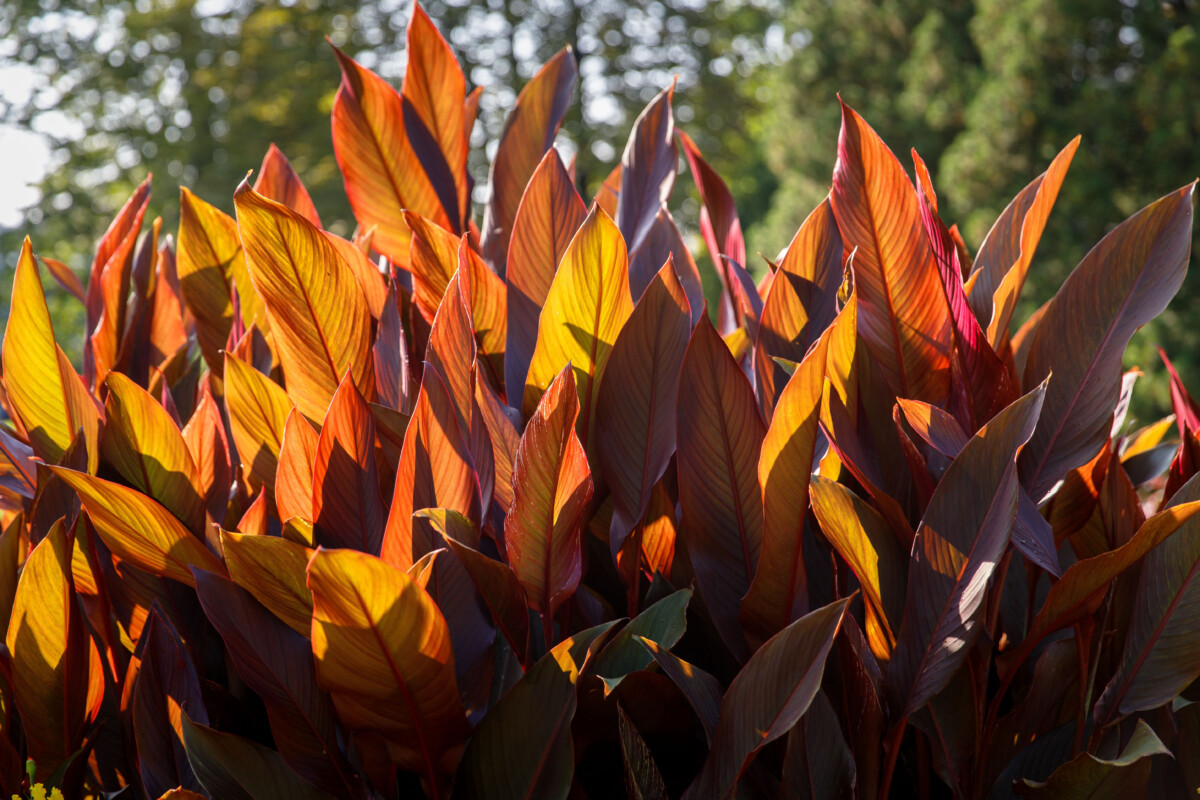
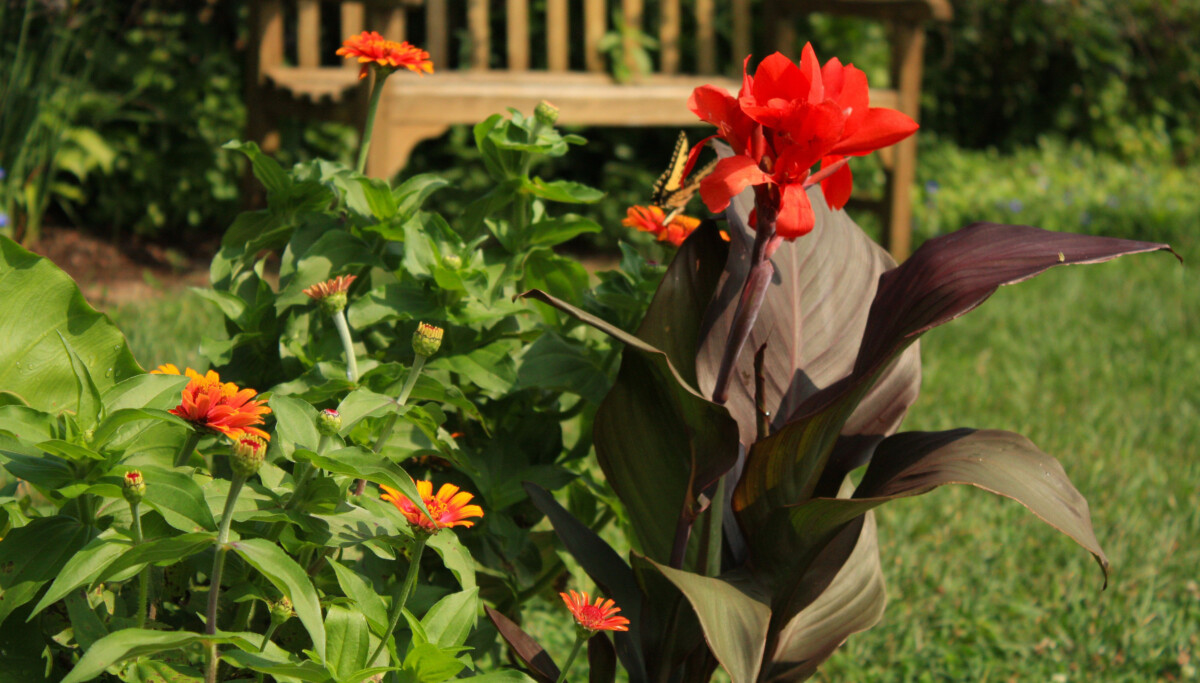
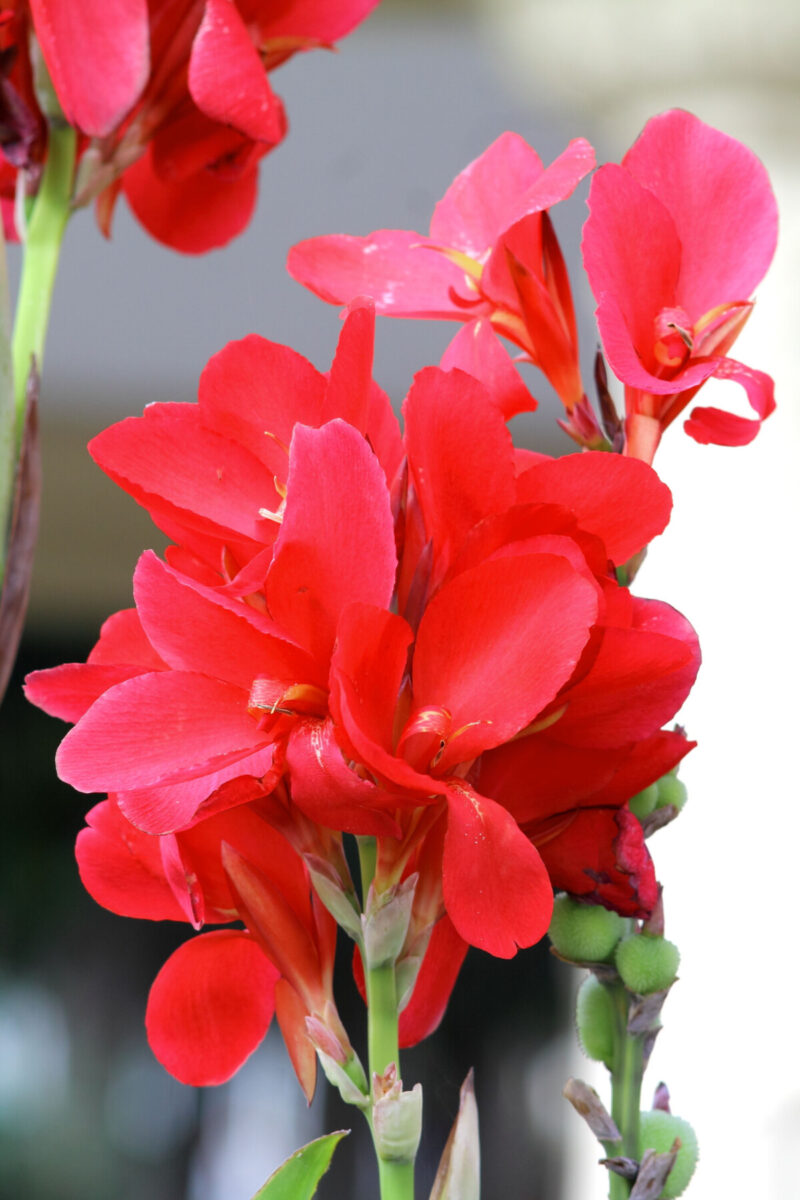
Which is something I can’t say about canna lilies. With their lush glossy foliage (similar to that of banana trees) and flowers with convoluted petals in bright colors, canna lilies still look very much like some special tropical touch in gardens around these parts.
Strangely enough, canna lilies have been in cultivation ever since the 1850s, when wild species were first hybridized and turned into ornamentals to adorn the gardens of European aristocracy.
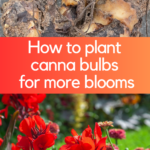
If you want to give canna lilies a try, I’ll give you a few tips on how to get them started (either in pots or directly in the ground). I’ll also cover how to grow cannas to maximize blooming time.
What kind of canna should I plant?
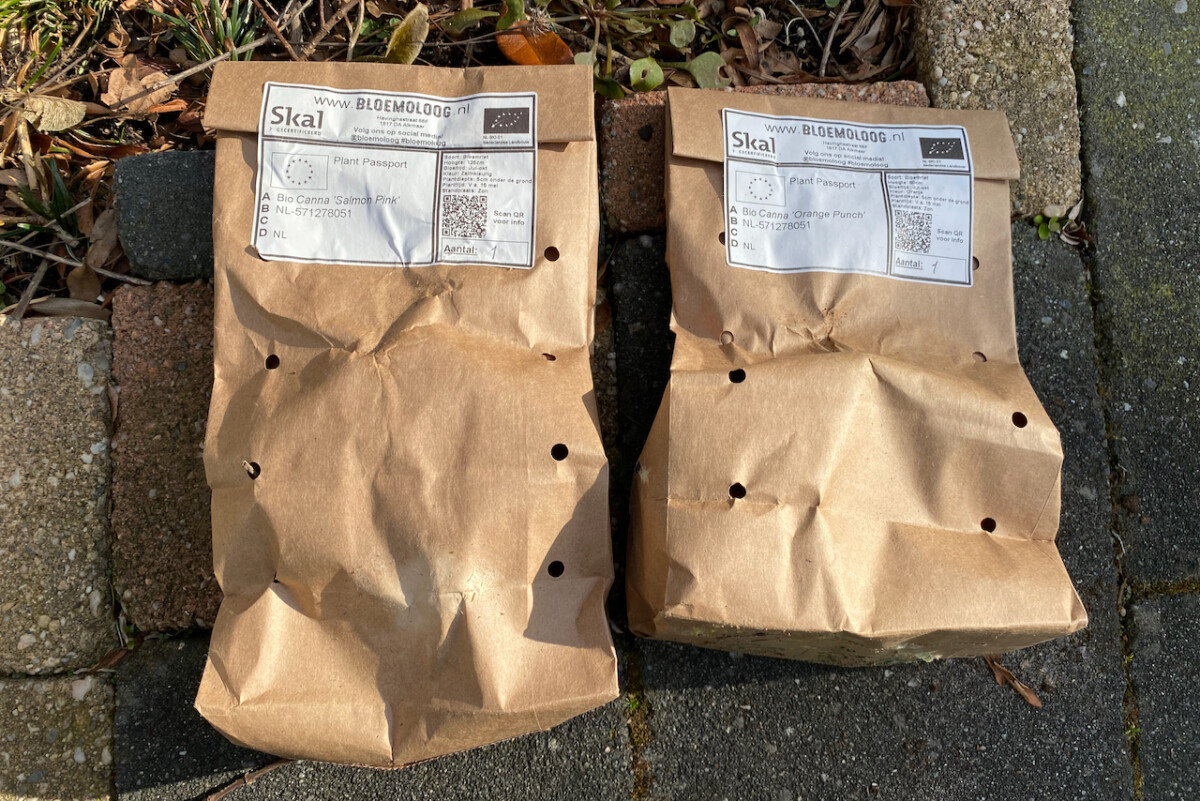
I’m convinced that there is a canna lily for every style and (almost) any size garden. This year, I’m bringing two new cannas into my yard. Because I’m packing everything in a small suburban plot – much like a game of floral tetris – both of the new cannas I’m starting this spring are smaller cultivars.
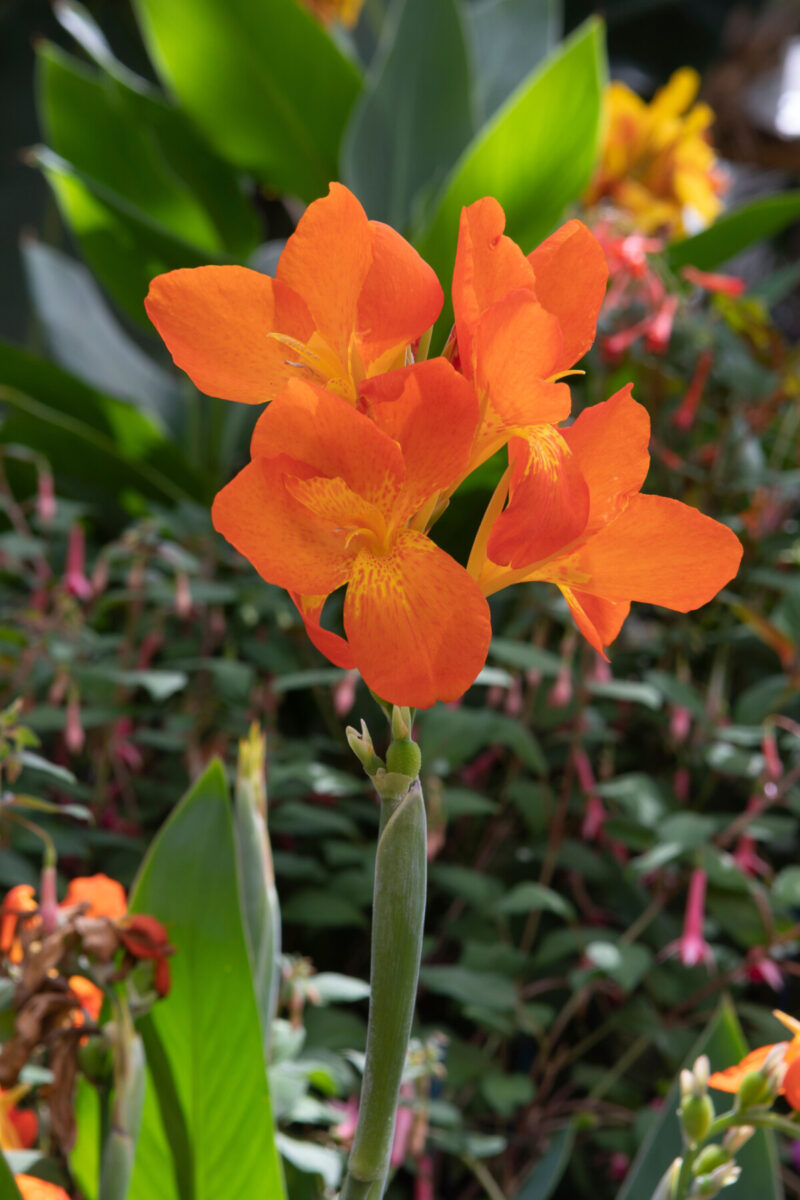
Canna ‘Orange Punch’ is a compact cultivar that will only grow to about four feet tall (roughly around 120 cm). I can’t wait for it to reach maturity and start unfurling clusters of peach-orange flowers adorned with yellow streaks.
I plan on transplanting this one to the garden once the danger of hard freeze has passed – probably in early May. But if I wanted to, I could just transfer it to a larger pot and keep growing it as a container plant.
As it stands, we’re expecting more drought this summer, and cannas are quite thirsty plants, so I’d rather not risk stunting its development by depriving it of water while we’re on vacation.
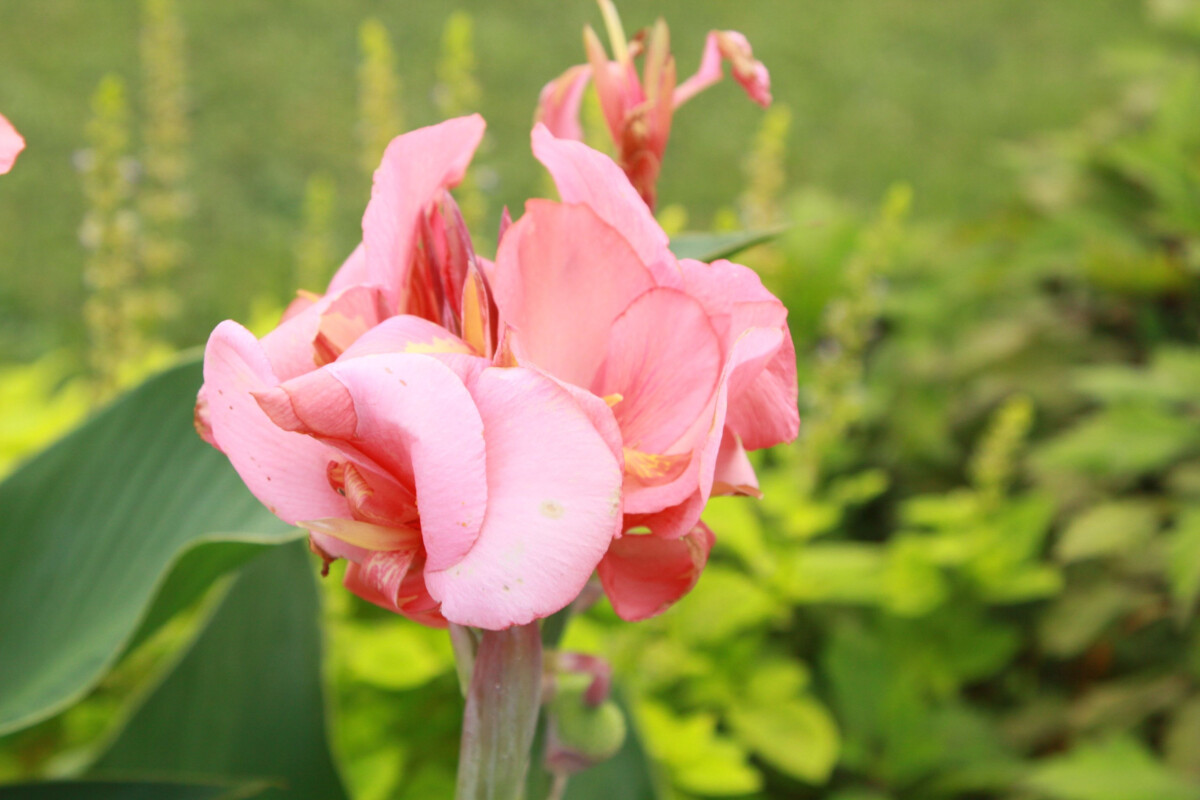
Canna ‘Salmon Pink’ is another short canna that will only reach around three feet in height (around 90 centimeters). But the flowers of this one grow larger than those of the ‘Orange Punch.’ The soft pink shade of the blooms contrasts beautifully with the dark green foliage. It really is a match made in color palette heaven.
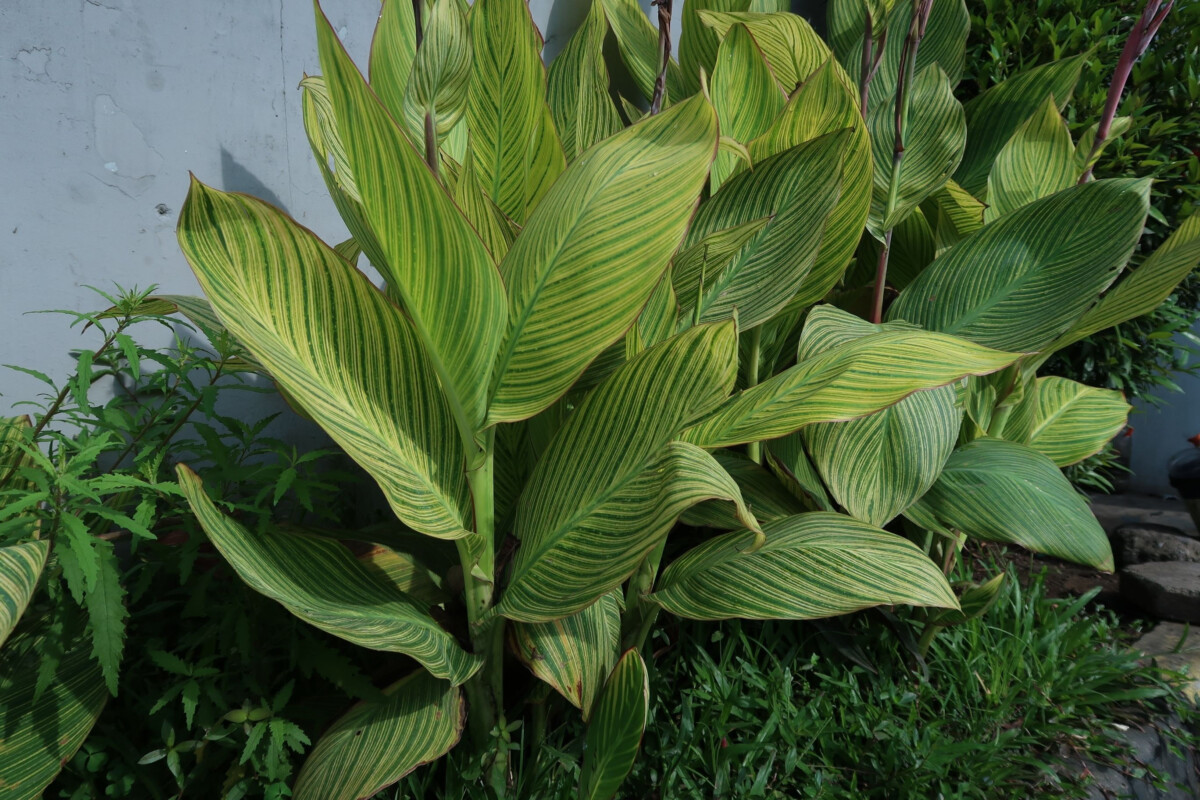
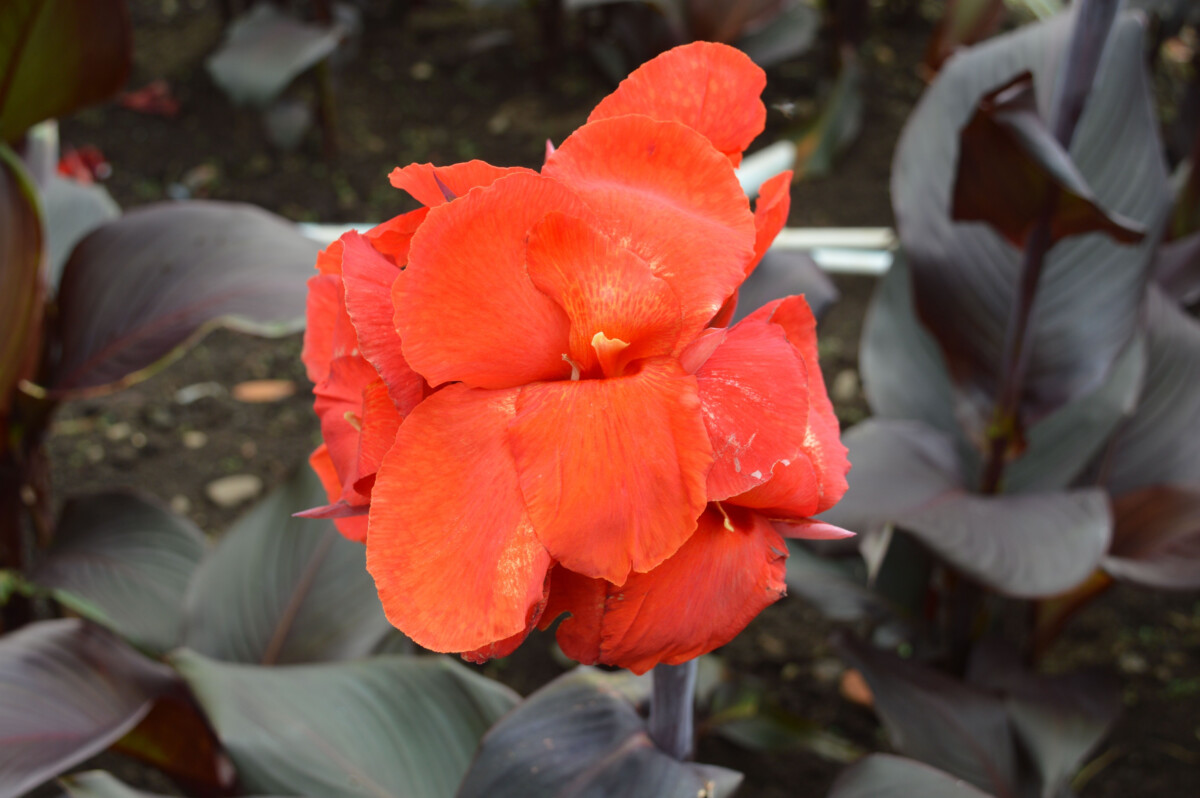
However, if you have enough space, there’s no need to stick to petite canna lilies. There are so many canna cultivars on the market in various heights and colors. And because cannas foliage also comes in different shades of green, mauve or burgundy, you can create so many displays with these tropical beauties.
A few of my favorite canna lilies include:
Canna ‘Madame Butterfly’ – a smaller variety with green foliage topped with large salmon-pink blooms;
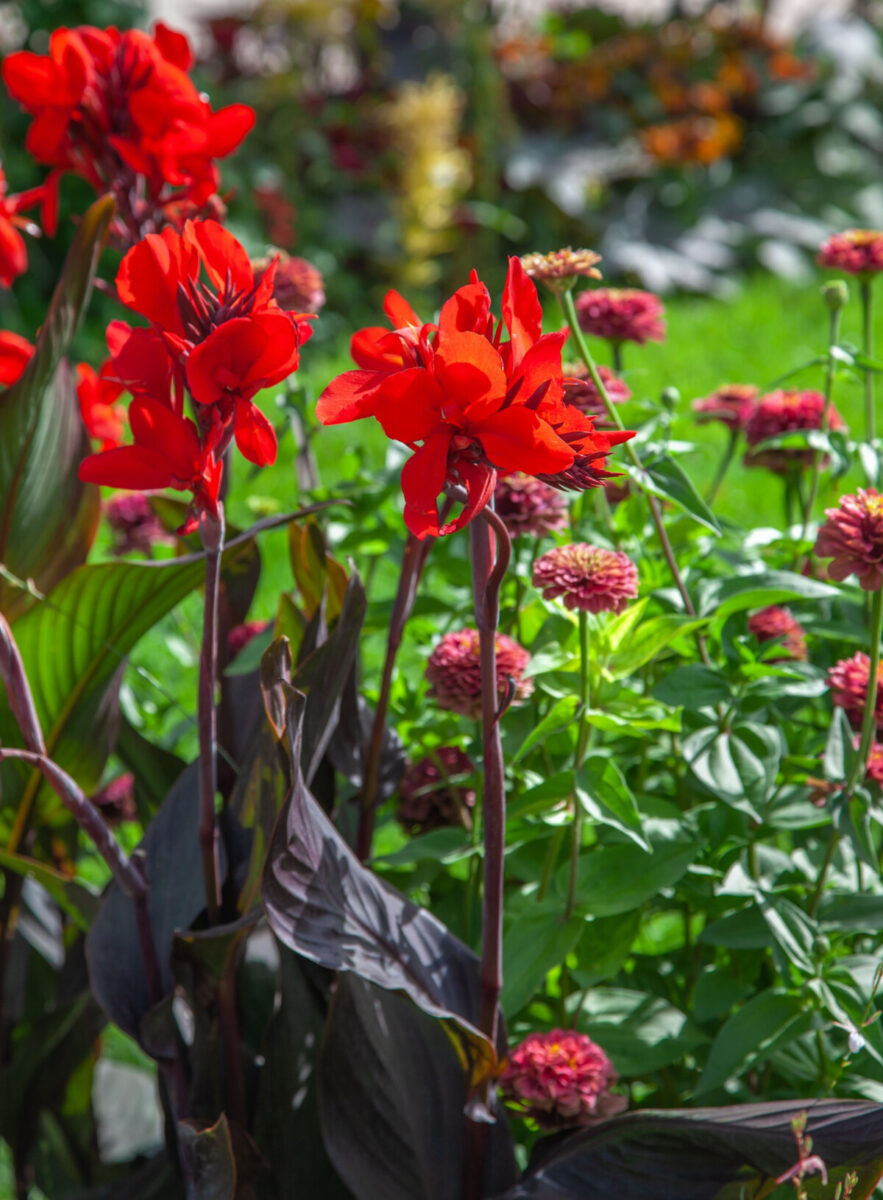
Canna ‘Tropical Bronze’ – bronze foliage and scarlet red blooms;
Canna ‘Black Knight’ – stunning black foliage with bright-red flowers;
Canna ‘Crimson Beauty’ – green foliage and deep-red flowers;
Canna ‘Miss Oklahoma’ – green foliage and coral pink flowers;
Canna ‘Striped Beauty’ – green foliage with yellow stripes and yellow flowers with white markings;
Canna ‘Stuttgart’ – variegated green and white foliage and elegantly stacked orange blooms;
Canna ‘Inferno’ – variegated multicolored foliage and devilishly red blooms.
How to start canna bulbs indoors
Cannas are summer bulbs, so I usually start them indoors as early as March. I have a pretty short growing season in my zone, so starting cannas in pots is the easiest way to game the system and bypass the low temperatures on the forecast this spring.
A good rule of thumb is to start your cannas a good six to eight weeks before you plan on transplanting them outdoors, and that’s exactly what I’m doing.
If you’re planning to plant your canna rhizomes straight in the garden, hold off until the danger of hard frost has passed.
Starting cannas in pots is really easy. And if you’ve read my tutorial on how to start dahlias in pots (another tender summer bulb), you’ll recognize the steps.
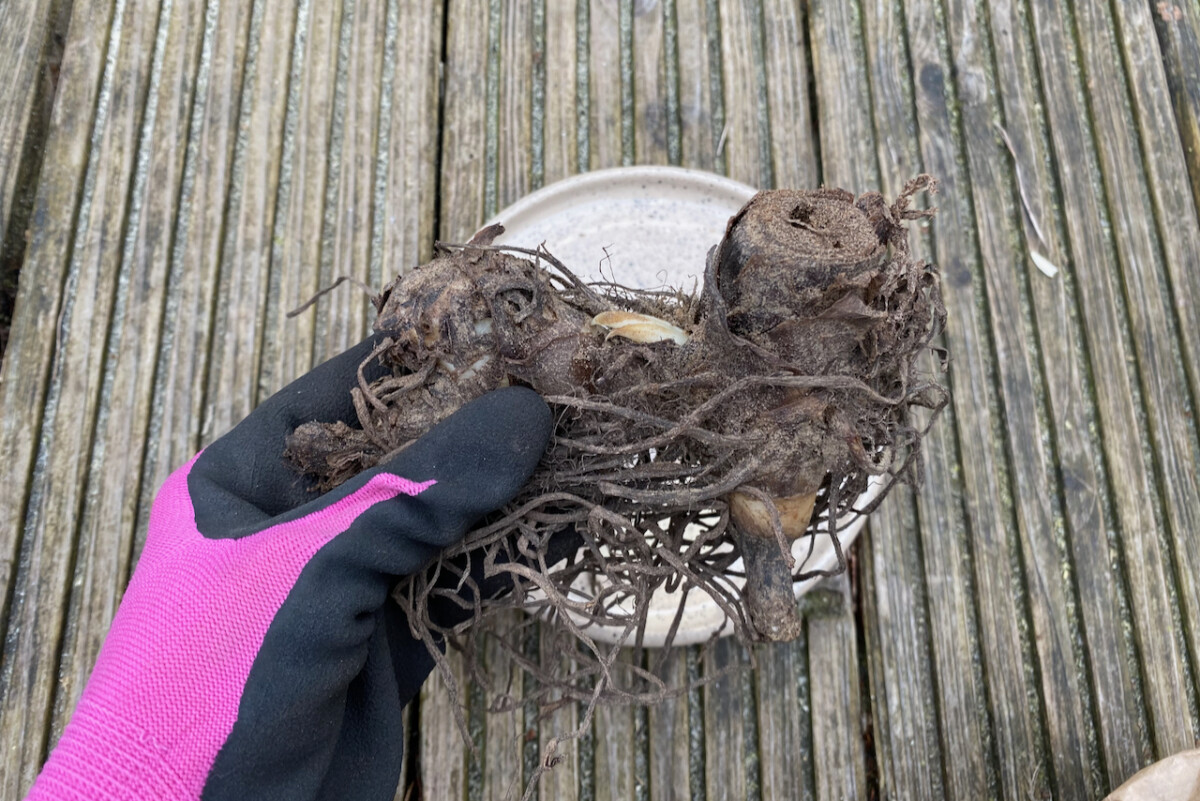
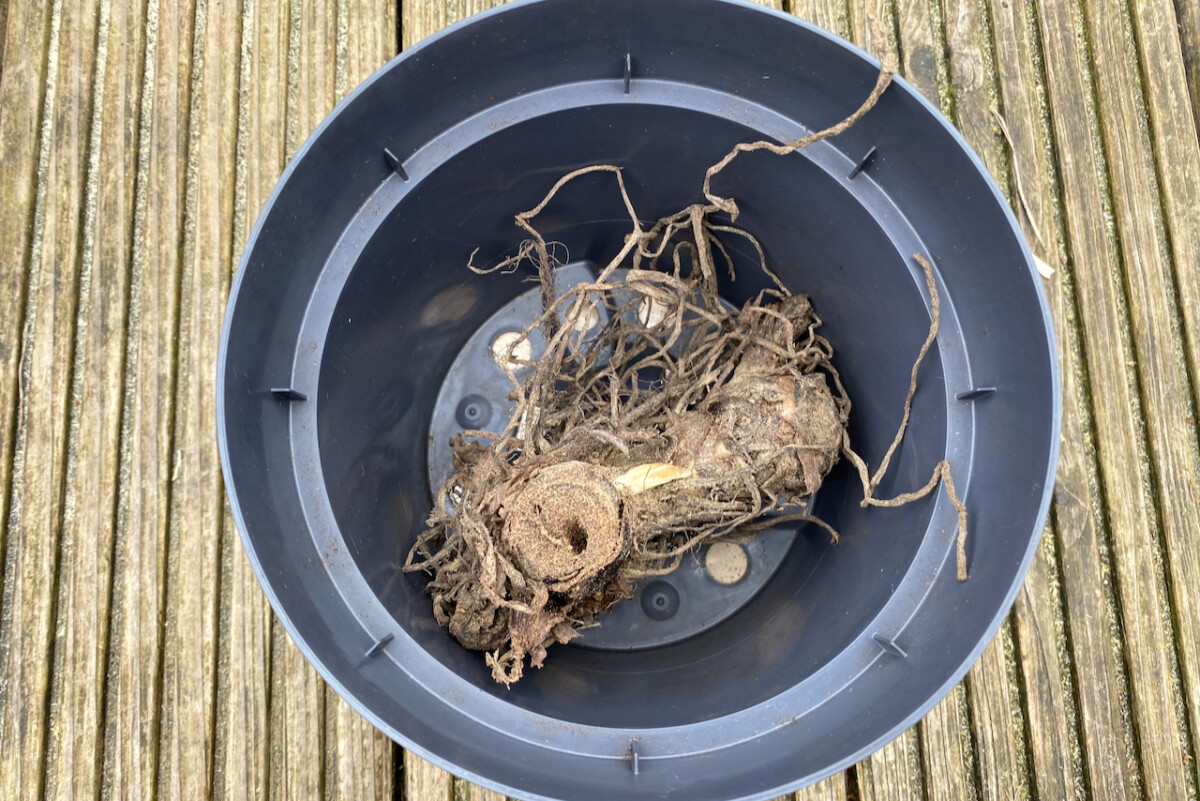
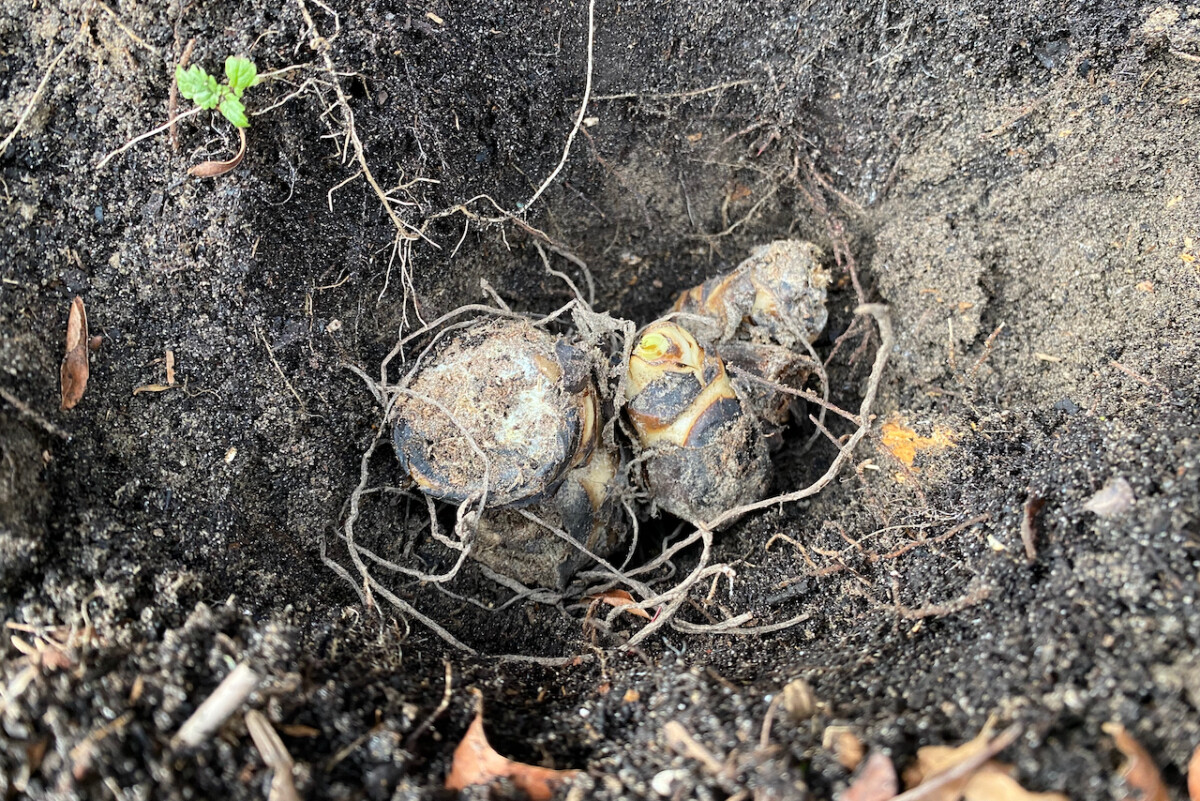
This is what a canna bulb (actually called a rhizome) looks like. Before you plant it, make sure you’ve identified which way is up. You’ll want to plant it with the old stem cut facing up and the roots facing down. Your rhizome may or may not have ‘eyes’ already sprouting. These will show up around the ‘neck’ (the old stem) and will grow into new plants this summer.
My cannas had all sprouted in their paper bags. I suspect this happened because I kept them for a couple of weeks at room temperature after I had received them from the vendor.
Because cannas are planted so late into the season, sprouting is bound to happen quite often. It shouldn’t interfere too much with the development of the new plant, unless we’re talking about really long shoots that may remain too leggy for too long into the growing season.
Choose a big enough pot.
When you’re starting canna lilies indoors, it’s important to choose a pot that can accommodate the size of the rhizome. Take into account the fact that, as the rhizome absorbs some water, it may expand (just a little bit). That’s why you don’t want to plant it too snugly and have it protrude through the walls of the container.
At the same time, choosing a much larger container – that may end up requiring too much soil to fill – may lead to overwatering your bulbs. It’s not a problem if you don’t have overwatering tendencies (I do), but keep this in mind before you choose the pot.
Amend your soil to improve drainage.
Every time we plant something in a container – including plants that we’re just starting in pots and plan on transferring later – we want to choose a potting medium that drains properly.
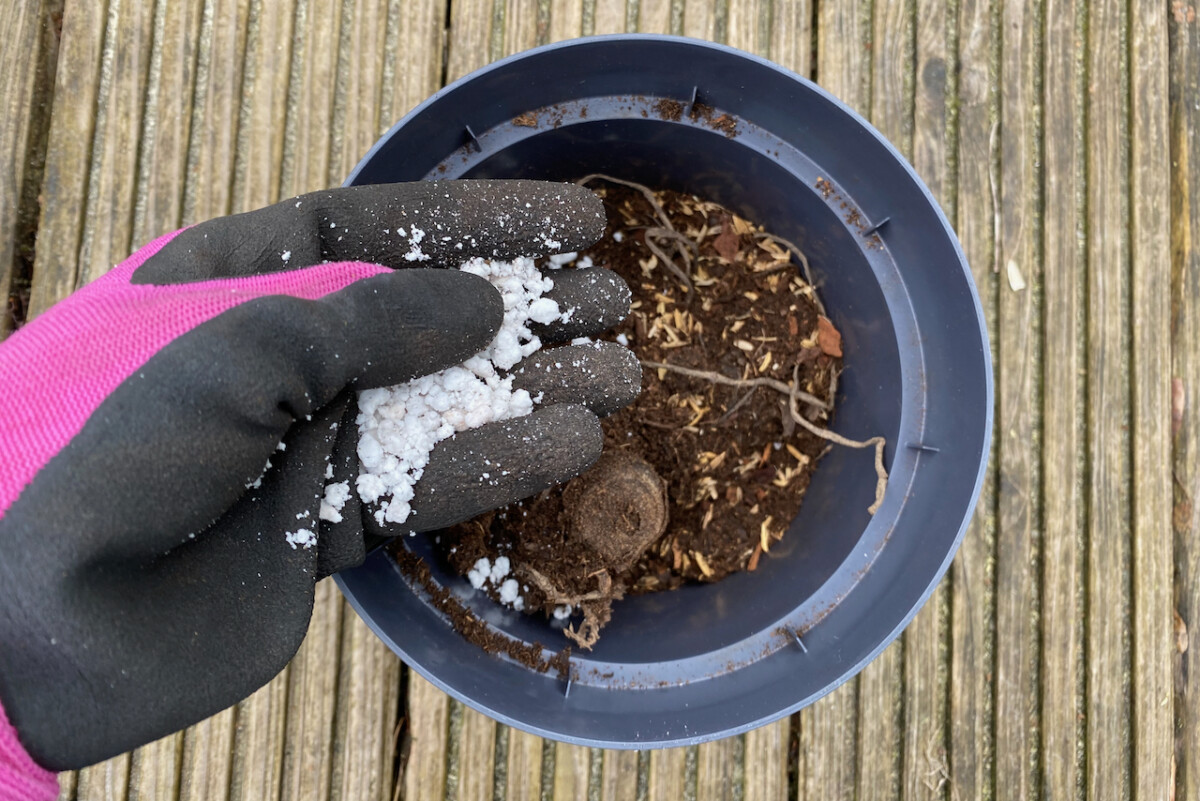
My recommendation is to always go for mixes that are specially made for pots, not for outdoor garden use. That usually means they’re not just made up of pure compost, but also contain ingredients – such as coco coir, shredded bark or perlite – that prevent the soil from staying too soggy.
Even though I had bought a high-quality potting mix, I still added a little bit of perlite to make the potting mix more fluffy and less absorbent. My bulb delivery came packed with some dry grain husks, so I mixed those in as well.
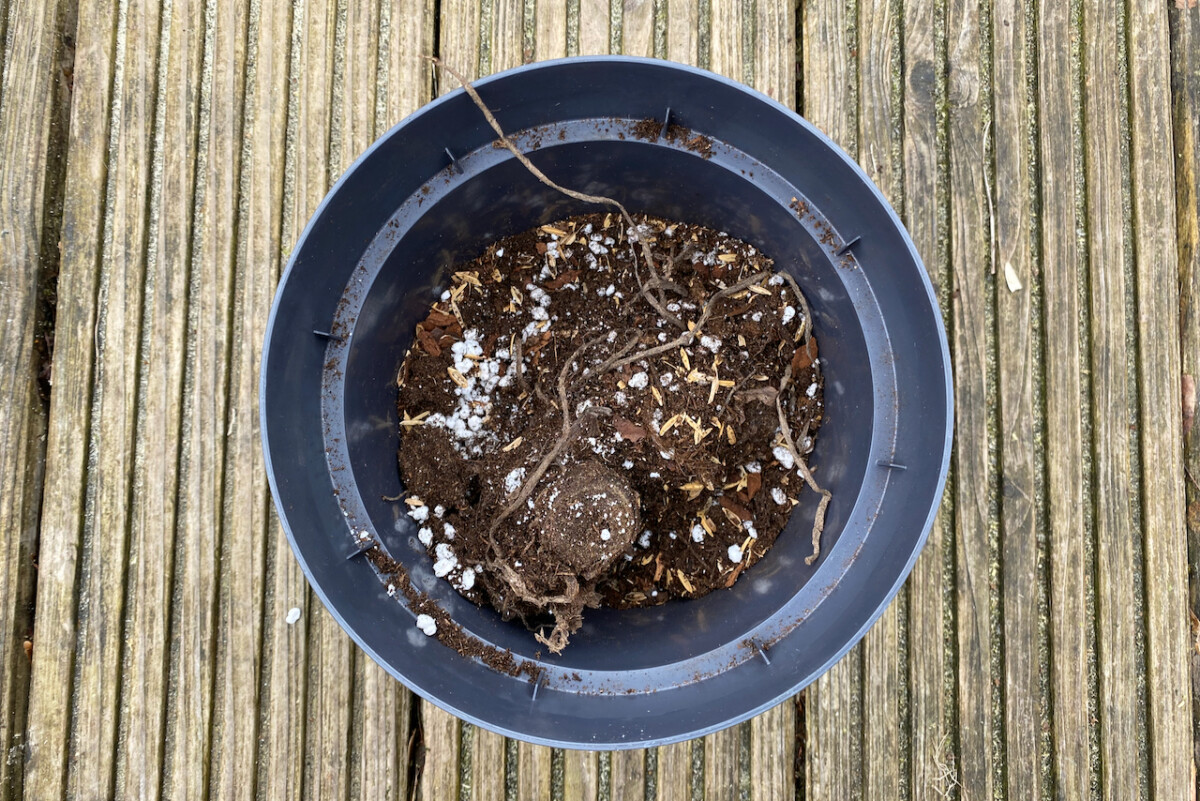
Bury the rhizome all the way.
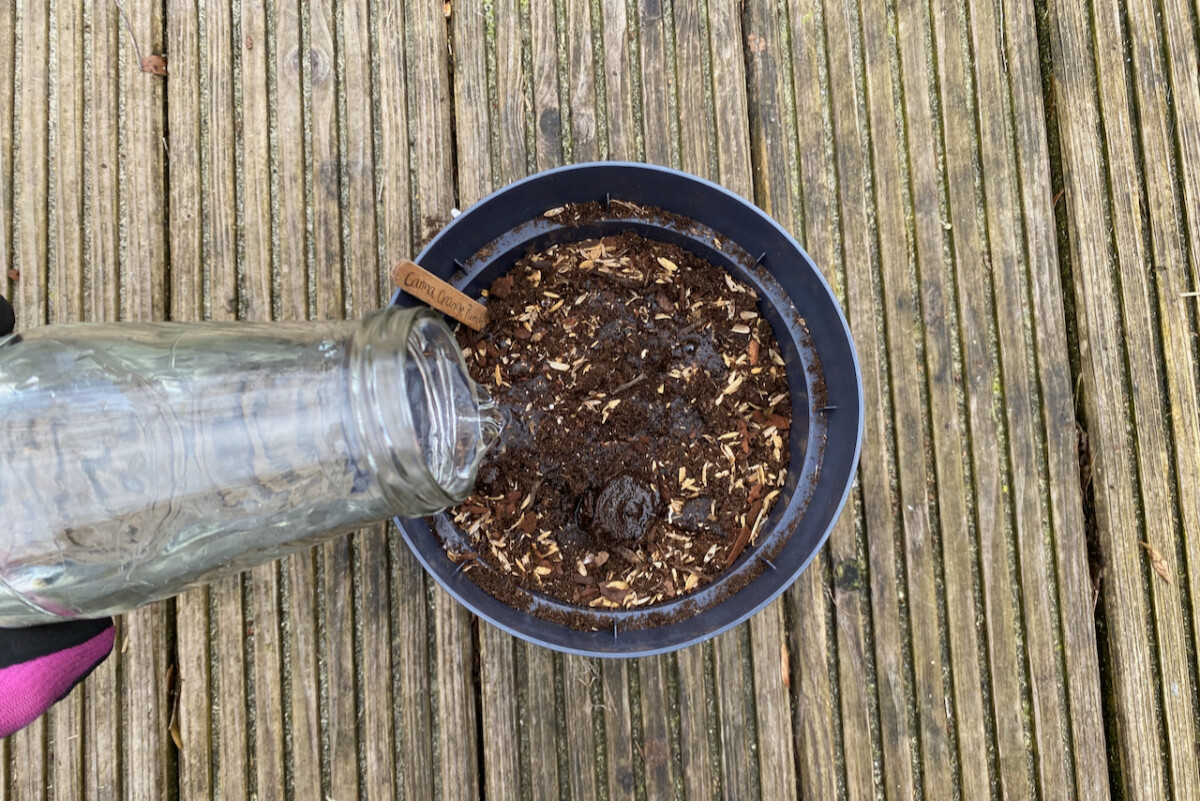
Hold the rhizome upright and start filling the pot around it, tapping occasionally to make sure the soil settles. But don’t firm it in place. Keep filling the pot until you’ve covered the rhizome, but don’t worry if the old stem is still sticking out.
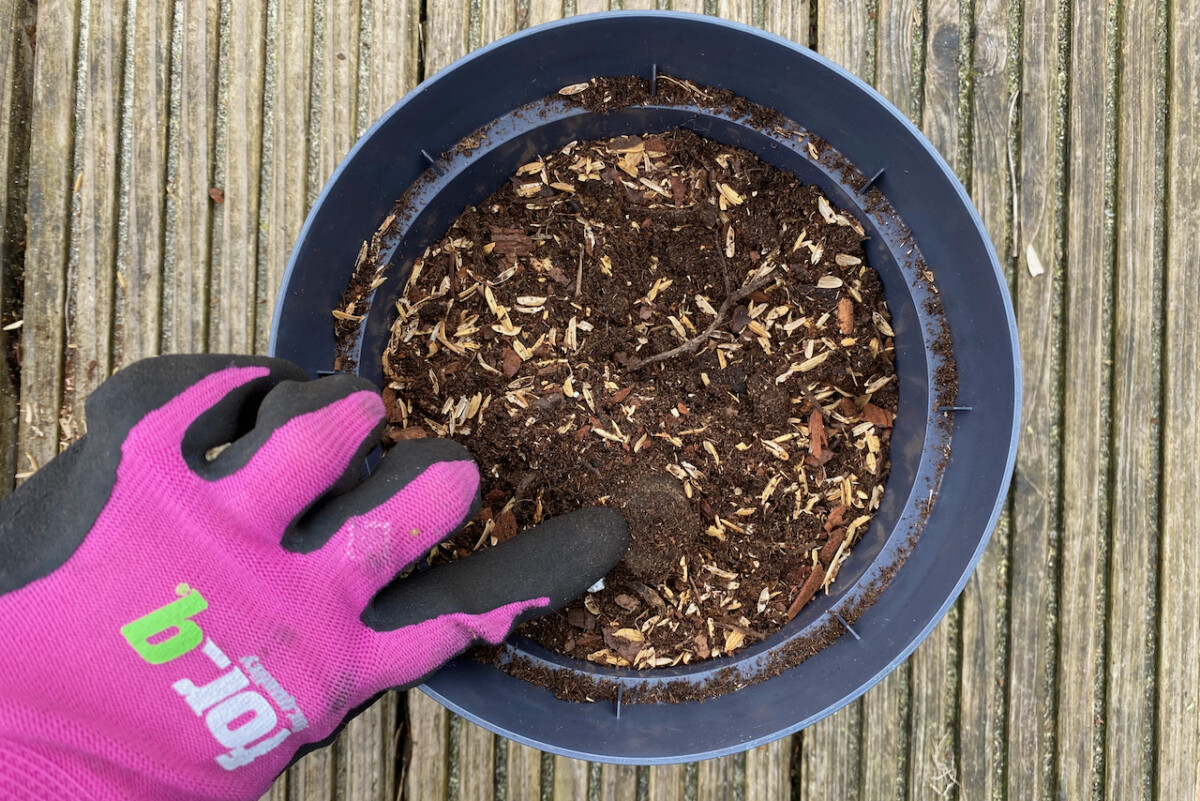
Water the pot once you’re done.
Some gardeners prefer to soak the rhizome for a few hours before planting it. Upon close inspection, I decided to skip this step because the bulbs seemed pretty firm and hydrated to the touch. However, keep in mind that moisture helps jumpstart the sprouting process; so if you don’t presoak your rhizome, you need to water it as soon as you’re done planting.
Then you need to make sure that the soil stays nice and moist without becoming too soggy. I found that for the first month or so, I don’t need to water more than once a week. Once the plant starts growing more vigorously, it may need more frequent watering.
Don’t forget to label your bulbs.
I’m quite adamant about thorough labeling as soon as I’m done with any planting job. I’m starting different canna cultivars, but the foliage will look very similar for the first couple of months, so labels are a must.
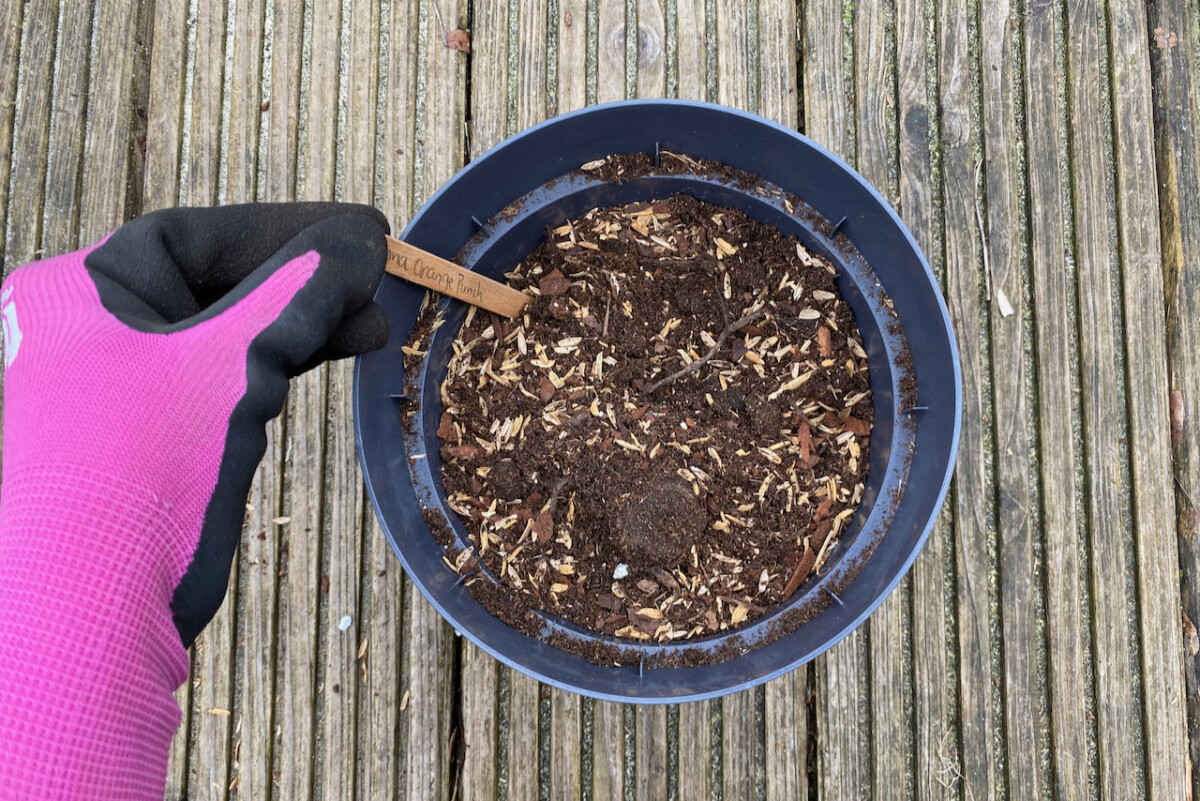
Some gardeners also add the planting date to the label. I only do this with crops that I plant in multiple batches throughout the season (such as salad greens). However, I do record this information in my gardening spreadsheet; it will come in very handy in future years when I’m planning my garden.
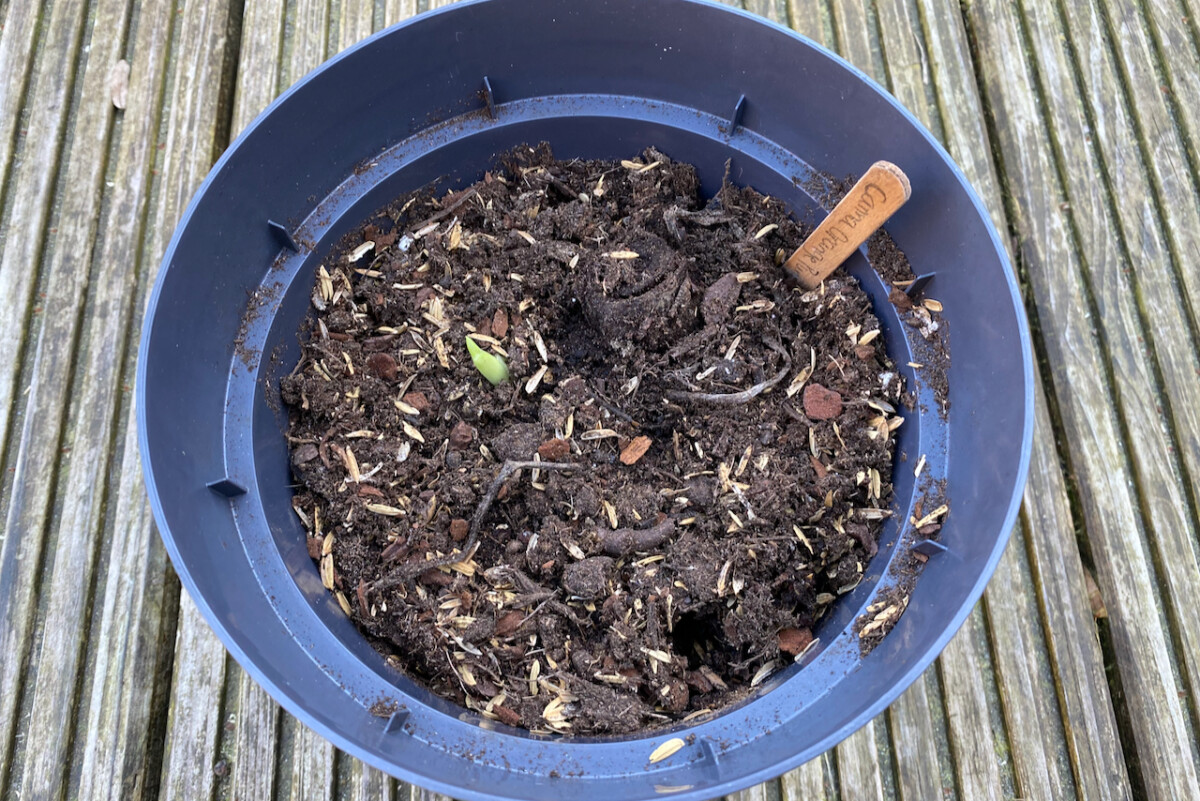
It took about two weeks to see signs of growth for the canna rhizomes I’m keeping indoors.
How to start canna lilies in the garden
Let me reiterate that if you’re starting your canna lilies straight in a garden bed or a border, you need to wait until the danger of frost is gone in your gardening zone. Try to hold off on planting your cannas out until the temperatures have reached 60F (about 16C).
Unless you’re in a cold-hardy zone (generally USDA zones 7 through 10, or equivalent), you’ll have to start canna lilies every year from rhizomes; then you’ll have to dig them out and store them in a sheltered space over the winter.
One piece of advice that I’ll never tire of giving is to always consider the size of the mature plant before you put even a single seed or bulb in the ground. This is especially important for cannas because some cultivars will grow really large foliage. You don’t want them to end up cramping out all the surrounding plants.
Similarly, if you’re growing cannas in a border, consider the maximum height of your chosen cultivar. You don’t want to end up inadvertently shading other plants behind a curtain of tall cannas.
The best place to plant cannas in your garden
When planting canna lilies outdoors, keep in mind their tropical origins. To set your cannas up for success, you have to plant them in a spot that gets plenty of water and plenty of sun.
Let’s start with the plenty of water part. This doesn’t mean that you should plant them in a swamp. Although I’ve seen cannas used as pond plants, I also know that’s basically treating them as a single-use (annual) plant. Too much water and the rhizomes will rot.
What you want is soil that gets plenty of water, but where water doesn’t pool after a storm. If there’s still water lingering in puddles a good hour after it has rained, then you may need to amend your soil with more compost or leaf mold to make it more permeable.
Cannas need sun.
In order to maximize the blooming potential of your canna lilies, try to plant them in a spot that gets full sun. That means at least six hours of sun a day at peak blooming time (usually July and August). Cannas can tolerate part shade; but if you want an abundance of flowers, you’ll only be getting them if the plant gets enough sunlight.
If your garden doesn’t get enough sun, my advice is to choose a smaller (as in shorter) cultivar. Yes, the taller cultivars may reach more sun, but they’ll also likely grow skinny and need staking if they don’t have enough natural light.
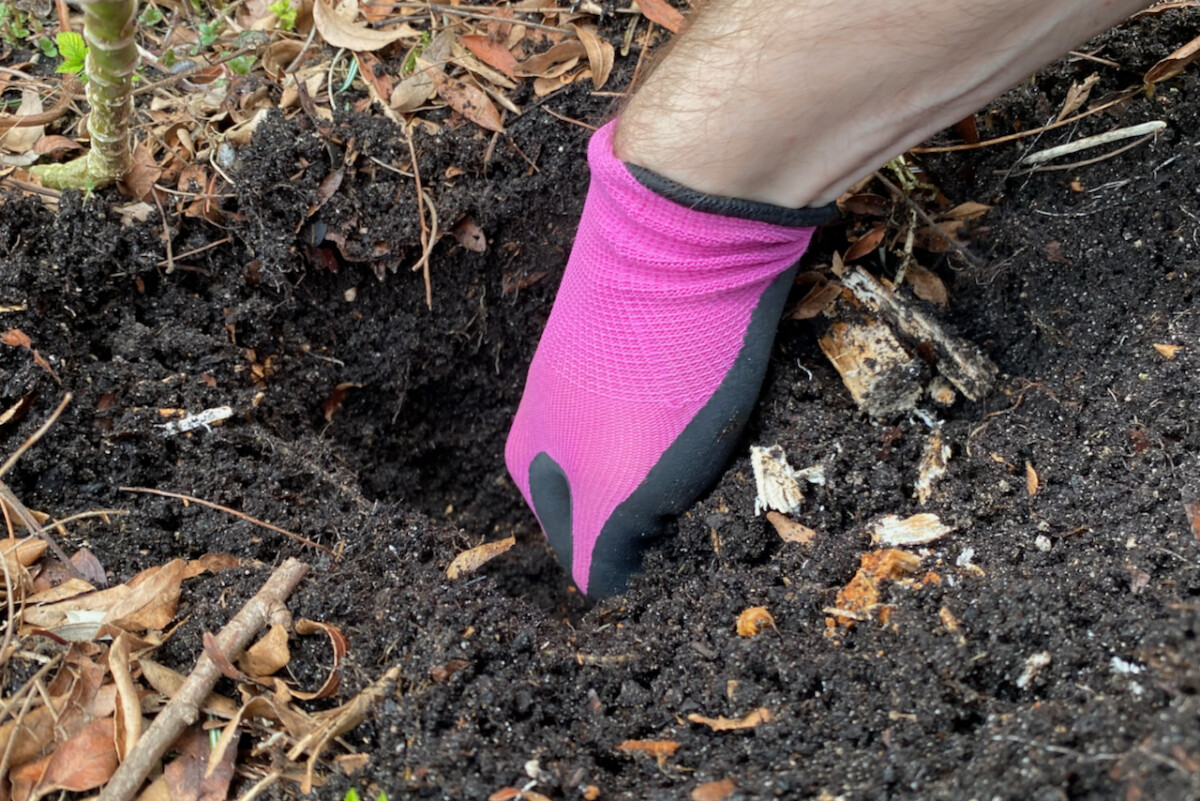
Plant cannas with the “eye” facing up.
Just like when planting them in pots, when you plant cannas in your garden, try to get “the eye” (the sprout) facing up, if it’s visible. Dig a hole deep enough to accommodate the rhizome plus an extra two inches of soil on top (about five cm).
You can bury your canna rhizomes even deeper if you have the space, especially if you’re growing tall cultivars that need a bit of depth to stay upright in strong winds. But since I’m planting short cultivars, I don’t need to anchor them as deeply.
Always give any bulbs and rhizomes you plant a good watering as soon as you get them in the ground. This will help rehydrate the stored bulb and jumpstart the growing process. You can keep watering the planting site at least once a week if you’re not getting enough rain this spring.
Cannas need water.
Speaking of water, keep in mind that your cannas will need consistent moisture throughout the summer. So a cycle of drought and watering might not produce the best results in terms of blooming, although it will not kill the plant.
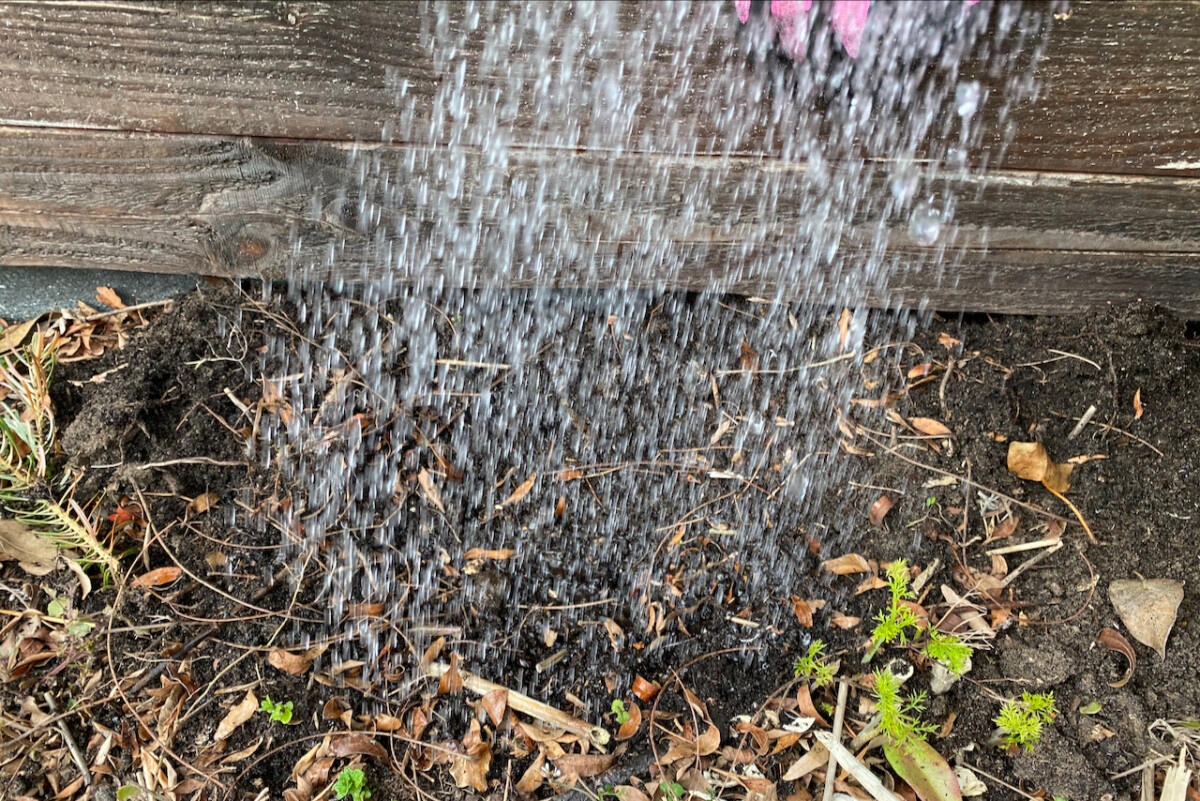
Before you plant the cannas, amend the soil with compost and organic matter. And after you’ve planted them, give the area a good mulch to help lock in moisture and minimize evaporation.
I hope all my suggestions for canna lily care haven’t put you off growing this tropical beauty. Yes, they may sound like fussy plants, but they’re really not that demanding. If you’ve ever grown dahlias or gladioli, you’re well equipped to give cannas a try. And they’ll reward you with exquisitely colorful flowers until October. That’s a gamble worth taking, I think.