

The flamboyant dahlia – native to Mexico and the Central Americas – has become a global flower favorite.
Whether displayed as cut flowers or grown right in your garden bed, dahlias will always be the star of the show.
The many varieties offer choices in shape, size, and color to suit any type of gardener. And they can be grown in containers, making them accessible to anyone, no matter the location.

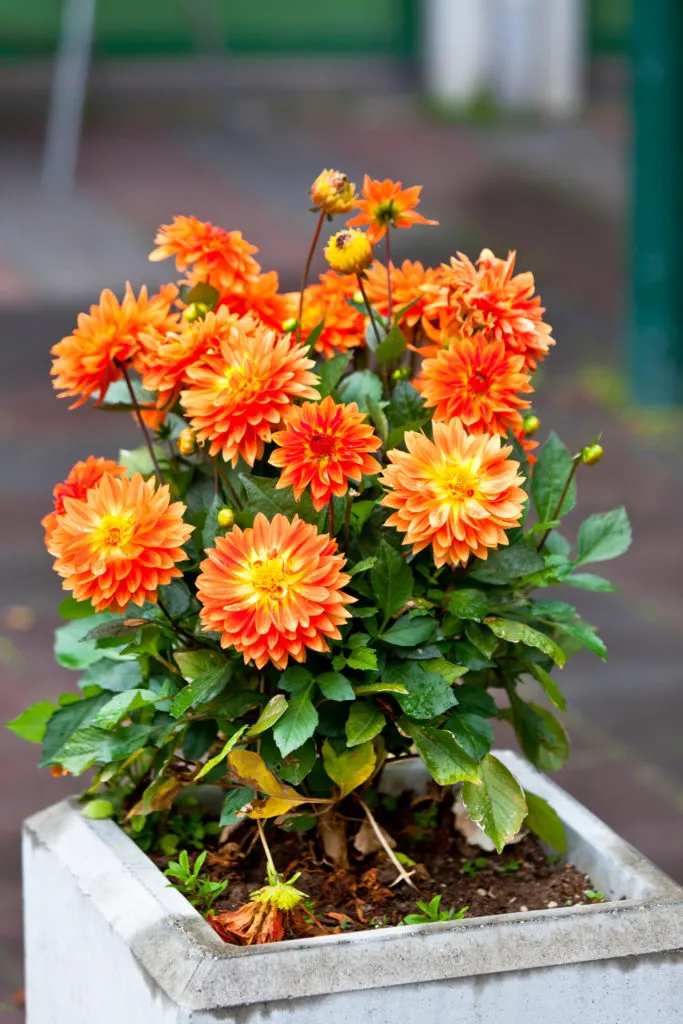
Growing dahlias in containers is not difficult, even for beginner gardeners. But there are some specific care considerations to ensure you get the results you want – a bounty of beautiful flowers.
These eight tips will guide you through your dahlia potting journey, leaving you with blooms all season long.
8 Secrets To Growing Dahlias In Pots
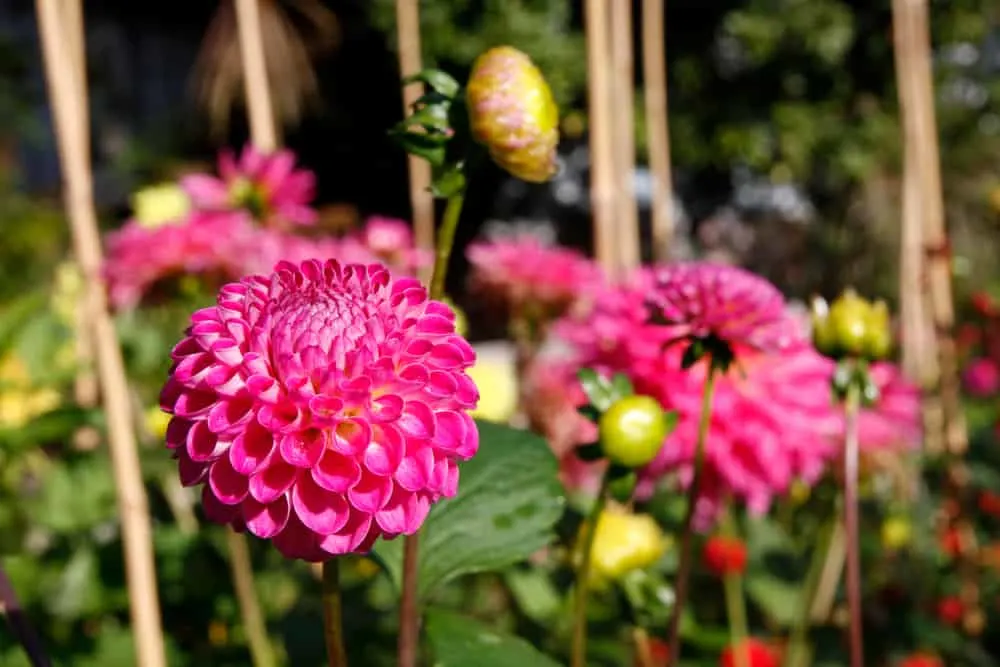
1. Choose the right variety

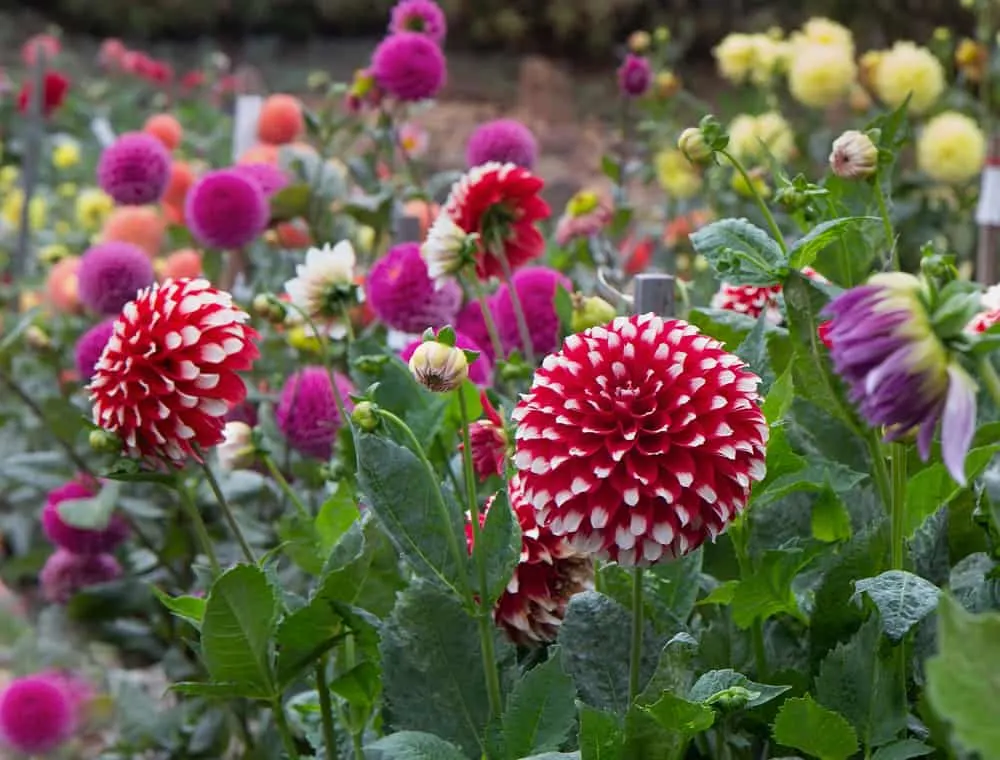
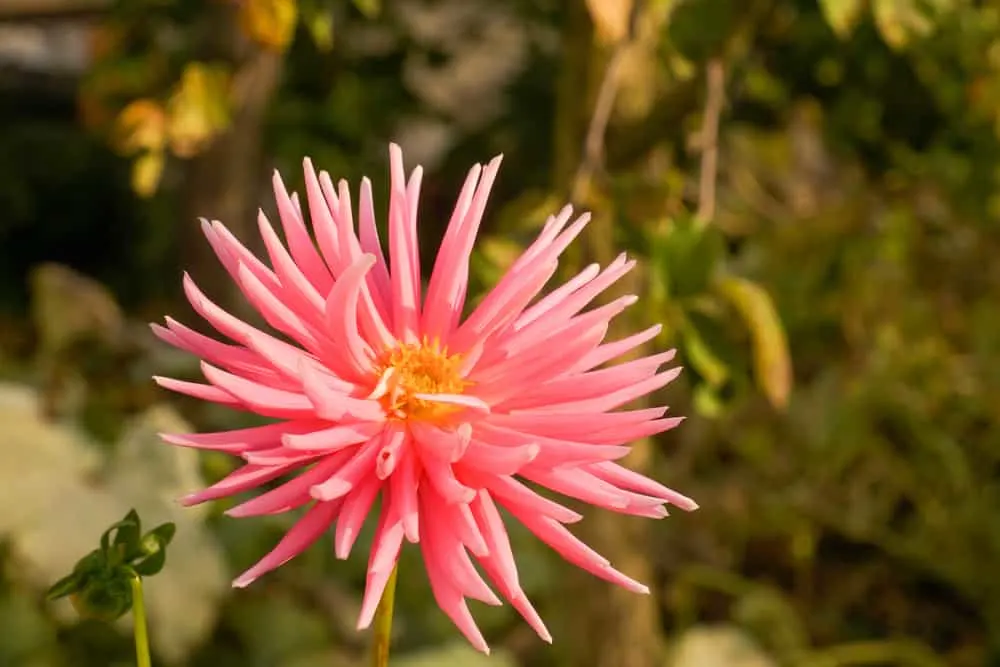
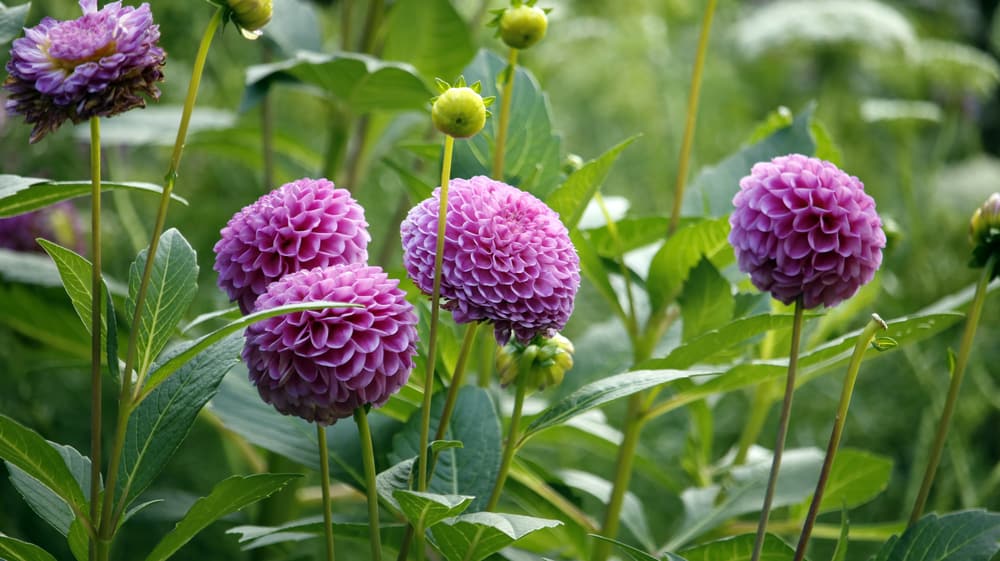
Dahlias are not a one-size-fits-all plant. Some flowers look like tiny pom-poms; others are so large, they are aptly named ‘dinnerplate’ dahlias. To make the distinctions simpler, dahlias are normally separated into large, medium, and small varieties.
Large dahlias grow to an average height of four feet and are typically grown at the back of garden beds. Medium dahlias are about half that size, reaching a height of one or two feet. Finally, small dahlias are compact plants, with a maximum height of around 20 inches.
Choosing the right plant for your needs (and wants) is often more difficult than caring for them. But when you’re planting in containers, this problem is solved for you.
While large dahlias can grow in containers (if you have a pot big enough), they are not practical container plants because of their size and structure.
For successful container-grown dahlias, it is best to choose one of the medium or small varieties that have enough room to grow happily in a pot.
If you still can’t decide, try one of these compact varieties ideal for containers:
- ‘Happy Single Romeo’
- ‘Impression Festivo’
- ‘Park Princess’
- ‘Pulp Fiction’
- ‘Jan van Schaffelaar’
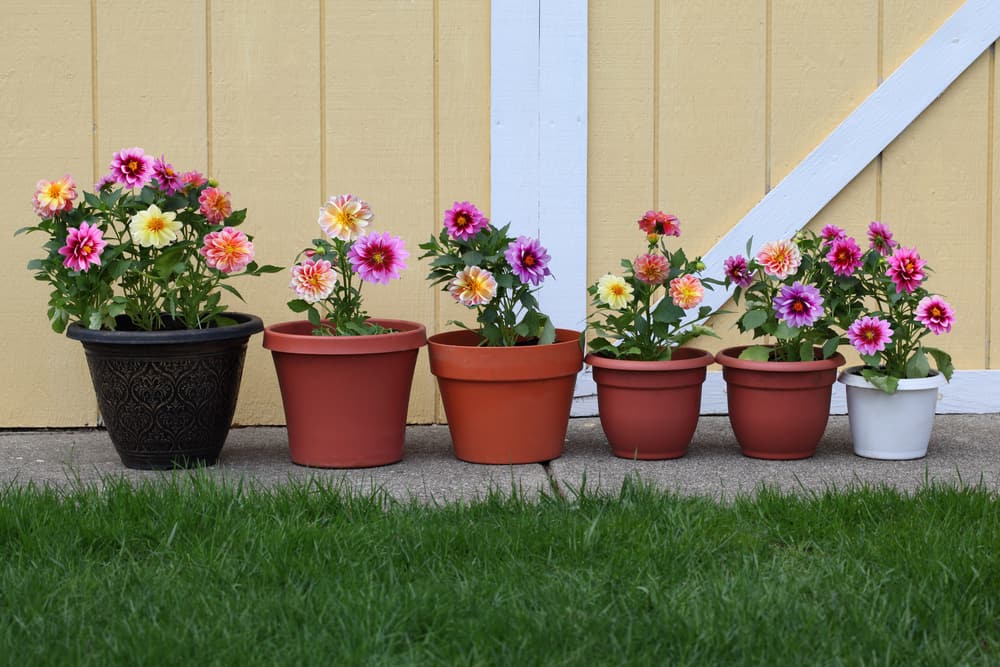
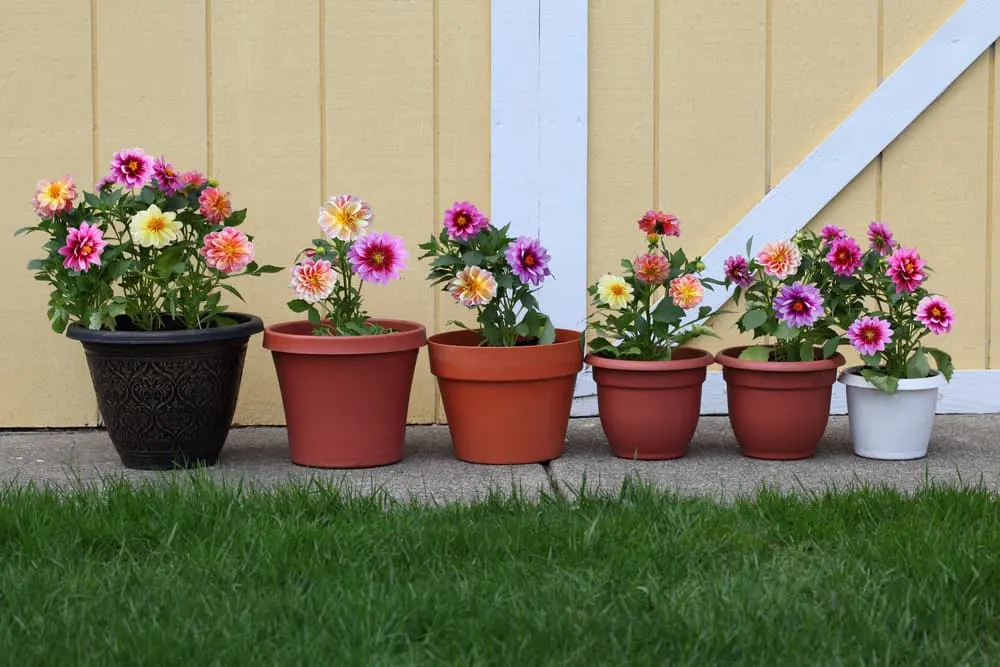
2. Choose the right pot
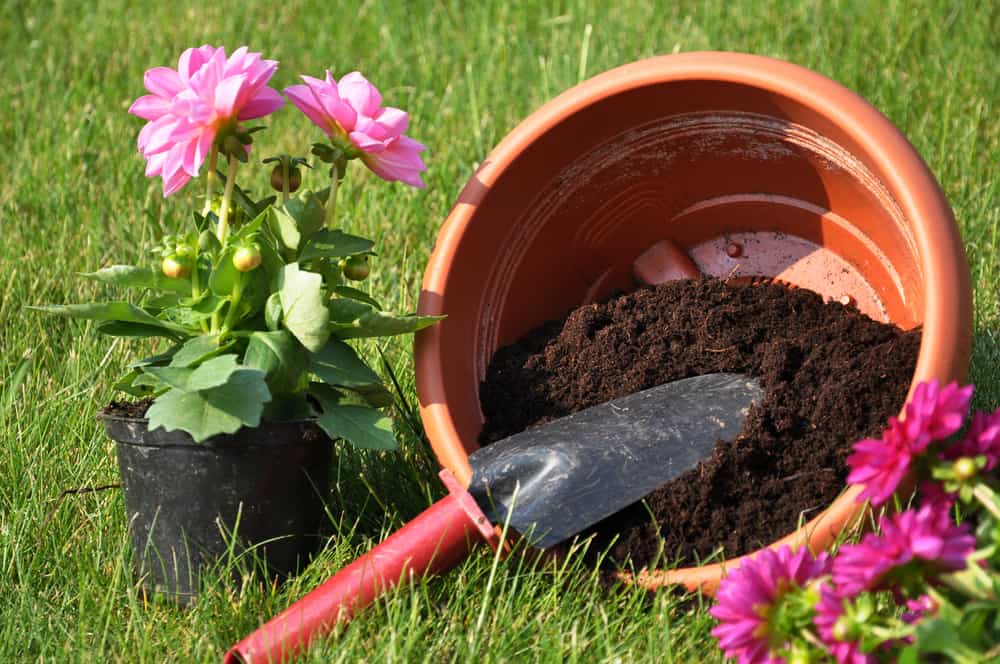

Once you’ve chosen your dahlia variety, you’ll need to find a suitable pot.
Dahlias sprout from buds formed on tubers, and those tubers need to fit comfortably in the pot when planting. Choose a pot with a wide diameter – between 8 and 12 inches, depending on the size of the tubers.
Try to match the depth of the pot to the potential height of the plant to ensure it doesn’t look too small or too big for the pot when fully grown.
The container should also have plenty of drainage. In the early stages of growth, the tubers are susceptible to rotting if the soil stays wet. If there aren’t enough drainage holes in your container (or even worse, none), drill a couple more and ensure you use a well-draining potting mix to prevent rot.
Before you begin potting, clean your container thoroughly. Even if you bought your container new from the store, but especially if you are reusing an old container from the garden, it should be cleaned and rinsed with soap and water. Dirty pots can harbor bacteria and spread disease to a newly potted plant, causing problems before they’re given a chance to grow.
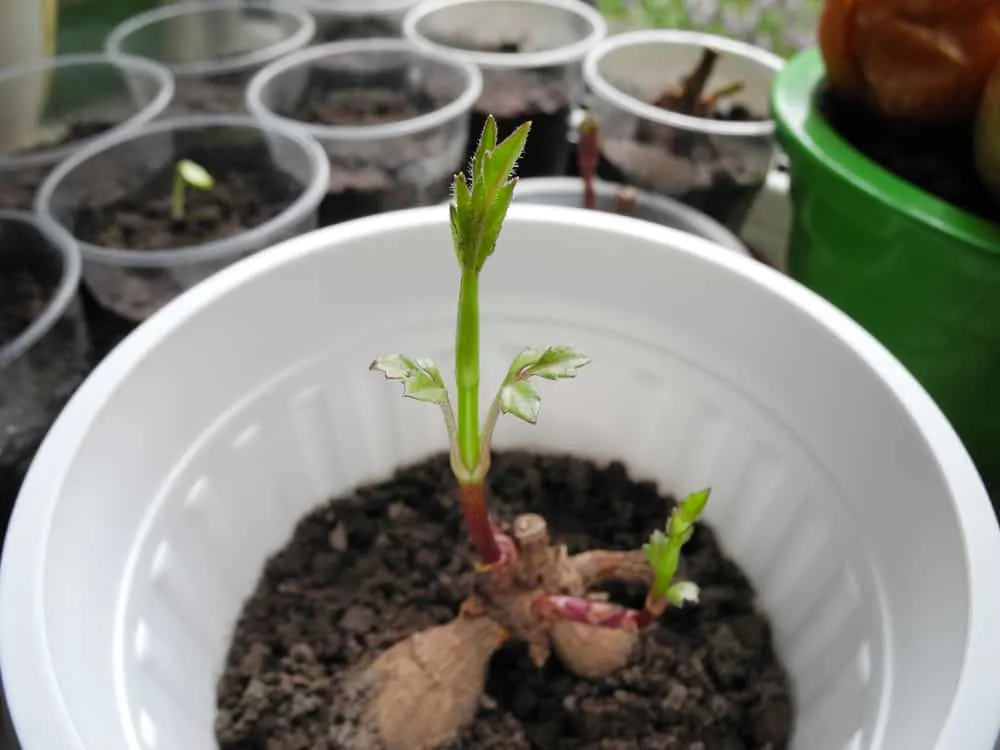
3. Start potting inside

For fellow impatient gardeners, planting dahlias in containers comes with a huge benefit – starting your plants early indoors.
Dahlias cannot tolerate frost. Gardeners in cold climates wait until any chance of frost has completely subsided before planting their tubers in outdoor beds. But, if you start potting indoors, you can protect your plants from frost and have flowering plants far sooner than any other gardeners.
Begin potting three or four weeks before the last frost date, following these steps:
- Fill the bottom 1/3 of the pot with well-draining, moistened potting soil.
- Lay the tuber on top of the soil horizontally, with the eye (where the plant will sprout from) facing upwards. Try to center the eye as much as possible, but if it is on either end of the tuber, ensure it is about an inch away from the sides of the pot. You can opt for a larger pot to center the eye if needed.
- Cover the tuber with a light layer of soil and mist until the surface is damp. Don’t fill the pot to the top, as the extra soil can hold water that will cause the tuber to rot.
- As the plant begins to sprout, continue to fill the pot with soil gently around the stalk. This allows the plant to establish deep roots and anchor into the soil. If the tuber is planted too close to the top of the pot, the stems will break off under the pressure of wind or the weight on the plant.
- Leave the plants under grow lights or in front of a full-sun window until frost has passed. The containers can then be moved outdoors into a warm, sunny spot.
4. Watch your watering
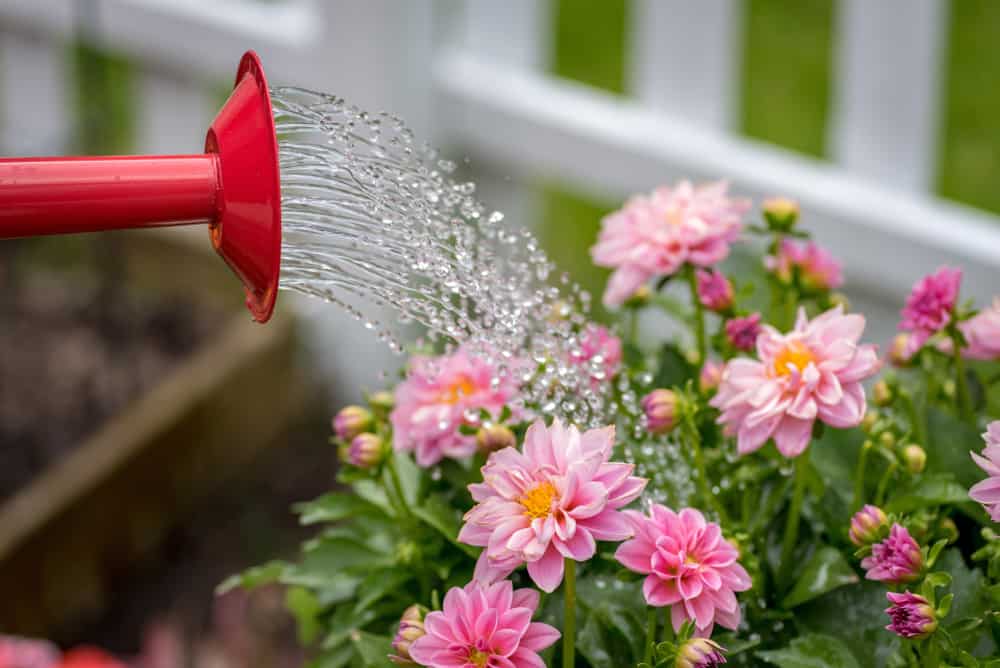

Fully-grown dahlia plants like moist soil. Unfortunately, gardeners new to dahlias may understand that to mean the plant likes moist soil all year round, which can result in the demise of your precious plants before they get the chance to a single leaf. This is because the plant’s food source – the tuber – will rot if the soil remains moist for too long.
In the early growing stages, dahlias should not be watered too often. In fact, the soil can be left to dry out completely before your next watering. Once the plants are established and you have filled the container with potting soil, you can begin watering regularly.
5. Staking

Most of the compact dahlia varieties will not require staking. However, if you choose one of the medium or large dahlia varieties, you’ll need to consider staking to aid growth. This helps the plant grow upright without falling over and prevents any stalks from snapping due to strong winds (with some tall varieties, even a mild breeze can topple the stalks).
It’s best to place the stakes in the pot before the plant begins growing to avoid disturbing the roots later. While drilling extra drainage holes in your containers, add two to four holes in the sides of the pot close to the rim to anchor the stake.
Place a pole the size of the maximum height of the plant right next to the tuber in the center of the pot. Use wire or string tied to the holes in the sides to keep the stake in place.
As the stalk, or stalks, of your dahlia grow taller, secure them to the stake with gardening wire or string to keep them upright.
6. Choose the right fertilizer

Some say dahlias are heavy feeders, others say they need no fertilizer at all. But there is consensus on when to begin fertilizing dahlias, and what kind of fertilizer to use.
When dahlias start growing, they get all the nutrients they need from the tuber. That is what the tuber is designed to be –a food storage organ. Fertilizing during the potting stage is therefore futile, as the plant won’t absorb nutrients from the soil yet. To give your dahlias the best start, choose healthy, plump tubers free from blemishes.
Once a few leaves are visible, begin fertilizing approximately once a month. The plant does not need a lot of nitrogen as that facilitates leaf production and will take the focus away from your beautiful flowers. Choose a fertilizer higher in phosphorus and potassium, and lower in nitrogen, to aid flower production and strong root growth.
7. Pinching

While not essential, pinching at the right time will make your dahlia plant bushier, stronger, and (best of all) – it will produce more flowers. And when it comes to dahlias, more flowers are always the goal.
When the plant is displaying four sets of leaves, locate the highest sprout in the center of the plant. Remove the sprout with scissors, ensuring you don’t damage any nearby stalks or leaves. This will encourage the plant to produce more stems laterally. If you want the plant to branch further out, you can pinch the tips of new stems once more to produce more lateral branches.
If you need fast flowers, you may want to skip the pinching step. Redirecting the plant’s energy towards producing new stems will detract from the flower production process briefly. You may delay flowering by one or two weeks, but you will have more flowers as a result.
8. Deadheading
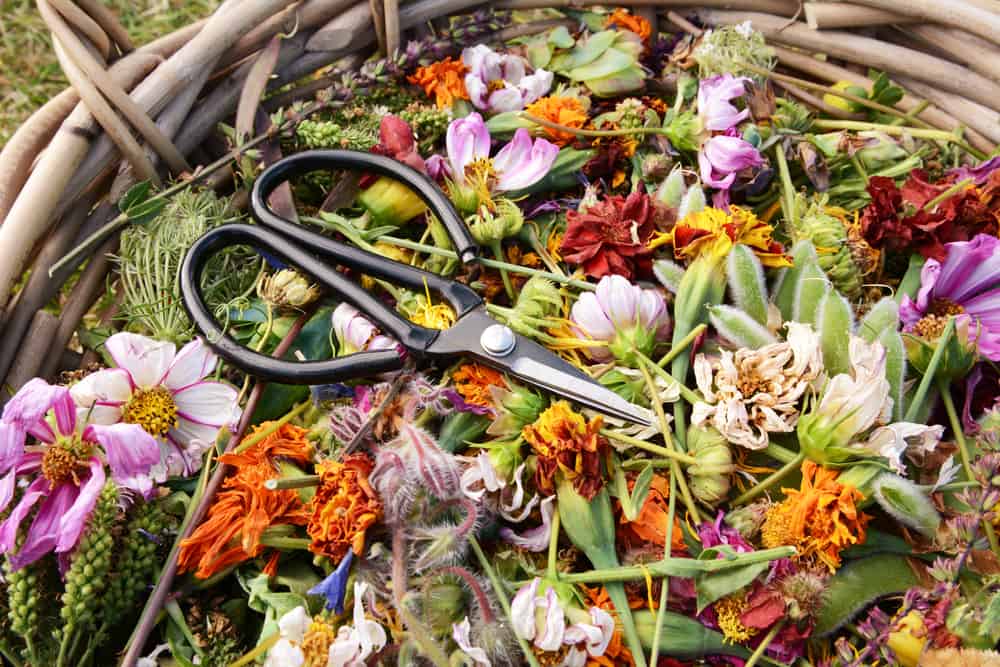
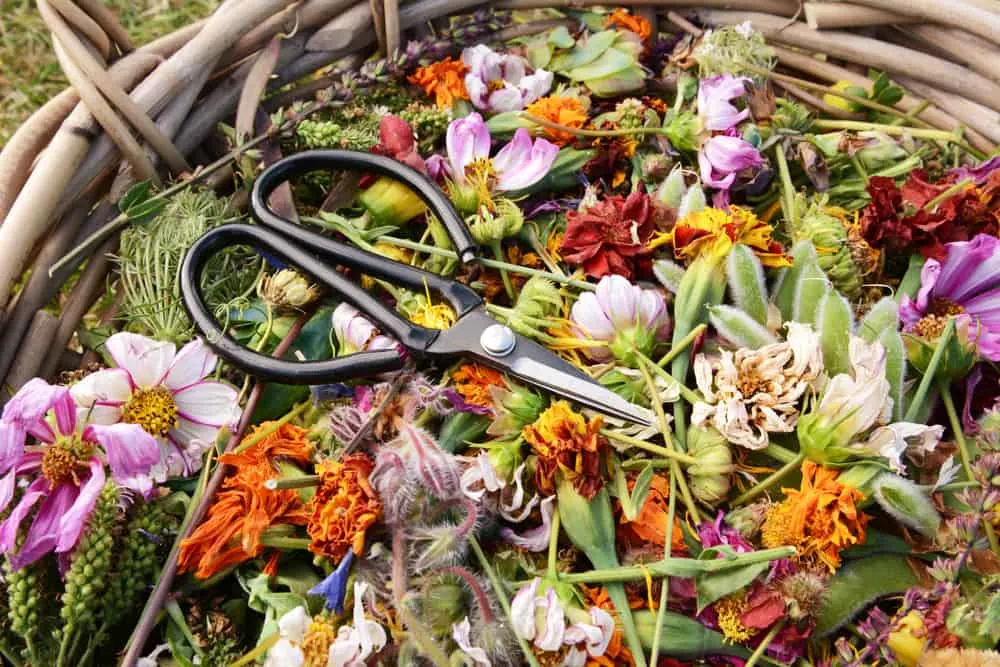
Deadheading – the practice of removing spent flowers from the plant – is essential in any flower garden.
If you want as many flowers from your dahlia plant as possible, deadheading is the way to go. By removing the flowers that are past their prime, you keep the plant tidy, and it can use all its energy on making new flowers – not keeping old ones alive.
Related Reading: Deadheading Flowers: Everything You Need To Know
To deadhead your dahlias, simply remove any spent flower heads with scissors or with your fingers, ensuring you do not damage any nearby stalks or flowers in the process. You can also cut the stems back to the main branch to facilitate the growth of new stems and new flowers.
Some gardeners may be on the fence about growing dahlias in containers. However, once you understand the nuances, it’s not as difficult as it may seem. With these 8 tips, you will have thriving dahlia plants in as many pots as you wish, with enough flowers to keep you smiling all season long.