I don’t think I’ve ever met anyone who actually bought irises to plant in their garden, like you would roses or rhododendrons.
Come to think of it, every iris grower I’ve ever talked to came into possession of their irises (sometimes even a whole collection) from the generosity of someone else – either passed down from one generation to another, from one neighbor to another or from one homeowner to the next.
If you’ve also been growing irises, you’ll have noticed that, as soon as the plants make themselves at home in your space, they quickly become true landscape workhorses.

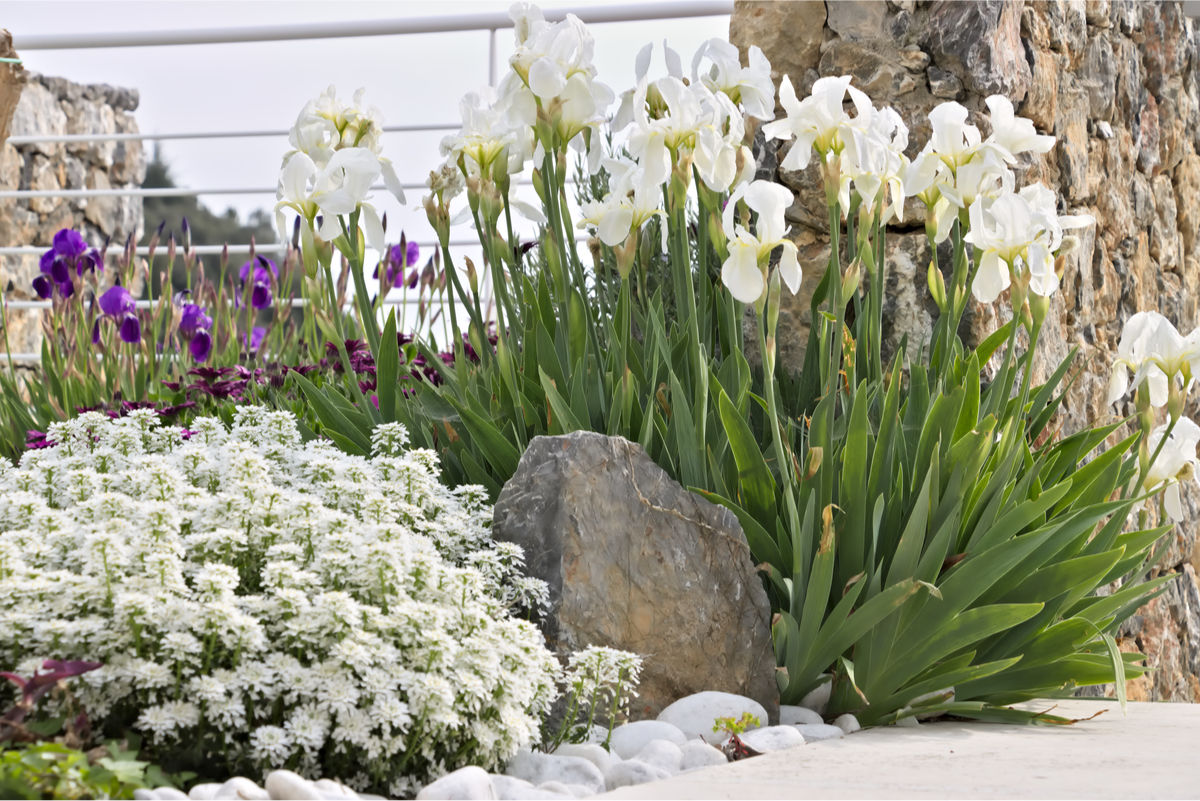
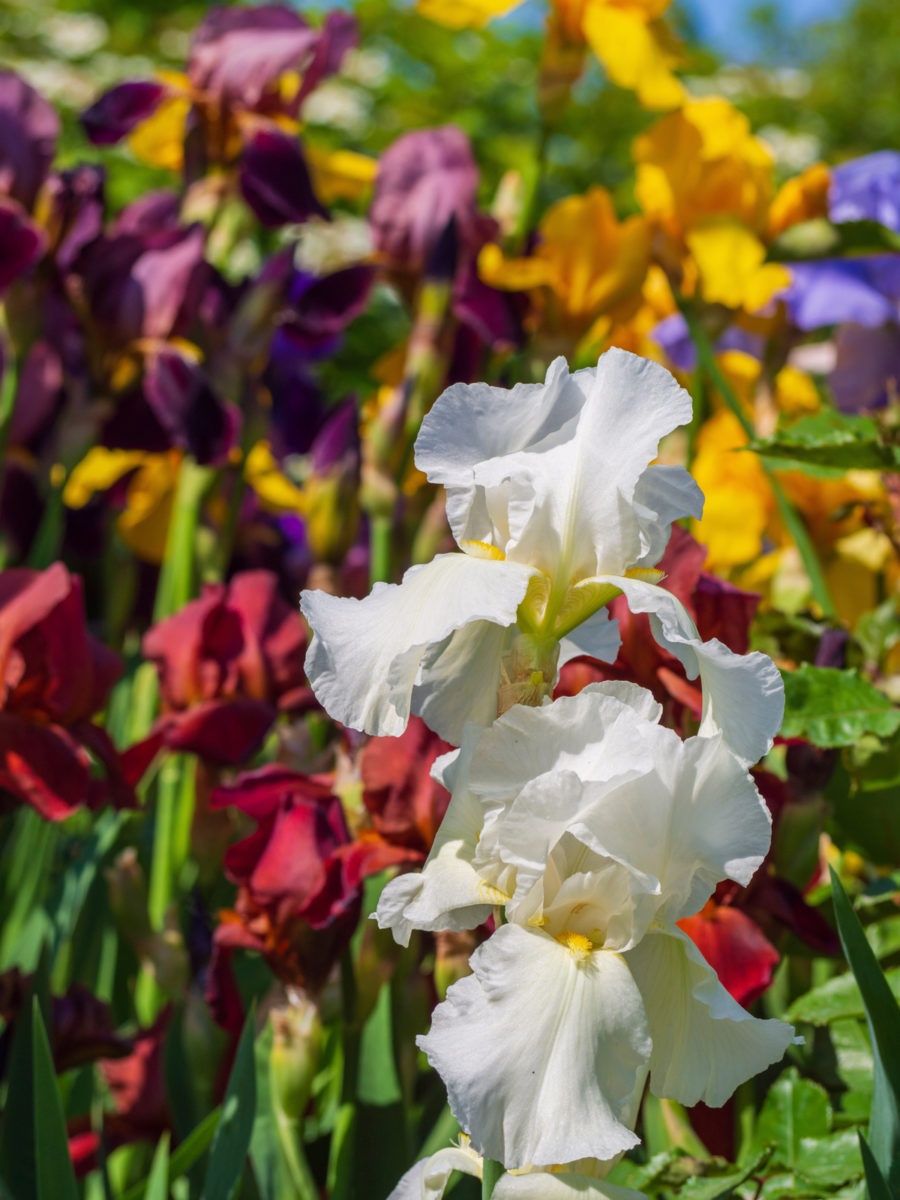
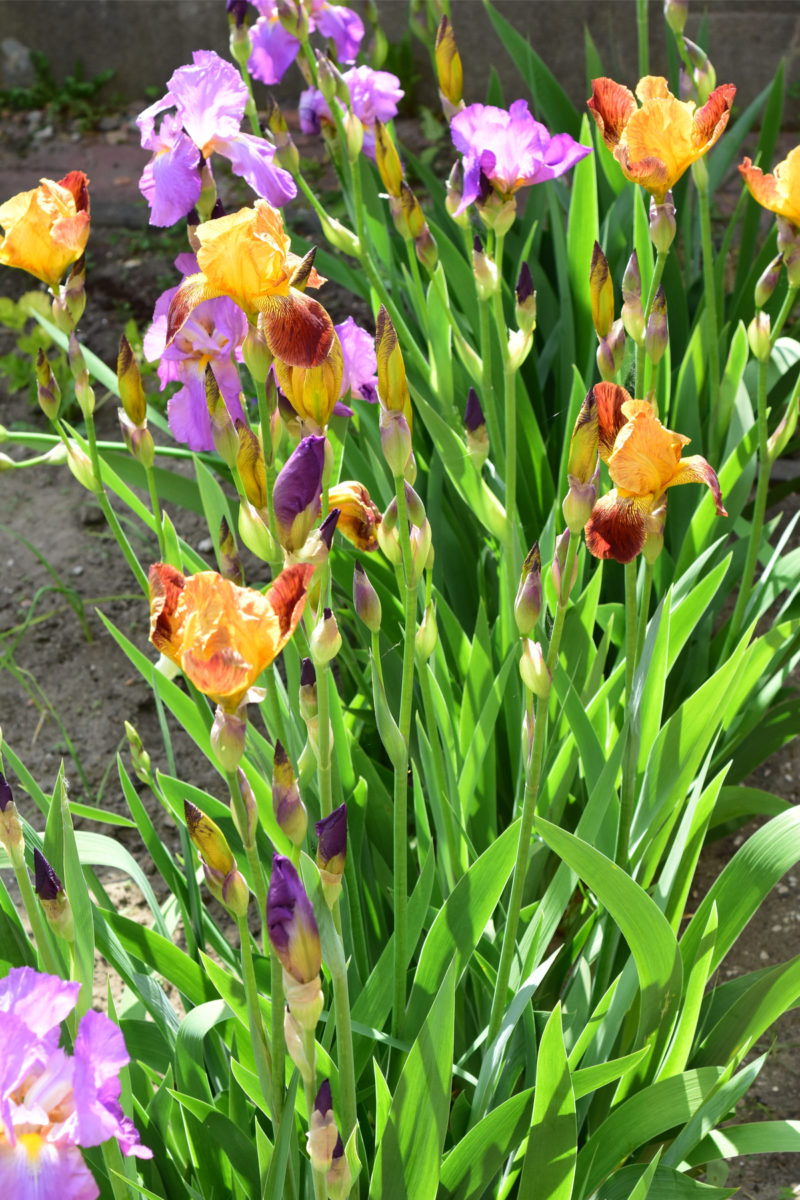
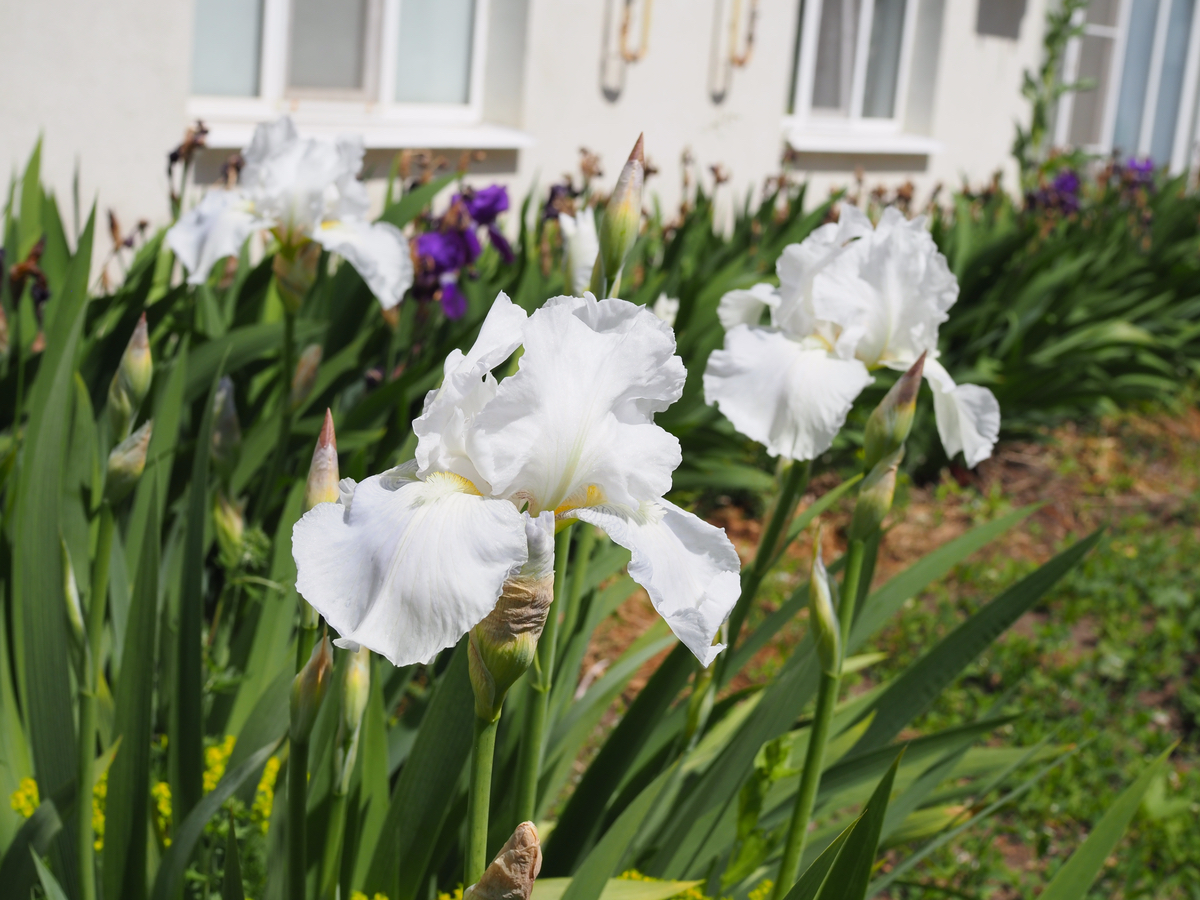
As long-lived perennials, irises reliably bloom year after year without much fuss and bother. They come in a variety of colors and hues (purple, yellow, peach, pink, magenta, blue, white, and different bicolor combinations) and range in size from a ten-inch-tall dwarf iris to a five-foot-tall bearded yellow iris.
Generally, iris flowers will start showing up in April at the earliest (often in warmer climates), but there are cultivars that start their blooming period as late as June. This blooming period varies depending on what zone and microclimate you’re gardening in, but it’s safe to say that for most of us in the Northern Hemisphere, irises are an early-summer flower.
So it’s even more disappointing when, all of a sudden, your irises fail to bloom. Or, more commonly, you only get a handful of blooms from a large iris patch.
There are a few common reasons (and quite a few less common reasons) why irises fail to flower. But there are also solutions for every one of these issues, so with a bit of troubleshooting and a larger dose of patience, you’ll get your irises to rebloom next year.
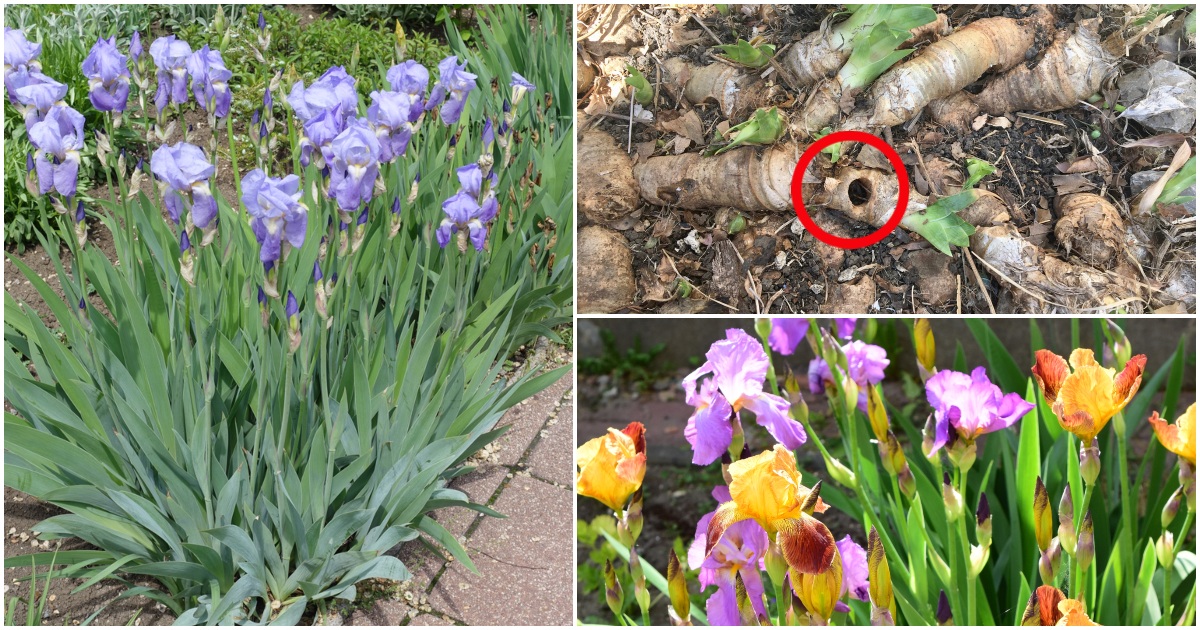
In this guide, we’ll be talking about rhizomatous irises, such as bearded irises and Siberian irises, since these are the most popular with gardeners. These are also irises that grow in soil, not in water (such as the Japanese iris), so keep this in mind when you do your troubleshooting.
Let’s have a look at the main reasons why your irises aren’t blooming:
1. Your irises are too crowded.
Let’s start with the most common cause of irises not putting out flower stalks – they’ve grown too crowded. There’s a simple solution to this problem: you can divide your irises into several clumps and replant them.
If you want to prevent the disappointment that comes with overcrowded plants, you should divide your irises every three to four years by default. You can go longer between divisions if you’re gardening in a cooler climate, but you’ll most likely need to divide more frequently if you’re in a warm, humid climate where your irises are bound to grow faster.
For a full tutorial for dividing and replanting irises, we’ve got you covered here.
If you’re ready to replant your newly-divided rhizomes, let’s move on to the next point on our list to make sure you maximize their chances of getting irises to bloom in the future.
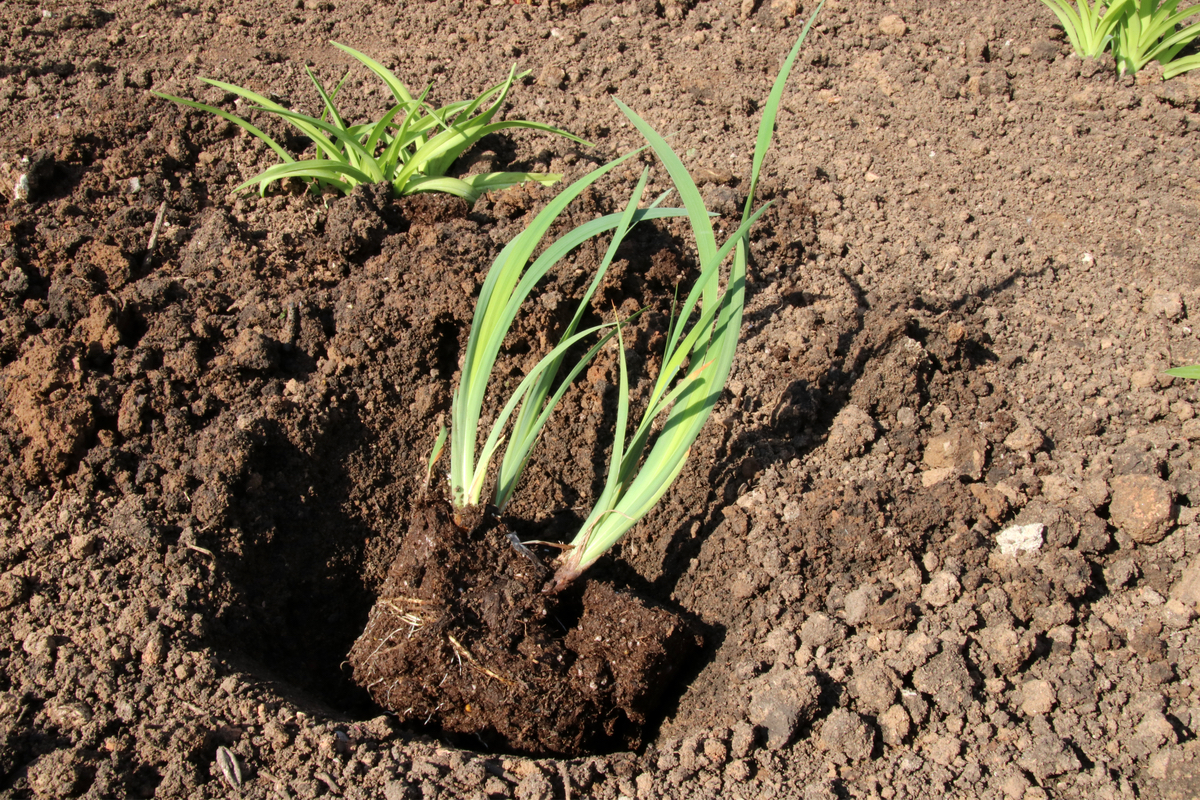
2. Your irises are planted too deep.
Hopefully, dividing your irises will encourage new blooms. But there’s a secret to (re-)planting irises that may feel counterintuitive, especially if you’re used to planting a spring bulb garden.
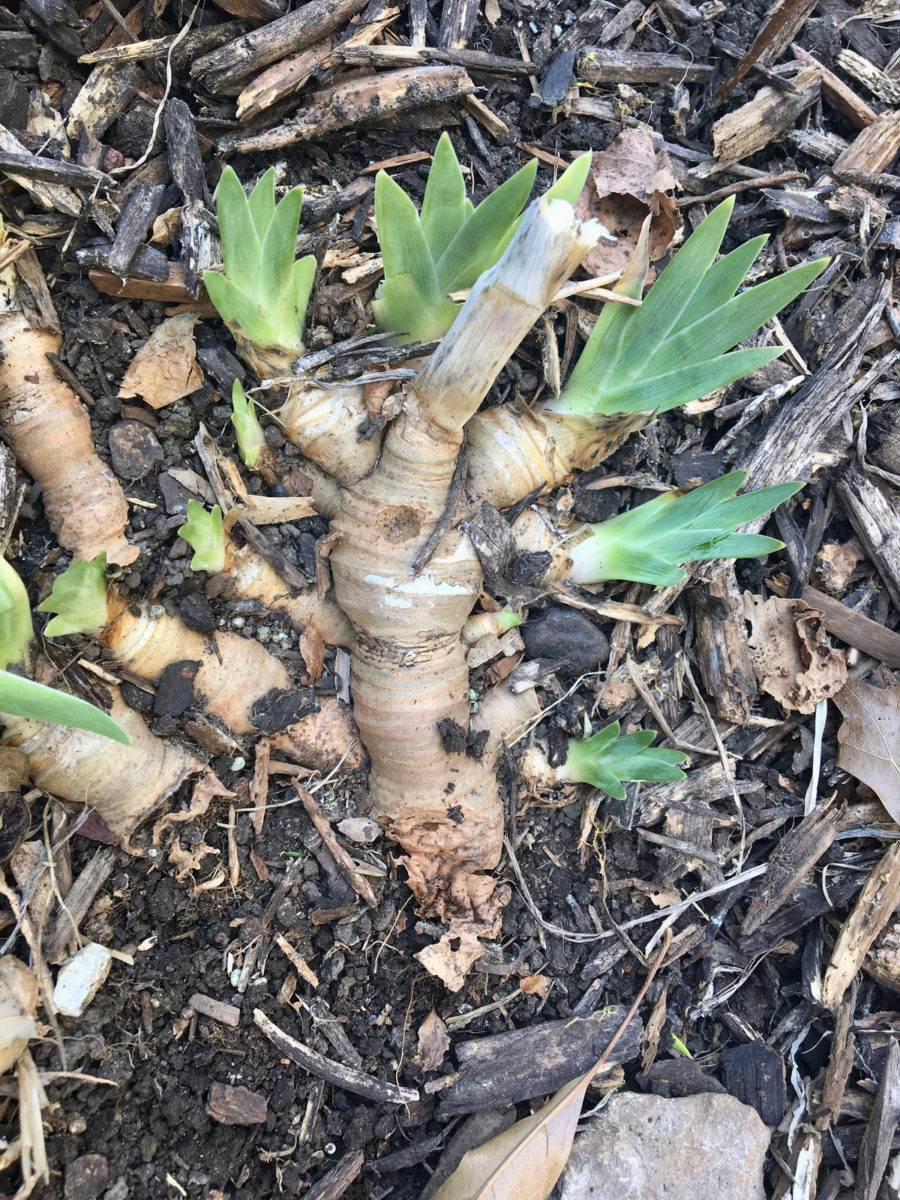
The second most common reason why irises fail to bloom is because they’ve been buried too deep.
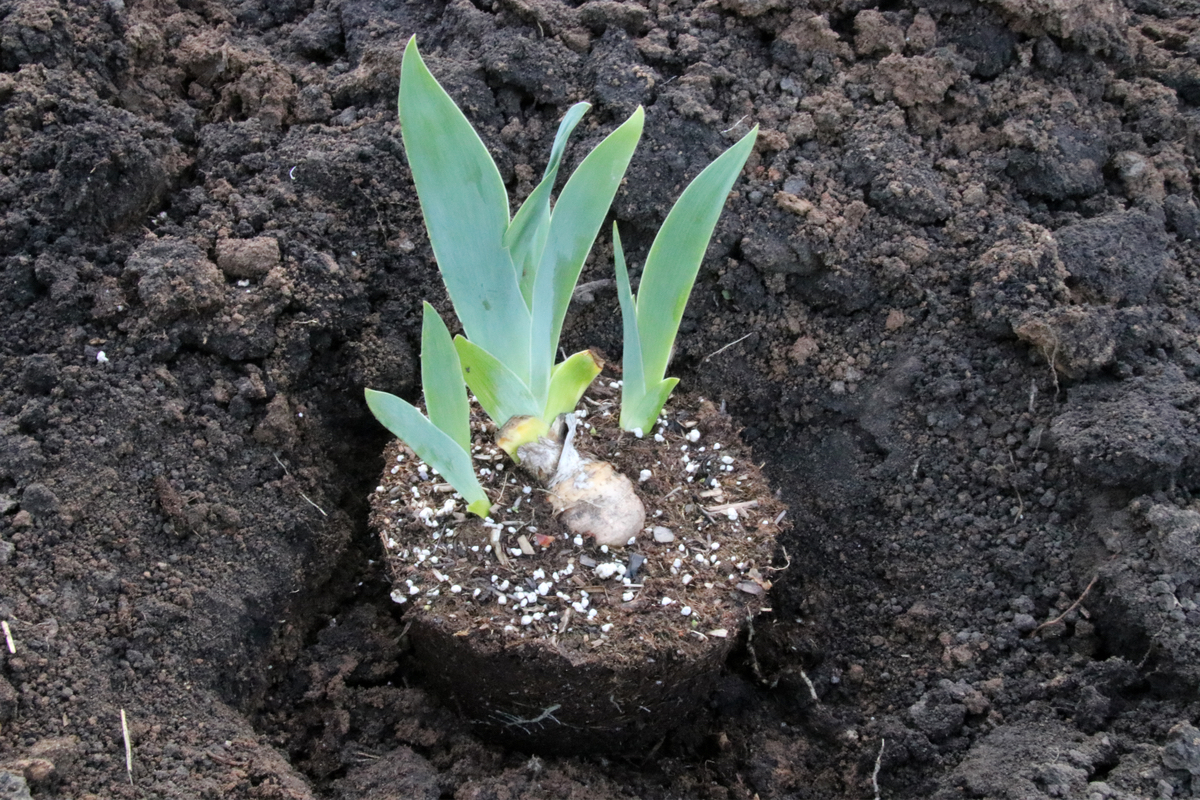
Unlike their bulbous spring counterparts, iris rhizomes should be planted horizontally in a shallow hole. You want the roots to still be underground, but the rhizome should protrude out of the soil. Do not bury the bottom part of the rhizome in more than a couple of inches of soil. Often only one inch of soil will be enough, depending on how thick the rhizome is. This setup allows airflow to circulate around the rhizome, as well as sunlight that keeps the structure dry in wet weather.
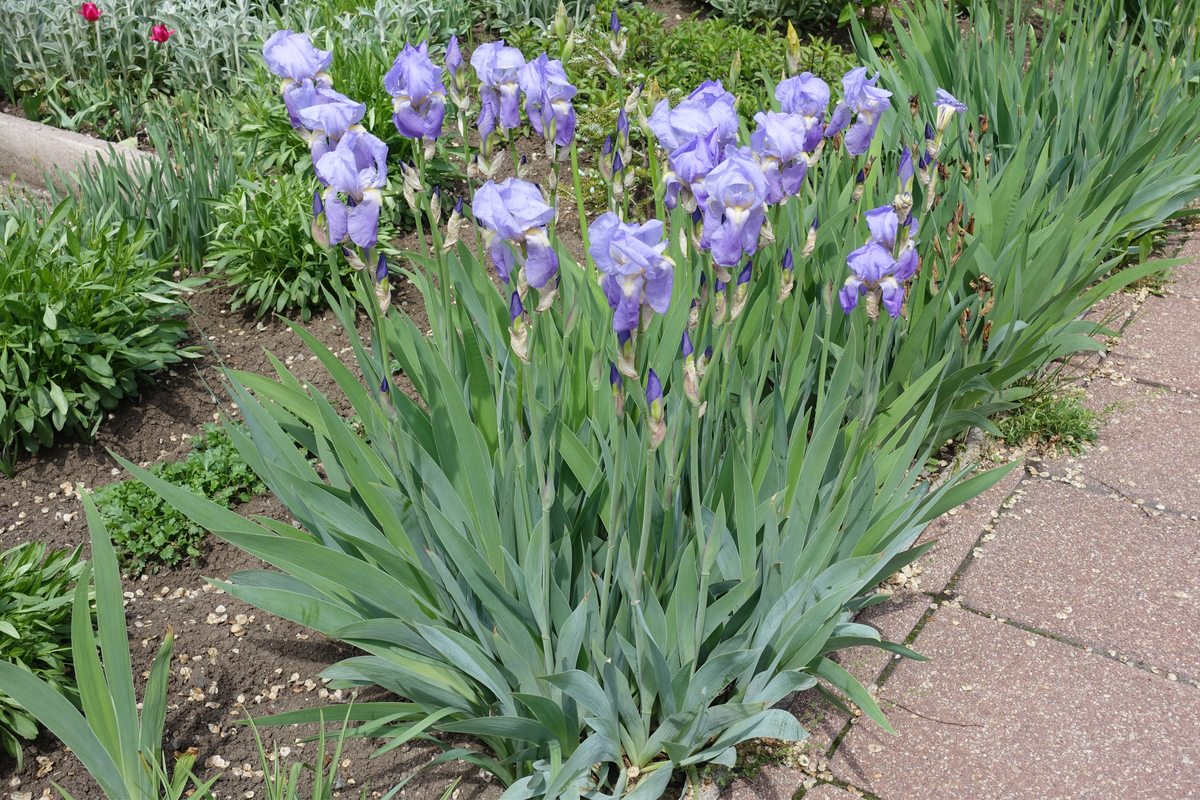
If you’re creating a larger patch, you can plant groups of three rhizomes together for a fuller look. However, remember to give them a bit of breathing space and keep the groups roughly 12 to 20 inches apart. As a general rule, the taller the iris cultivar you’re growing, the farther apart you can spread it. Don’t worry, they’ll keep growing and you’ll have to repeat the division process every three years.
Avoid replanting irises in a spot where you’ve found diseased rhizomes.
Keep the newly transplanted rhizomes well-watered, watering them a couple of times a week until you start noticing new growth. Do not water straight on top of the protruding rhizome, but keep the soil around it moist.
Irises are one of the few plants in our gardens that are best left unmulched, as a mulch cover may cause rhizomes to rot, especially if your site doesn’t drain well or doesn’t get enough hours of sunlight (more on this below).
The young rhizomes you’ve just planted, especially the ones that have been cut small, will need at least a year to get reestablished and grow robust enough to produce blooms.
If you’ve moved into a place with established irises, but you can’t see the rhizomes sticking up horizontally from underneath the soil, then you’ll still have to dig them out and replant them at a more shallow depth.
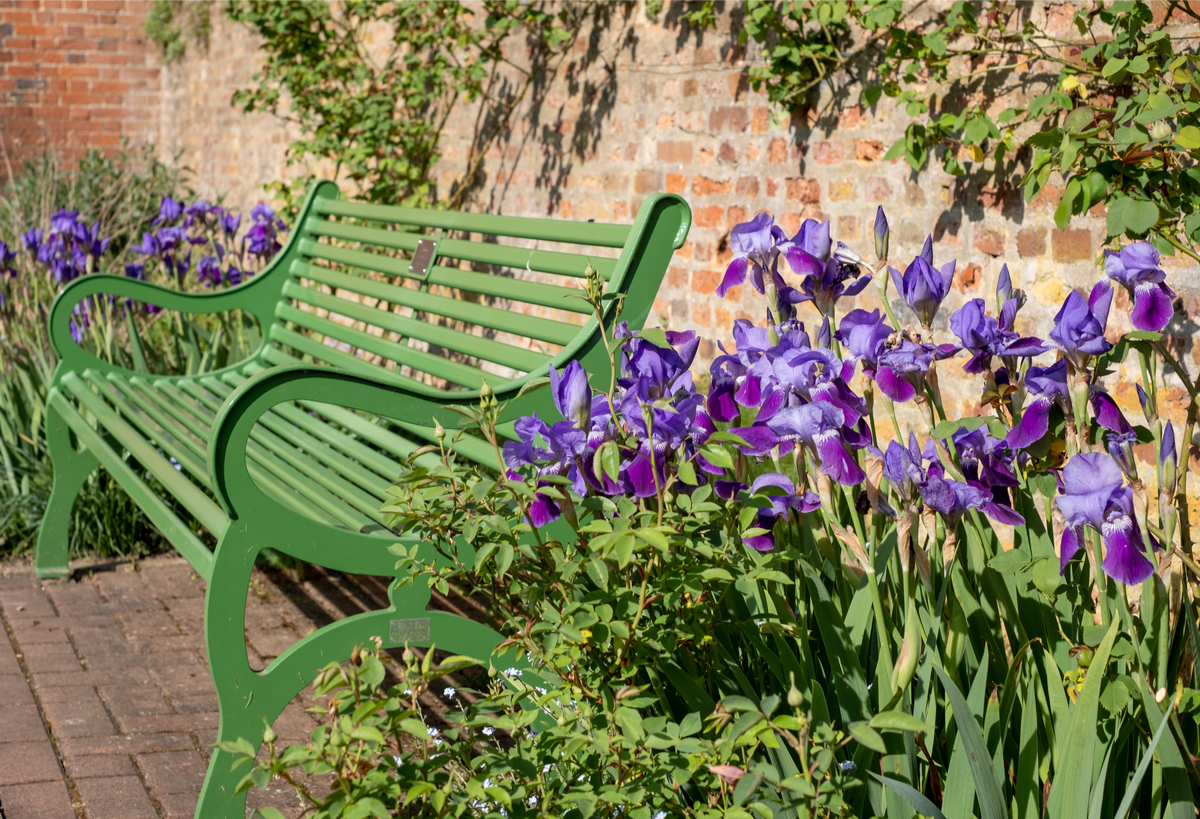
3. Your irises need more sun.
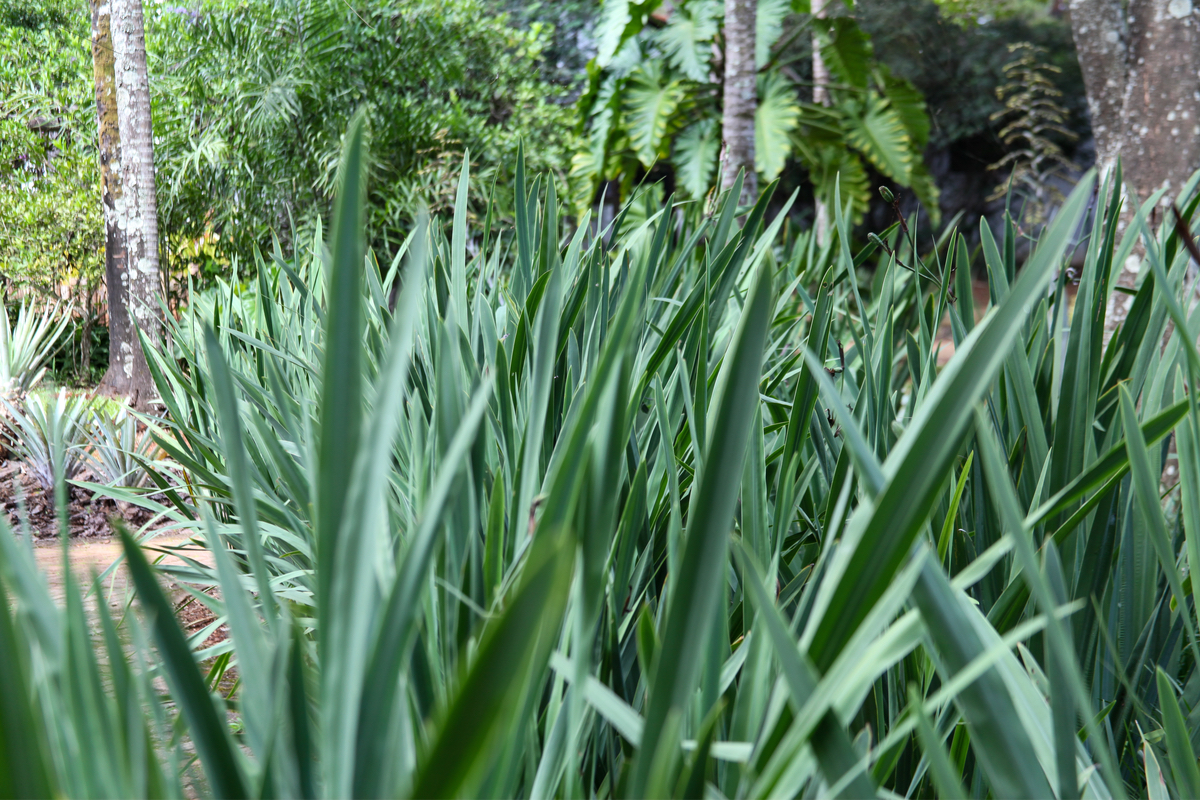
You’ll be able to grow lush iris foliage in the shade, but don’t expect too many flowers.
In order to bloom, irises should be getting at least six to eight hours of full sunlight. In climates with extreme heat, they’ll need some afternoon dappled shade to keep them from getting scorched. But as a general rule, the more sun they get, the better.
That’s why you should try to plant your irises in an open space. You may have done this when you first chose their location initially but, over time, other surrounding trees, shrubs or manmade structures may have started to cast a shade over your irises.
Irises don’t like to compete with stronger surrounding plants or trees, both in terms of light and water needs, so pairing them with plants that have the same requirements (such as daylilies) is your best bet at keeping them happy.
If you’re not sure how much sun your irises are getting, pick a sunny day in mid-spring to early summer and, starting in the morning, record every hour on the hour if sunlight is reaching the spot where your irises are planted.
The simplest way to remedy this problem, but perhaps not the easiest way, is to relocate your irises to an area that gets as many hours of sunlight as possible.
4. Your irises are not getting enough water.
I’ve seen irises pop up on several xeriscaping gardening lists. If you’re not familiar with this term, it refers to a gardening philosophy that encourages the use of drought-tolerant plants in dry climates. It’s a gentler way to garden, both in terms of water conservation and costs for the gardener.
So if you can use irises in xeriscaping, what gives? How could a plant that’s drought-tolerant suffer from a lack of water? Well, the plant itself can handle a good amount of stress caused by the lack of water. But one of the main ways it will be conserving its energy is by not putting out flowers.
Not only should you water your irises after you’ve transplanted them in order to to help them get established, but you should also keep watering them twice a week if you’re not getting enough rainfall during late winter and early spring. This is when irises wake up from their period of dormancy and start putting out flower stalks.
It’s worth reminding you that too much water is just as detrimental to the plant as too little water, as excessive moisture can lead to rhizome rot and even leaf spot. Only water your irises if you’re not getting enough rain and the top three inches of soil are dry. You can reduce your watering frequency in late fall and throughout winter.
When you water your irises, don’t pour directly on the rhizomes and do your best not to get the leaves wet. Pour the water in a circle around the rhizome in order to avoid dampness from pooling around them and keep them permanently damp.
5. Your irises are getting too much nitrogen.
Like most blooming plants, irises that have been fed too much nitrogen will use that to grow richer foliage at the expense of blooms. So fertilizing irises is a balancing act between adding enough phosphorus to encourage flowering, but not an excess of nitrogen (that encourages foliar growth).
Sometimes, irises that are grown in or around a lawn will suffer from a lack of bloom. Even though you may not have fertilized your irises, if you’ve used lawn fertilizer, you may have added too much nitrogen to the soil.
Fertilizing irises is only really necessary if you’ve been growing them for a long time in the same spot. The area has become depleted and will need some soil amendments, especially phosphorus. If you’re not sure whether your soil is still good enough, a soil test is the best way to determine what your soil needs.
If you do decide to fertilize, we recommend you use a low-nitrogen organic slow-release fertilizer, such as a 6-10-10 mix or a 5-10-5 mix. You can fertilize the irises once in the spring right before bloom and one more time once the blooms have fallen.
Related Reading: What To Do With Irises After They Bloom
When you fertilize your plants, never apply the feed straight on the rhizomes. You can soak the soil around the rhizomes with the liquid feed or use slow-release pellets. Always follow the instructions on the package when you feed your plants and err on the side of using less fertilizer and feeding less frequently than indicated on the bottle.
However, a better way to ensure that your plants have a balanced diet is by amending the planting site with organic compost when you divide and transplant your irises.
Like most blooming plants, irises will thrive in well-draining soil. If the soil is too compacted, the water won’t drain, leaving the rhizomes soggy, which may lead to rot. If you need to make your soil looser and more absorbent, you can add compost or leaf mold.
However, be careful if you’re adding manure, as some manure that hasn’t been aged enough may contain too much nitrogen for your irises.
6. You have cut off the iris leaves too early.
I left this reason last on my list because it’s less likely to happen. But if it does, you’ll know why.
Some people are in the habit of trimming off the iris leaves in the shape of a fan once the blooms are done for the season. Gardeners do this mostly for aesthetic reasons because they believe that irises blend into their landscape better. But I think this is a bit of a misguided habit. The only scenario in which you’d want to cut off the leaves is if you’re dividing your plants, the way we described above.
That’s because the plant needs the leaves to stay attached as long as possible to soak up the sun which is much-needed for photosynthesis to take place. This helps the rhizomes store energy for next year’s bloom. If you’re cutting off the leaves prematurely, this downsizing of foliage may impact next season’s bloom.
I suspect that this piece of advice has been initially disseminated mostly by growers and hybridizers. With hundreds of plants to take care of, cutting off the foliage makes the task manageable. And in their case, they want the energy of the plant to go into strengthening the rhizomes (which is what they’ll be offering for sale) and are less concerned about bloom.
If you still want to prune back the foliage, wait at least two months after the blooms have faded (or count from the time they should have faded, if you didn’t get any blooms this year).
These are the main reasons why irises will not flower during their blooming period. With irises, as well as with most plants that we grow in our gardens, the name of the game is patience.