
The only reaction I seem to be capable of whenever I see lupines in a garden is to stop and stare. Some people call that admiration, others might call it stalking.
I started lupines from seed in two different gardens, so I have a healthy appreciation for the patience you need to get them established.
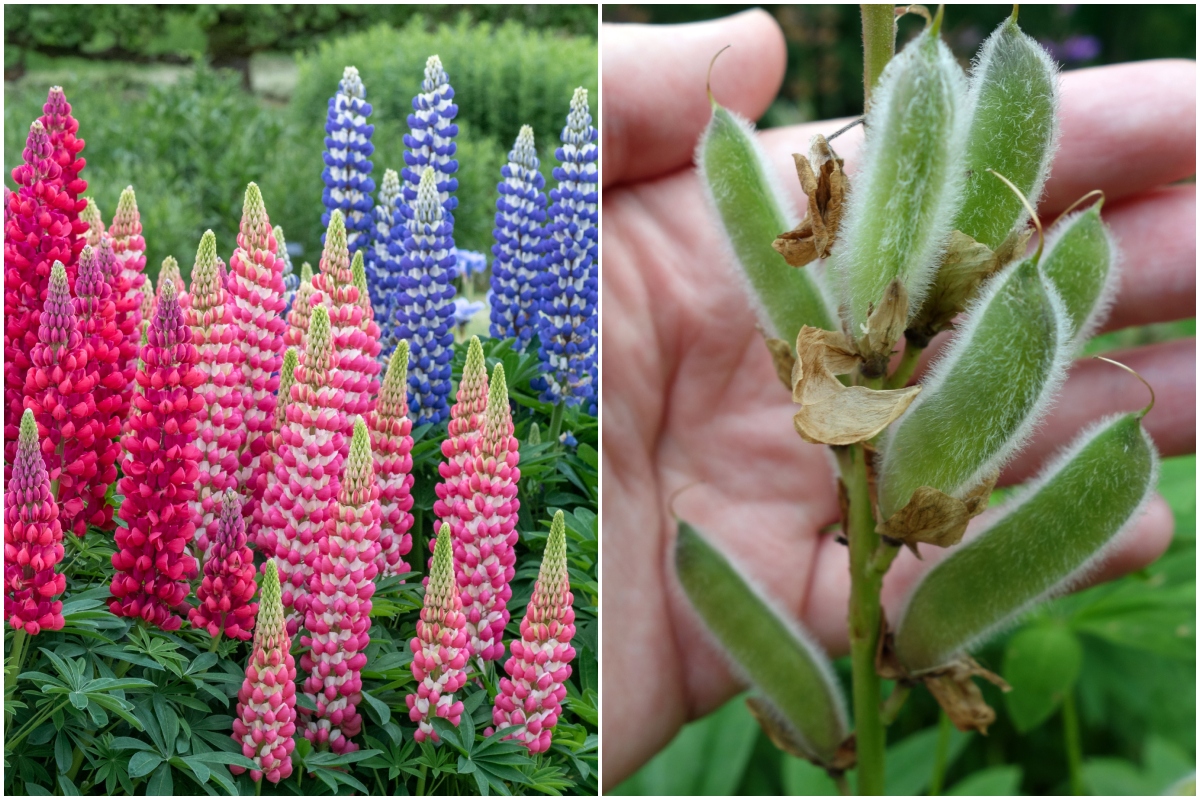
But how sweet the rewards are once these perennials start flowering. Their beautiful torch-like flowers are buzzing with bees and butterflies for weeks. And the bright intense colors lupines bring to the garden are well worth the wait.
However, lupine care doesn’t stop here. There are a few things you could do to your lupines after blooming that will ensure you’ll enjoy these cottage garden favorites for years to come.
1. Deadhead lupines and you might get a second bloom.
Ok, so let’s assume you’re reading this article early enough in the season. In the Northern Hemisphere, most lupines will start blooming at the end of May and the beginning of June. If you deadhead as you go, your lupines might surprise you and keep blooming well into July.
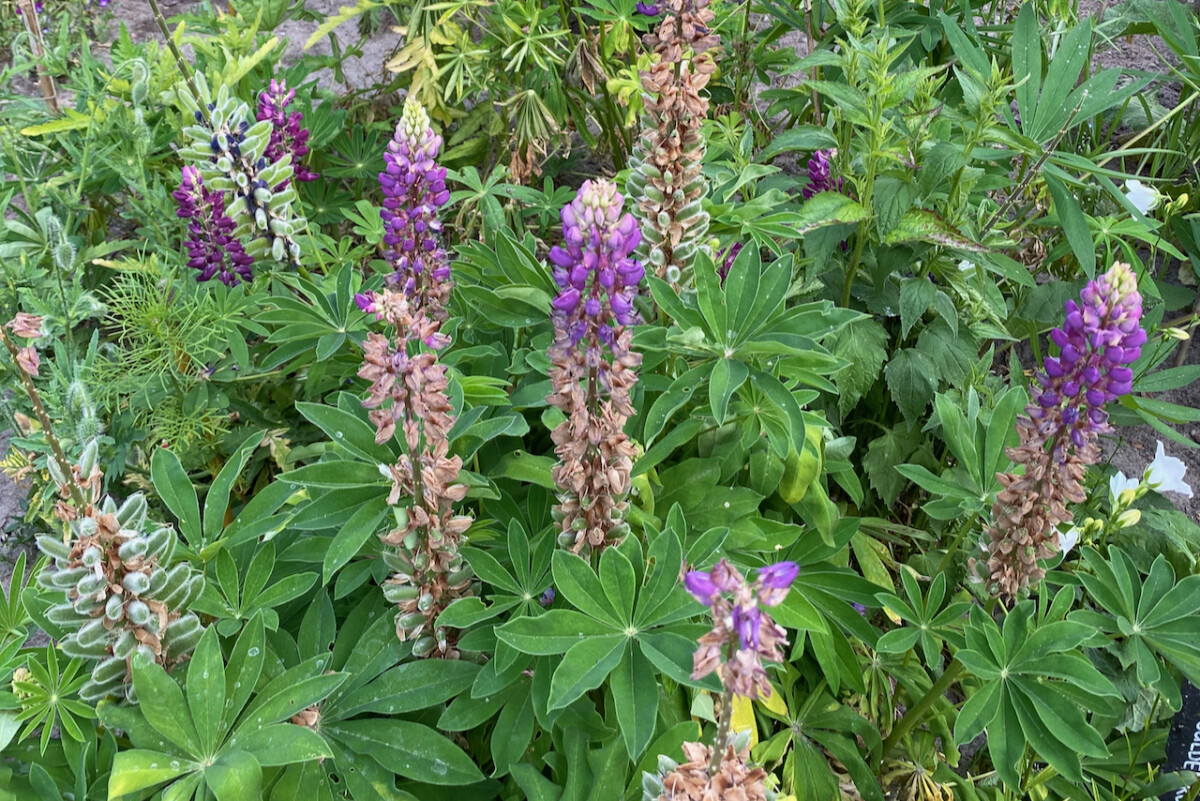
How do you know when to deadhead lupines? It’s simple. Once the lower half of the flower stem is done blooming and is turning to seed, it’s time to remove it. This way, the plant won’t spend its energy on seed production. Instead, it will continue to bloom for a few more weeks, though I have seen lupines in bloom in a temperate climate as late as August.
One small detail worth mentioning is that in this second flush of blooms, the flowers will be a bit smaller and daintier. But they’ll still have that lupine charm.
2. Let your lupines self-seed.
Arguably this is the laziest option you could take. But lazy in a good way. Lupines are prolific self-seeders, so by doing nothing you are allowing nature to take its course and take the reins in propagating these beauties.
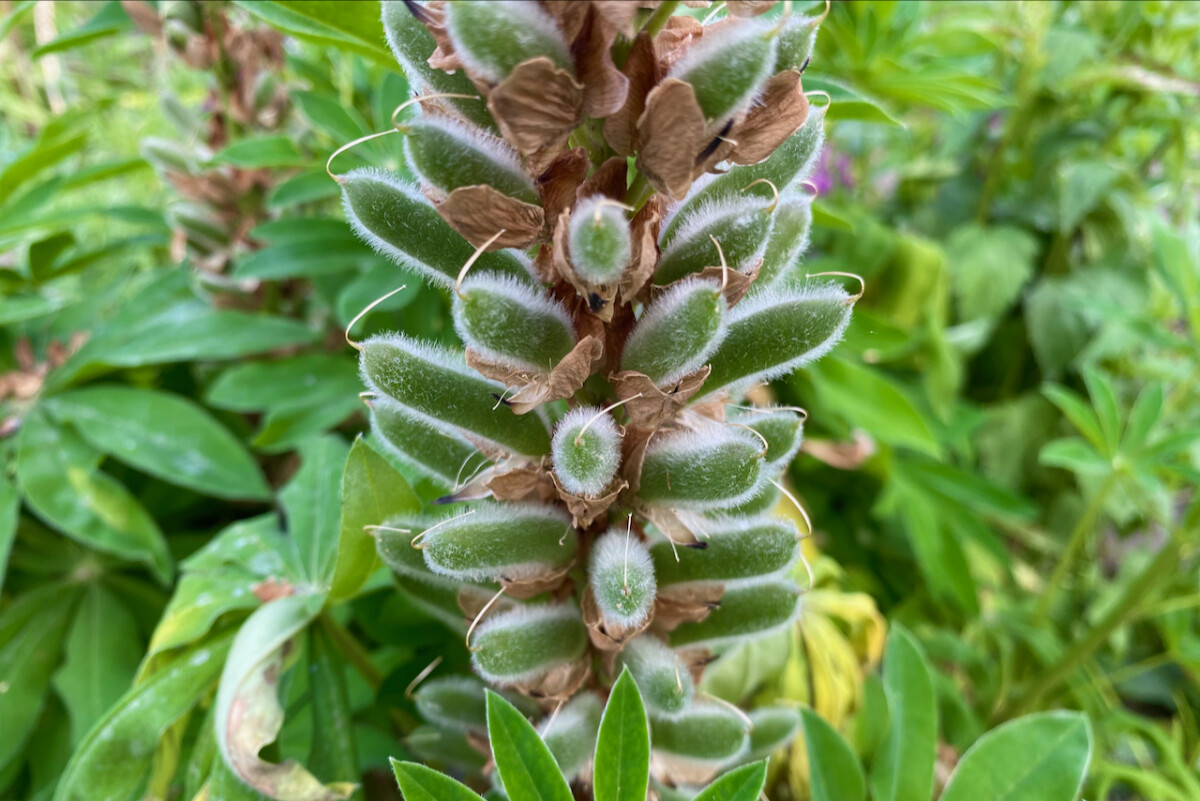
Once the seed pods are dry, they’ll start opening up and letting the seeds fall. Not all fallen seeds will turn into baby plants though; only the ones that get enough water and sun will start growing the following spring.
You can transplant these lupine babies wherever you’d like them to grow, but keep in mind that lupines don’t like to have their roots disturbed. Their deep tap roots make these plants excellent nitrogen fixers and soil improvers, but they also make them quite fussy when it comes to dividing and transplanting.
So as much as possible, keep neighboring plants together and transplant them all as a big clump. Plus, lupines look more striking when you plant them in a group anyway.
3. Collect the seeds to start even more lupines.
If you prefer a little more of a hands-on approach to propagating your lupines, collecting the seeds once the pods are dry is the way to go.
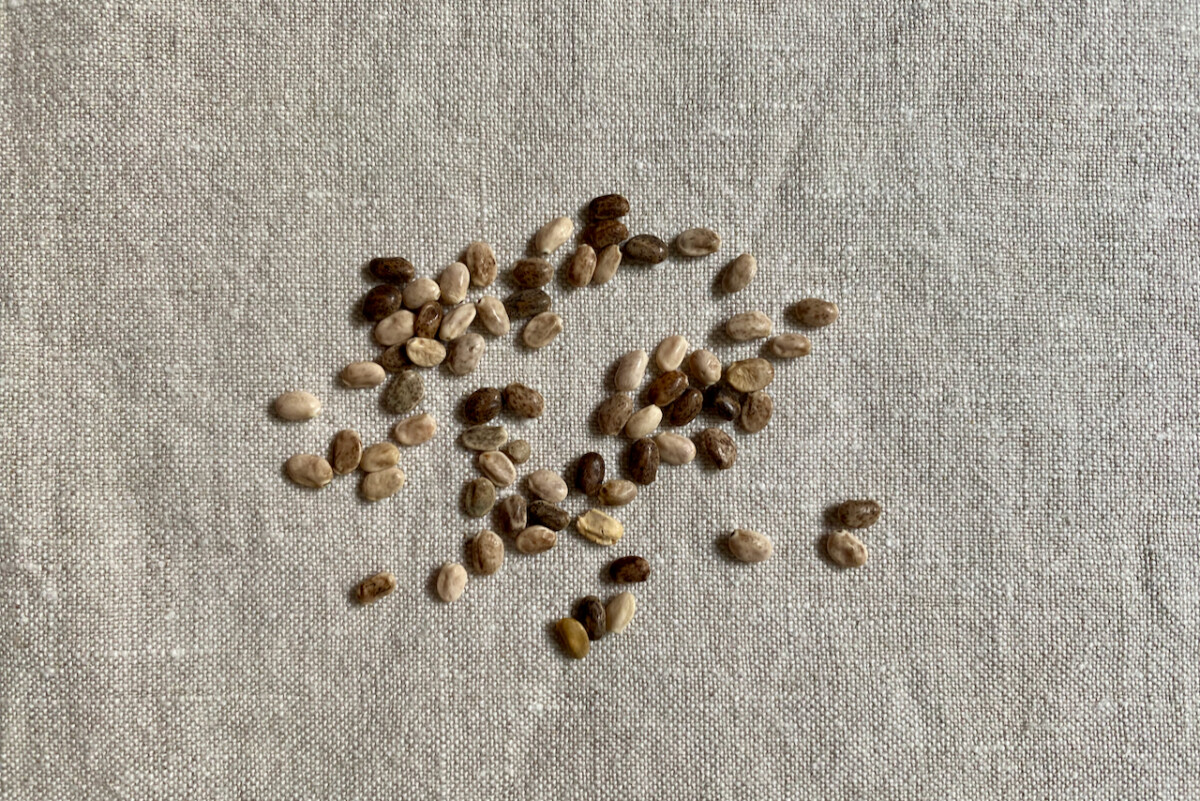
The easiest way to do this is by letting the pods get mostly dry, but not dry enough to pop open. You can then cut off the entire seed head and put it in a paper bag. Shake the bag vigorously until most of the seeds have come off.
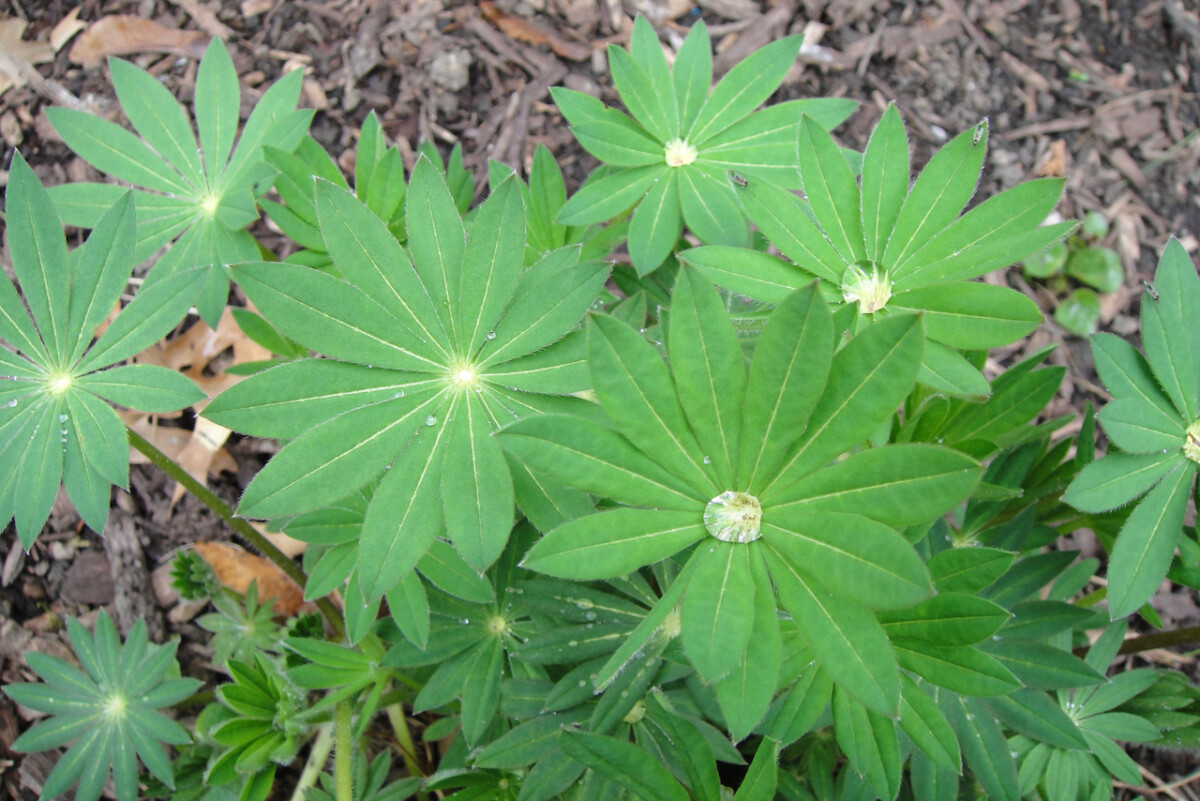
Most lupine varieties are biennials. That means they’ll spend their first year developing their roots and foliage and will only bloom in their second year. So if you want to get flowers next year, you can start your lupine seeds this summer. If you’re starting your seeds in the fall or during the following late winter, you’ll only get flowers the year after that, roughly 18 months from when you’ve started the seeds.
However, not all lupines are the same. There are some annual lupines (such as Lupinus bicolor and Lupinus nanus) that will flower during their first year. If you want to plant perennial lupines, look for Lupinus perennis (also known as wild lupines), Lupinus arboreus (more similar to a shrub) and the super popular Lupinus polyphyllus (particularly the Russell Hybrid lupines).
If you’re planting lupines from seed, it’s best to check what type of seed you’ve saved; not only to avoid disappointment, but to also optimize your seed planning. Remember to soak your lupine seeds overnight before you plant them to improve their rate of germination.
4. Mulch your lupins with a good layer of compost.
This piece of advice is particularly for later into the season, when the lupines start dying back. Lupines, like all legumes, are pretty hungry plants. By applying a thick layer of compost once the flowers have died back, you’re ensuring that your soil has a balanced mix of nutrients to feed the plants for the following year.
If you have enough fresh compost, I would recommend topping up the lupines once after they are done blooming, then again when the foliage starts to die back later in the year.
Lupines, even the short-lived varieties, are wonderful additions to any garden. With a bit of blooming aftercare, you and the wildlife in your garden can enjoy the benefits of lupines for years.