Rosemary features high on the list of essential garden herbs.
This dense shrub is a vigorous grower with a million uses in the kitchen, from roasts to cocktails and more. Who wouldn’t want as much of this versatile plant in their garden as possible?
Those looking to grow masses of rosemary in their garden, possibly for a hedge or a fully stocked kitchen garden, shouldn’t spend their money buying established plants from the nursery.
It’s so easy to grow your own by propagating from cuttings. You can even clip a stem or two from a neighbor and grow new plants at absolutely no cost.
This softwood propagation process applies to many other plants, including other herbs like lavender.
In just 10 minutes you can prepare your cuttings for strong root growth, allowing you to grow tens or even hundreds of new plants from scratch.
When To Propagate Rosemary
Rosemary can technically be propagated any time of year, with the exception of winter due to the lack of growth. However, it is best to propagate around early or mid spring once new growth has started to emerge.
This is because rosemary is planted from softwood, the new tender growth on the plant. If left too long, this new growth becomes woody and is not suitable for propagation.
Propagating in spring also takes advantage of the speedy growing season, kickstarting root growth and helping your cuttings establish far quicker.
How To Propagate Rosemary
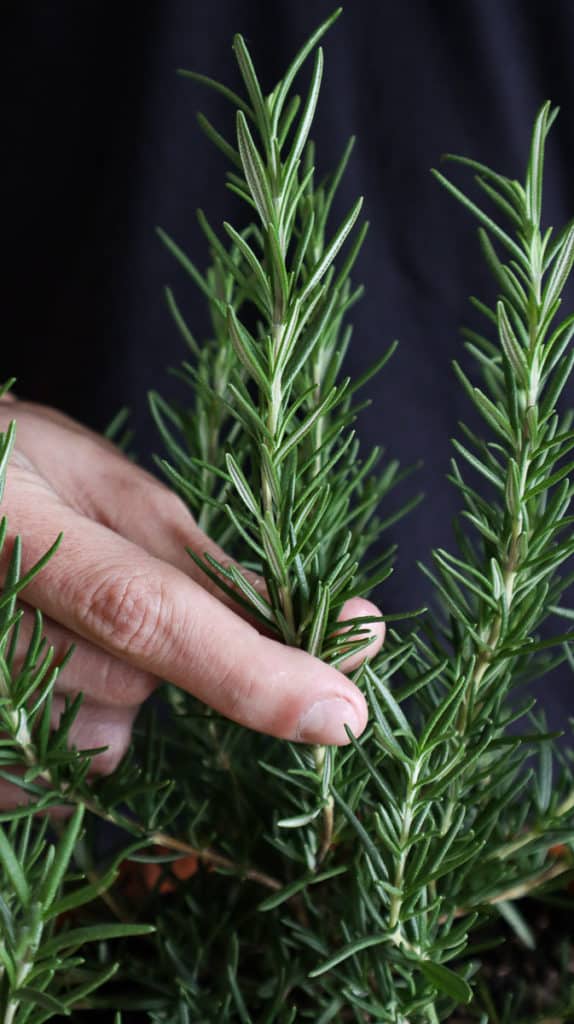
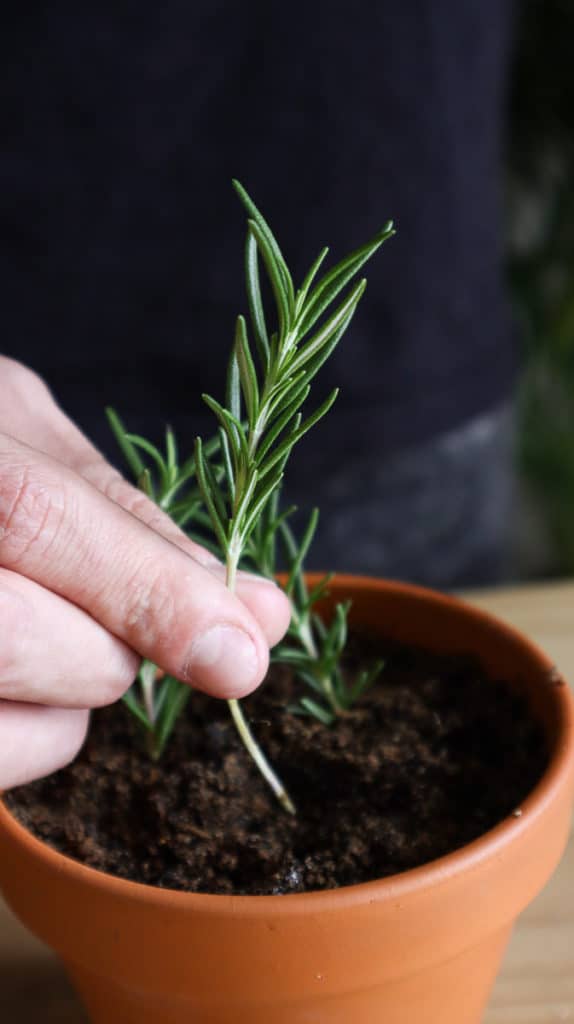
Step 1: Find a stem
Before you start propagating, ensure you have a sharp pair of pruning shears handy. Blunt shears can damage the parent plant, causing problems with regrowth. They should also be thoroughly cleaned to prevent the transfer of disease. Blunt and dirty pruning shears are two of the most common pruning mistakes that lead to failure.
Next, find a healthy stem with new visible growth. The stems will be a lighter green in color rather than the woody texture of the lower stems.
New stems should snap off easily from the point of the old growth (although snapping them is not recommended).
Don’t pick any stems that are losing leaves or have damage marks. The healthiest stem will be far more likely to grow and sustain strong root growth. Damaged or diseased cuttings will also pass on those problems to the new plant, or will more than likely not root at all.
Step 2: Make a cutting
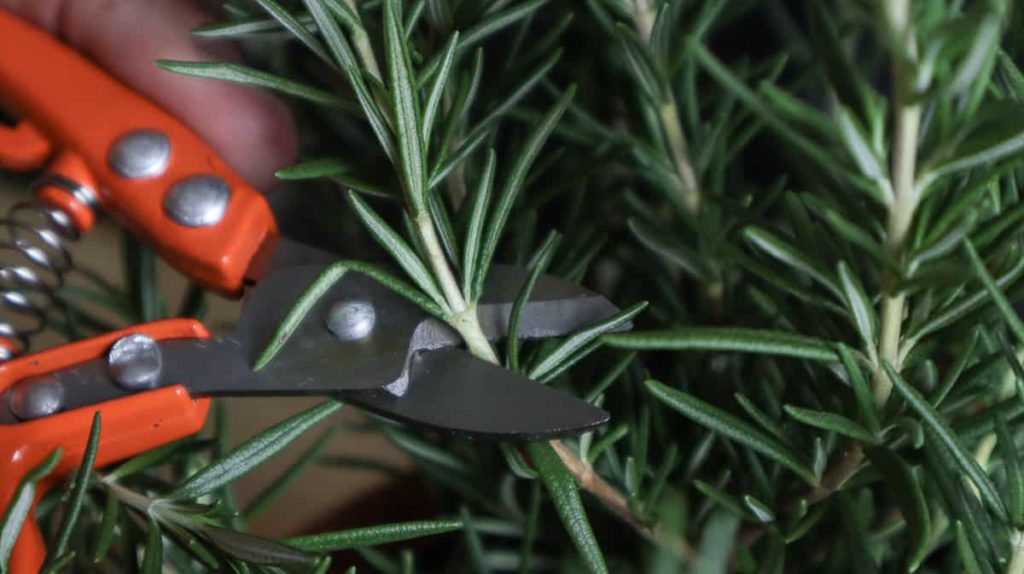
With your ideal stem (or stems) chosen, it’s time to make a cut. Remove part of the stem at least four inches, ensuring the bottom of the cutting is softwood growth. Any hardwood on the cutting should be removed with your shears before propagating.
Don’t worry about your plant looking sparse if you cut it back. As propagation is done in spring, these stems will likely grow back and may even branch off into more stems. Cutting back is an essential part of spring rosemary pruning, killing two birds with one stone.
Cut the stem at a slight angle just below one set of leaves. The stems should be incredibly easy to remove – any resistance indicates you need to sharpen your shears better or choose a stem with softer growth.
Gather as many cuttings as you’d like to propagate. A medium-sized pot can fit at least three, if you have enough new growth on the plant. If your rosemary stems are very long, you can even cut them into four-inch sections.
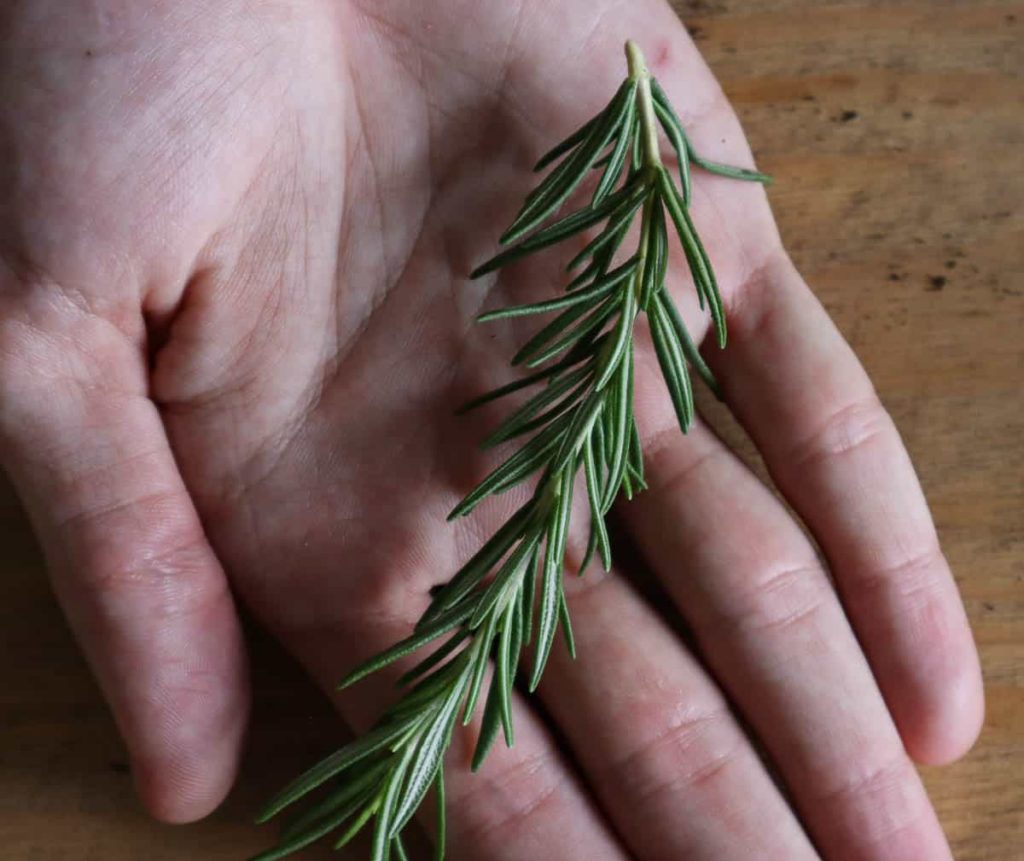
Step 3: Remove the foliage
With your cuttings made, the next step is to remove the foliage from the bottom half of the cutting. For longer cuttings, remove the bottom two or three inches of leaves. Remove these carefully so you don’t damage any parts of the stem in the process.
Ensure you keep at least two inches of leaves at the top of the cutting. These leaves are essential for photosynthesis which gives the plant enough energy to make roots. Without these leaves, roots will not be able to grow.
The leaves need to be removed to expose the nodes where the roots will grow. This also prevents the leaves from rotting under the soil and attracting disease. The exposed parts of the cutting will ultimately end up below the soil.
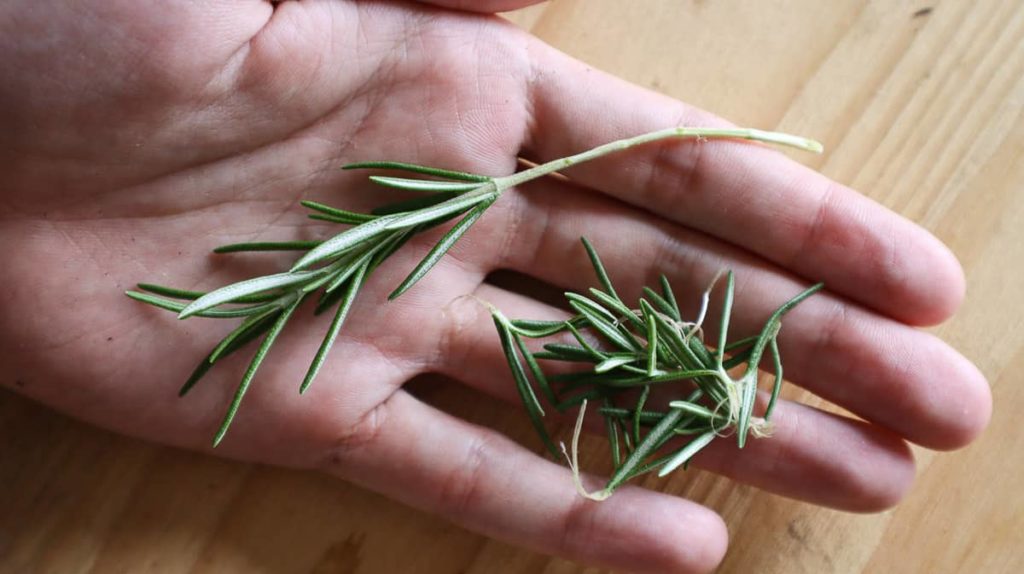
At the same time, remove any currently flowering or spent blooms from the cutting. These sap energy from the cutting that could be used for root growth. You can also use this time to pull off any damaged leaves for the healthiest cutting possible.
Step 4: Dip in rooting hormone
Rooting hormone is a powder that stimulates root growth in softwood cuttings. It is specially formulated to help the plant produce the strongest roots possible, while preventing problems with bacterial or fungal disease over the open wound exposed to the soil.
Rooting hormone is not an absolute necessity when propagating. Softwood rosemary cuttings will often root without this assistance. However, it does make rooting far more likely.
When you’ve gone to all the effort of propagating, you don’t want a lack of roots to ruin the entire process. It is a worthwhile extra step to complete, even if just to increase your chances of success.
Recommended Product: Rontone Rooting Powder
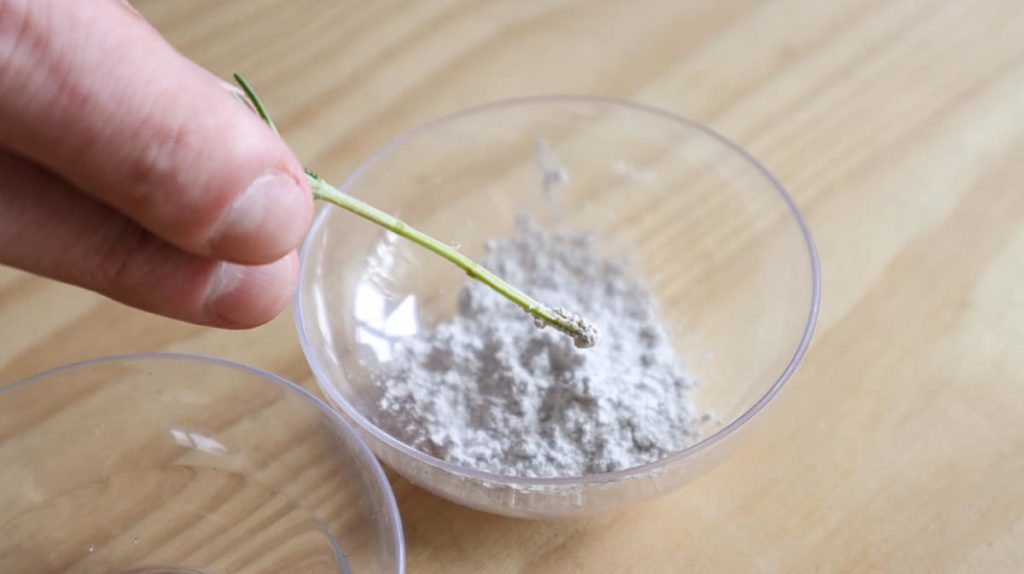
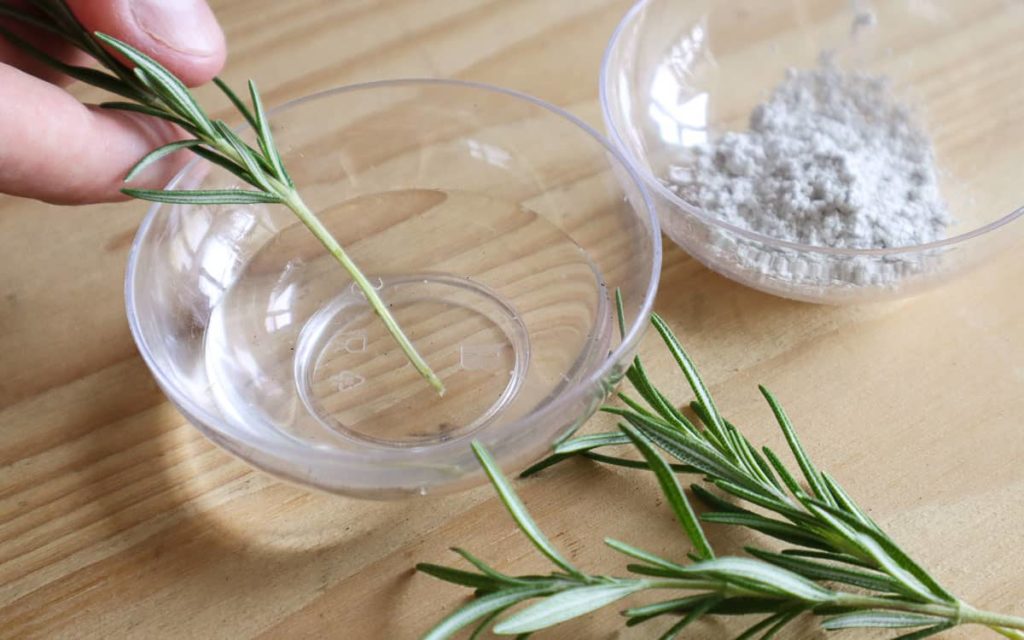
Take the cuttings and dip the ends in water, then into the rooting hormone powder. Always move a small amount from the container into another bowl rather than dipping directly into the container as this can transfer bacteria and disease, contaminating the bottle.
For the same reason, you should always throw away any excess rooting hormone rather than putting it back into the jar.
Step 5: Root
Now for the easy part – rooting. Here, you have two options. You can either root the cuttings in water or plant them straight into soil.
Rooting in water
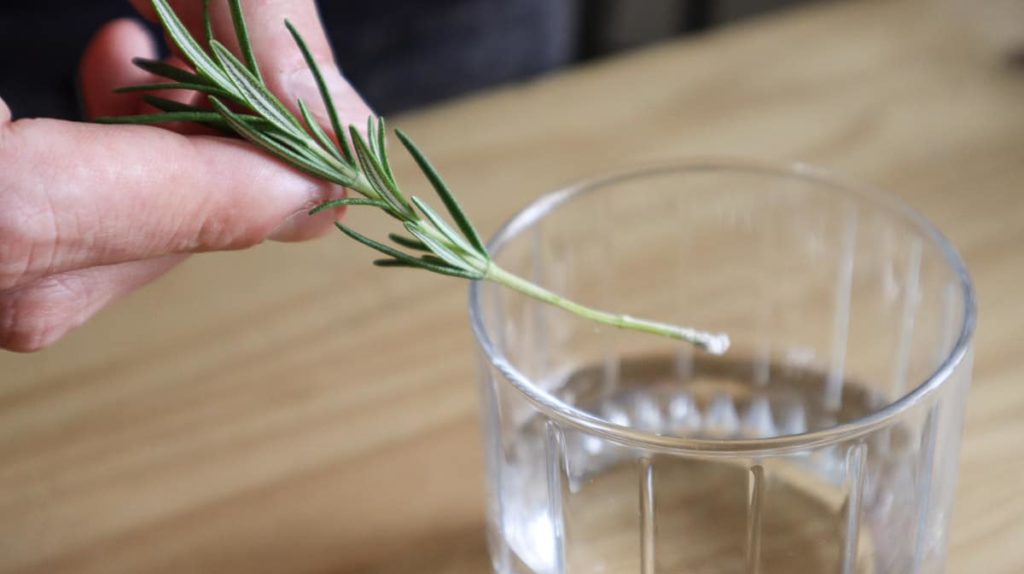
To root in water, simply place the cuttings into a glass filled halfway with water, leaning the cuttings against the side to ensure they don’t fall into the water. The water should only reach the exposed part of the cutting. All foliage needs to remain out of the water to prevent rotting.
For a more stylish option, invest in a plant propagation station to make growing new plants part of your home decor.
It’s best to use filtered water to root your cuttings. Tap water can contain a wide range of chemicals that may inhibit growth in vulnerable cuttings. If you don’t have filtered water on hand, you can always boil some in a kettle and leave it to cool before planting.
The water should be around room temperature, rather than ice cold, to prevent shock and promote growth. Slightly warm water is also great, as long as it isn’t so hot it will burn the stem.
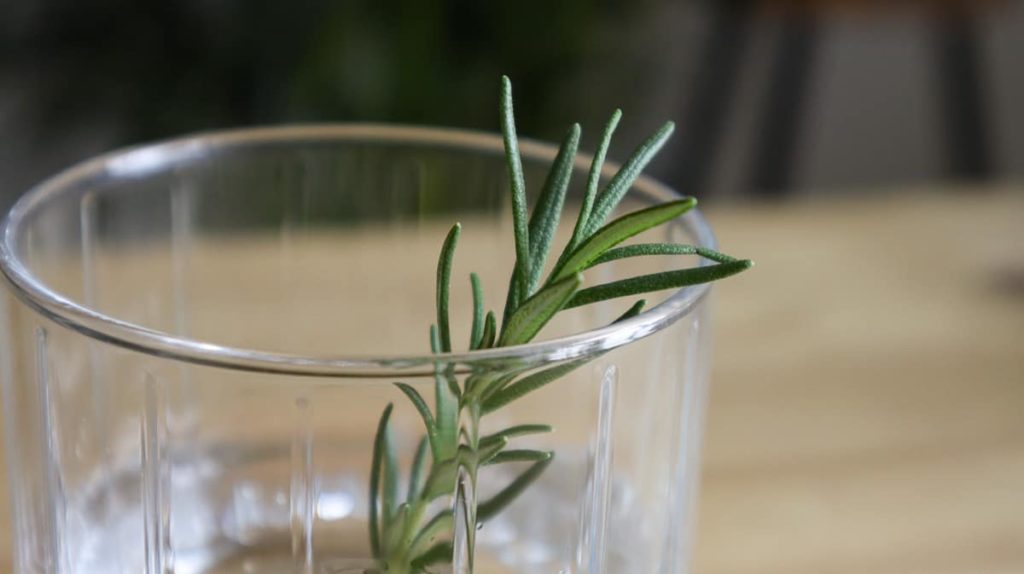
Keep the water clean by changing it frequently when it gets cloudy. You will also need to top up the glass as the water evaporates. Now, simply keep an eye out and watch the roots grow!
If any stems do not grow roots after a few weeks, remove them from the glass to stop the decaying stems from impacting the other cuttings’ growth.
The cuttings will be ready to transplant into soil when the roots have grown several inches. You can plant them into individual pots to grow further, or move them straight into the garden.
Rooting in soil

Alternatively, you can plant the cuttings straight into soil. This removes the ability to watch the roots grow, but does make root growth much stronger. Cuttings transplanted from water can struggle to establish due to shock, while cuttings transplanted from soil will already be used to the conditions.
You can also leave the cuttings to grow and establish in a pot for several months before transplanting, making success when transplanting far more likely.
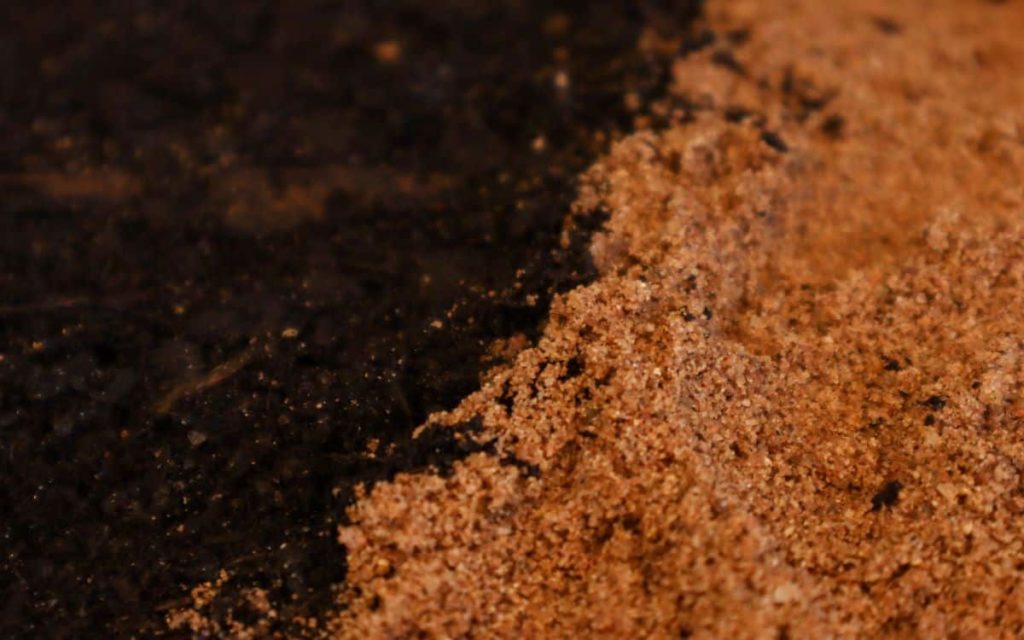
Start by preparing a propagation mix. We’ve used a mix of half coconut coir and half sand. The coconut coir is a light mix that improves drainage, aeration and strengthens root growth. The sand also improves drainage and better replicates the conditions the cutting will be in when replanted. These materials also contain little nutrients – an important factor for the growth of new and vulnerable roots.
Fill a pot with this mixture and water thoroughly to moisten. Let all the water drain from the drainage holes before planting. Press down to compact the mixture tightly.
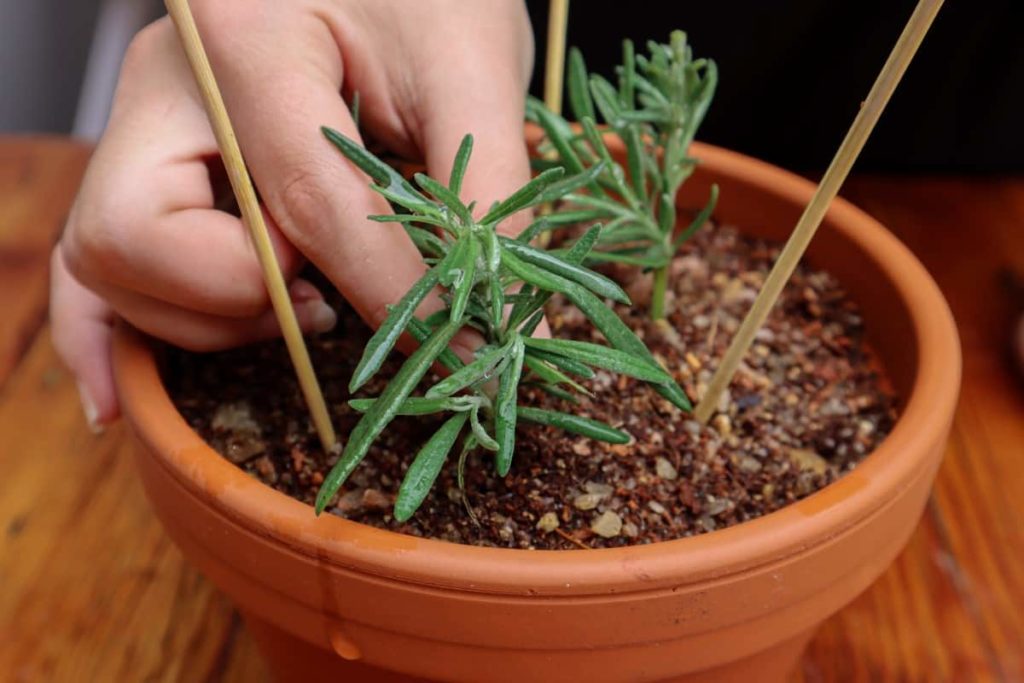
Grab your cuttings and make small holes in the soil with a skewer. Plant your cuttings into these holes, burying them until the first set of leaves sit just above the soil line. If needed, press down around the cutting to secure.
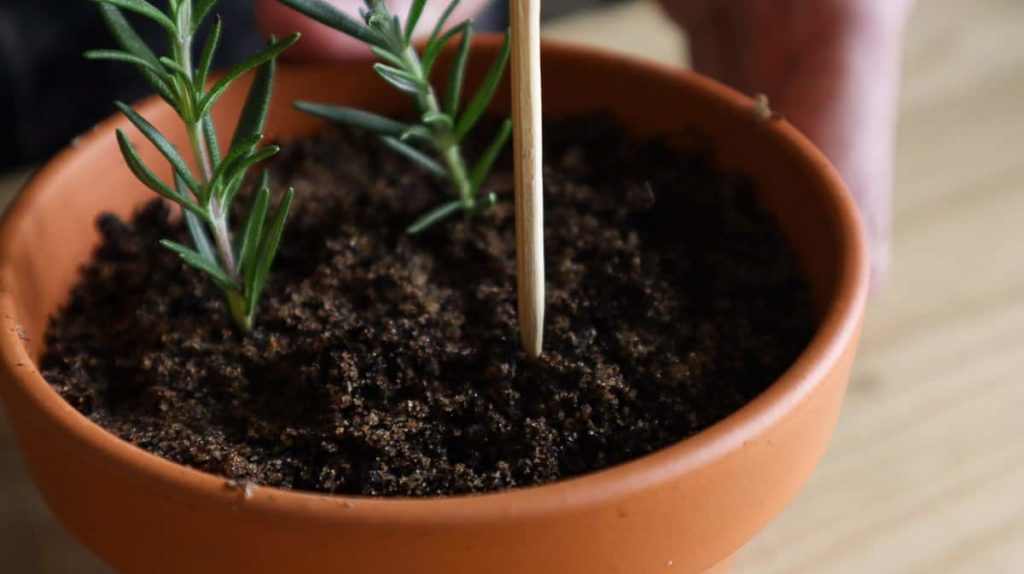
Take a couple of skewers and place them around the edge of the pot. Then, cover the entire pot with a clear plastic bag such as a sandwich bag. This increases the humidity around the cuttings by creating a mini-greenhouse, creating the ideal environment for root growth.
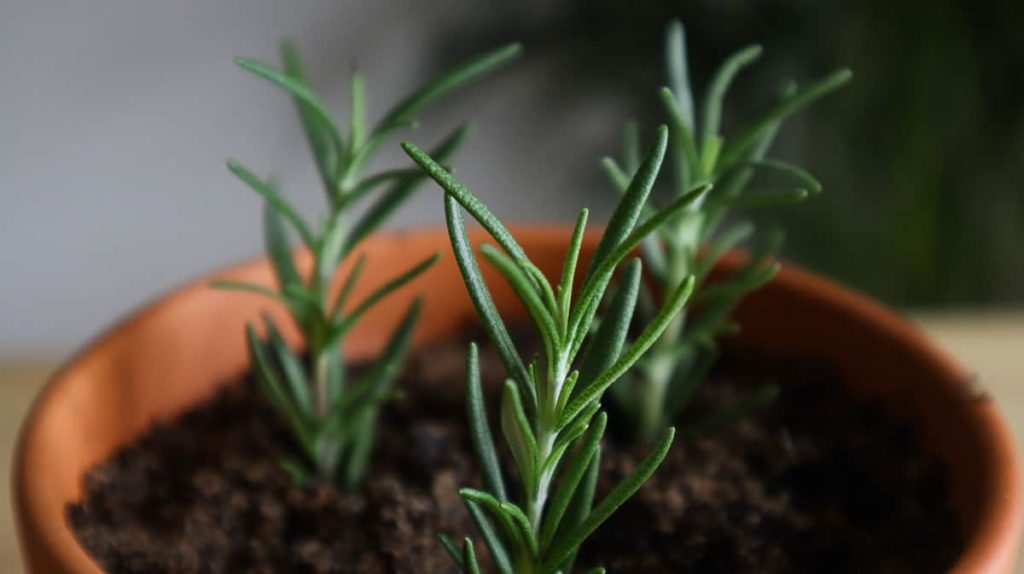
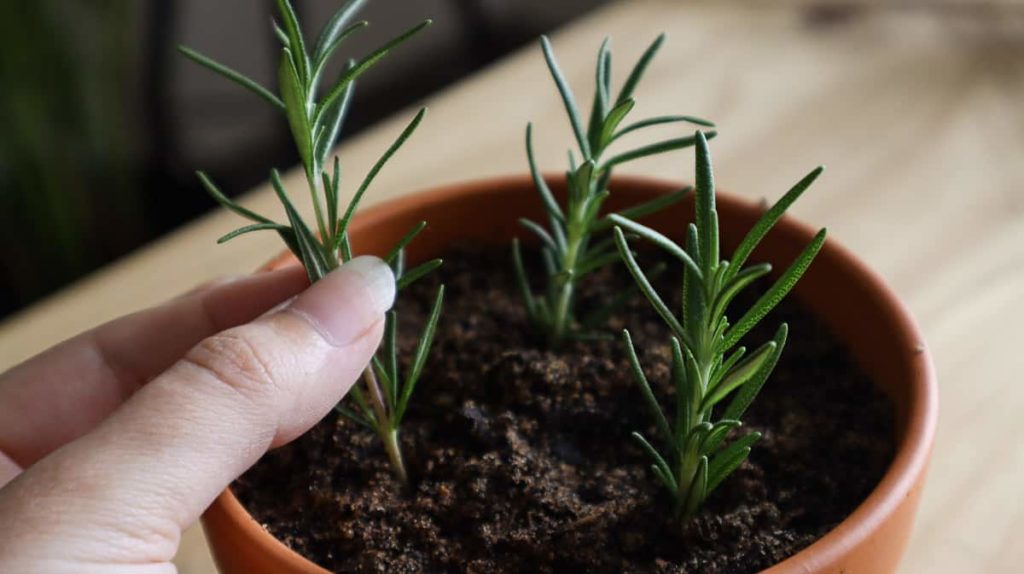
Leave the pot in a warm place away from direct sunlight. Keep the soil moist throughout growth. Once new growth is visible and the cuttings resist being pulled from the soil, you’ll know they have begun to develop roots.
Transplanting
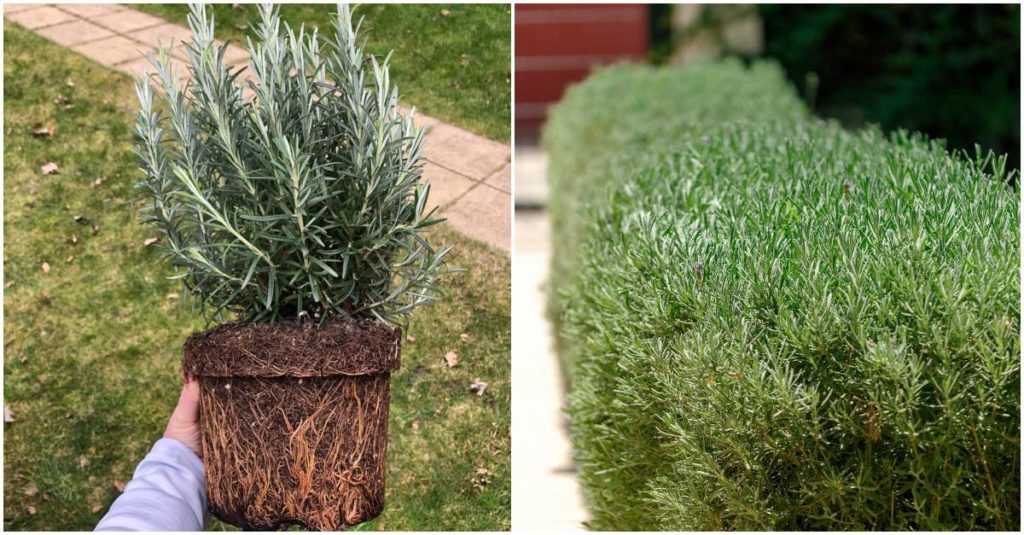
After a few weeks, your successful cuttings will be ready for transplanting. Plant each cutting into a separate pot filled with well-draining potting soil, or move them straight into the garden.
Related Reading: 10 Beneficial Rosemary Companion Plants (& 5 Plants To Keep Far Away)
Keep a close eye on the cuttings for signs of stress in the first few weeks. Ensure they stay well-watered and get plenty of sunlight to successfully establish and grow into the big, bushy plants you want.