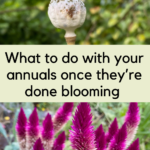
I often feel the need to defend growing annuals whenever the topic comes up in conversation. Most of the ornamentals in my garden are perennial, but there are always some annuals growing alongside them.
Even in a small space, I choose to plant a few annuals for a multitude of reasons. The early-blooming annuals attract pollinators to the garden early in the season, at a time when my perennials are still budding. Some annuals, such as nasturtium, act as sacrificial plants if you intersperse them around crops in the kitchen garden. Others, such as calendula, are edible.
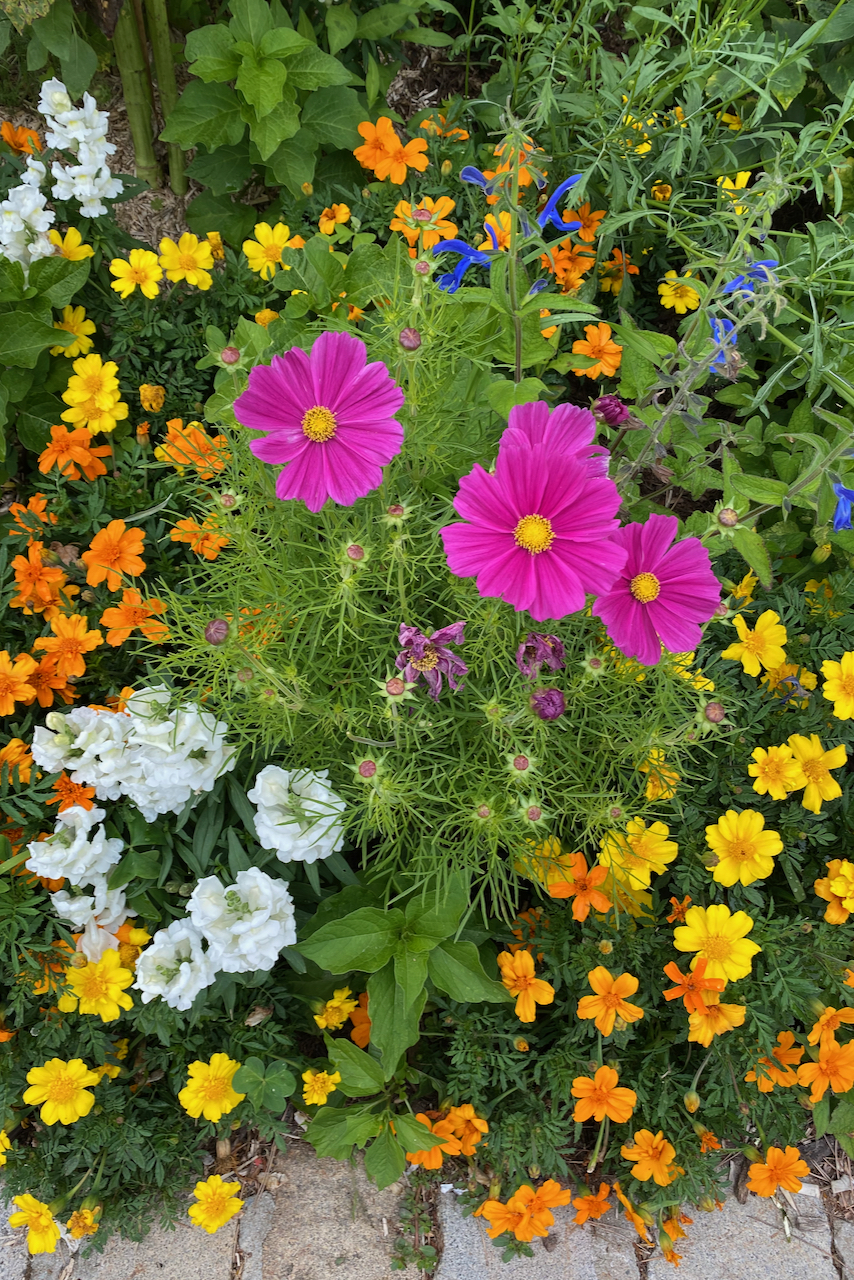
But it’s not a sin to admit that most annuals I grow are simply meant to provide me with beautiful flowers to look at and pick. Gardening may be about function, but that doesn’t mean it can’t also be about beauty and serenity.
Here’s a short list of commonly grown annual ornamentals, roughly grouped by the season in which they start to bloom in the garden.
Spring and early summer
Primroses (Primula)
Sweet peas (Lathyrus odoratus)
Cornflower (Centaurea cyanus)
Snapdragons (Antirrhinum)
Love in a mist (Nigella)
Lobelia
Knight’s spur (Consolida ajacis)
Pincushions (Scabiosa)
Poppies (Papaver)
Mid- and late summer
Mexican sunflowers (Tithonia rotundifolia)
African daisies (Osteospermum)
Zinnias
Petunias
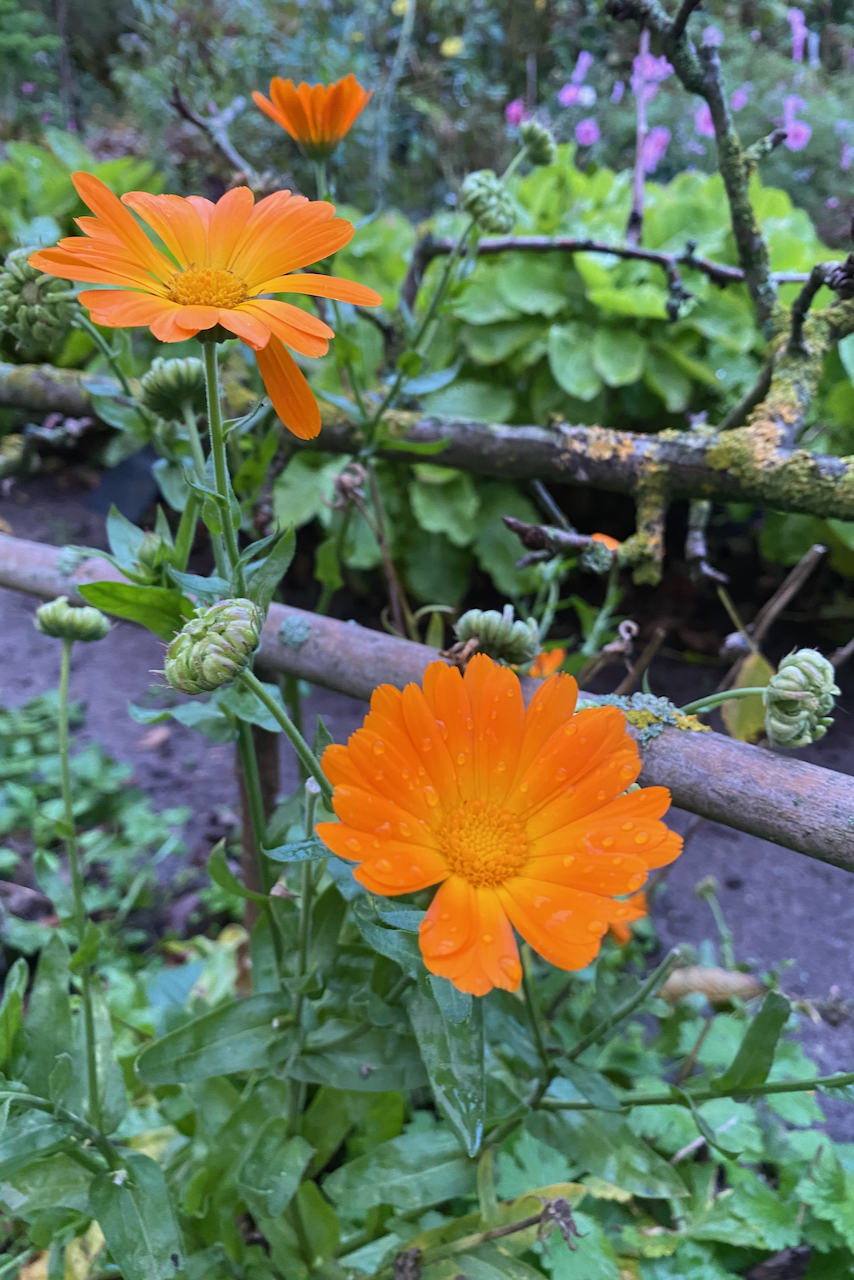
Calendula
Busy Lizzie (Impatiens walleriana)
Million bells (Calibrachoa)
Four o’clock (Mirabilis)
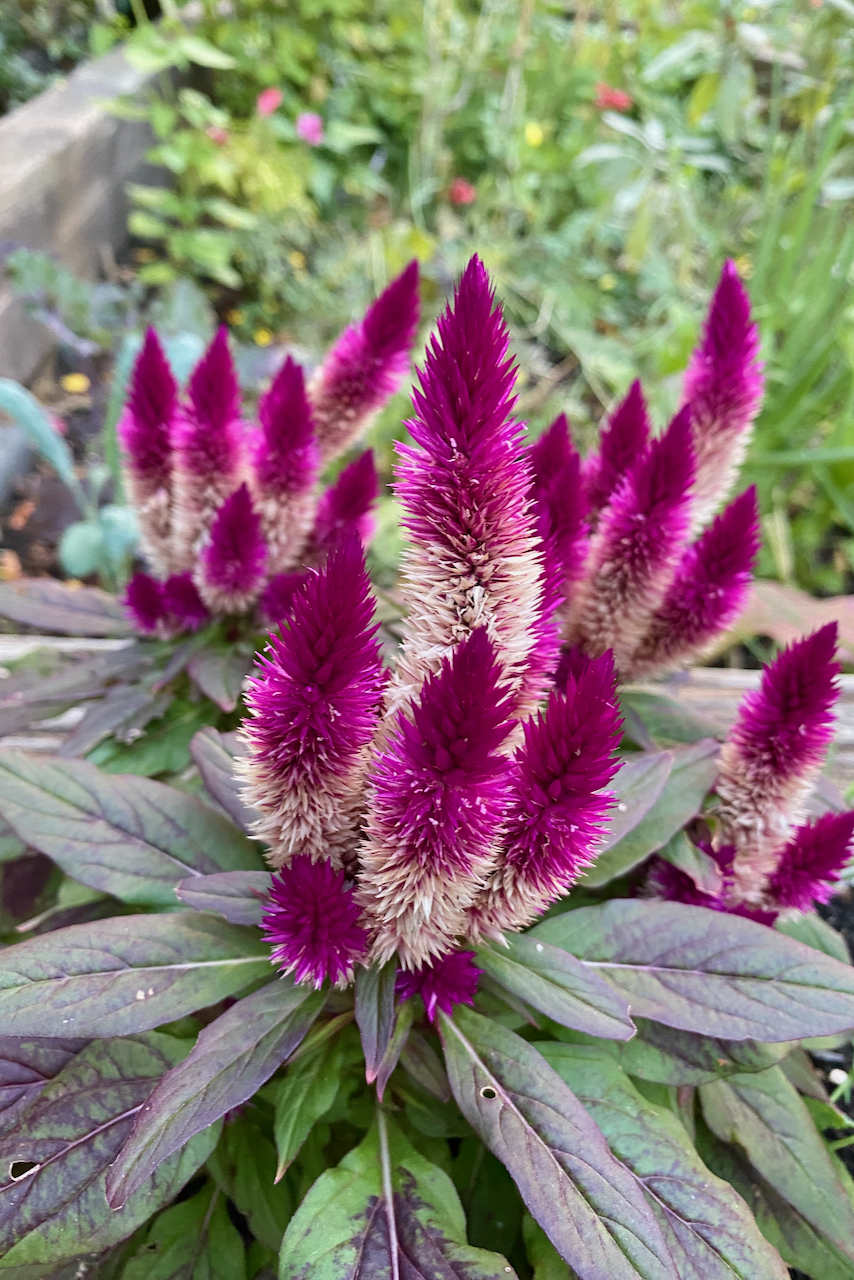
Celosia
Fall and late fall
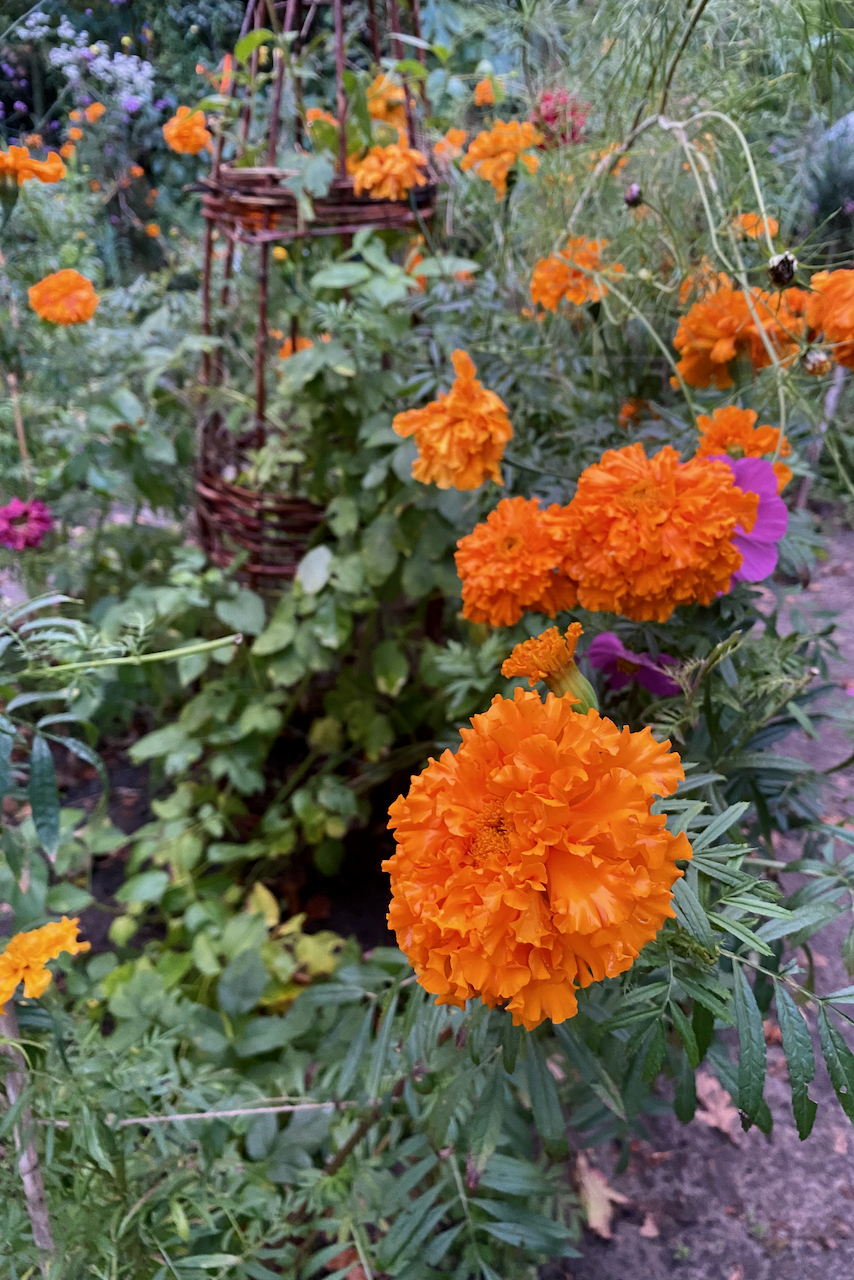
Marigolds and tagetes
Cosmos
Nasturtium
China aster (Callistephus chinensis)
What should we do with annuals when the flowers finally fade away?
Here are a few things to consider.
1. Allow them to self-seed in place
In my view, the main advantage of self-seeding is that it saves me money because I don’t have to buy the same plants again the following year. But perhaps more importantly, it saves me time and energy. So next spring, when I’m busy starting tomatoes and other kitchen garden staples from seed, I don’t have to worry about starting annual flowers too.
A third advantage, that will mostly depend on the type of climate you’re gardening in, is that by allowing self-seeding, you’ll get earlier flowers next year. We tend to think of annuals as going from seed to seed within the same year.
We plant the seeds, the plant grows, flowers, goes to seed and dies within the span of a few months. Usually this process starts in spring and ends in late summer (for some annuals) or late fall. But there are some hardier annuals that will grow really well starting the previous fall. Annuals such as calendula, larkspur, nigella and phacelia can overwinter as baby plants in the garden in milder climates. The advantage is that you’ll get blooms much earlier the following spring.
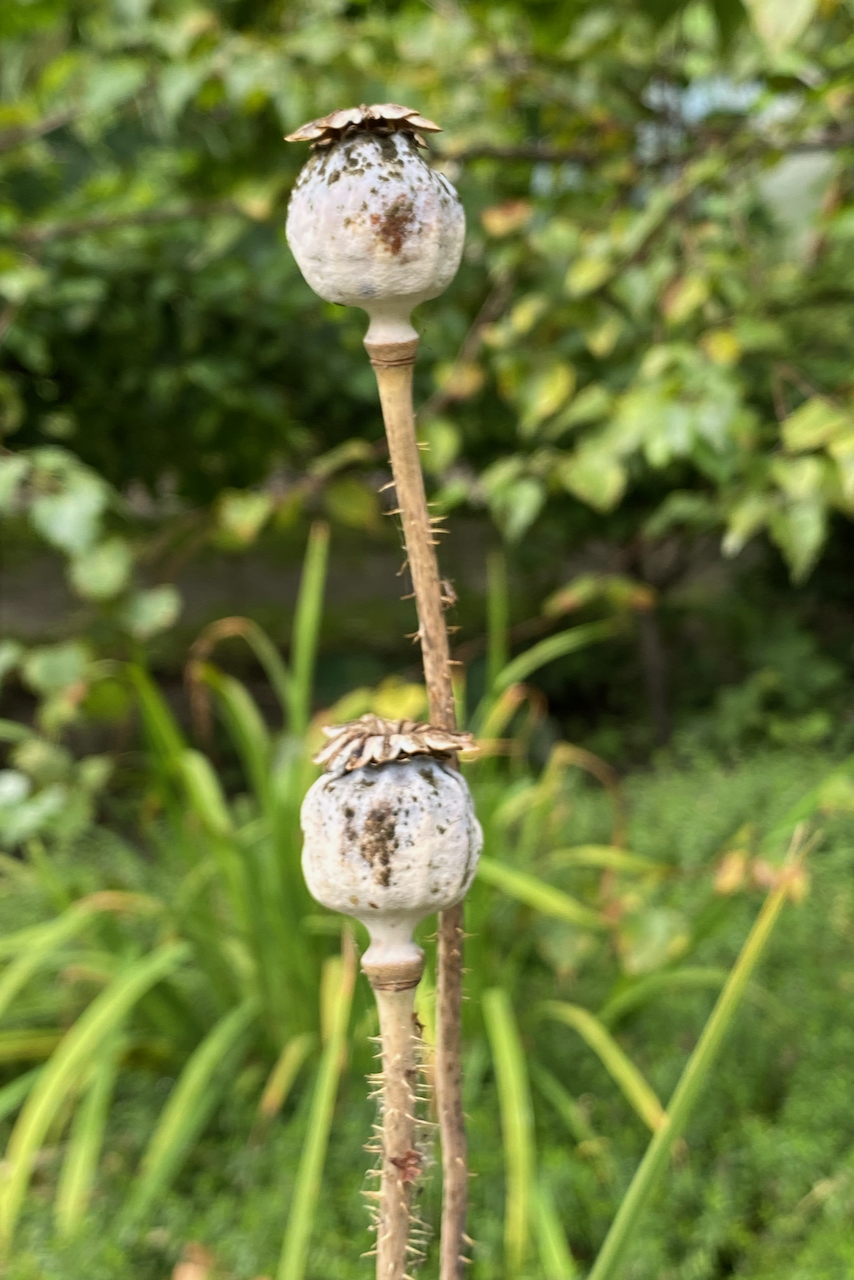
Some annual seeds, such as poppies, benefit greatly from being left in the cold. They need a period of cold stratification to germinate properly.
The main objection to allowing plants to self-seed is that they will take over and crowd out other plants. That’s a valid objection, but it’s more likely to happen with perennials. Annuals usually have a weak root system that dies back every year.
2. Collect and store the seeds
“So what’s the point of collecting the seeds if you’re already letting annuals self-seed?” I hear you ask.
It’s never an either/or for me. It’s always a combination of the two. There were years when none of the marigolds I’d allowed to self-seed came out. I still don’t know why. They may have been eaten by birds or they may have been buried too deeply under a layer of dry leaf mulch. There were also years when a prolonged spring frost killed the annual baby plants that had self-seeded. In both of these cases, the seeds that I had collected and stored came in handy.
Another reason to collect the seeds is if you want to start your annuals in a different spot next year. I’m planning to add bright pink celosia under some of my taller perennials next year.
I’m also giving away heirloom saved seeds to friends or taking them to plant swaps and plant libraries.
Finally, as I’m thinking about moving house at some point, I’m thinking ahead of future gardens that I will plant with the seeds of today.
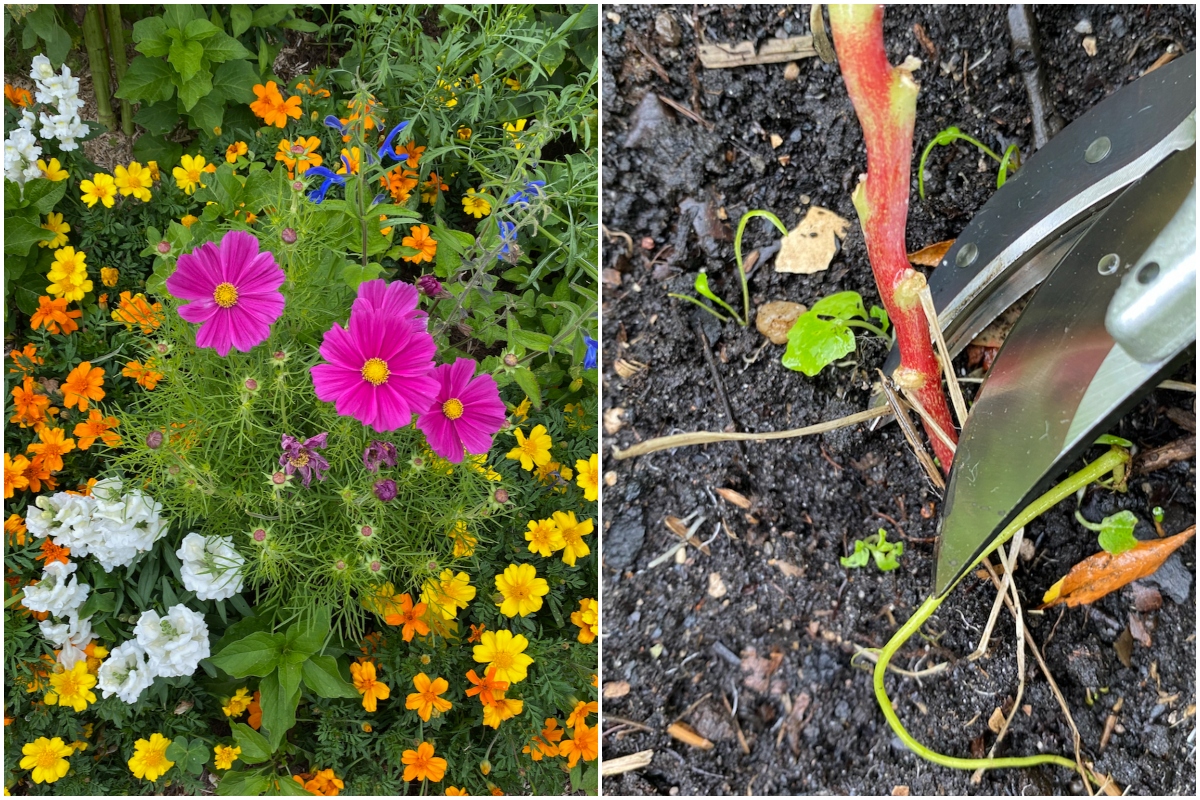
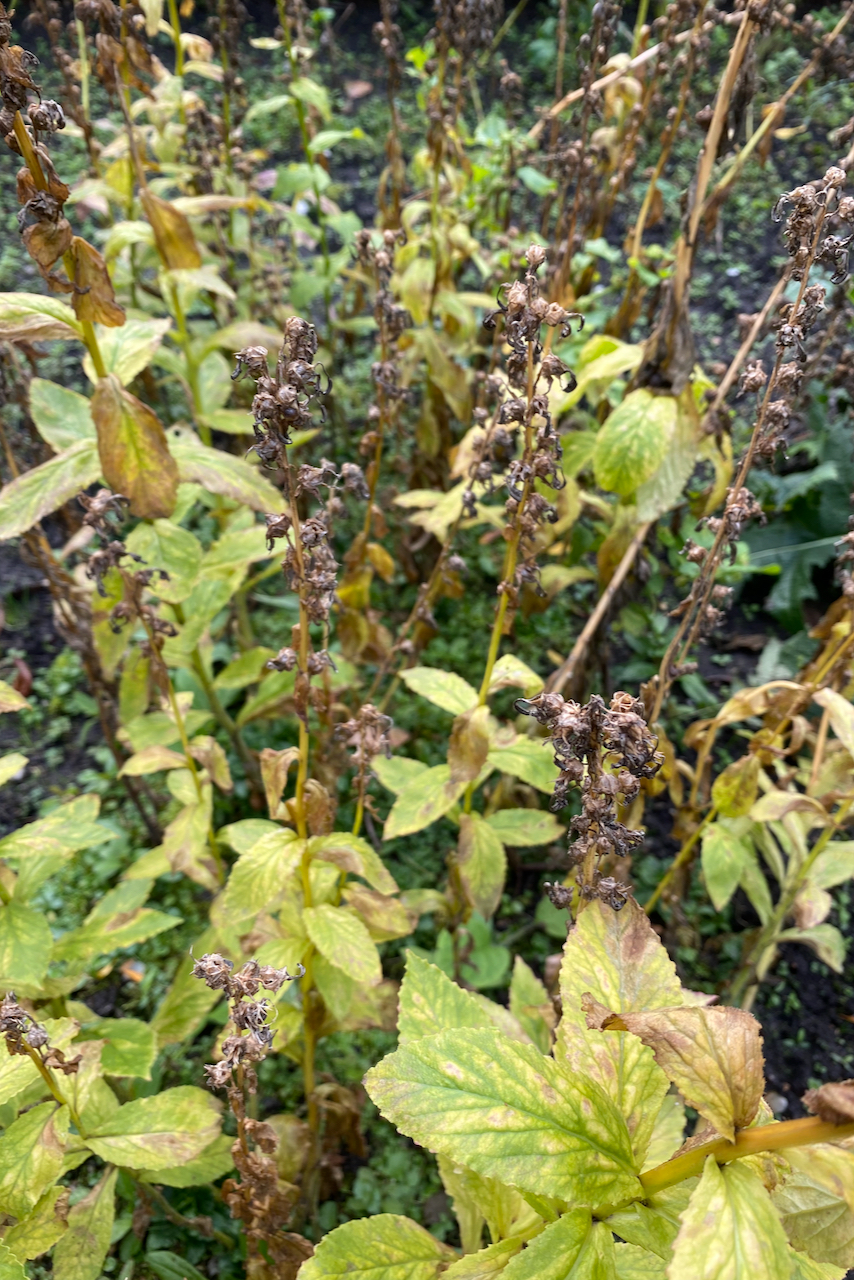
3. Chop down the stem, but leave the roots in place.
Where possible, we should just cut off the stem at ground level and leave the roots of annual plants to decompose in the ground. In doing this, we’re simply mimicking what nature does when a plant dies.
Root biology and function is still a relatively new field of study.* But the symbiotic relationship between plants and the microorganisms in the soil shows us that roots help improve and enrich the soil. Even dead roots help keep the soil aerated, feed bacteria and serve as a host to fungi while they decompose.

Usually, because annuals are so short-lived and focus their energy on flowering and going to seed, you’ll find that their root system is rather shallow and weak. So leaving it in place doesn’t take up too much space (what do you need it for in the winter, anyway?). By the time I’m planting things in spring, I often can’t tell where the annual roots used to be because they have already decomposed.
*If you have a free afternoon, here’s an interesting study on the function and structure of roots published in the Annals of Botany in 2016.
4. Chop and drop the entire plant.
To take it a step further, once you’ve cut the dry plant at ground level, you can chop the dead matter and use it as mulch over the winter months. This will not only act as a blanket for the roots of your perennials, but it will also serve as an overwintering hotel for beneficial insects such as ladybugs.
Over the coming months, this annual matting will also break down and add to the richness of the soil.
5. Bring some of them inside to overwinter.
Let me make this clear. I don’t believe that you can bring all your annuals inside to overwinter. You wouldn’t see me repotting a patch of cosmos and relocating it to my living room. However, there are some annuals that you can overwinter indoors.

Pelargonium geraniums, busy Lizzies (Impatiens walleriana), million bells (Calibrachoa) and coleus and begonia are the annuals that we can bring indoors once they’re done flowering. If you don’t have room indoors for the entire plant, an easier way to do it would be to take a cutting (like I did with this pelargonium) to keep the torch going for next year.
In my experience, it’s easier to overwinter annuals that have already been growing as potted plants. Again, this only applies to a select few that we grow as annuals but are, in fact, tender perennials. Here are a few tips on how to successfully move your garden plants indoors.
Overall, I think including annuals in my gardens is very satisfying. If perennials – that take a while to get established – are an exercise in patience, annuals with their rapid blooming habits allow me to indulge in instant gratification.