If I had to choose the gardening philosophy closest to my lazy gardener’s heart, it would have to be “live and let live.” Or rather “live and let die … back.” Which sounds much more philosophical than “just do nothing.”
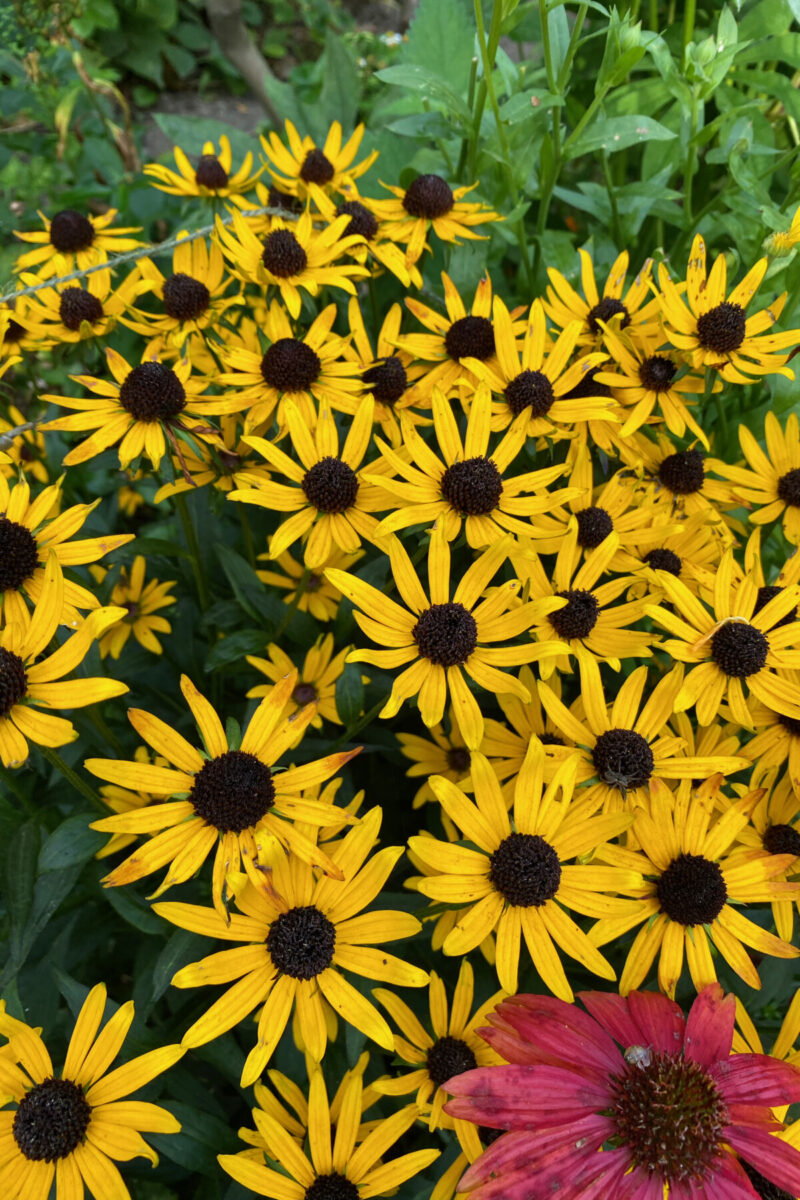
I keep a list of ornamental plants that are very forgiving of this philosophy. One of the main advantages of growing these plants is that they don’t need much human interference once the growing season comes to an end. And at the top of the list is the classic black-eyed Susan (aka Rudbeckia).
So if you’re pondering the end of the season in your garden and wondering what to do with your black-eyed Susan after flowering, here are my suggestions.
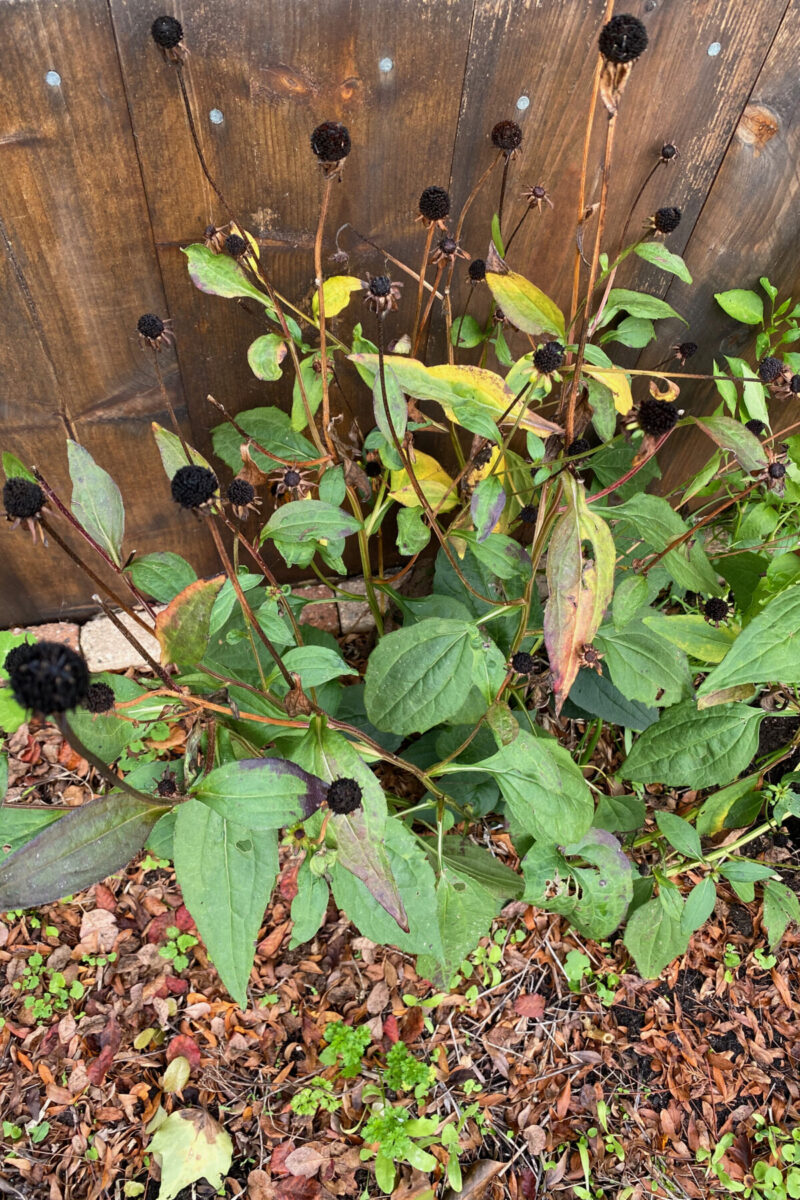
1. Allow your black-eyed Susans to overwinter in place in the garden.
See, I found another way to reframe “just do nothing.” And not just because I’m a laissez-faire gardener, but because I genuinely believe this is the best choice for any gardening ecosystem.
In this day and age, if you’re doing gardening right, your garden will be an ecosystem in which wildlife, insects, plants and fungi coexist in harmony for the benefit of all. Especially for the benefit of humans.
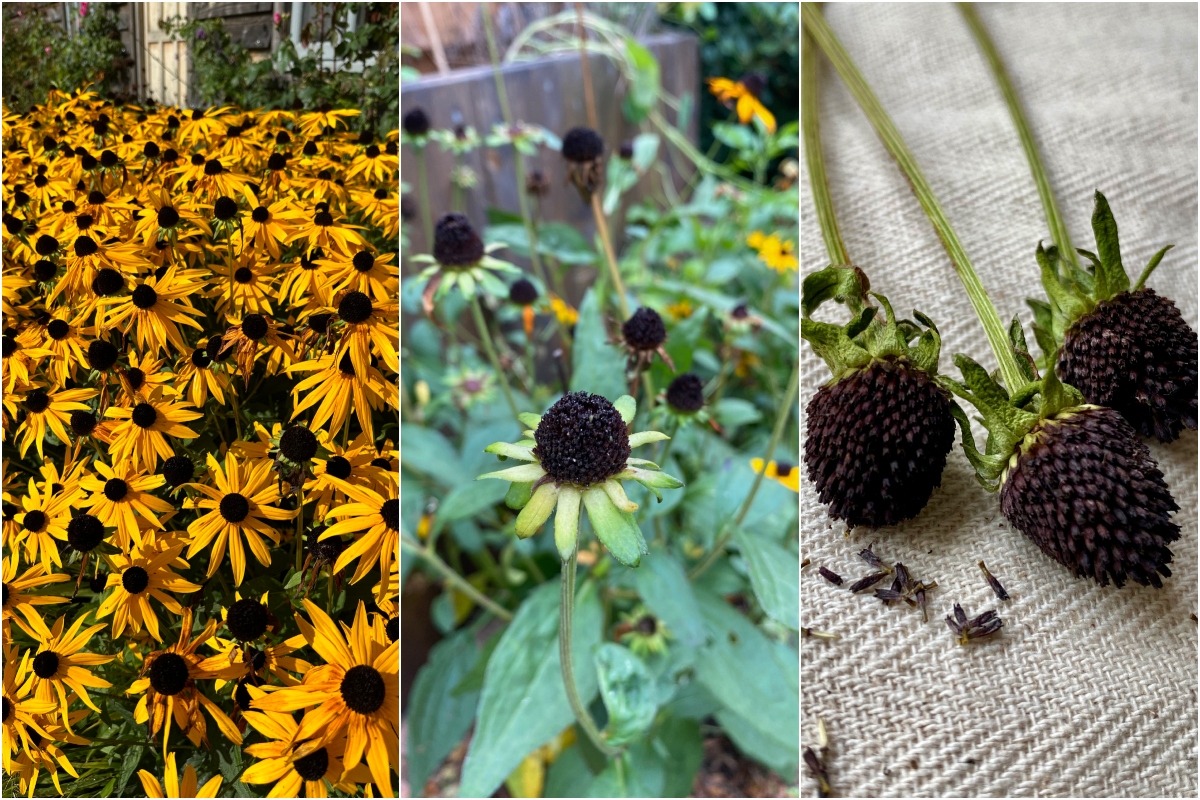
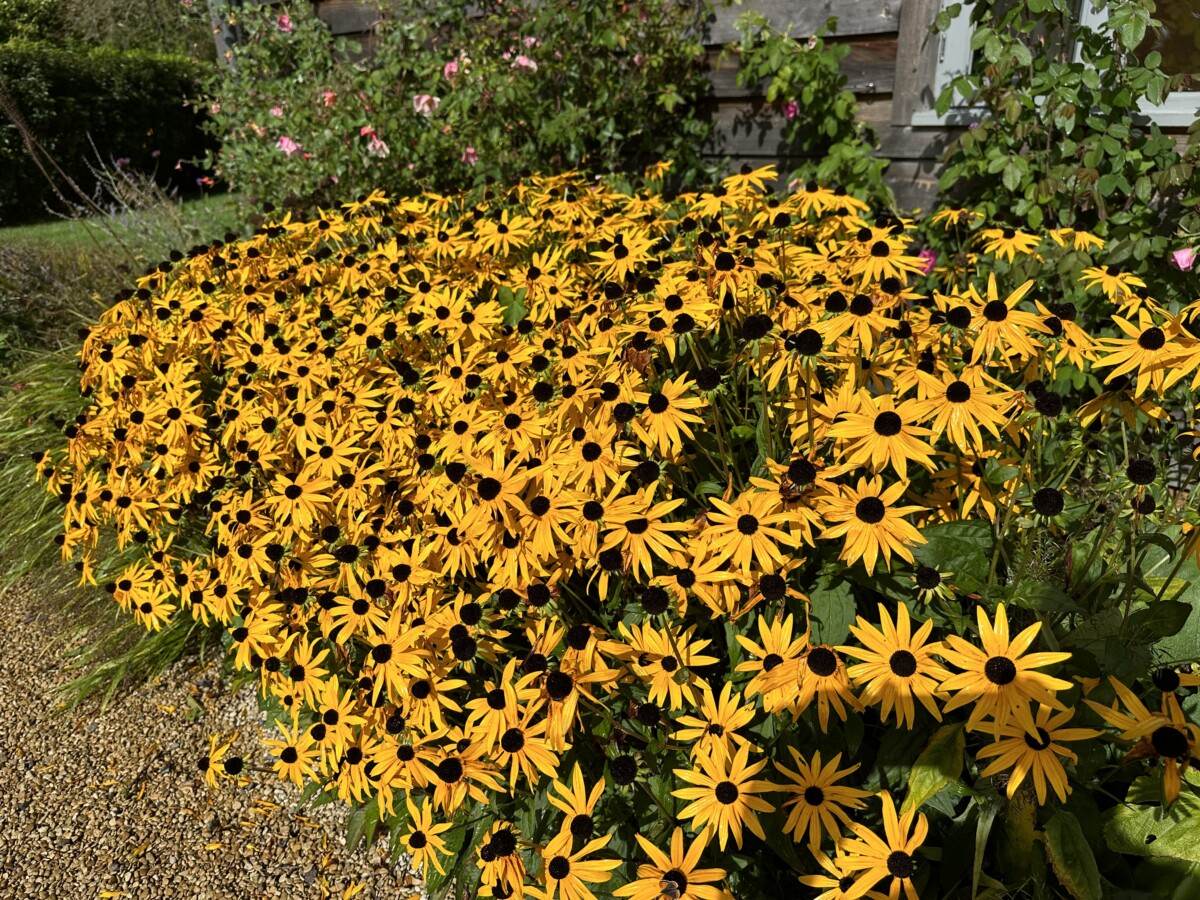
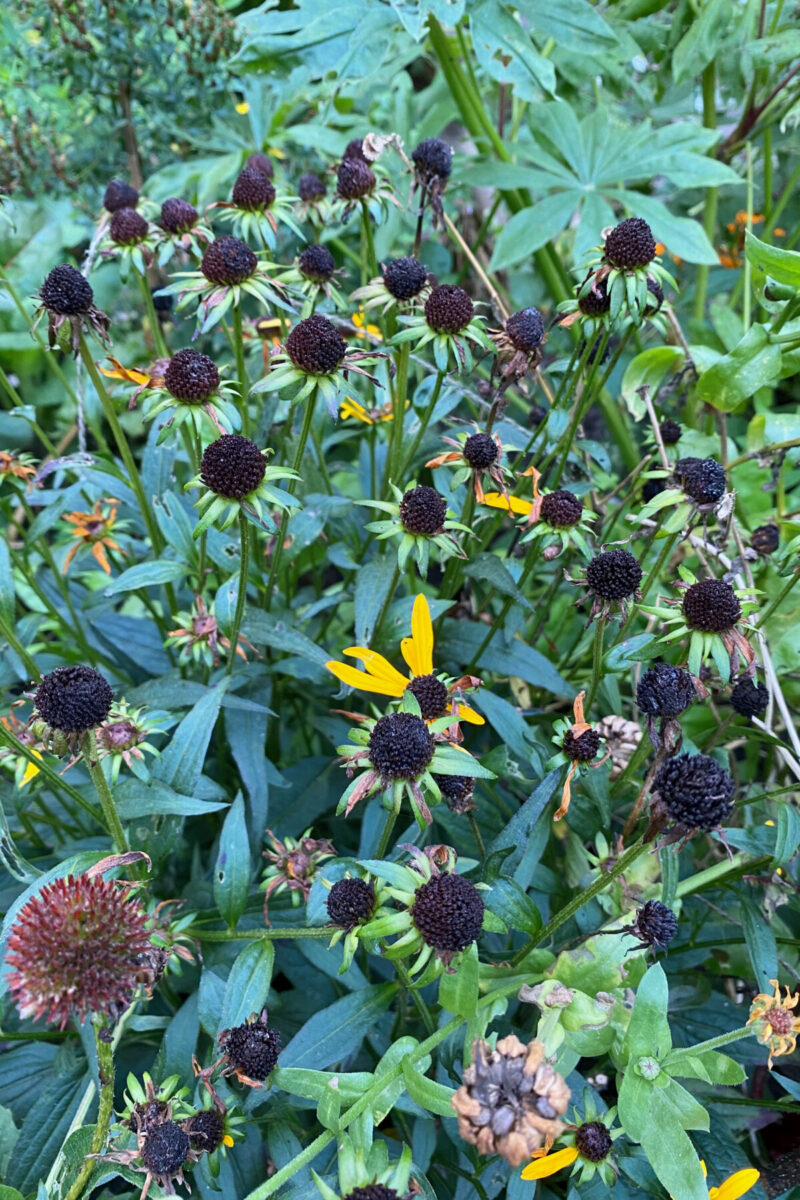
Therefore the best thing to do is to let your black-eyed Susans overwinter in the garden. I know that once the sunny yellow petals scatter away in the October wind, the temptation to just cut off the remaining brown cones runs high. It did for me when I just wanted to make my garden look tidy. (Luckily, those days are long gone.)
But if you resist this temptation, the delayed gratification will bring its rewards. First, you’ll be rewarded by the birds that will come to your garden to snack on the seeds – with goldfinches, sparrows and chickadees amongst the most common gourmet connoisseurs.
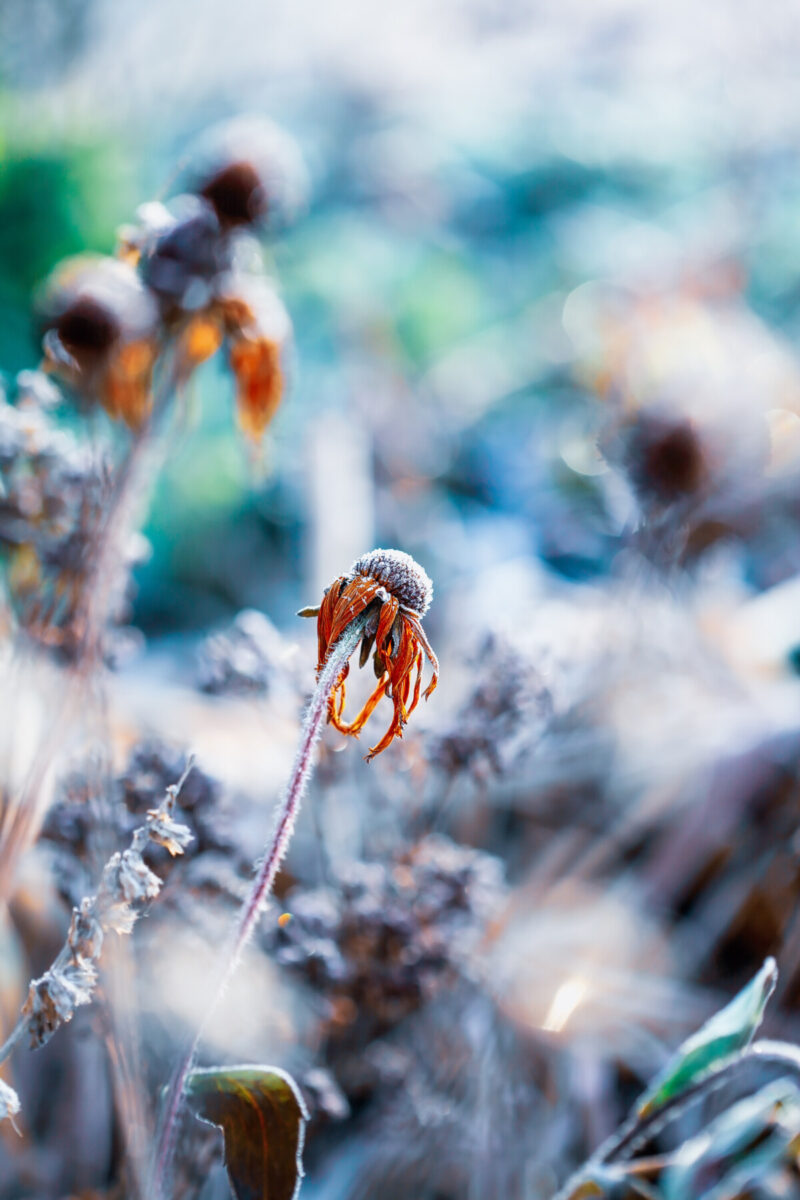
And secondly, by the magical look of the black-eyed Susan button-like seed heads dusted in frost or snow. The attractive sculptural structure will provide outdoor interest all winter long.
But won’t black-eyed Susan self-seed all over the garden?
In my experience, they don’t self-seed that quickly so as to get out of control. The newer cultivars are even less likely to self-seed compared to the wilder ones. And even if they do, it’s only the seeds that fall following said bird feast. Most of the seeds will end up as bird food.
If your Rudbeckia self-seeds, you’ll notice the baby plants early enough in spring. You can weed out the seedlings in the spring or let them grow a bit stronger and transplant them to where you have gaps in your garden.
2. Collect and save some of the seeds.
Rudbeckia can grow as a perennial, a biennial or a short-lived perennial depending on what type you’re growing and what climate you’re gardening in.
Rudbeckia fulgida is usually a perennial, while Rudbeckia hirta can sometimes behave as a biennial or a short-lived perennial. Both of them are commonly called ‘black-eyed Susan.”
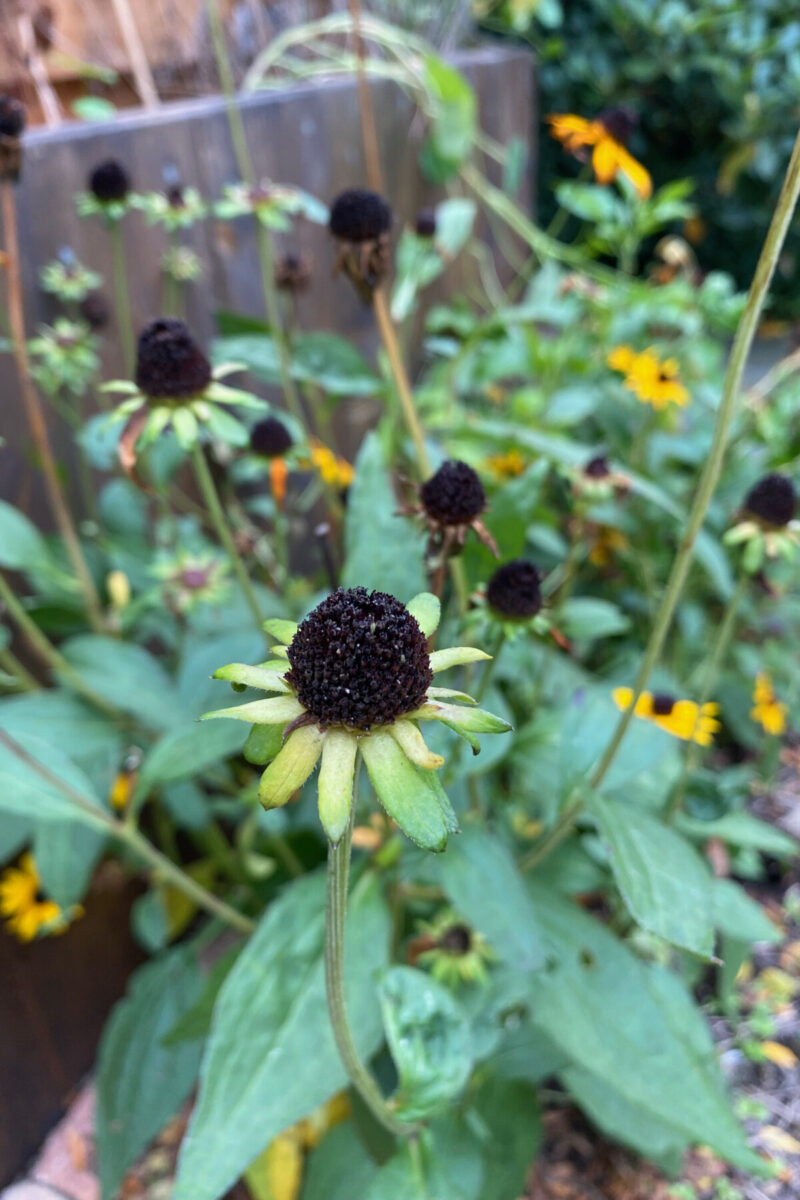
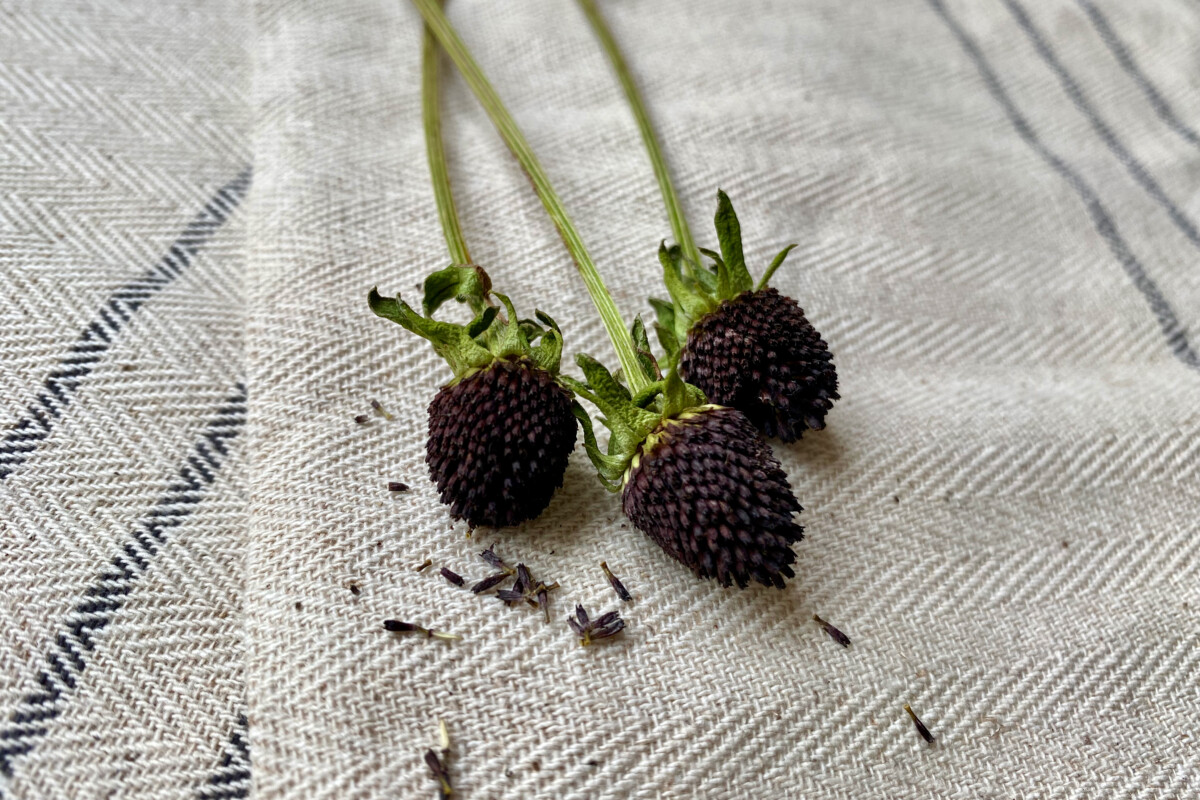
That’s why I always like to have a cache of seeds saved from my most recent crop. In the interest of keeping as much of it in place in the garden, I only cut off a few seed heads in the fall – after they’ve dried on the plant, but before they start dispersing. A single seed head carries a lot of seeds, so there’s no need to get greedy.
You can start black-eyed Susan seeds indoors roughly about seven to ten weeks before your last predicted frost date in spring. If you cold-stratify your seeds for a couple of weeks before you start them, you’ll get an even higher germination rate. I wrote an entire article about six different methods of doing cold stratification, so you can bookmark it and have a read after the winter holidays are over.
And even if you’ve had a perennial black-eyed Susan in your garden for years, there are still plenty of reasons to save seeds. You could share them with your friends and neighbors or exchange them for other seeds to add to your collection via your local seed library.
3. Divide and transplant your black-eyed Susan.
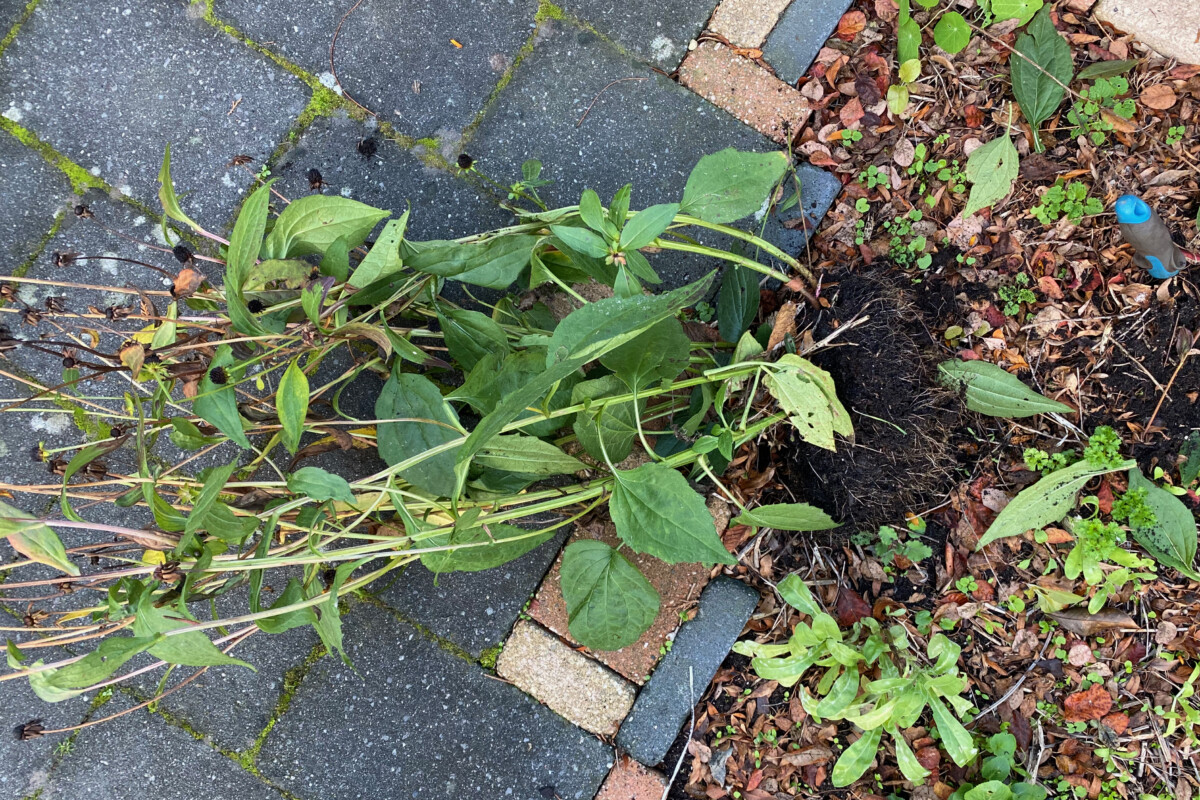
Speaking of propagating, fall is the perfect time to make more black-eyed Susans out of your existing ones. One of the easiest ways to do this is by division. This means you take an existing Rudbeckia, dig it out, split it into several smaller plants, then re-plant it in your desired locations.
The best time to divide and transplant perennials is either mid- to late fall or early to mid-spring, when the plant either enters or exits its period of dormancy.
Logistically, I prefer to work on plant divisions in the fall. That’s because spring is already a busy season, with seed starting taking center stage in my gardening calendar. Also, for me fall is when I figure out what I want my garden to look like the following year and where I want to add new perennials.
Last November, I wrote a tutorial on how to divide black-eyed Susan and the best practices that worked for me. I’m happy to report now that all the divisions have grown into mature plants and all but one have bloomed this year. I don’t know if it was a coincidence or not, but the only division that didn’t bloom this year was the one on which I cut off the seed heads.
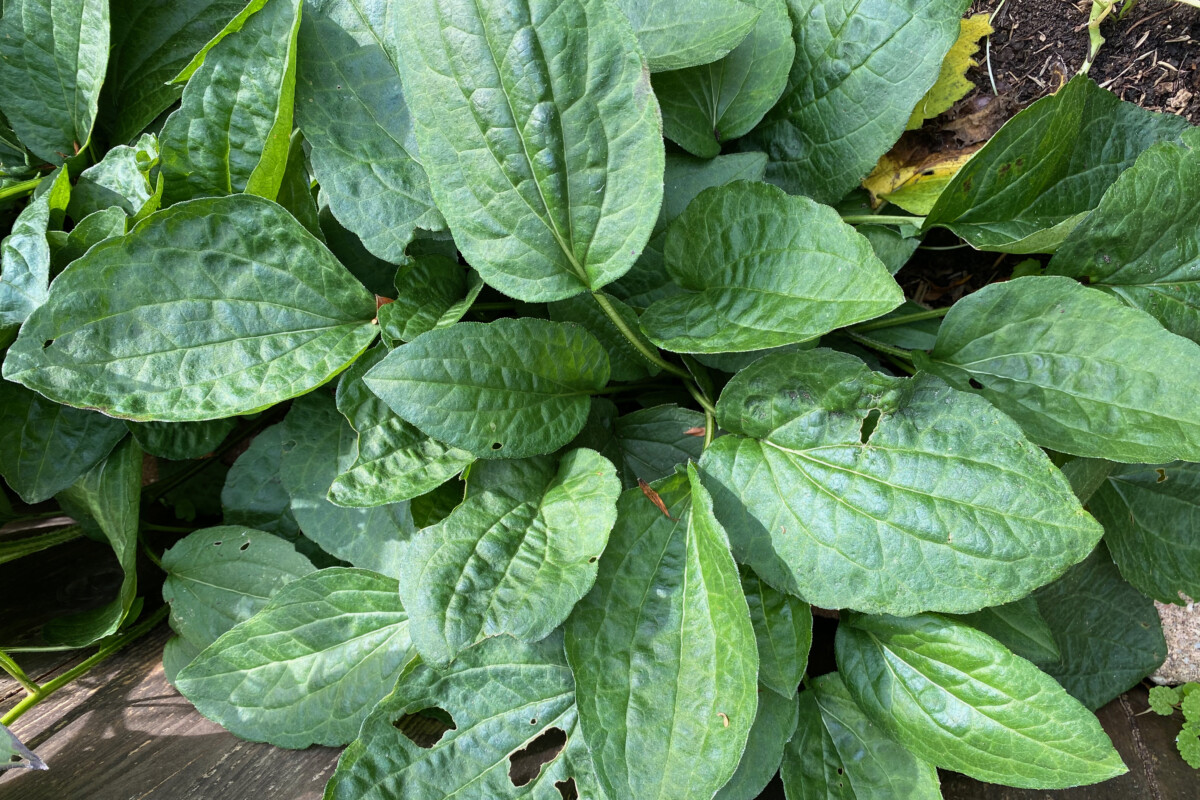
Black-eyed Susans are tough plants, tolerant of shade, drought and strong winds. And the fact that they need very little maintenance after they bloom pushes them to the top of my list of all-time favorite ornamentals to grow in my garden.