
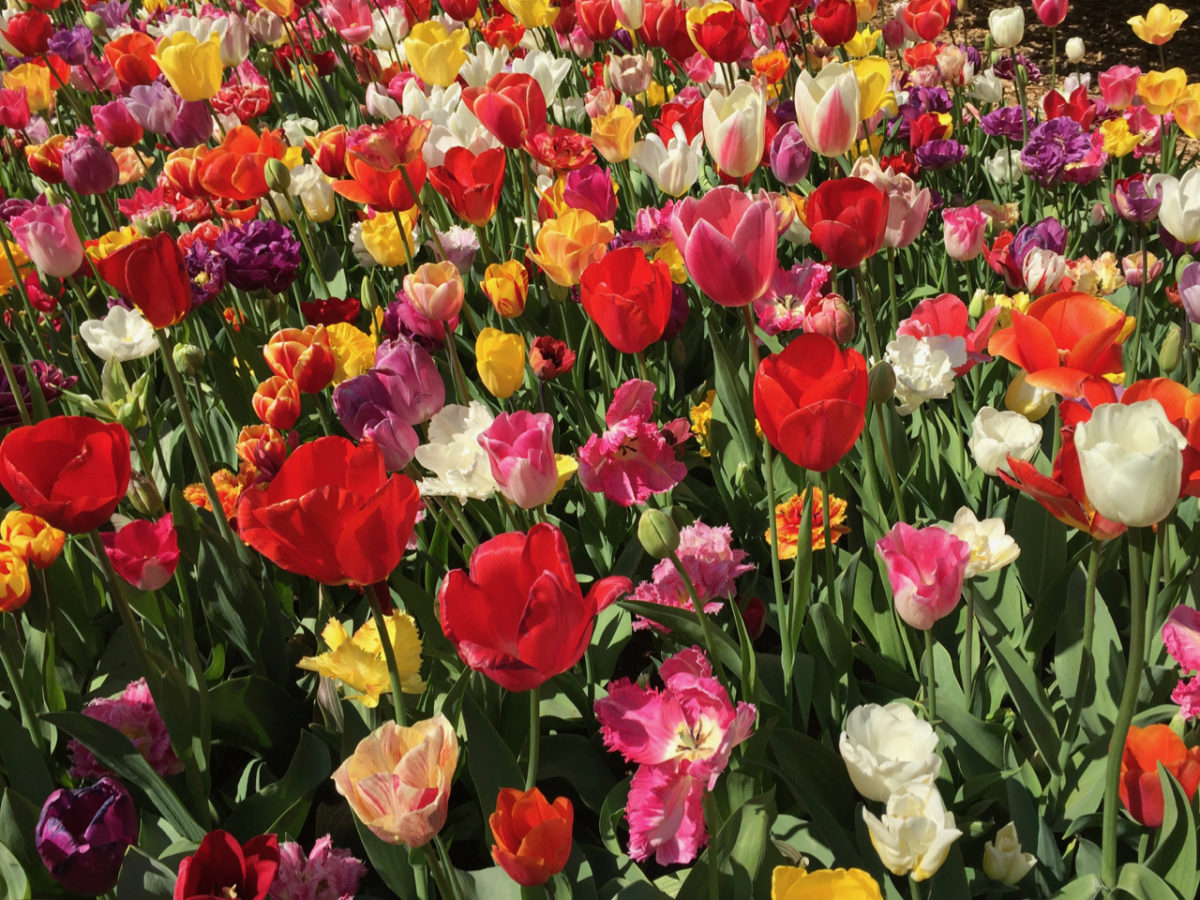
The thrill I get when browsing online bulb catalogs is the closest feeling I’ll ever get to that of stepping into a candy shop when I was a child.
Then, just like now, I was mesmerized by so many colors, so many choices, so much anticipation. And then, just like now, I’m finding it very hard to pick a favorite. Luckily, I don’t have to choose a favorite bulb because I’ve decided to plant a variety of spring bulbs in my small garden.
If you’re also opting to go beyond the traditional tulips, here are ten tips that apply to all bulbs and will result in breathtaking blooms come spring.
1. Get organized early.
Worry not, there’s no “Great Bulb Shortage” just yet. But ordering your bulbs early makes sense for a few reasons:
You’ll get first dibs on the largest bulbs.
I can’t guarantee that all bulb suppliers operate this way, of course. But from communicating with some sellers over the years, I found out that, once you place your order, they manually pack it from a bulk supply that they get from producers. Because they don’t know if all the bulbs will sell in a given year, naturally they tend to pack the more vigorous bulbs first and save the runts for the discount bins or to return to the producer to be destroyed.

Unusual bulbs sell out faster.
If you’re buying tulips, daffodils or hyacinths, the risk of your favorite bulbs running out is low (especially for more popular cultivars). However, if you’re going for more uncommon bulbs, such as fritillaria, anemones or scilla (sometimes called squill in English), keep in mind that they’ll sell out early in the season.
Some bulb sellers offer early-bird discounts.
Pre-orders give bulb traders a sense of the demand side of the supply chain; so if they open pre-orders in the summer, they’ll offer an incentive (a discount of some free bulbs) in order to get the sales ball rolling. Don’t expect to get the bulbs right away though, but you will get them as soon as they become available. Even more thrilling is when you forget that you’ve ordered them altogether and they just show up at your door.
Bonus tip: If you buy your bulbs online, you can subscribe to the newsletter of the main sellers in your area before you order. You might get a discount code specially for mailing list subscribers.
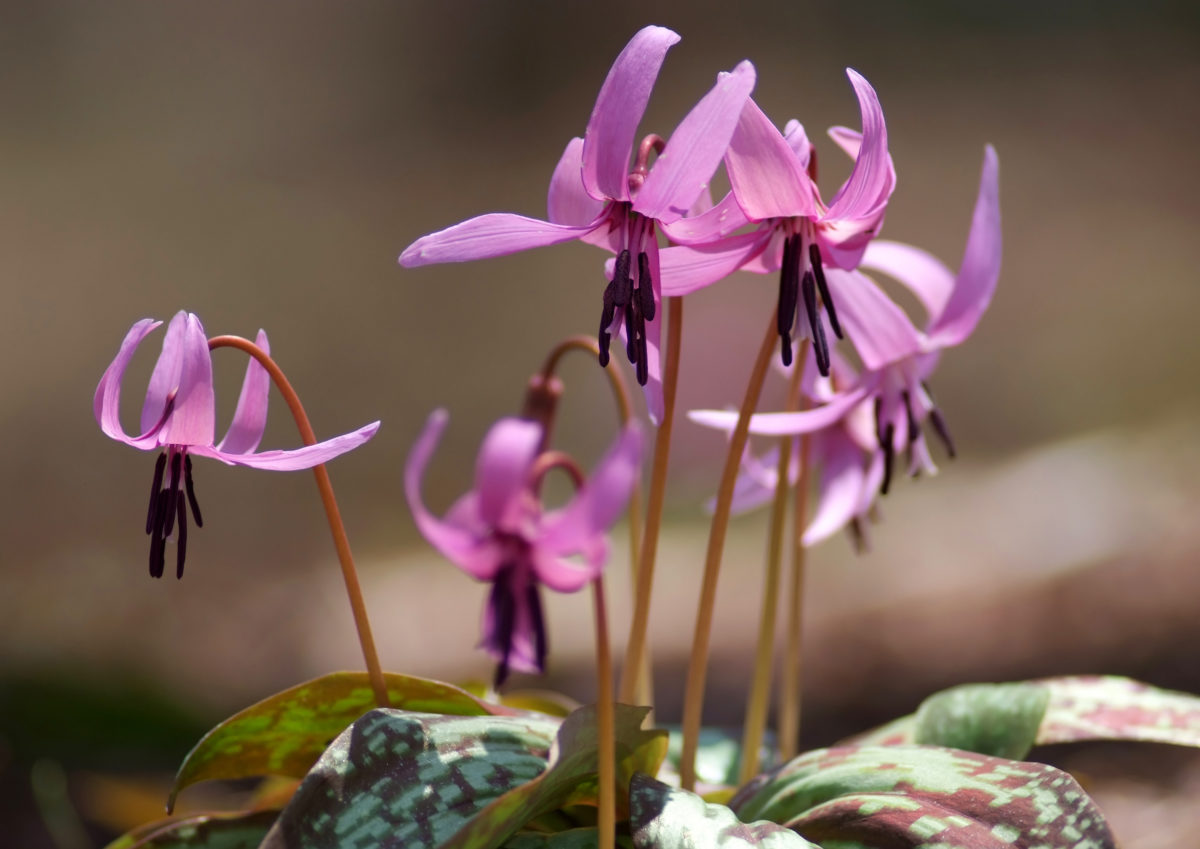
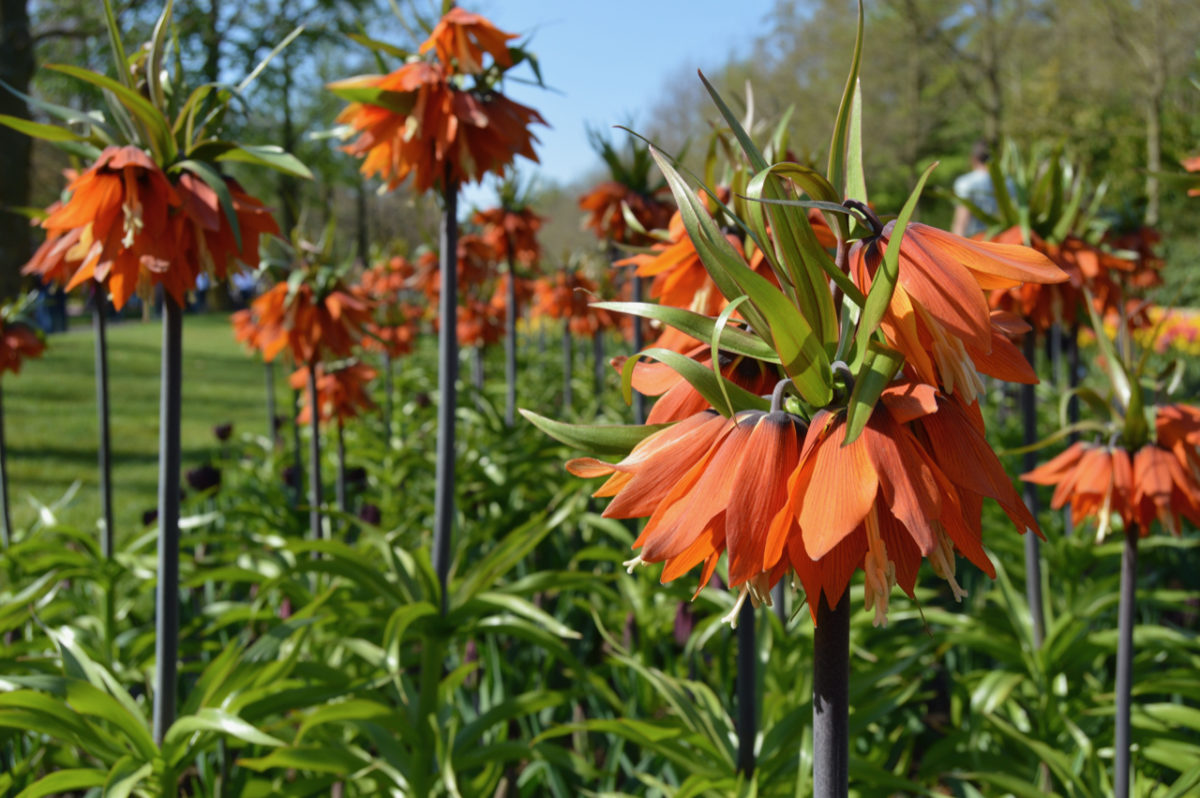
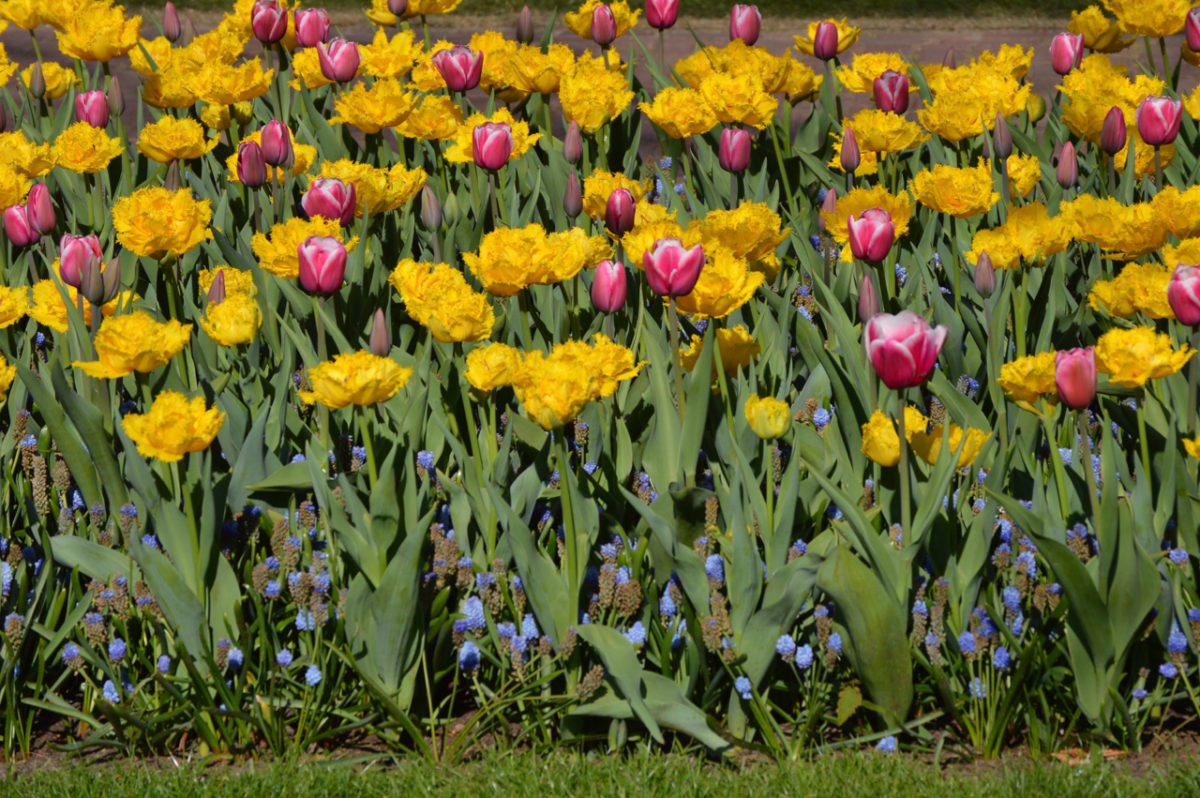
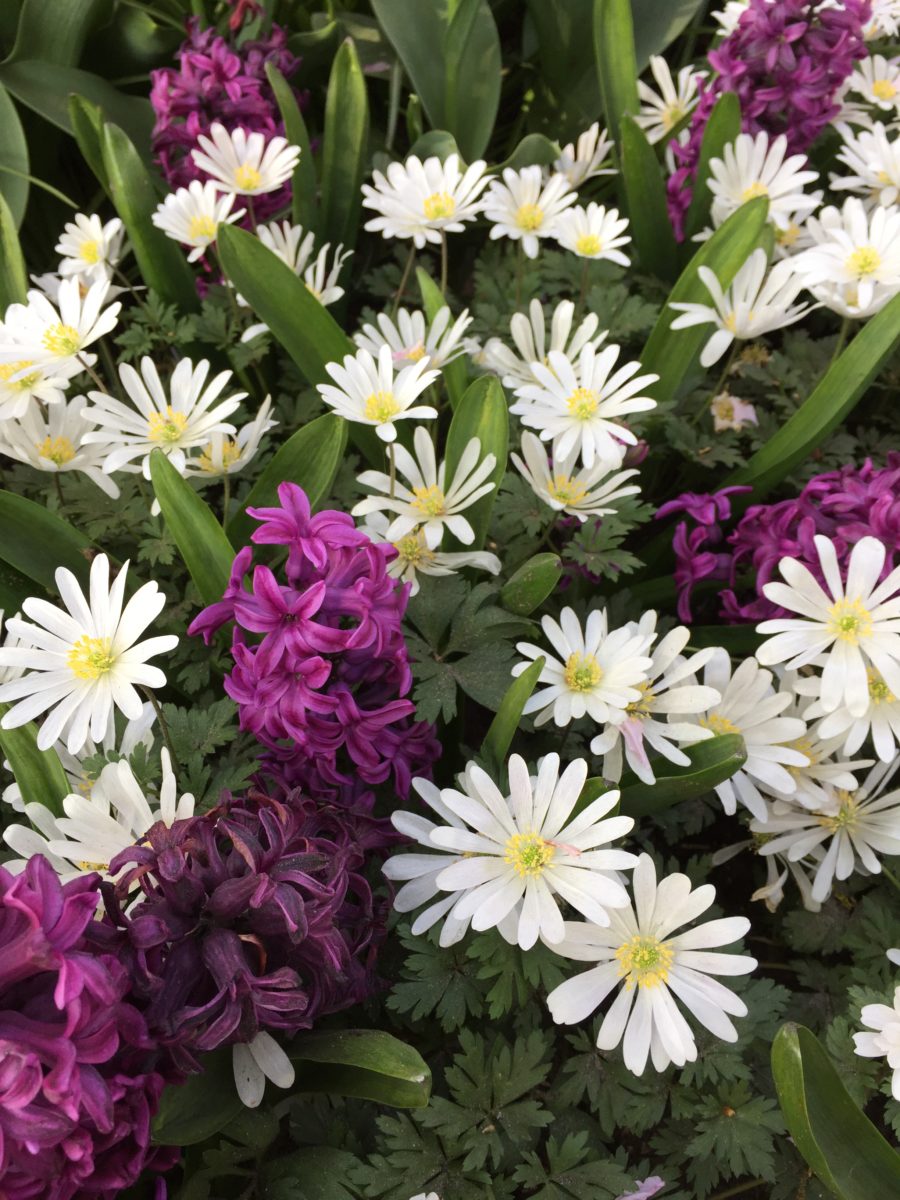
2. Venture beyond the usual suspects.
I’m adding this at the top of the list because it’s a decision we make even before buying the bulbs. Sure, tulips and daffodils are nice, but how about adding some extra zing to your spring garden by choosing bulbs that not everyone on your block will have planted. Here are a few ideas to get your horticultural creative juices going:
Dog-tooth violet (Erythronium denscanis)
Imperial crown (Fritillaria imperialis ‘Orange Beauty’)
Snake’s head fritillary (Fritillaria meleagris)
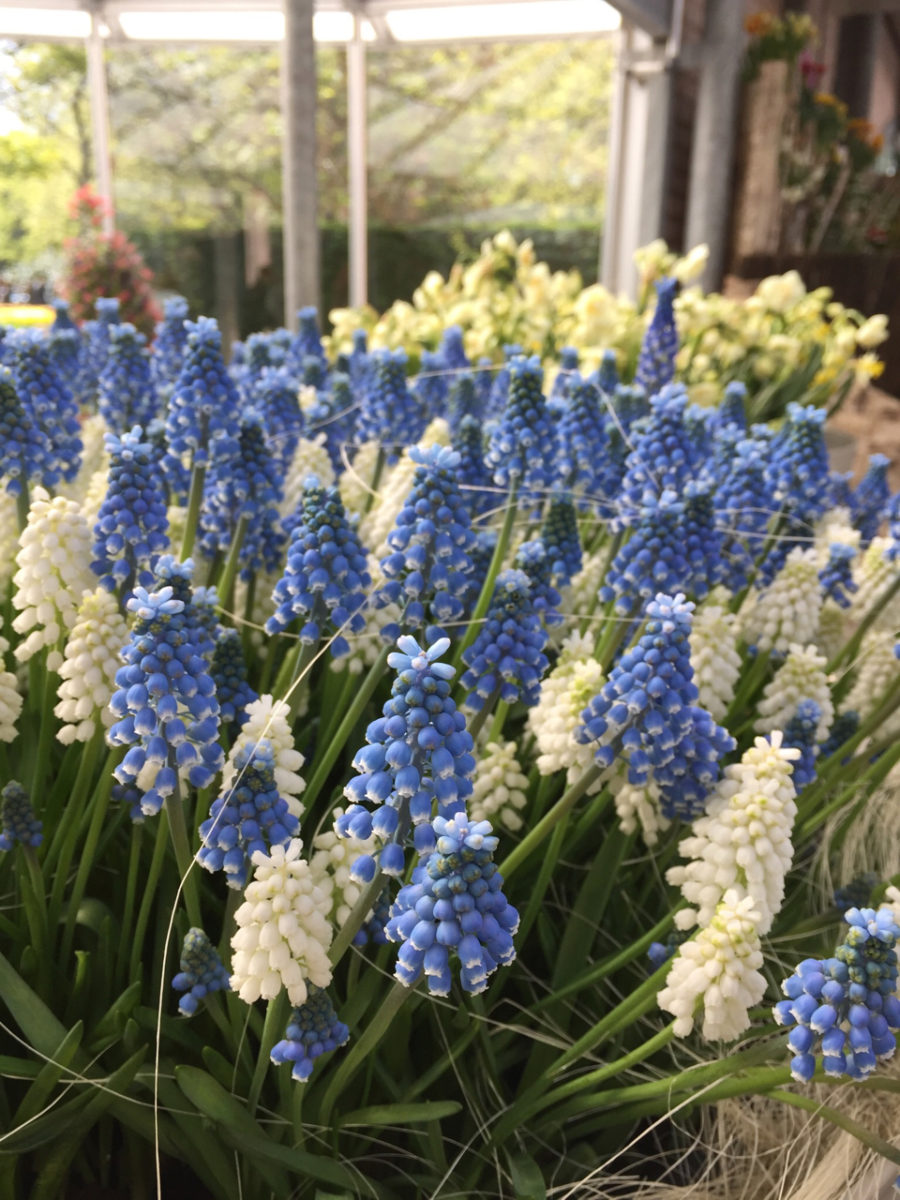
Grape hyacinths (Muscari armeniacum)
Mini-irises (Iris reticulata)
Wood anemone (Anemone nemorosa)
Poppy anemone (Anemone coronaria)
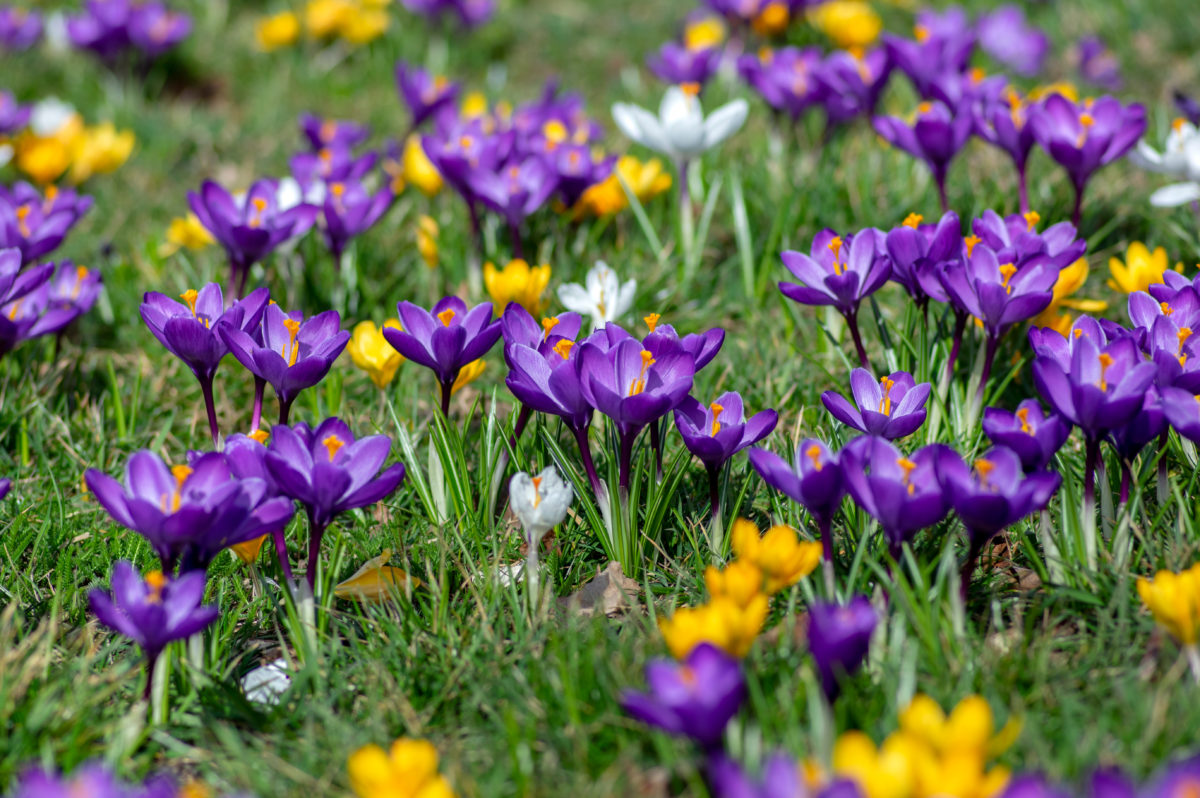
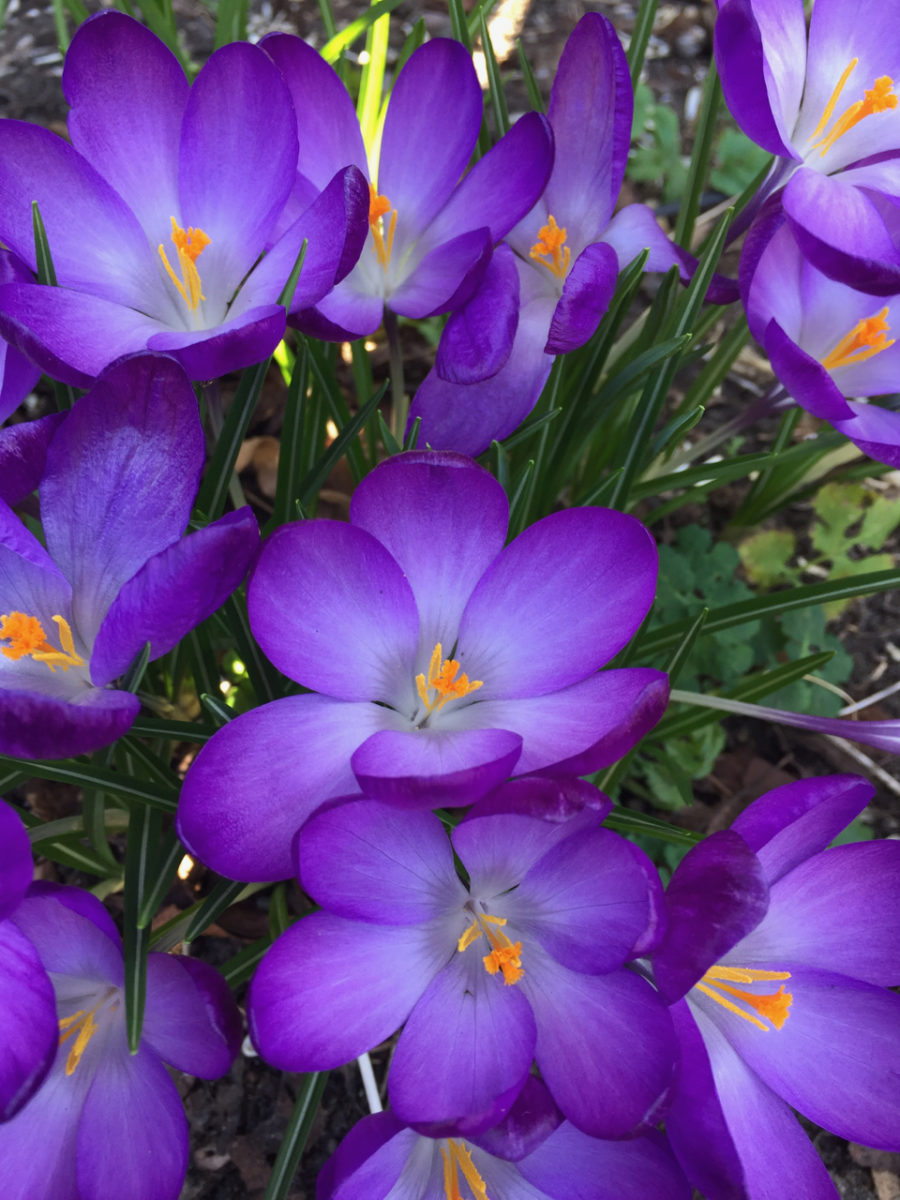
Crocuses (Crocus tommasinianus)
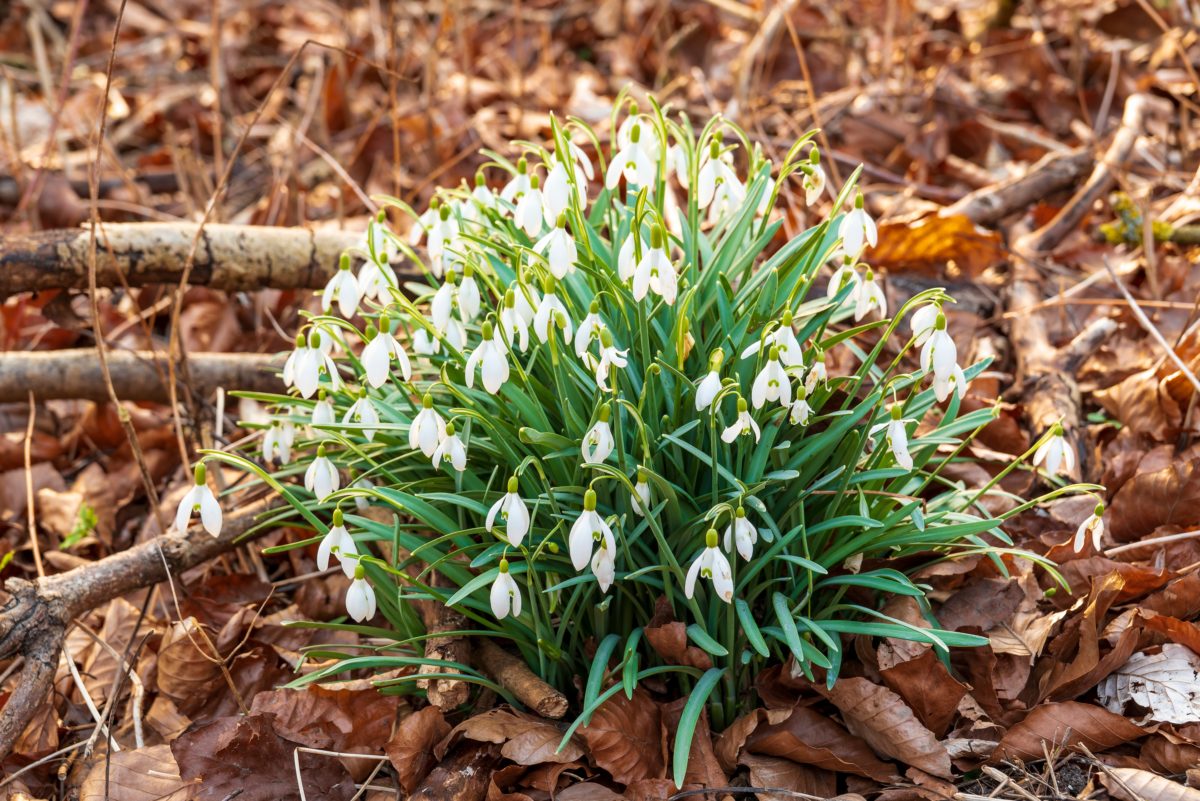
Snowdrops (Galanthus)
Camas (Camassia leichtlinii)
Foxtail lilies (Eremurus)
Star of Bethlehem or sun star (Ornithogalum oligophyllum)
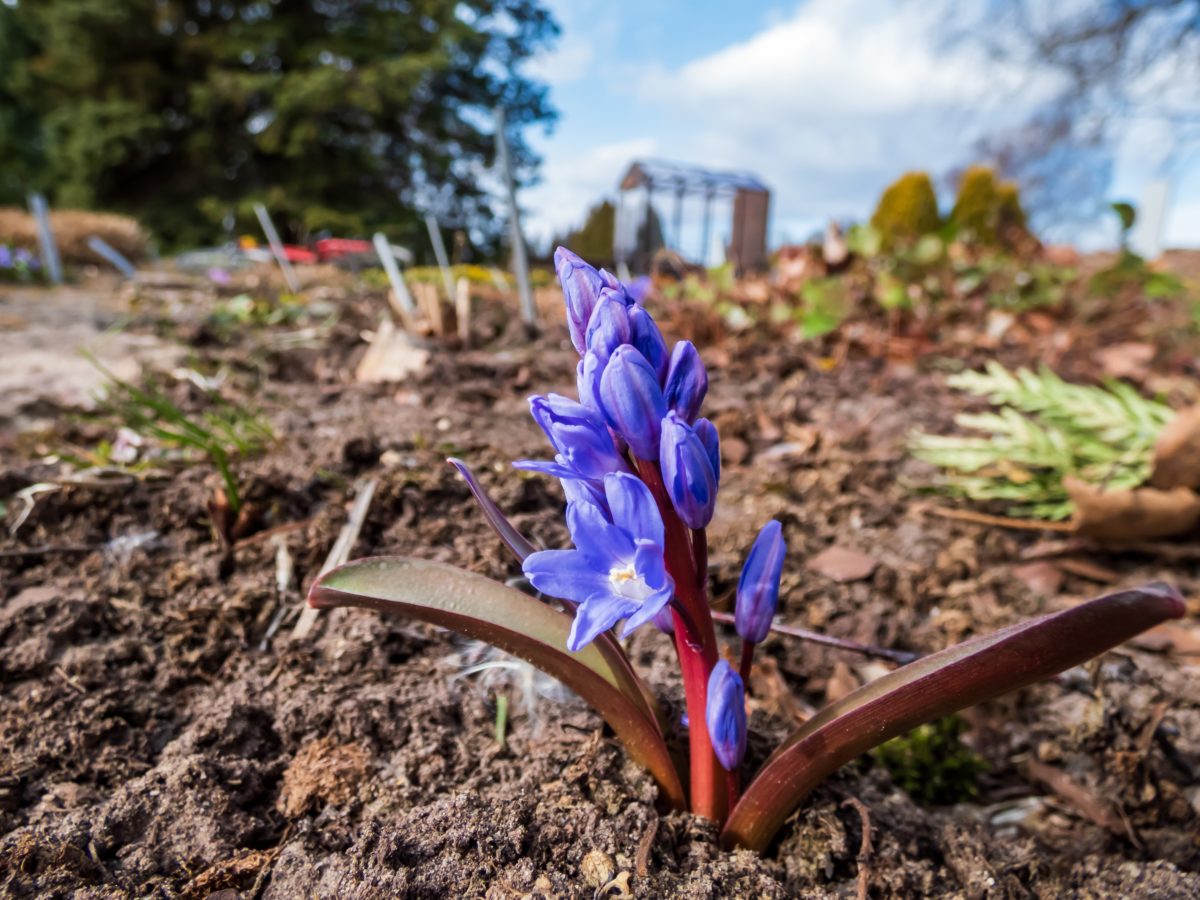
Squills or forest hyacinths (Scilla siberica and Scilla campanulata)
Glory of the snow (Chionodoxa luciliae)
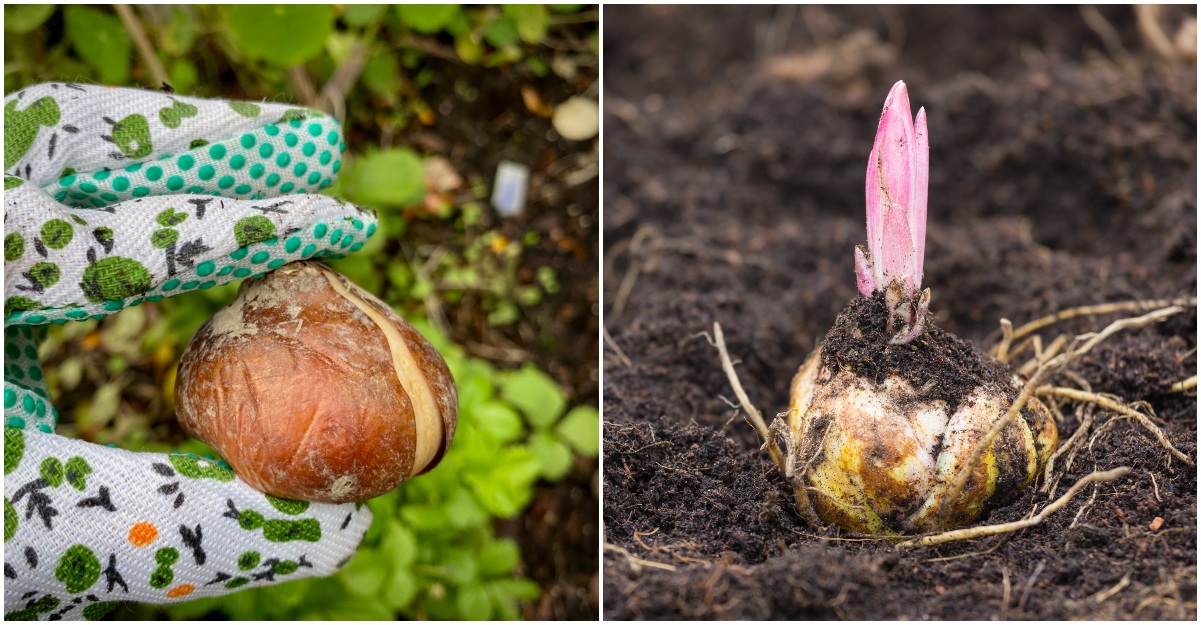
3. Store the bulbs properly before you plant them.
You took my advice and ordered your spring bulbs early. Excellent! But either your garden beds are still in use or the weather is still too warm for the bulbs to go in the ground.
What do you do with the bulbs if you’re not ready to plant them?
As a rule, protect them from these three factors: moisture, heat and light. Essentially, a bulb belongs in the ground, so before we get the chance to get it in the ground, it’s our job to replicate these conditions.

The best storage container is the one they came in, usually a paper bag or a perforated plastic one. If they came in a sealed plastic bag, poke some holes in it or transfer them to a cardboard box. Keep the bulbs in a dry, cool and dark location that gets enough air circulation. Heat will cause premature sprouting and moisture will cause problems with mold and fungi. Don’t overdo the coolness though, because if your bulbs freeze, that’s the end of their life cycle.
If you’re replanting bulbs that you’ve saved from previous years, remove and discard the ones that feel papery, hollow or soft. You should also get rid of any bulbs that show signs of mold.
4. Don’t jump the gun on planting your bulbs.
The timing of your planting depends on your (micro)climate and it can span from September to December. Spring bulbs generally need to go through about ten weeks of cold temperatures (around 35-45F or 2-7C) for the plant inside the bulb to complete its stages of development and produce the best bloom.
A blanket piece of advice is to plant your bulbs when your soil is ready. That doesn’t necessarily mean when you’re ready though. Wait until soil temperature reaches about 55-60F (about 12-15C). Please measure soil temperature, not air temperature.
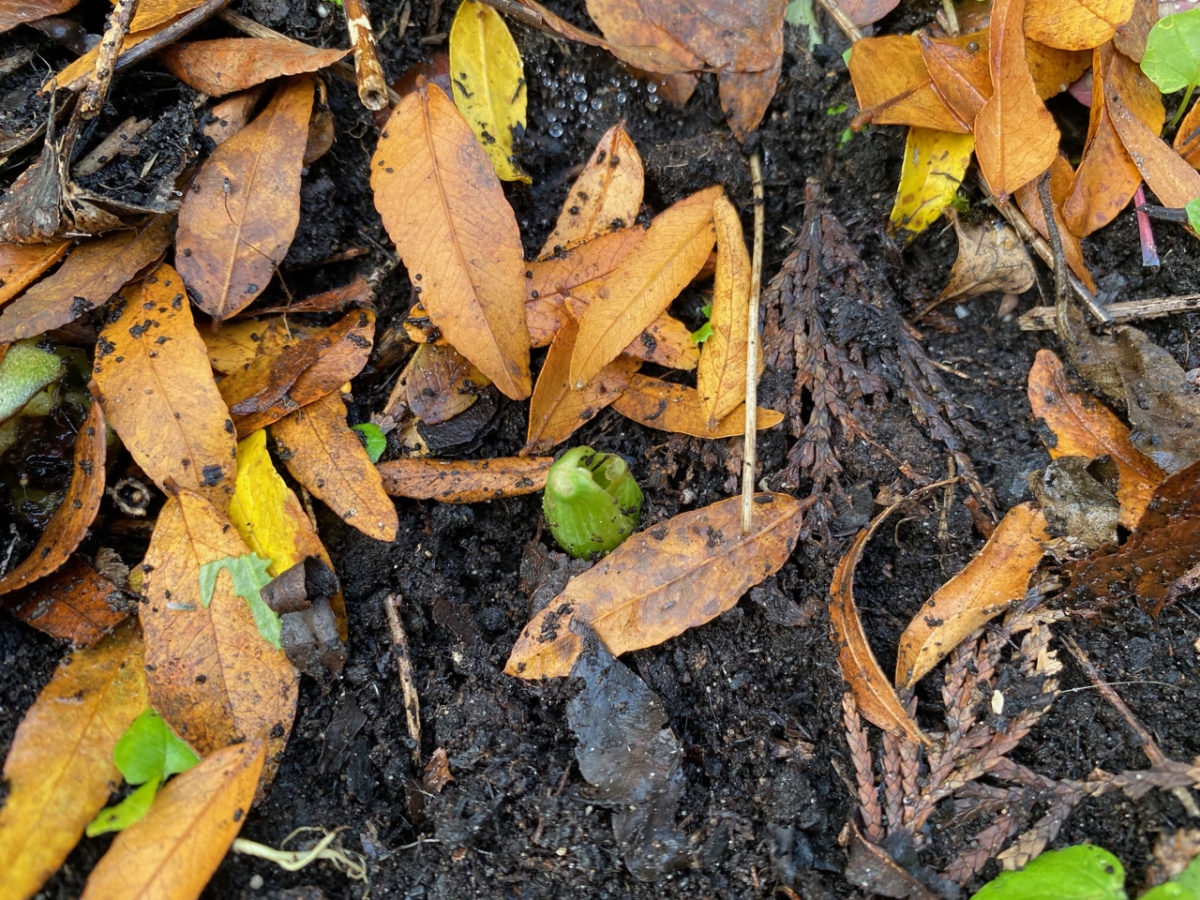
If you plant too early when your soil is still too warm, your bulbs might start sprouting prematurely. All is well and good if you get a mild winter, but if your garden is taken by surprise by frost, that’s the end of the bloom for that bulb. Generally, bulbs that have bloomed prematurely in the fall will not have enough energy left to bloom again in spring.
You also want to wait until there’s enough moisture in the soil. If you’ve had a rain deficit during the summer, your soil might be too hard and dry to plant until late fall. If this is the case, wait for more rainfall before you put bulbs in the ground. Bulbs need moisture in order to jumpstart the root-growing process.
It’s better to err on the side of planting late than planting too early, but don’t wait too long, just in case your ground freezes over in the winter.
5. Bury your bulbs deep enough.
Speaking of erring (although bulbs are very forgiving), err on the side of burying them deeply, rather than too shallowly.
You should plant your bulbs at around three times their height. So if a bulb is two inches tall, bury it at around six inches deep. Naturally this means that the smaller bulbs (such as muscari, crocus, snowdrops and anemone) will be closer to the surface than their larger friends (most tulips and hyacinths).
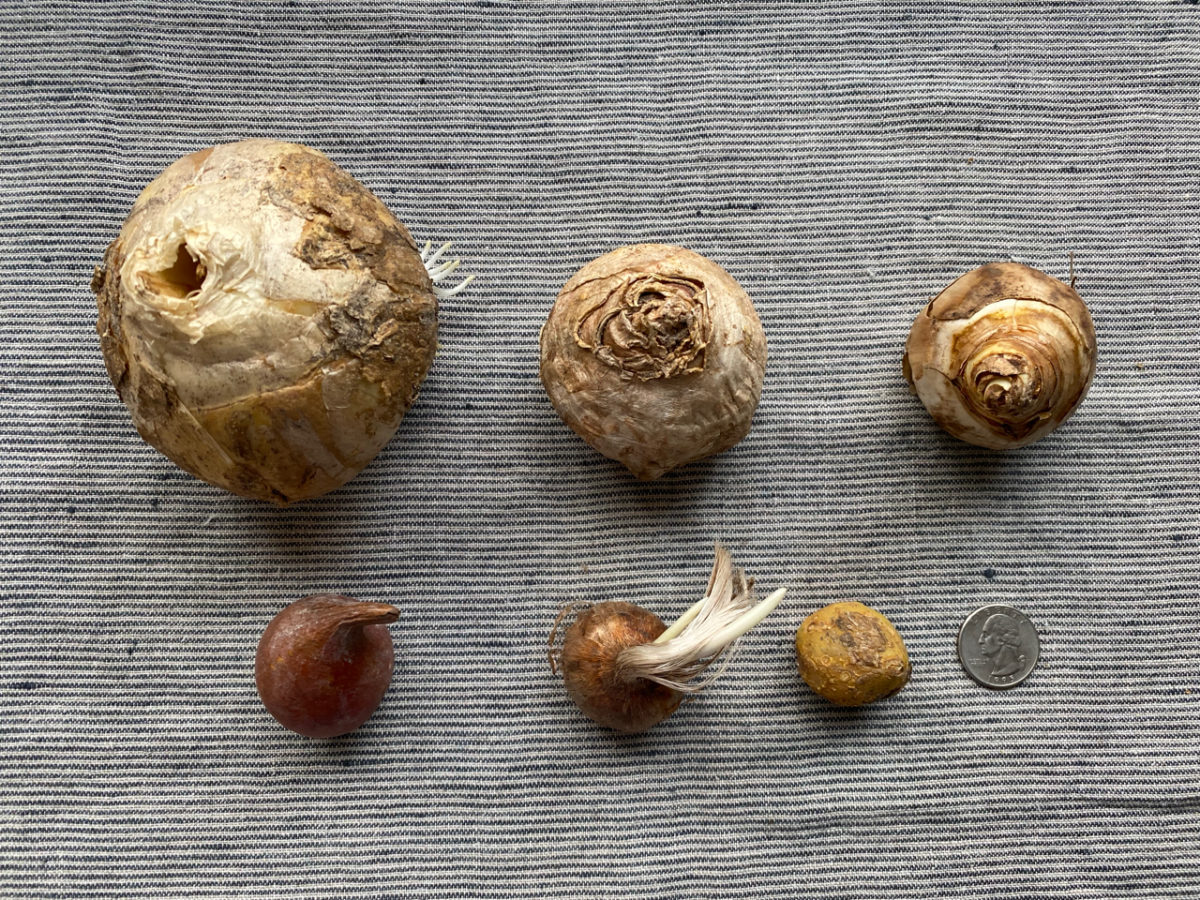
Bottom: tulip ‘Gudoshnik double’, saffron crocus, scilla and a U.S. quarter for scale.
By burying them at the right depth, we ensure that they’re protected from variations in temperature over the cold months. If your soil is loose enough, your bulb’s contractile roots will pull them deeper into the ground.
If you decide to mulch your bulbs, take into consideration the thickness of the mulch when you plant them.
Always plant your bulbs with the pointy side up and the flat side down.
6. Don’t be afraid to pack them in.
The common spacing advice is to plant bulbs two times their width. So if your bulb is two inches wide, leave a distance of four inches between it and the next bulb you plant.
Personally, I followed this advice for one year only and found the display of blooms really spread out. I had planted around 80 bulbs of different varieties in my garden but, come spring, I could hardly call the display impressive.
So I have become a big believer in planting in drifts, meaning packing in the plants for more visual impact. Depending on the size of the bulb, that may translate to at least ten bulbs per square foot, assuming you’re not interspersing your bulbs with other perennials. Ideally, you want the blossoms to be very close together when they emerge in the spring to get an effect of abundance.
The exception here is if you’re planting bulbs that you intend to naturalize in your garden or your lawn. These kinds of bulbs will split into more heads, so you should leave them enough space to do that. Vendors will usually mention “naturalize well” on the packaging or on their websites.
7. Think about drainage.
When it comes to bulbs, decent drainage is essential. If the soil stays too moist for too long, your bulbs will rot in the ground before they get the chance to set bloom. With larger bulbs, you run the risk of them splitting if they get more water than they need.
A good indicator of whether you have well-draining soil is if your soil drains quickly after a storm. If you can still see surface puddles or can squeeze water out of the soil hours later, then consider working in either bark, compost, well-rotted leaf mold or some coarse sand to loosen up the soil and help with drainage. (Avoid using manure, as this might “burn” your bulb if the manure hasn’t matured enough.)
Work this material into the top ten inches of the soil or at least as deep as you’ll be planting the bulbs.
As an alternative, you can plant your bulbs in large pots (again, well-draining soil is key). And if your pots are outdoors in an exposed location, consider lifting them up on bricks to allow rainwater drainage over the winter.
8. Plant the right bulb in the right place.
Some bulbs like basking in the sun while others prefer a more shaded spot. Check what each bulb prefers before you buy them.
In general, the closer the bulb is to its wild ancestors, the more shade it can tolerate. So bulbs such as daffodils, muscari, crocus, snowdrops and species tulips will do very well in spots that get shade or dappled shade.
Choose these bulbs if you’re planting under trees or shrubs or along walls and fences that don’t get too much sun. Keep in mind that even if planting under a tree may seem like too shaded a location in the fall, the loss of foliage will open up the early spring bulbs to more light coverage.
On the other hand, the more hybridized the bulb is to optimize for color or variegation, the more sunlight it will need. Some newer tulip groups prefer full sun. Again, always check with the vendor to make sure the cultivars you’re buying match your light and soil conditions.
9. Plan to extend the blooming season.
So let’s imagine you’ve planted only crocus and snowdrop bulbs. You’re super thrilled when they poke their heads out in January or February. But they won’t stay in bloom for the rest of spring. And the late-spring perennials are still not blooming. Now what?
Now you’ve learned an important and timely lesson about extending your spring blooming season: mix bulbs with different bloom times. You can mix them in the literal sense of the word too, by planting them interspersed throughout your garden. Or you can create tight patches of a single bulb variety in a repeating pattern.
Early flowering bulbs include aconites, crocuses, scilla, chionodoxa, snowdrops, mini-irises (Iris reticulata), some daffodils and some tulips.
For late-flowering bulbs, you can choose between fritillaria, alliums, some hyacinths and some tulips.
If you plan(t) it right, you can have open flowers from February to March. Have a look at this list of tulip groups based on blooming time.
All other conditions being equal, north-facing bulbs will flower later than south-facing bulbs, so keep that in mind when you plan your display.
10. Plan ahead for the foliage.
Once the flowers are gone, we’re left with the foliage. And for some bulbs, such as tulips and hyacinths, there may be more foliage than what we bargained for. It’s really important to leave the foliage on once the blooms are done. Think of it as the plant’s solar panels, storing energy into the bulb for the next blooming session. You can remove the foliage once it has withered and turned brownish-yellow.
You can (and should) remove the flower stalk (the stem of the tulip, for instance) to prevent the plant from trying to set seed. This is another way to redirect the energy towards the bulb. Skip this step for smaller bulbs that you’re planning on naturalizing such as snowdrops, crocus, muscari and scilla.
So think long term when you’re planting your spring bulbs to account for how you can incorporate the bare foliage into your landscape. One option would be to use it as a base for taller late-spring perennials, such as oriental poppies, Jacob’s ladder, zinnias or even peonies (themselves very rich in foliage). You can also hide them behind large foliage plants such as hostas and daylilies.
In my opinion, the most important part of planting spring bulbs is letting our imagination and creativity roam. Bulbs are self-contained and forgiving plants, so whether we make mistakes or not, the important thing is to try. Once bulbs pop their heads out come spring, you’ll forget all about how much you fretted over them this fall.