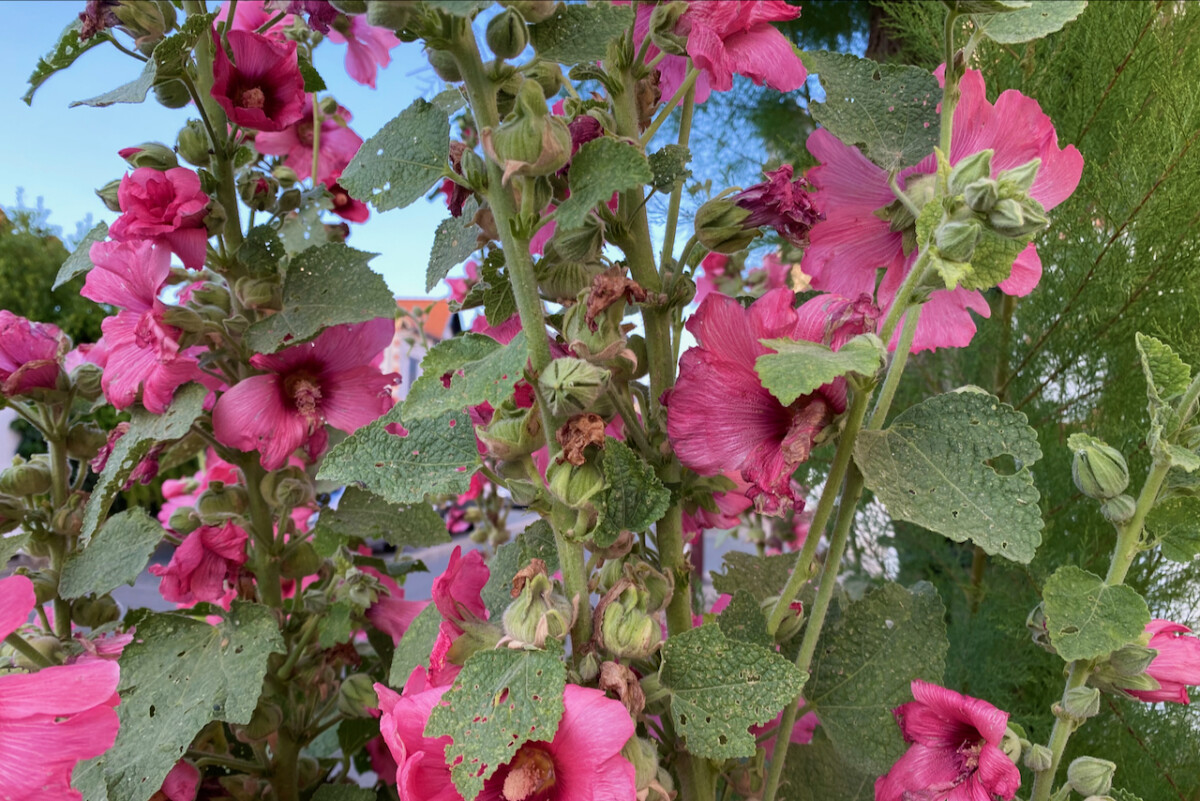
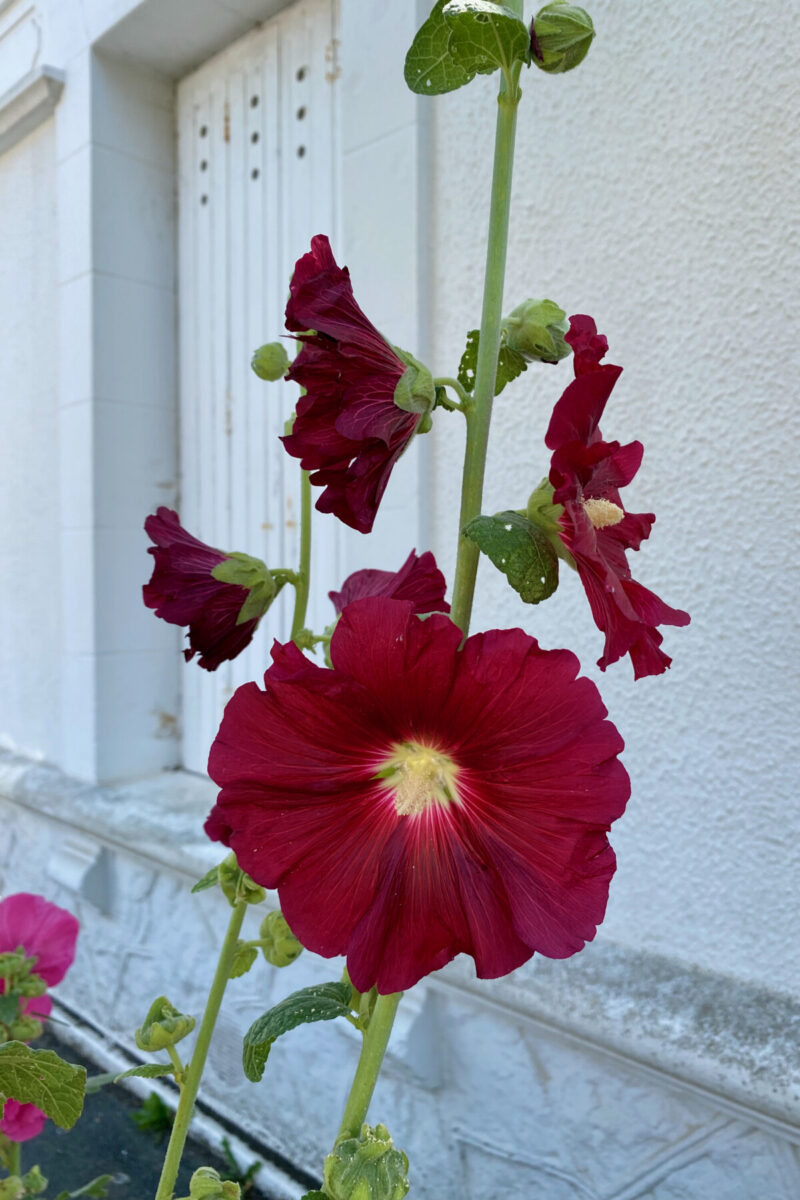
In my mind, I’ve always associated hollyhocks with summer holidays at the beach.
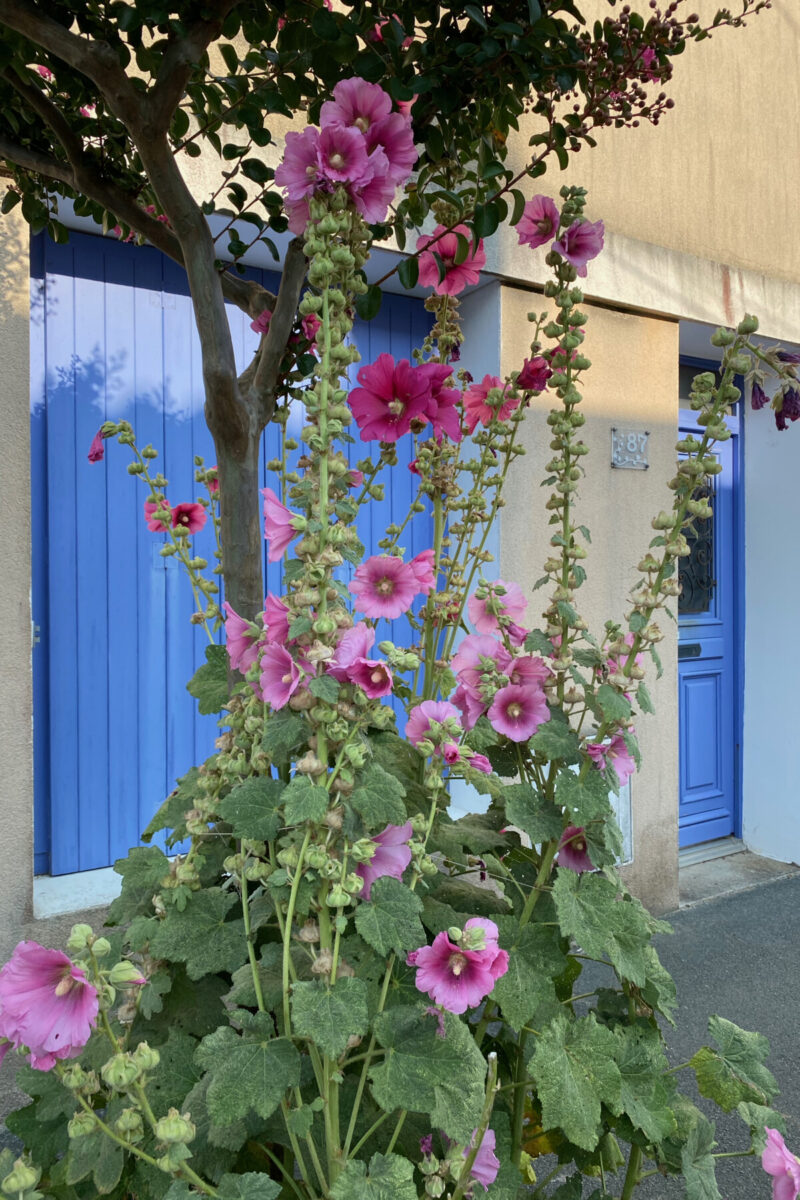
Even this year, my beach vacation was punctuated with oooh-ing! and aaaah-ing! over the majestic hollyhock torches that were dotted around the small coastal town we were staying in.
They seem to thrive in the sandy soil and the humid weather. It probably also helps that the sea breeze keeps the air around these rust-prone plants flowing freely.
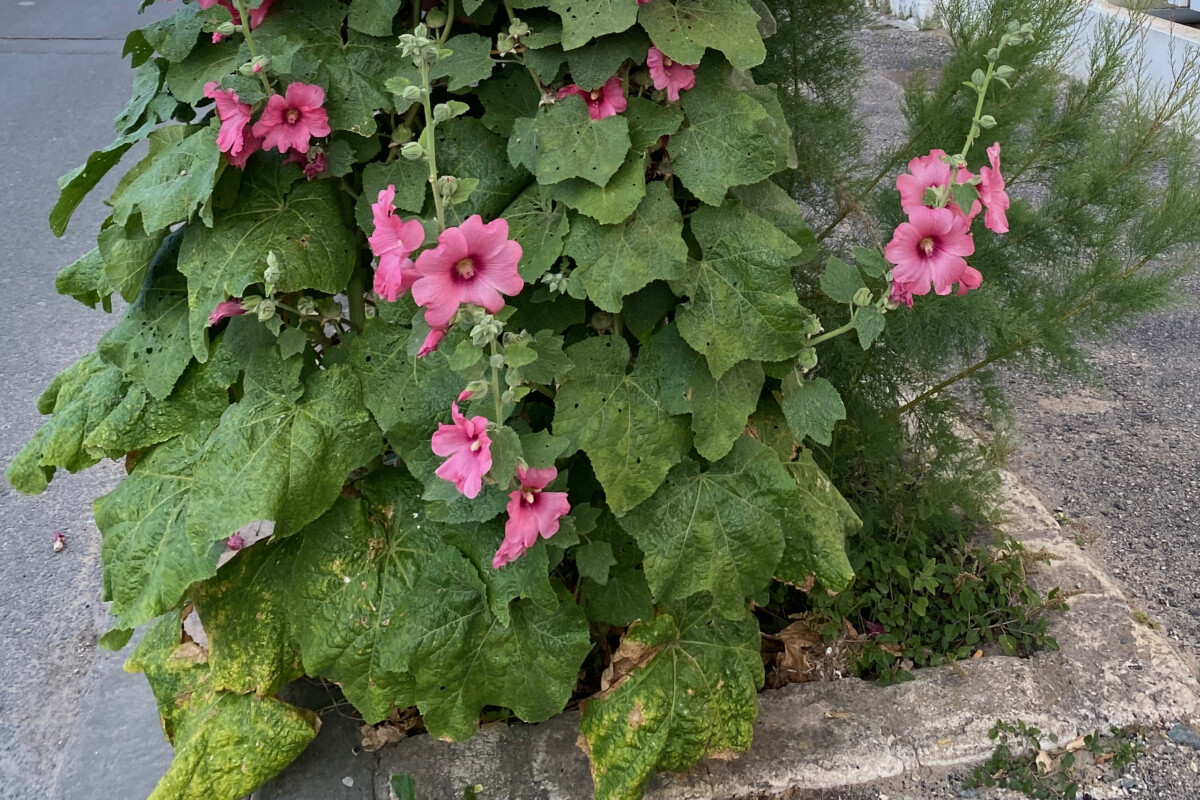
Back home, my own hollyhocks had had a short season in the sun. They were just opening up before we left in June and were already done flowering by mid-July. (Every year, I swear that I won’t go traveling when the garden is in full swing. And every February, in the fog of seasonal affective disorder, I end up booking a summer holiday.)
Now the question is, what do I do with my hollyhocks (Alcea rosea) once they’re done blooming?
At this time of year, for most of the plants in my garden the answer is “not much.” But for hollyhocks, this laissez-faire approach is less of a choice because, frankly, they tend to look rather ragged once they’ve finished flowering.
So here are a few options to deal with them.
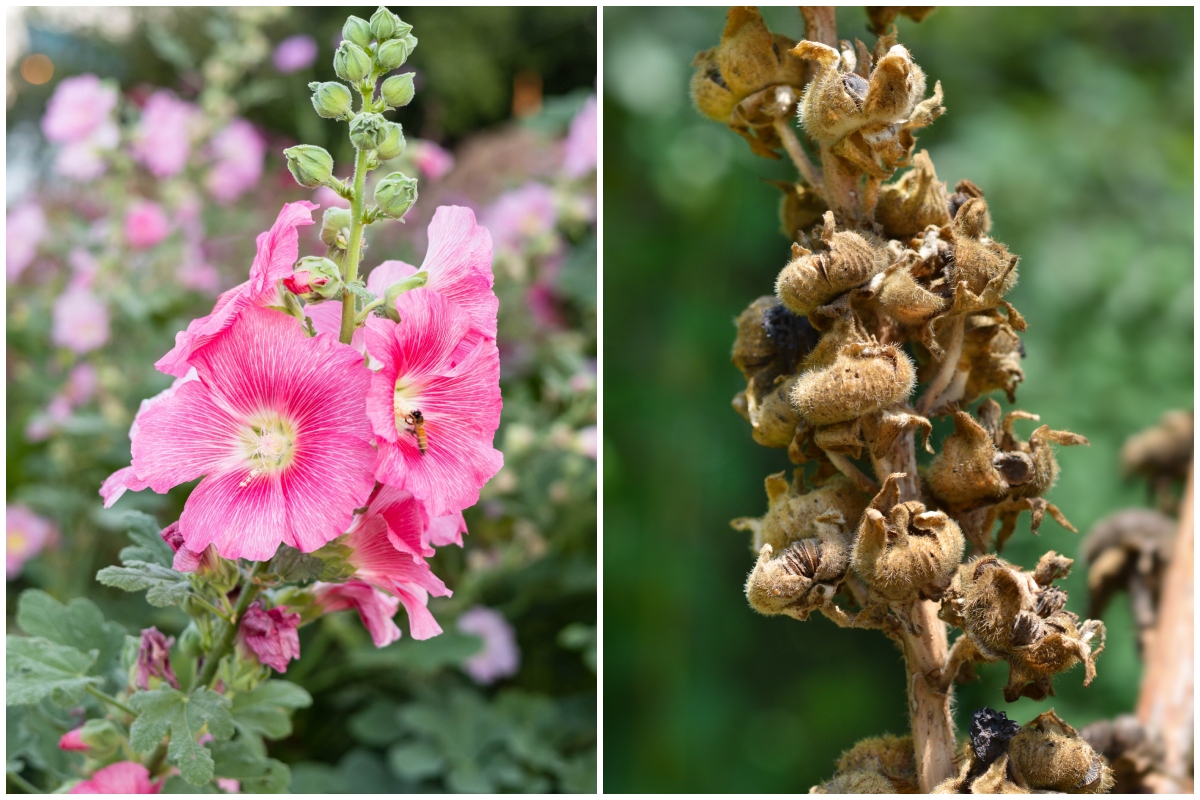
1. Let the seedpods dry up naturally.
I mentioned the ragged appearance of late-season hollyhocks for a reason. Once the flowers are done, we’re tempted to just cut down the plant and clean up the garden of this Cinderella. But if we want the hollyhock paradise to keep going year after year, we should exercise a bit of patience. At least long enough to collect the seeds.
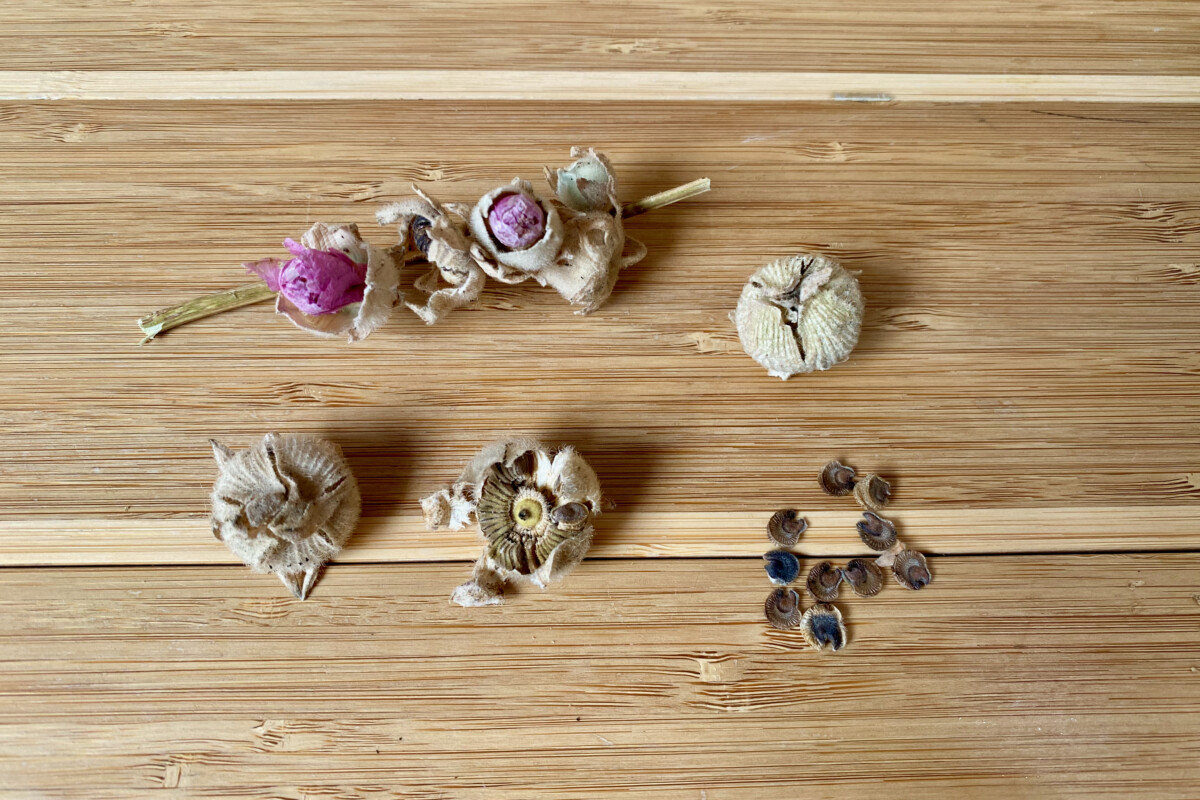
With hollyhocks, there’s this window of time when the seed pods are fully formed but they haven’t fully dried. Yes, it’s tempting to just snip them off and let them dry on a newspaper. But you’ll have better results if you allow the seeds to dry up naturally in their pods.
2. Collect the hollyhock seeds.
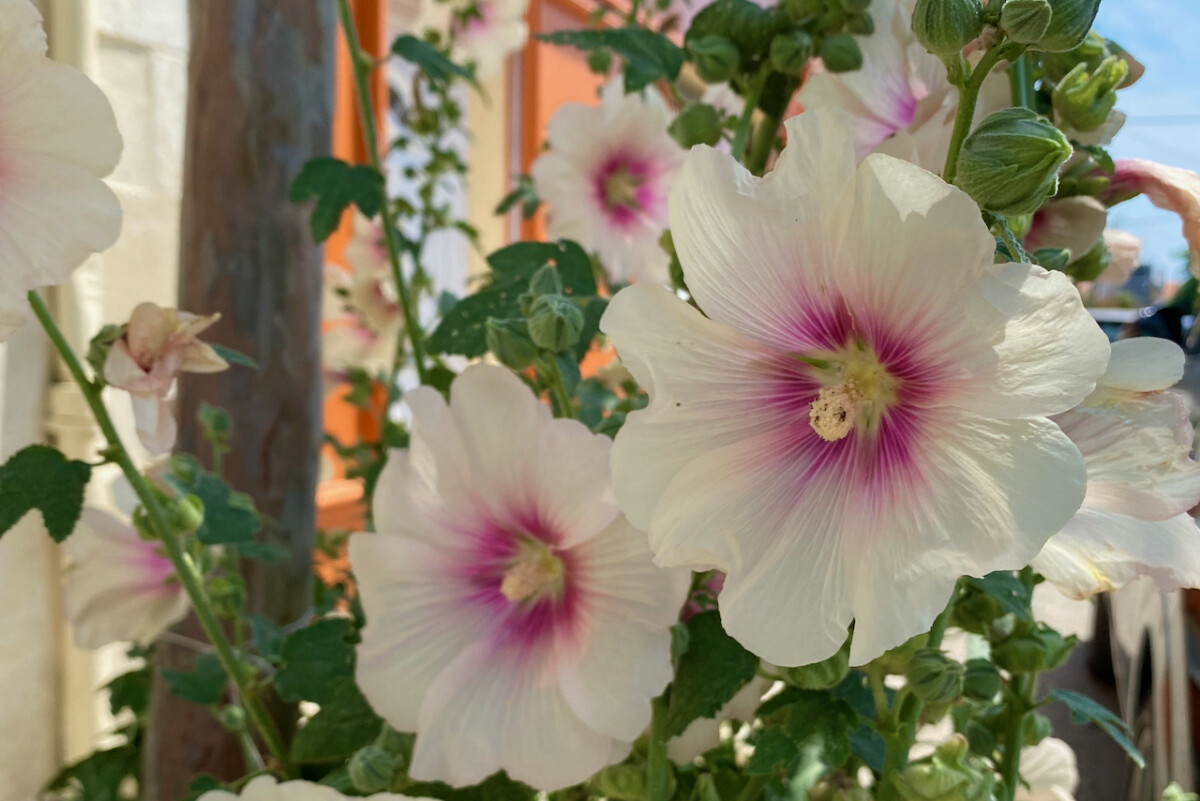
You’ll know it’s time to collect the seeds when the pods have a crumbly, papery texture and start opening up on their own. Keep in mind that not all hollyhocks seeds are brown. Some varieties may be yellow or even white. As long as the seeds are dry to the touch, they’re ready for picking and storage.
Every hollyhock rosette will have multiple seeds (very much resembling a sliced cheese wheel). Once you’ve collected the seeds, you can store them in a cool, dry and dark place over the summer months and plant them back where you want them this fall or the following spring.
3. Plant some new hollyhocks every year.
If you’ve never grown hollyhocks in your garden before, you may think that they are perennial plants. And for a good reason too. If you see a flower pop up year after year in the same location (and even spread around said location quite a bit), labeling it as a perennial would be a safe assumption.
But one important detail to remember about hollyhocks is that they are a biennial plant. This means that they will spend their first year developing a strong tap root system and rich foliage. And they will only put out a flower stalk and flowers in their second growing season.
Once a plant has flowered and set seeds, this particular plant reaches the end of its life cycle. In some cases, the plant might live for another year or two, but it will not produce (as many) flowers.
This means that if you want to have hollyhocks in bloom every year, you have to plant some every year. But the ones you’re planting this year, you’ll only get to enjoy two summers from now. So when it comes to hollyhocks, remember to ABP (Always Be Planting).
By the way, I wrote an entire guide on the most common biennial plants and the difference between biennials, annuals and perennials. Check it out!
An easier way to always have hollyhocks blooming in your garden is to let them self-seed every year. Simply do nothing!
Once the seed pods are dry enough, they will pop open and allow the seeds to fall to the ground. Not all seeds will germinate, but enough will grow into new plants. That’s how hollyhocks give the impression that they’re perennials.
Because I garden in a small space, I prefer to collect the seeds (Step 2 above) and plant them wherever I have some “dead” space to fill, such as in the back of my garden or along an alley that connects my property to that of my neighbors.
When you plant hollyhocks from seed, remember that they’ll always grow taller than most of the other ornamental flowers. So place them in the back of borders and garden beds for a staggered effect.
If you’re planting your hollyhocks in the fall, they’ll have plenty of time to get ahead of the slugs and snails once the plants start growing in spring.
However, if you decide to wait until spring to put some seeds in the ground, keep in mind that hollyhocks perform better if they’ve had a period of cold stratification before planting. I’ve written an entire guide on six methods you can use to cold-stratify your seeds before planting.
4. Cut back your hollyhocks.
If you’ve collected plenty of hollyhocks seeds, or still have some from previous years, you don’t have to let them go to seed. Cutting back your hollyhocks as soon as the flowers have faded (but before the seeds have set) will give them a neat and tidy look.
Remove all the flower stalks and the oldest foliage at the bottom that’s already likely to be yellowing and full of holes by this point in the season. Redirecting the energy from seed production to foliage usually translates into healthier-looking and greener leaves.
If you’re lucky and if your warm season extends into the fall, you might get a secondary bloom around mid- to late September. But don’t expect this second batch of flowers to be as spectacular or as numerous as the main bloom. They generally tend to be smaller and much shorter and there will be fewer blooms on each stalk.
5. Pull out your hollyhocks (but only for a good reason)
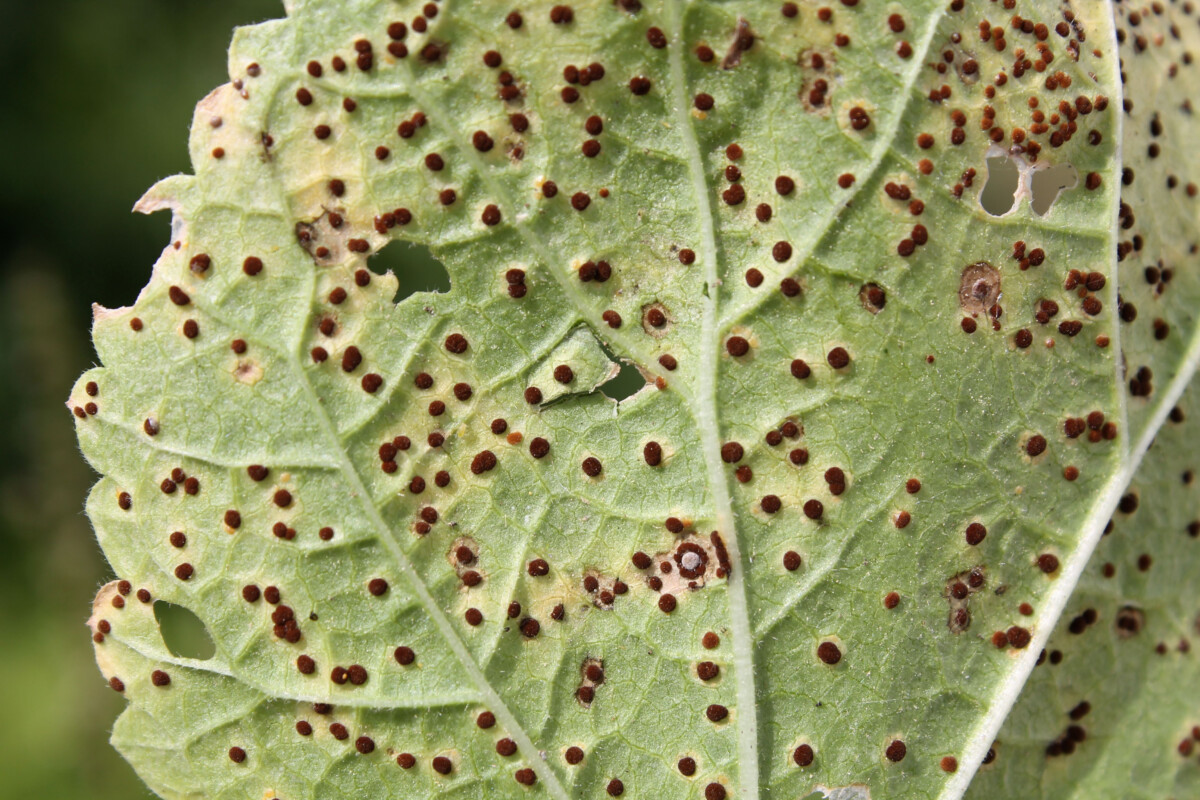
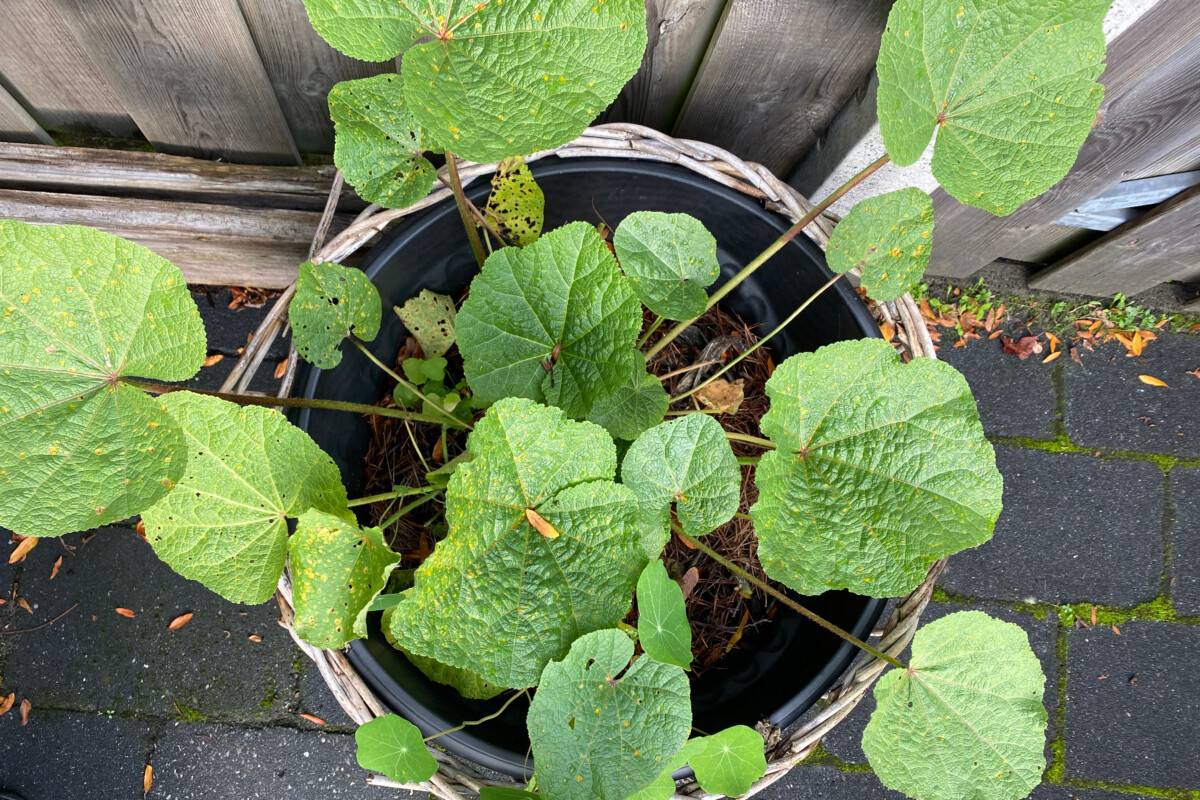
Depending on the temperature, humidity and general air circulation in your garden plot, your hollyhocks might develop rust in the second part of the summer. Sometimes, rust will just show up as tiny yellow dots on the surface of the leaves.
In more serious cases, it develops into tiny protuberances (unsightly bumps) covering the entire surface of the foliage in a matter of days. There’s no effective cure for rust (caused by the Puccinia malvacearum fungus, also known as the hollyhock rust). So the whole plant needs to come out. This is a matter of good gardening hygiene and it helps prevent the fungus from migrating to other plants in the same family (Malvaceae), such as mallow, hibiscus and abutilon.
If you’ve identified signs of rust, dig a hole around the root system – not too wide, but just enough to loosen the soil around it – and pull out the taproot of the plant. Dispose of the entire plant in your municipal compost bin (industrial composting usually gets hot enough to destroy the fungus) or with household waste.
As a general rule, avoid adding any plant parts that are affected by rust to your home compost system.
I would strongly suggest that you don’t spray any fungicides on your hollyhocks. Due to their large and abundant flowers, hollyhocks attract a lot of varieties of bees, butterflies and other such pollinators that need the safety of a pesticide-free plant.
6. Do nothing (for now)!
Ah, my favorite method of gardening. It doesn’t work every year (see the rust scenario above), but it is a valid method of dealing with hollyhocks after flowering, especially if you have the space.
If your hollyhocks are not in the way, and if the leaves still look green and fresh, then you can continue to enjoy their homely presence until the first frost.
Hollyhock foliage doesn’t overwinter very well, so you’ll have to cut them back to slightly above ground level after the first frost anyway. This is late enough in the season for first-year hollyhocks to have stored plenty of energy for next year’s blooms.
One thing I would avoid: Transplanting hollyhocks!
I’m not saying it’s impossible to transplant hollyhocks. There are hundreds of tutorials out there on how to do just that. But I’m saying that transplanting them will not always work as expected.
As I’ve mentioned before, hollyhocks have a tap root structure. This means there’s only one large root that goes straight down from the stem. Imagine a carrot or a parsnip growing underground. That’s what the root looks like. This tap root serves as the plant’s “spine” and, depending how deep down it’s growing, it’s often hard to pull out without damaging it. If you break off this root during transplant, the chances of the plant reestablishing itself in a new location are significantly diminished.
That being said, you could take your chances with small, first-year hollyhocks. But I’d only recommend doing that if you have backup plants.
My recommendation is to just start new hollyhocks from seeds instead of moving the ones you have. These cottage garden favorites are fast growers and prolific bloomers, so you won’t have to wait long before enjoying their magic in the garden.