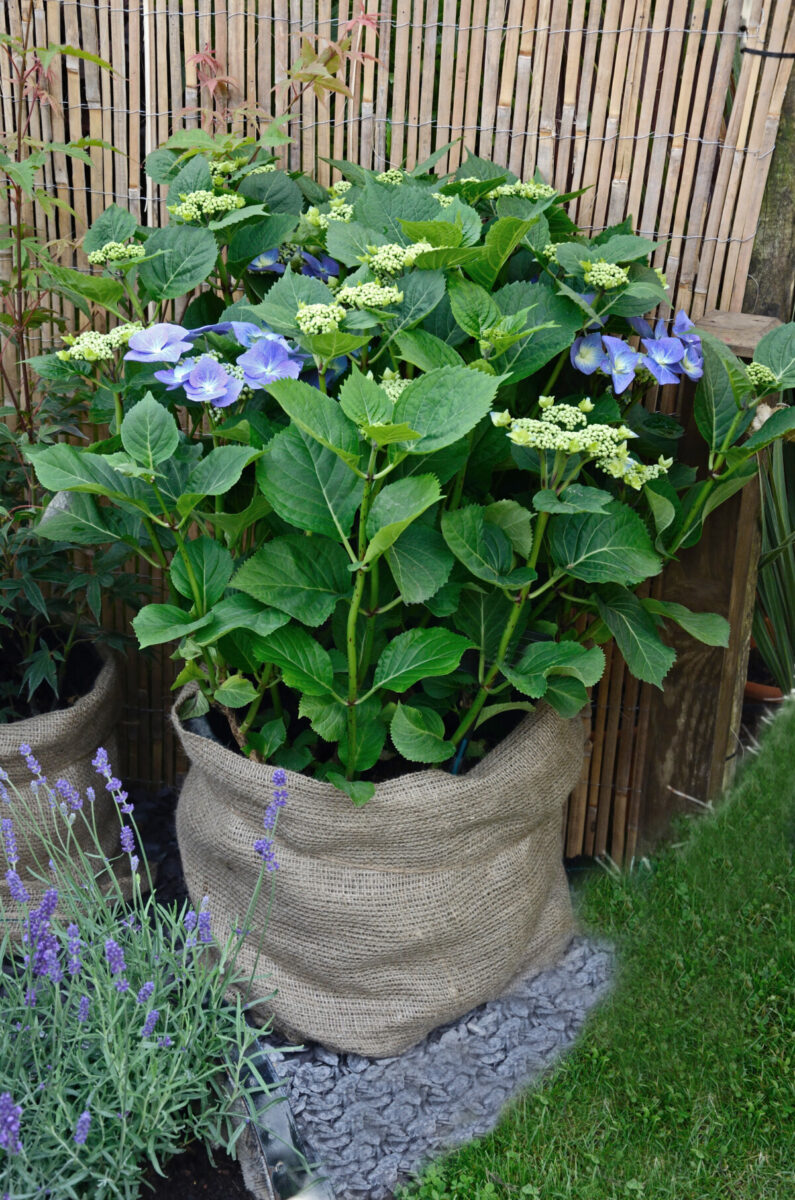
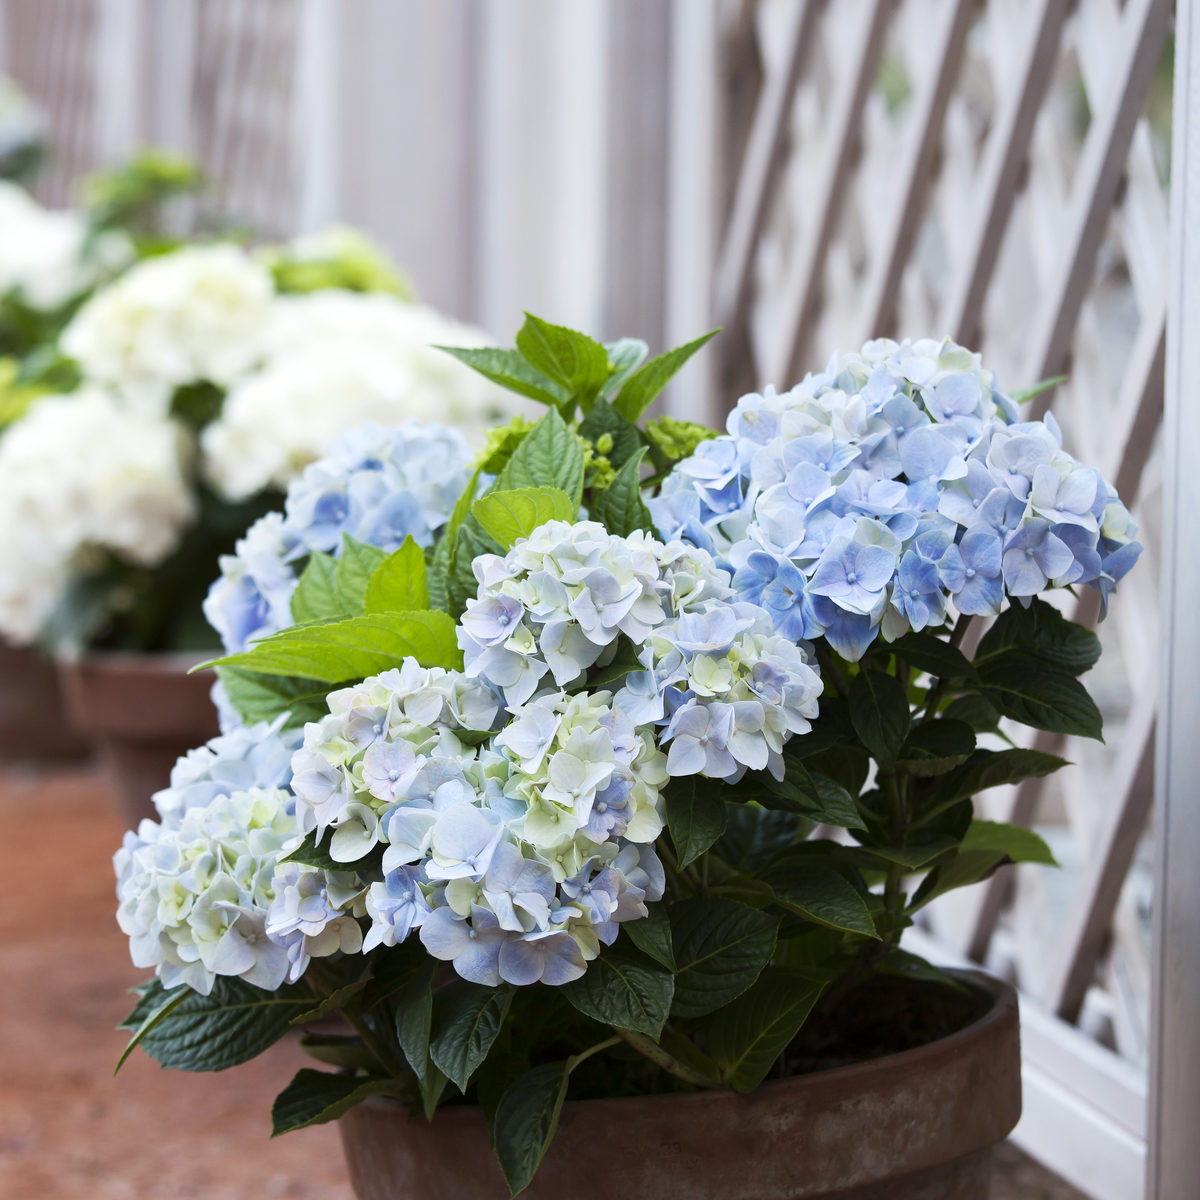
Hydrangeas are one of the most beloved garden plants around. Not only do their stunning flowers look great in bouquets, but they also have wonderful lush green leaves that uplift any garden.
So, for lovers of these garden favorites, what can you do if you don’t have a garden? Or perhaps any new bed space that could fit an expansive hydrangea plant?
The answer – as always – is to grow in pots.
With a little care and know-how, these beauties can enhance any space in the garden: patio, balcony, deck or porch.
Here are 15 things you need to know when growing hydrangeas in pots.
1. Hydrangeas Are Great Container Plants

Potted hydrangeas are great alternatives if you only have areas where they are unlikely to grow well in the garden due to extreme cold or heat. Hydrangeas generally grow in USDA Zones 3-9, but in either extreme, they are unlikely to do very well. That’s where containers come in.
Pots left in the cold can be adjusted by changing position and using coverings to increase warmth. They can also be moved to a more sheltered spot out of cold and wind – something that’s impossible when planting in a garden bed.
Potted hydrangeas can also be given the best lighting and soil conditions to perform at their best. Most prefer morning sun and afternoon shade and pots can be moved around to accommodate their requirements.
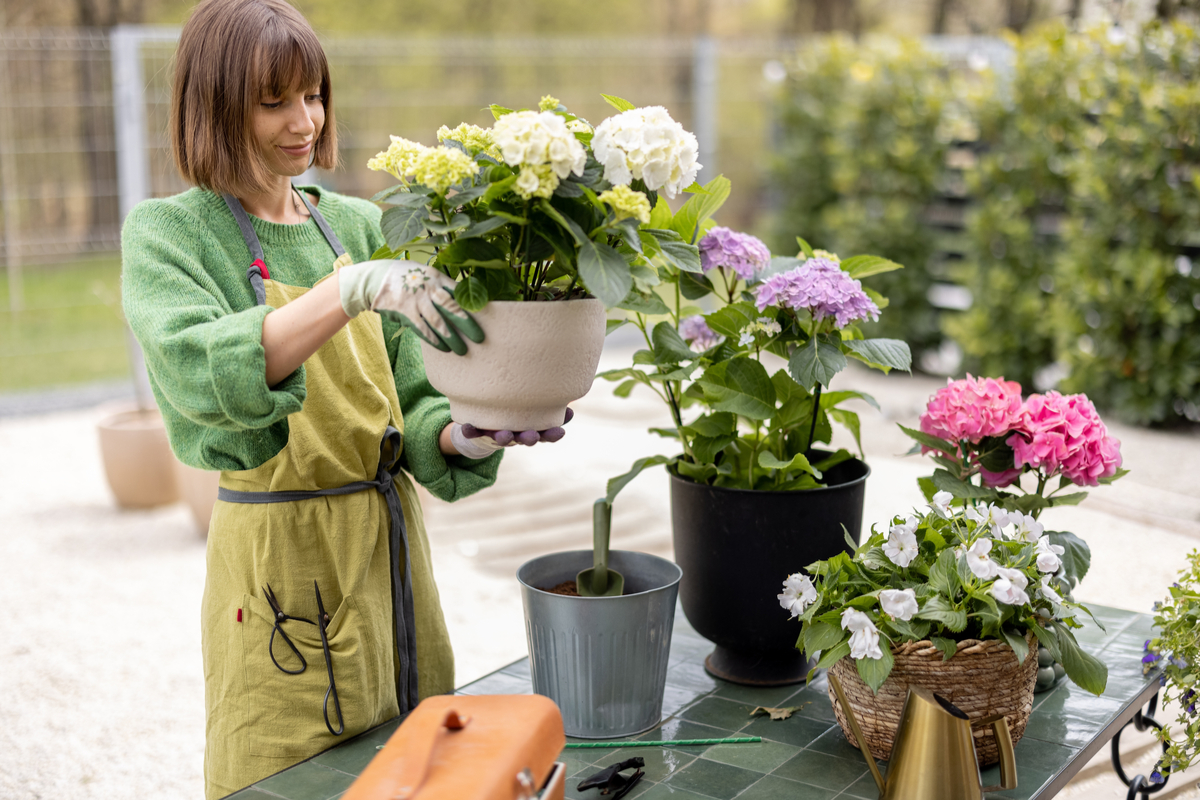
2. Choosing A Container Is Important
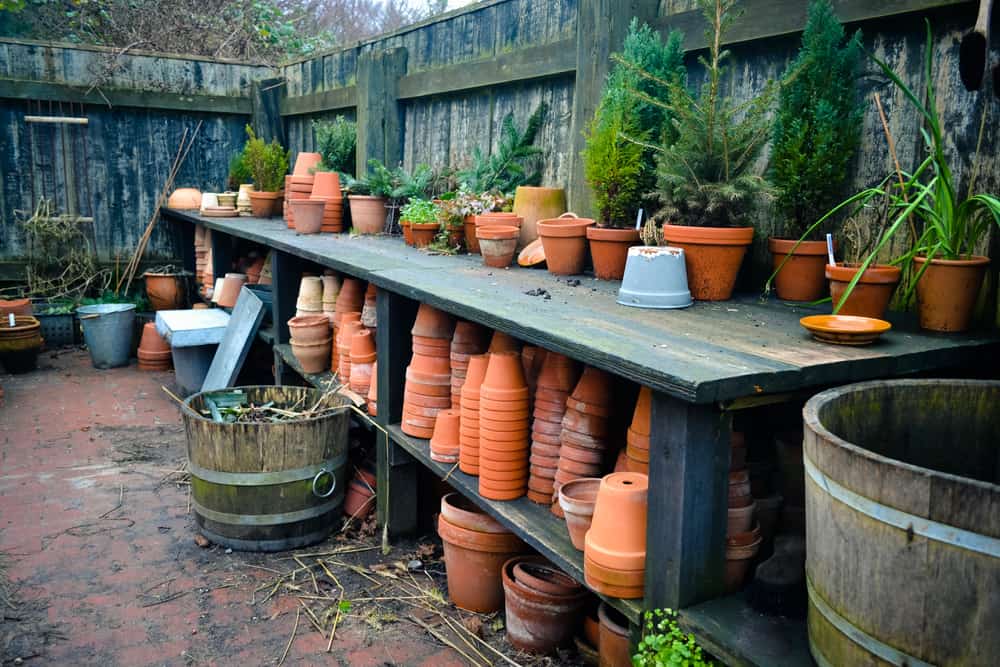
Choose a container based on what you intend for your potted hydrangea. In other words, is the plant going to be just for the spring and summer, or is it intended to last several seasons?
A seasonal pot can be anything you choose as long as it has good drainage.
A flowering hydrangea can also be used as a central plant to go with a selection of annuals that trail over the edge of the pot and create contrasting colors of foliage. Once the season is over, the annuals can be composted, and the hydrangeas planted into the garden or given away to a person who has better garden conditions.
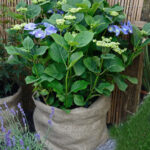
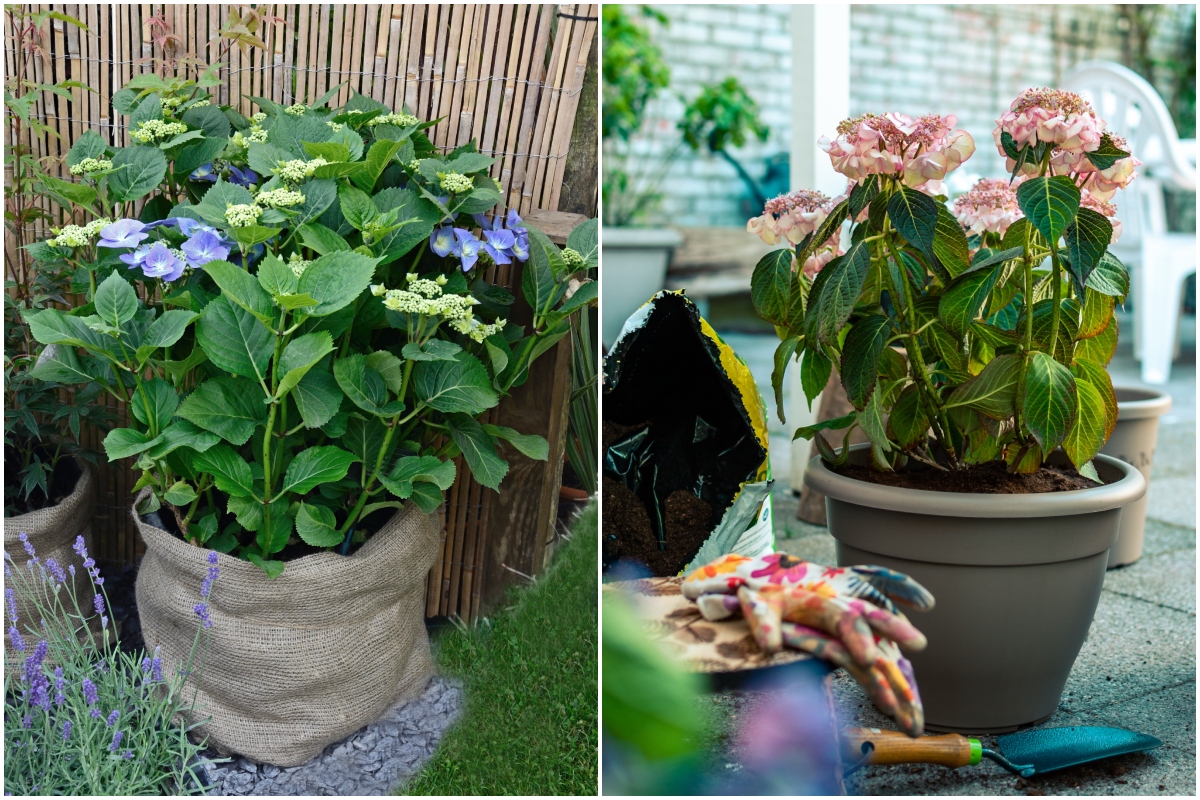
A permanent or semi-permanent pot requires a bit more thought. In areas that have frost, it’s best to buy a frost-proof or weatherproof pot. Pots that aren’t frost-proof may shatter in freezing temperatures.
If you like the look of pots that are not weatherproof (like terracotta or ceramics), keep in mind that the pots themselves will need to be kept warm as well as the plants in freezing temperatures. Old blankets or even bubble wrap can be used around pots to keep them warm.

Choose a container that can be moved easily. Lighten the container with empty bottles in the base before adding the soil or choose a container that has wheels that can be moved around.
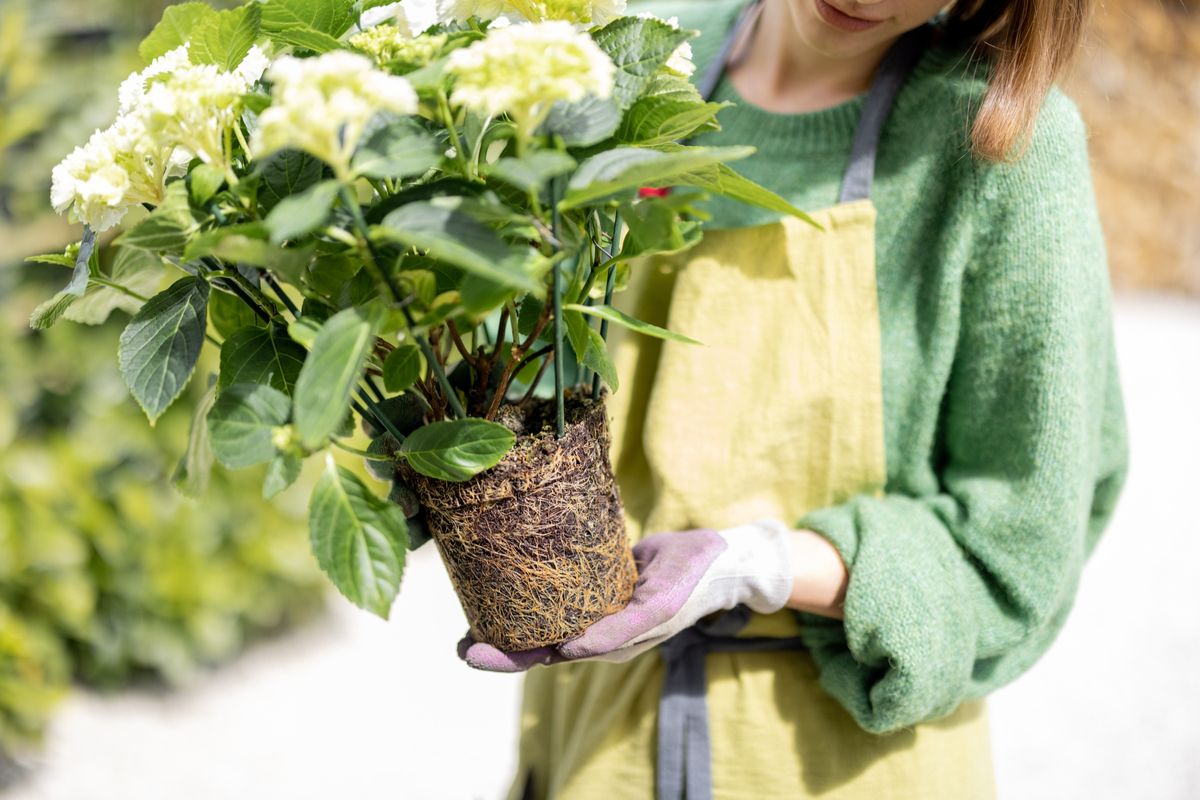
A container for hydrangeas should be at least 18-24 inches or more in diameter and depth. Most potted hydrangeas bought from the nursery come in smaller pots or nursery bags that dry out too often to give the plant the moisture needed to grow well. They also have aggressive roots which will fill a container in no time and the plant may become root bound in a smaller container.
Make sure any container you choose has drainage holes in the bottom. If not, simply drill some holes in the base for drainage. Although hydrangeas like plenty of water, they will perish if the roots are sitting in water. Lift pots off the ground with pot feet or trays and don’t allow the pot to sit in water.
3. Understand Your Variety
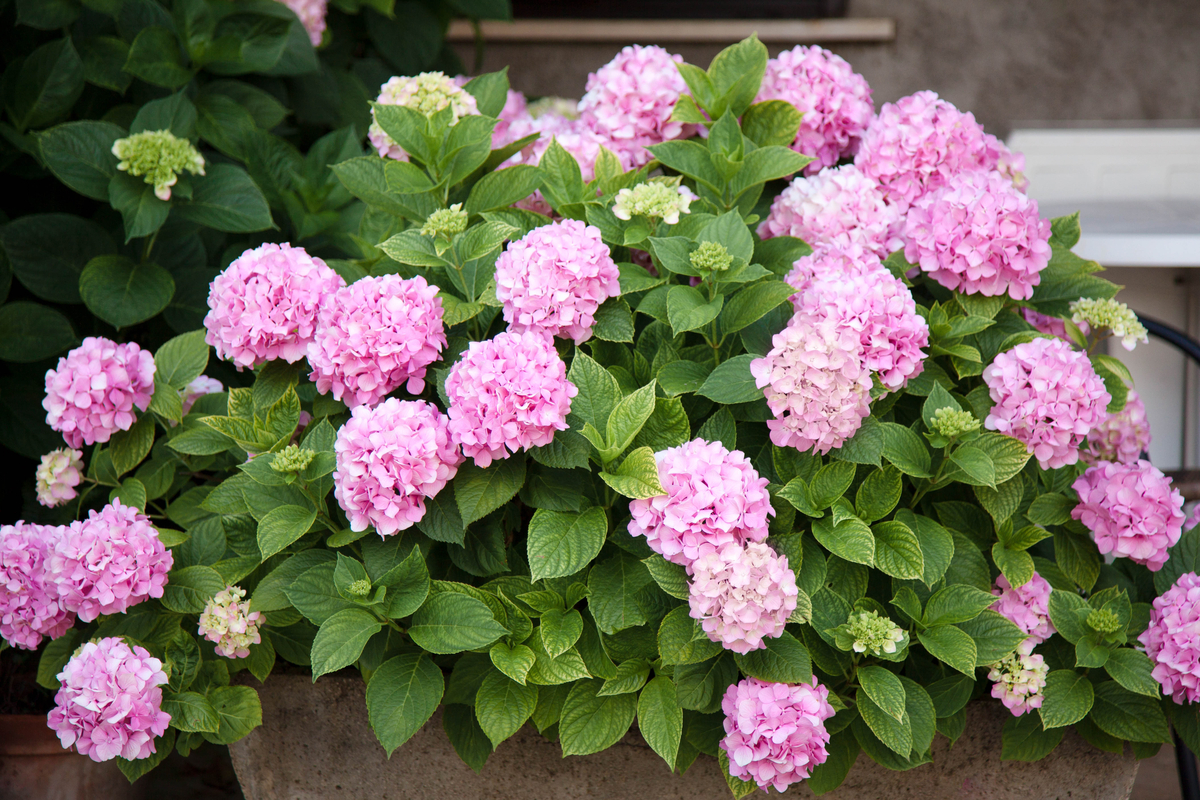
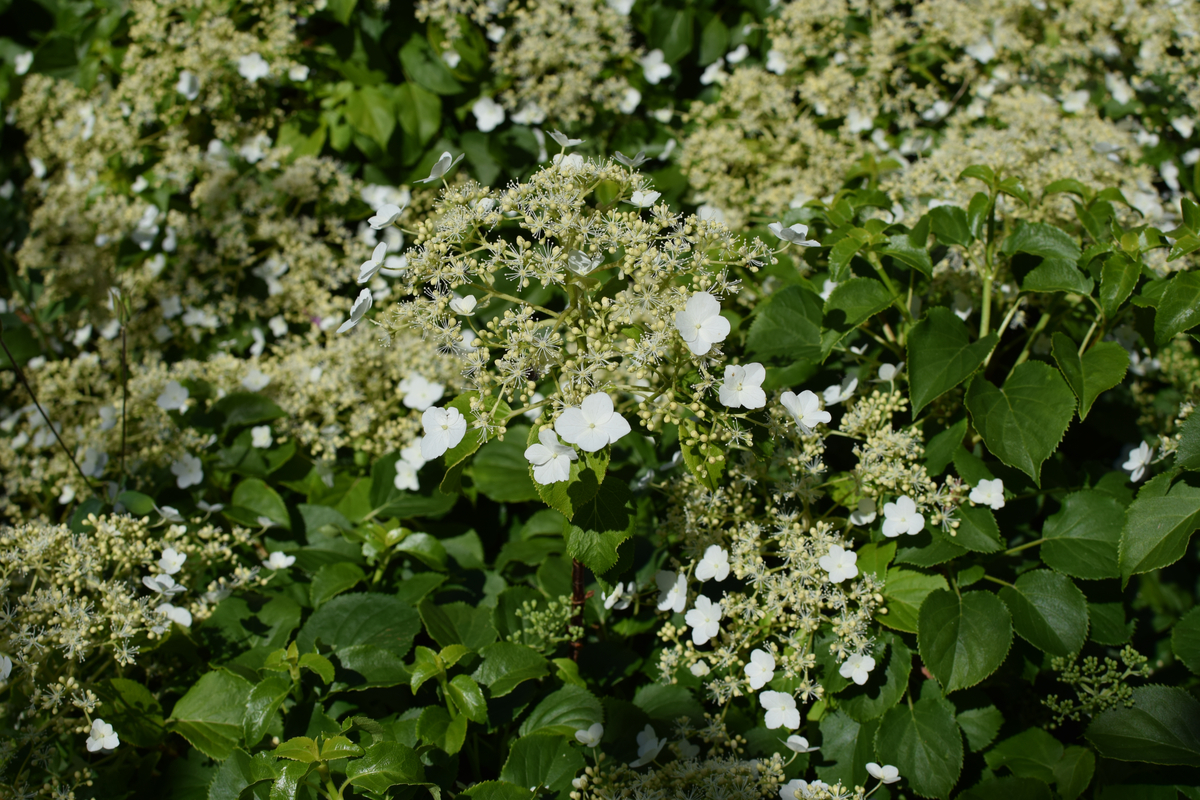
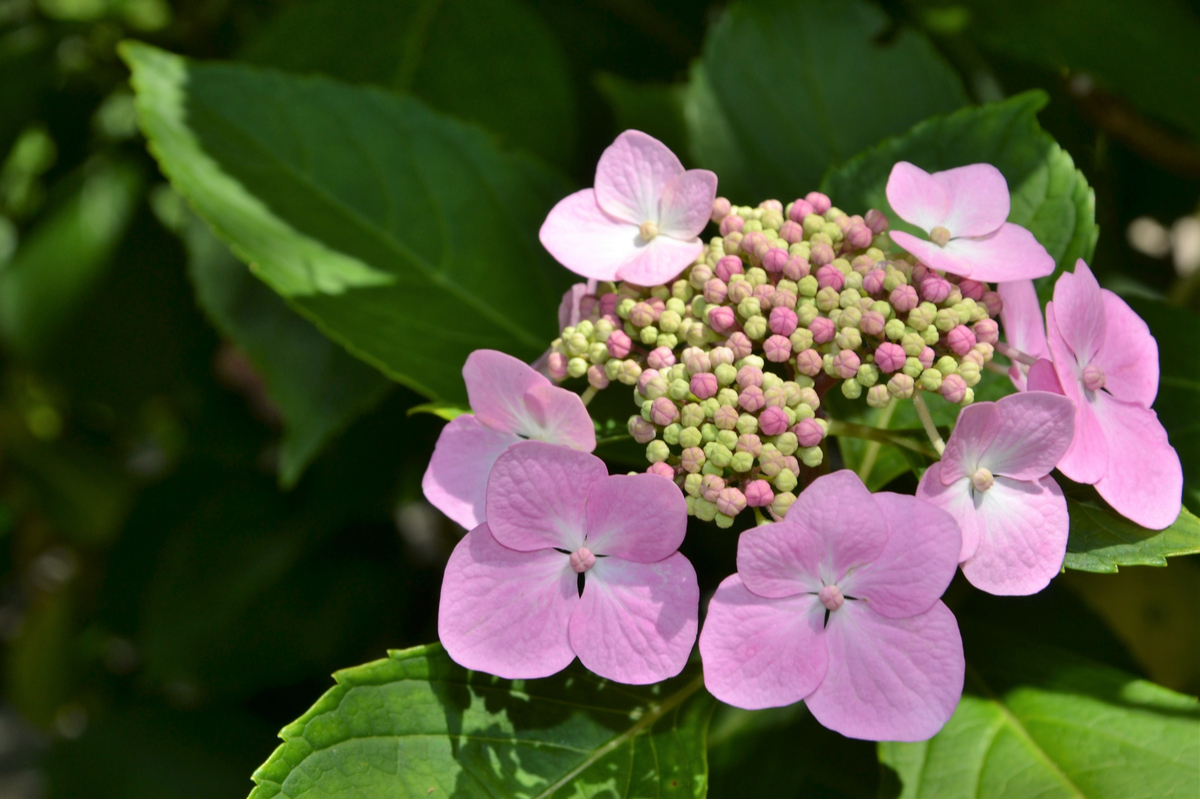
Out of the nearly 80 varieties of hydrangeas, there are only about 6 that are cultivated for the ornamental garden. Most of these are bigleaf hydrangeas, also known as hydrangea macrophylla. These are the popular ones that come in a variety of colors including the popular pink and blue.
Bigleaf Hydrangeas
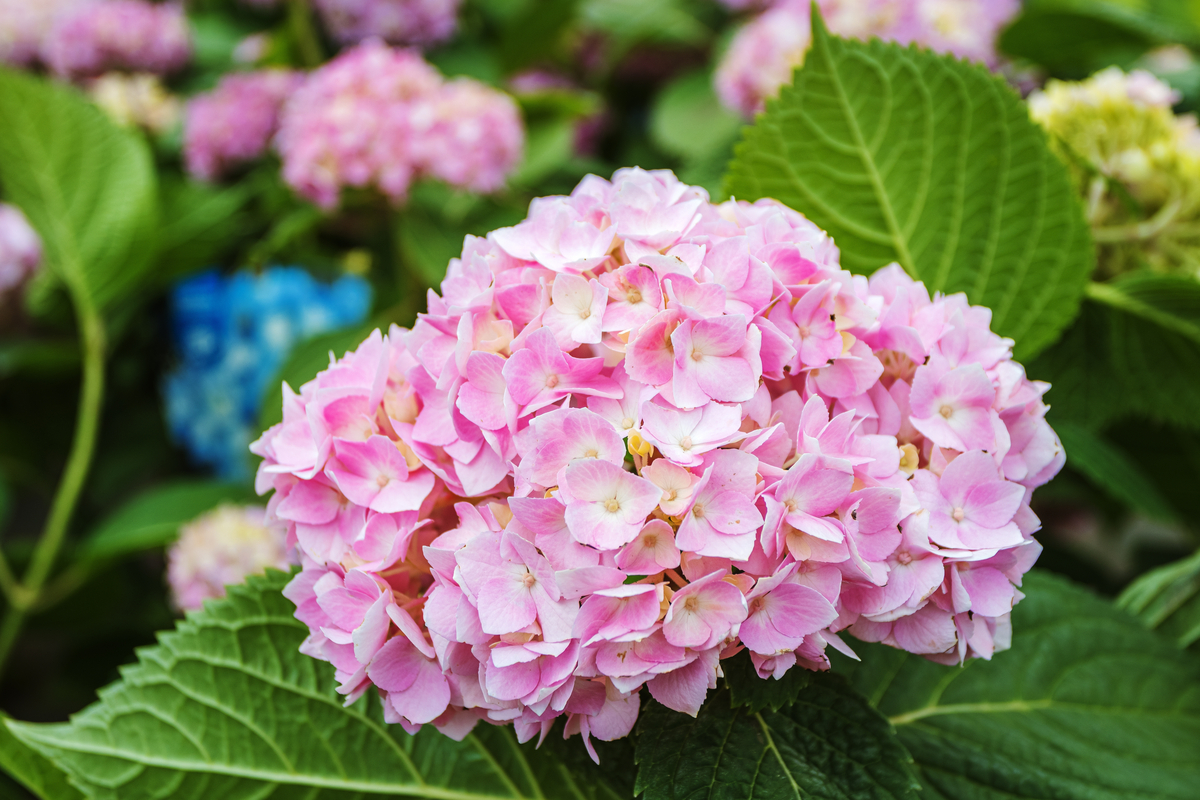
There are about 600 named varieties of hydrangea macrophylla – plenty to choose from in the mophead and lacecap style. Most of these hydrangeas are mopheads that produce the big mops of flowers in white, pink, blue, purple or red like ‘Endless Summer’ or ‘BloomStruck’.
They also include lacecaps with their tiny central flowers and bigger blooms surrounding them such as the purple and white ‘Let’s Dance Diva’. These make excellent cut flowers and bloom from June to October.
Oakleaf Hydrangeas
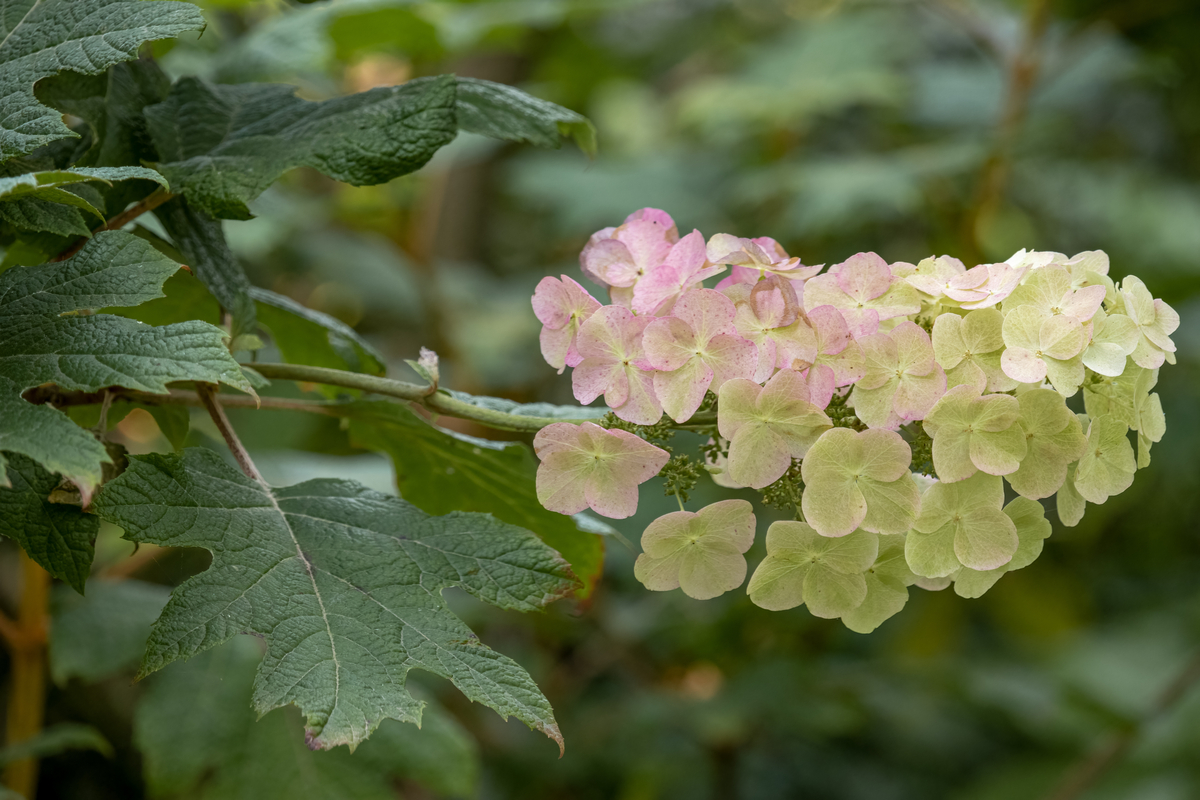
Known for its oak-shaped leaves, hydrangea quercifolia has origins in the woodlands of southeastern USA. The flowers are usually white, some are purple and pink, flowering from July to September. In the fall, the leaves turn to a combination of yellow, orange, red, purple and maroon.
The popular white cultivars are ‘Pee Wee’ and ‘Snowflake’ and for pink, ‘Gatsby Pink’ or dusty pink ‘Ruby Slippers’. The blooms of these are better with sunlight of at least 6 hours a day.
Smooth Hydrangea
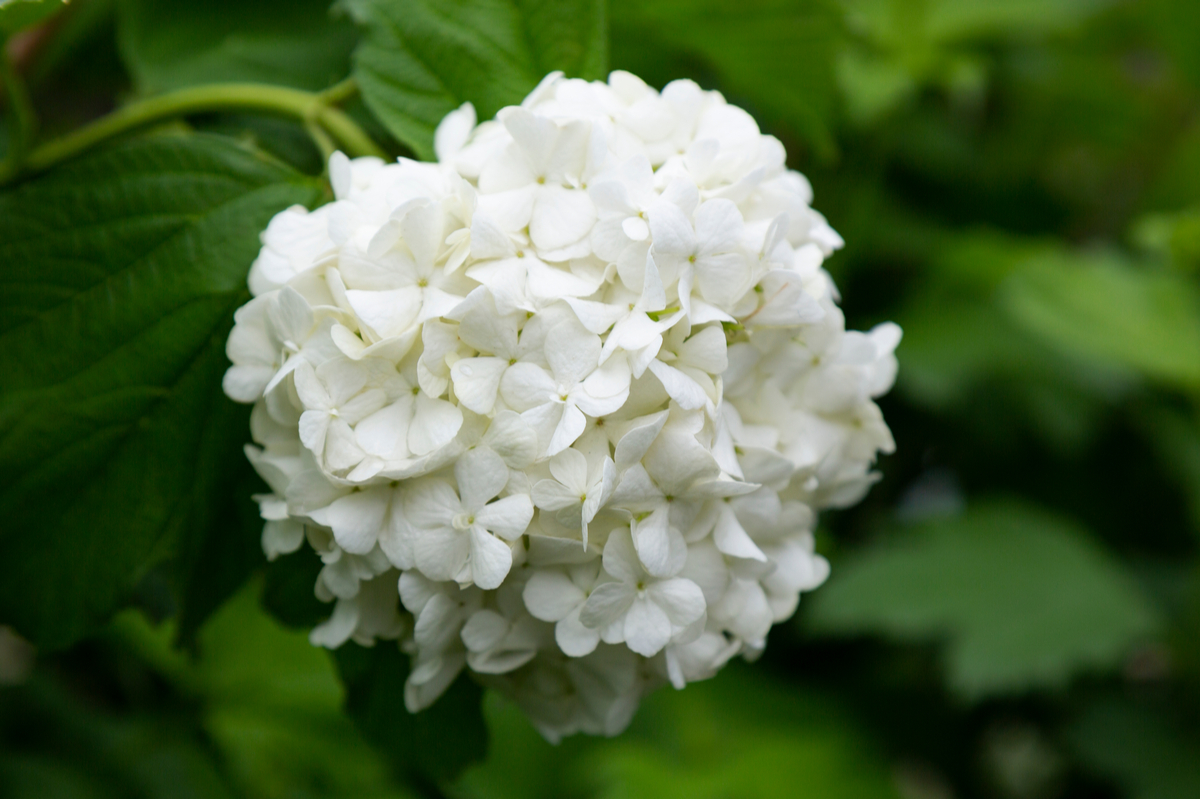
Also known as wild hydrangeas, hydrangea arborescens originates from the eastern USA and flower in colors that are usually white – the most popular – or pink.
Varieties like ‘Annabelle’ and ‘Invincibelle’ are popular for their big bright blooms from June to September. These hydrangeas are not drought tolerant and they may die back in cold weather so their containers and the plants need protection from harsh temperatures.
Panicle Hydrangeas
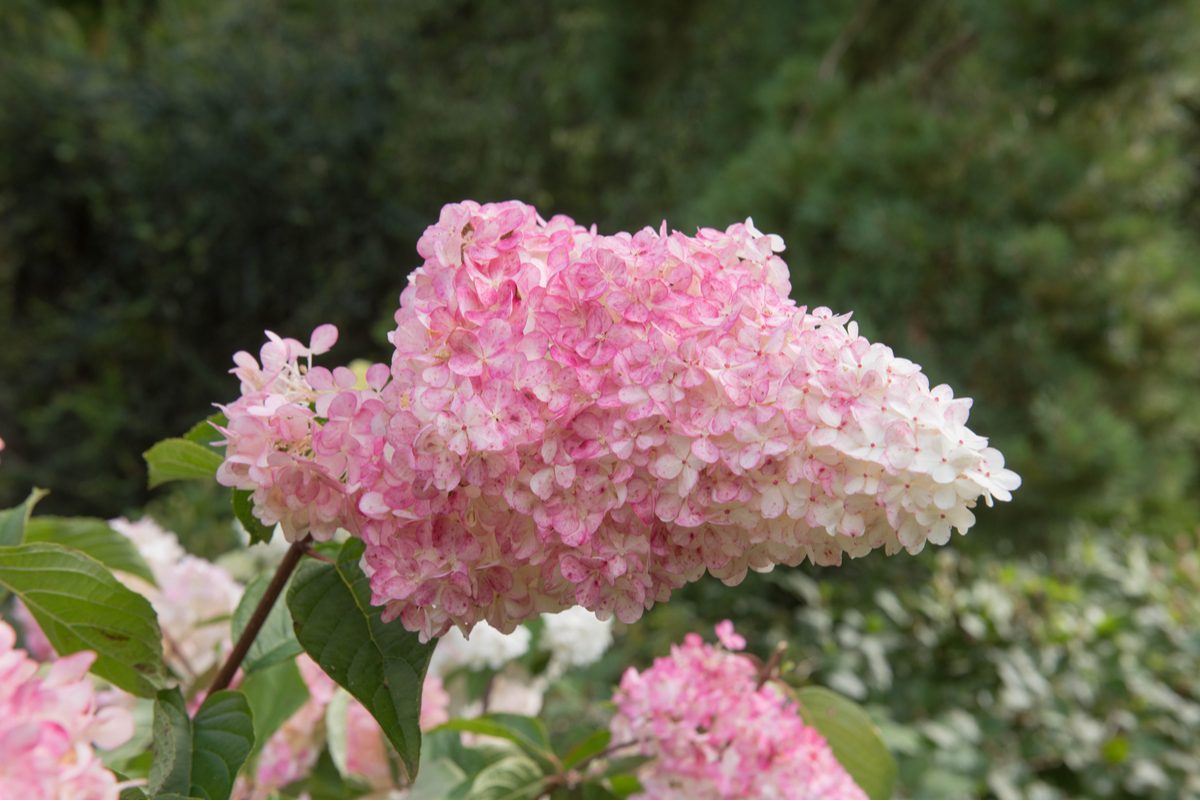
As its name suggests, hydrangea paniculata has multiple stemmed clusters of flowers on the ends of branches. These cone-shaped flowers are spectacular from July to September and are a good choice for a showy container. These are large plants that need large containers. Out of this group, they are also the most winter hardy.
Popular varieties include ‘Limelight’, starting off lime green, changing to white and then pink at the end of the season. Or, try ‘Pinky Winky’ with a touch of pink at the base of the white flowers and ‘Grandiflora’ with snowy white or a combination of white and pink blooms.
Climbing Hydrangea
Grown supported against a wall or fence or as a groundcover along the ground, hydrangea anomala subsp. petiolaris, are useful plants in the garden.
In pots, they need a supporting structure to grow well and a permanent position that can accommodate staking or growing up an arbor or pergola. They flower from May to July in shades from cream to white.
Varieties include ‘Miranda’ and ‘Firefly’ which has variegated foliage with yellow margins and green centered leaves.
Related Reading: How & When To Deadhead & Prune Climbing Hydrangea
Mountain Hydrangea
Hydrangea serrata is great for warmer climates and for its compact size that fits well in containers. These hydrangeas are similar to the Bigleaf varieties with lacecap-type flowers, but the flowers and leaves are more compact.
They flower from June to August and come in a variety of colors. ‘Bluebird’ has clusters of startling blue to purple and white flowers, (sometimes pink and white), and ‘Tuff Stuff’ has more pink and white tones.
4. Plant For The Right Zone
Zones don’t mean as much when growing hydrangeas in containers. As we have already discussed, plants and containers can be moved, sheltered, or covered in inclement weather.
That being said, it is always better to grow plants for your hardiness zone, making it less of a struggle to keep them alive and healthy and for the best show of blooms. Any hydrangea purchased from your local nursery should be perfectly fine in your own garden if the care and maintenance conditions are met.
The most common bigleaf hydrangeas will grow in zones 3 – 7. Other types can handle the cold better and others prefer more warmth. It’s best to see what’s available in your local area and what your neighbors are growing when choosing for pots.
You may also see hydrangeas in the indoor section of your garden center or sold as a gift. Although they already come in containers, they are not bred or suitable for long-term container growth. These types of greenhouse Hydrangeas should be treated as long-lasting cut flowers rather than long-lasting pot plants. Once they are finished flowering, they can be composted or planted out in the garden.
5. Position Your Pots Correctly
Although hydrangeas like a bit of afternoon shade, they need at least 4-6 hours of sunlight to flower. Find a position that will give both sun and shade for the best possible blooms. No one really grows hydrangeas for their leaves after all.
All-day dappled shade will also do for some species. In warmer weather, hydrangeas will be better in a more sheltered shady position to reduce water loss as much as possible and keep them hydrated.
Panicle hydrangeas are the most sun tolerant and can do with full sun for more than 6 hours a day. The rest of the hydrangea varieties need 4-6 hours of direct sun and the rest of the day shaded or dappled shade.
6. Use The Right Soil
Soil for containers needs to be good quality potting soil that is specially formulated for containers. You can also look out for potting mix for acid-loving plants which will benefit hydrangeas as they love slightly acid soils.
Hydrangeas flower best with some additional nutrition. Mix a good bucketful of compost into the potting soil before planting. They need excellent drainage so add a good few handfuls of perlite or coconut coir to improve the drainage of the soil.
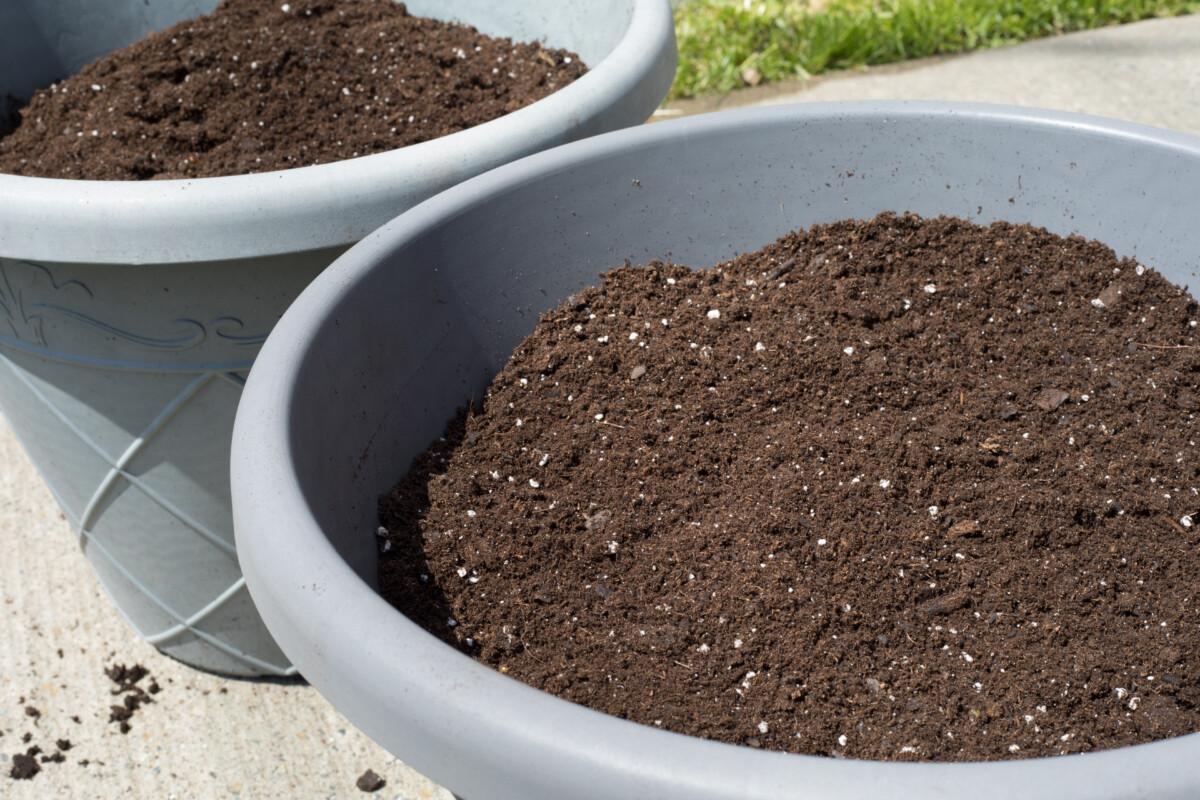
Mix in a handful of slow-release organic fertilizer pellets and you have a rich soil mix to give the hydrangeas the best start possible.
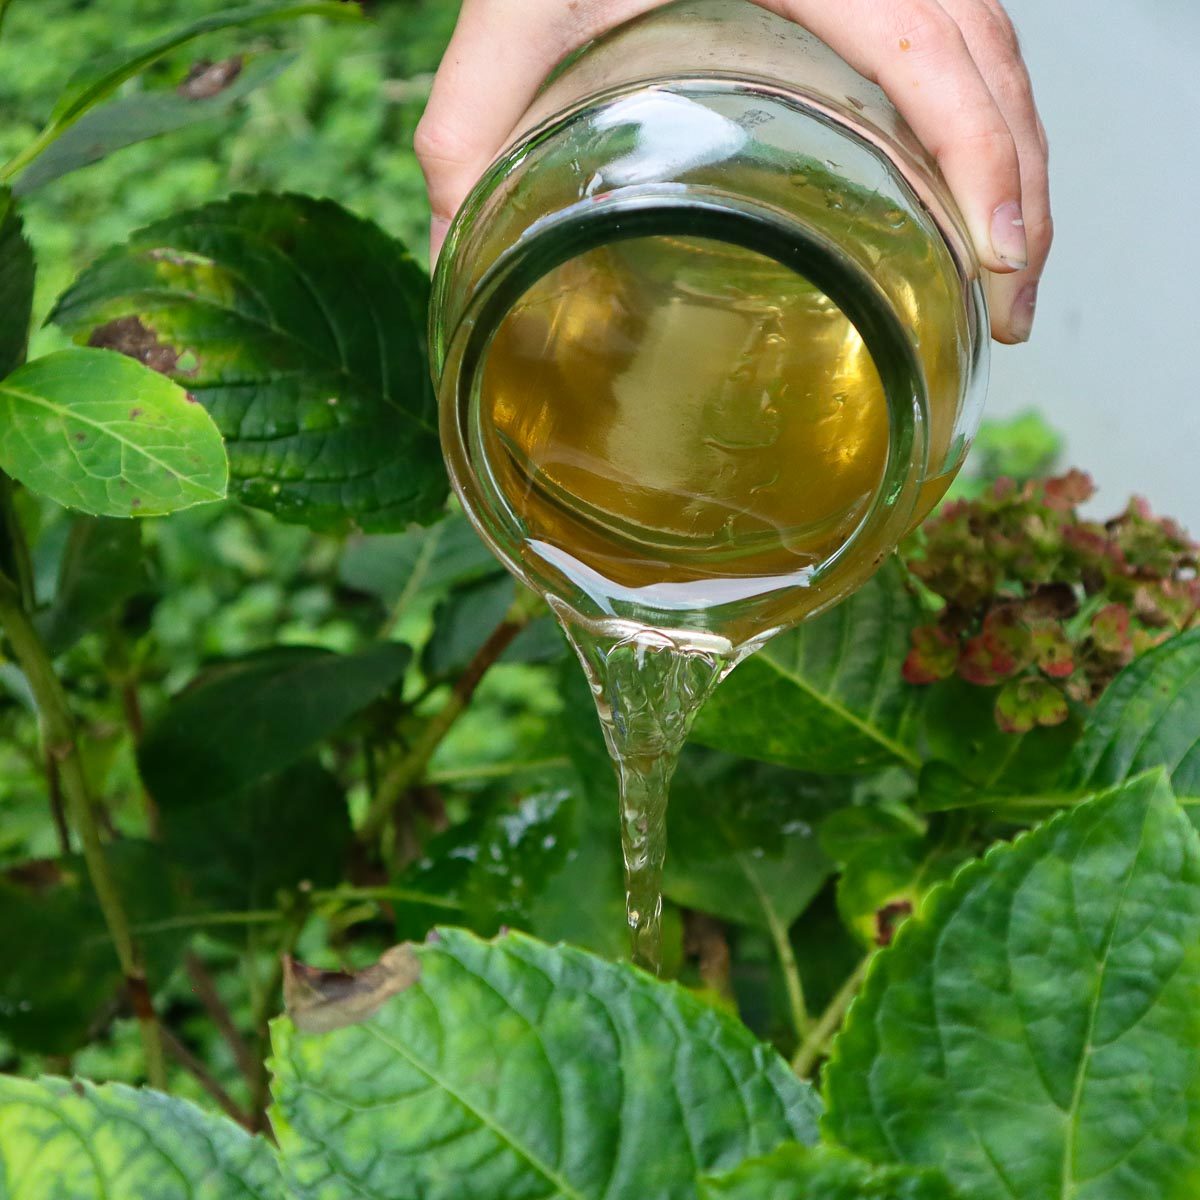
7. Water Often
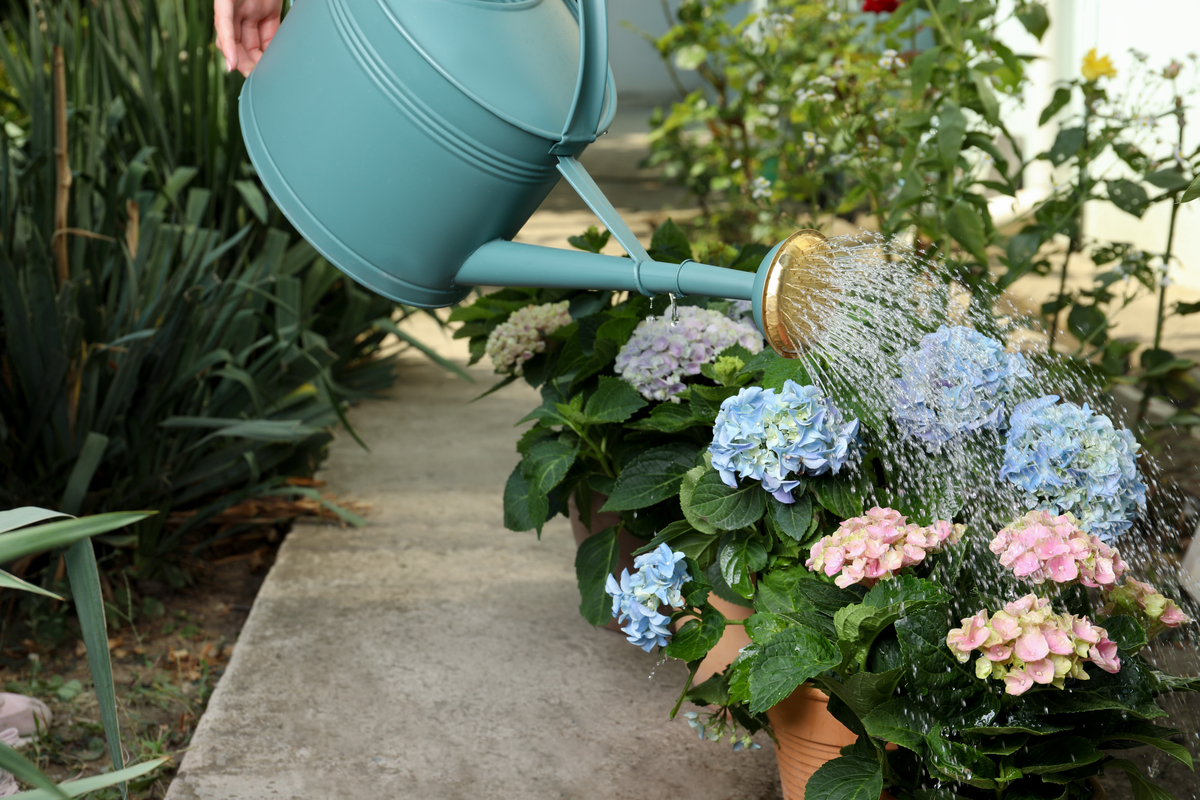
Hydrangeas usually signal when they need water by wilting. But, to avoid stressing the plants too much, make sure to get to them before that happens. Check them every day by sticking your finger in the soil to see when they need water.
Increase watering in periods of drought and during high temperatures. As the plant matures, the roots in the container will take up more space. The less soil there is, the less water holding capacity it has, so water more frequently and consider transplanting into bigger containers after a few years.
When watering, avoid watering the leaves which could cause marks and encourage pests and diseases. Rather water at the base of the plant and keep watering until it drains out the bottom of the container.
Self-watering pots and drip irrigation systems can also save a bit of time, but remember to check on your plants regularly for any problems that may occur and to look out for any pests and diseases.
8. Feeding Is Essential
Feed hydrangeas in containers twice a year with a balanced fertilizer like NPK 10:10:10. Feed around spring before flowering and again in autumn. In spring, the nutrients give them a boost before the flowering season and in early fall, it sets them up for their winter dormant season.
The soil in containers leach nutrients quicker than those planted in the ground. To combat this loss, it’s best to give your hydrangeas an extra boost with a fertilizer mixed into their water every month in the growing season.
There are plant foods that can be mixed with water that is specifically made for hydrangea plants. The same food is used for other acid-loving plants like Camelias and Azaleas. Use as directed on the packaging.
Take a look at our guide to fertilizing hydrangeas.
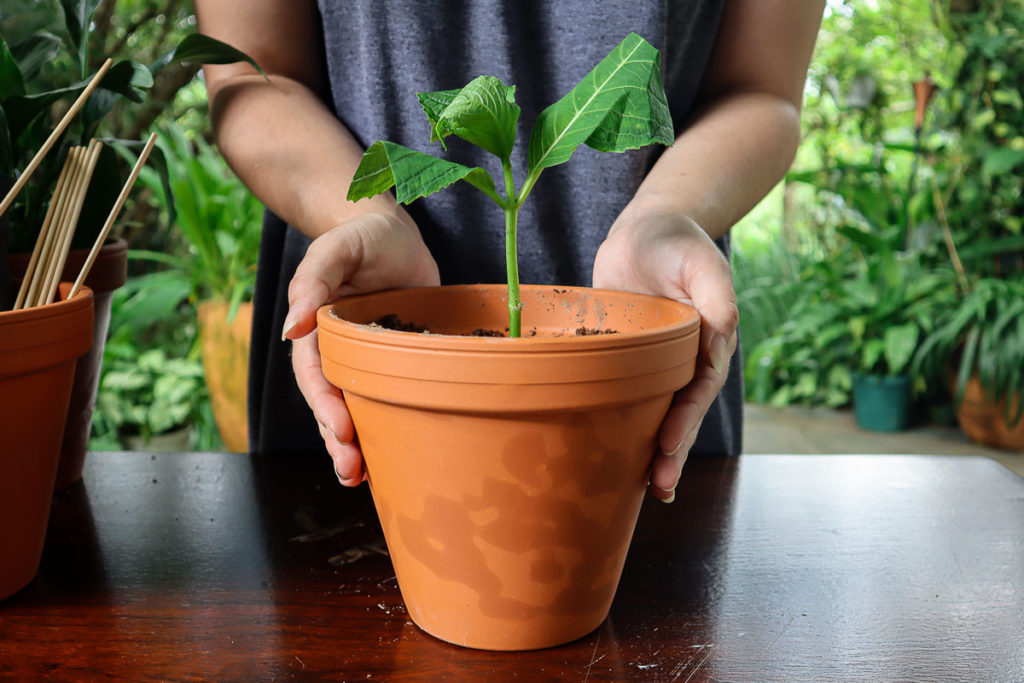
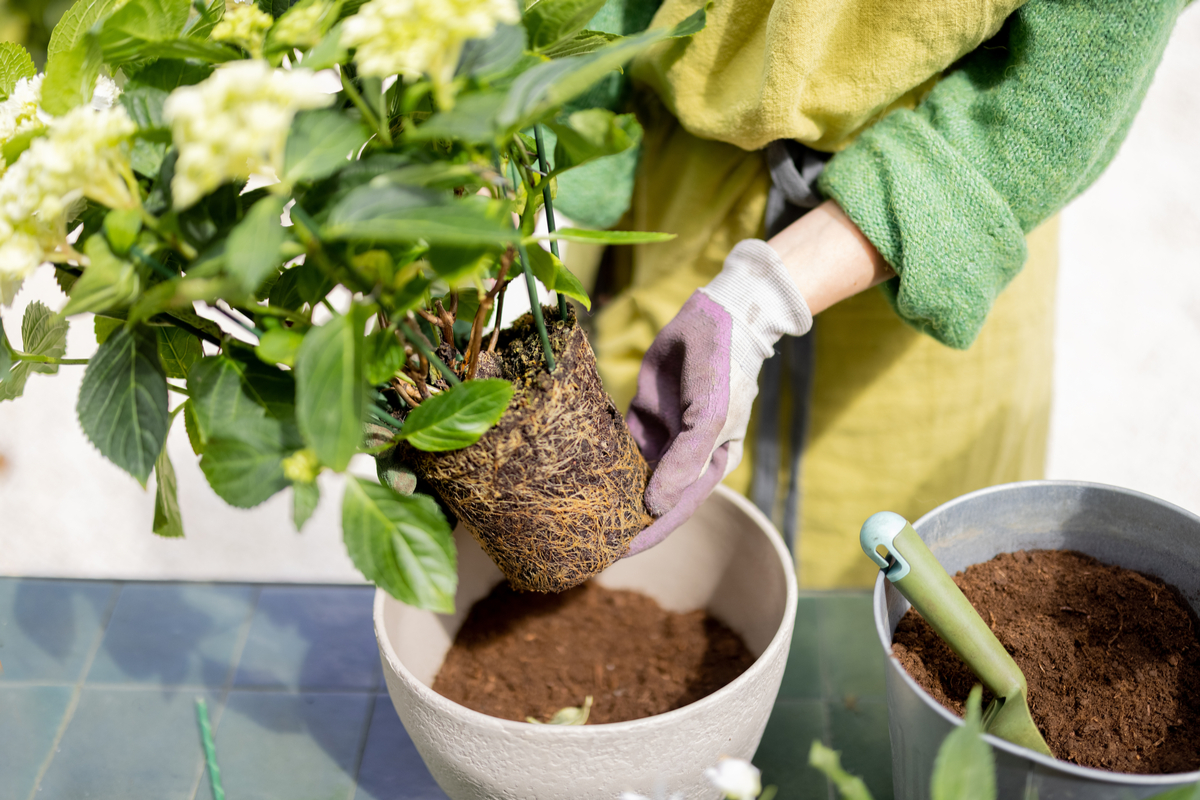
9. Know How To Plant In Containers
To begin planting your hydrangeas in containers, first cover the drainage holes with mesh, sponge or gravel so that the soil cannot escape out the bottom but the water can drain. For large pots, you may want to fill the base with plastic bottles to take up space and make the containers lighter to move around.
Mix the potting soil with all the other ingredients in a separate container and then fill the container halfway with the improved soil mix. Place the hydrangea in its container in the pot to test the height. The plant in the pot or nursery bag must be planted at the same height in the new pot. Leave a space for a good layer of mulch and then add more soil so that the height will be correct.
Take the plant carefully out of the pot and check the roots. If the roots are spiraling in a ball around the rim of the old pot, gently tease the roots outwards from the bottom. Place in the container and fill in with more soil mix, pressing the plant into the soil to secure it properly.
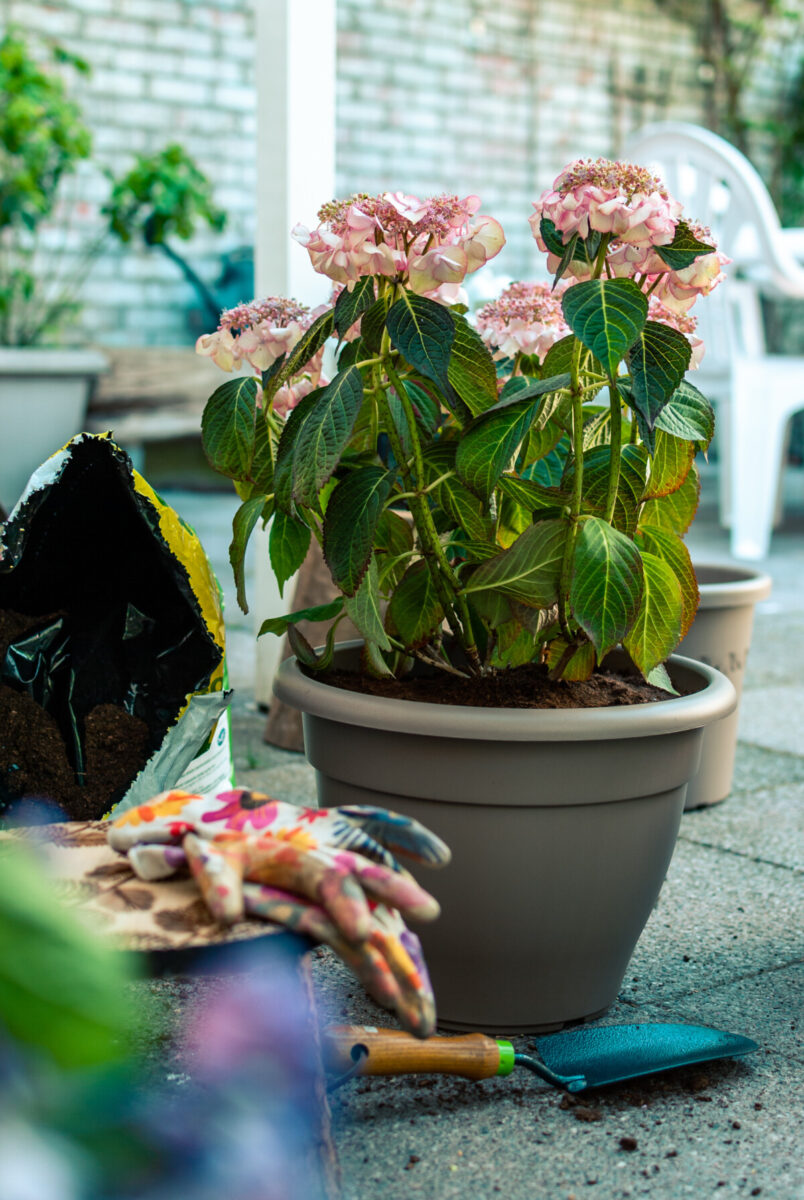
Water well and leave it for an hour for the soil to settle. After that, add any extra soil that may be needed and water again. Add a layer of mulch about 2 inches thick and position the plant to become a showpiece.
10. Potted Hydrangeas Still Need Mulch
Adding mulch to the top of a container not only finishes off the pot well and makes it neat, but it can also feed the plant as it breaks down in the case of organic mulches. Mulches also keep the roots of the plants cool in the heat of summer and preserve moisture.
Pine bark will increase the acidity in the soil and help keep blue hydrangeas blue. For pink hydrangeas, try and keep the mulch more alkaline or neutral and use things such as compost or bark chips from other hardwood trees (not pine). Make sure to mulch away from the stem of the plants to prevent the stem from rotting. Renew the mulch every season.
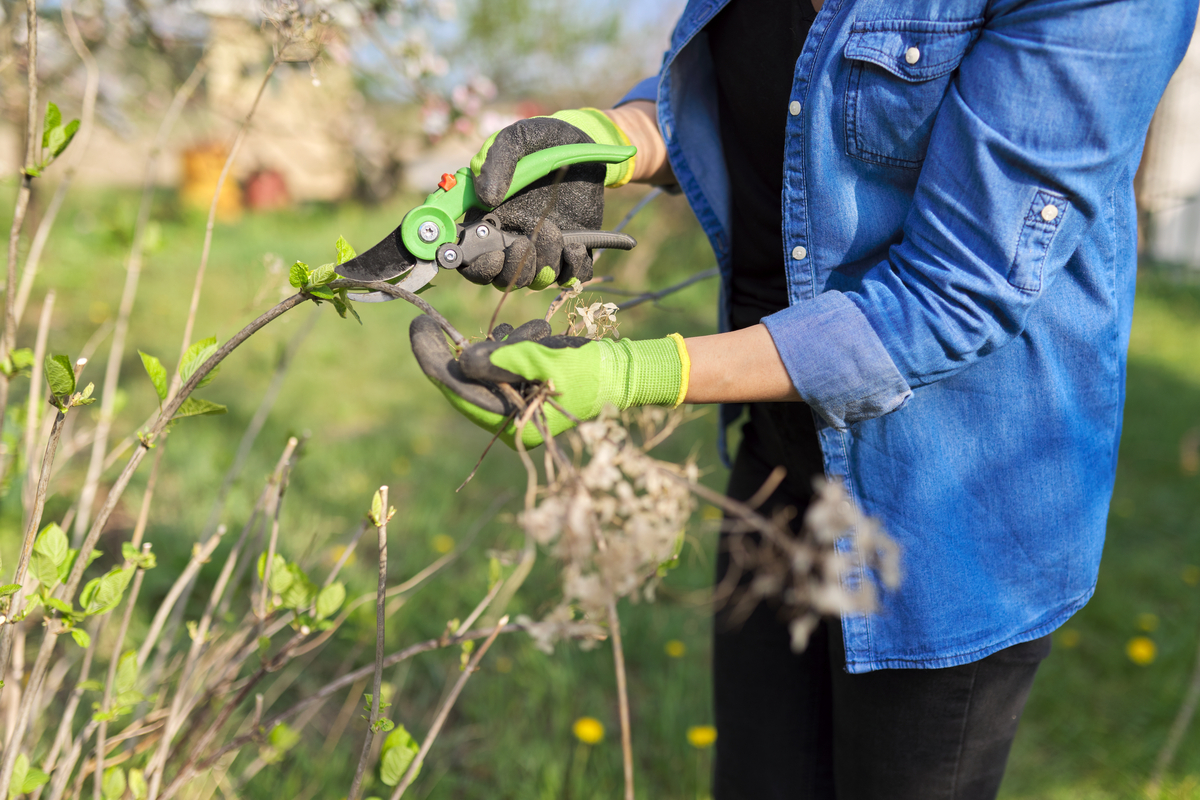
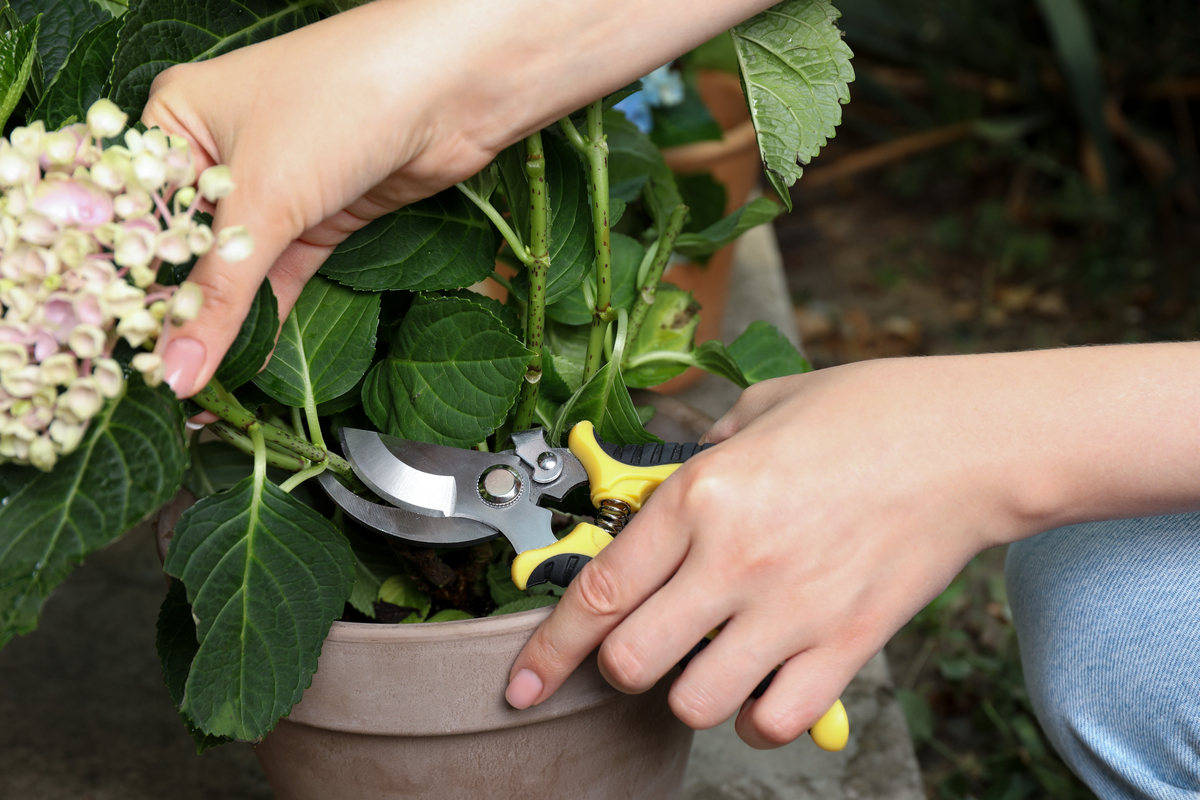
11. Deadheading and Pruning
It’s important to deadhead the spent blooms of hydrangeas regularly during the flowering season. This helps the plant rebloom and keeps the energy of the plant firmly focused on new growth. Make sure not to cut off any buds when you deadhead and use secateurs, cleaned and sterilized between each plant to avoid sharing any possible diseases.
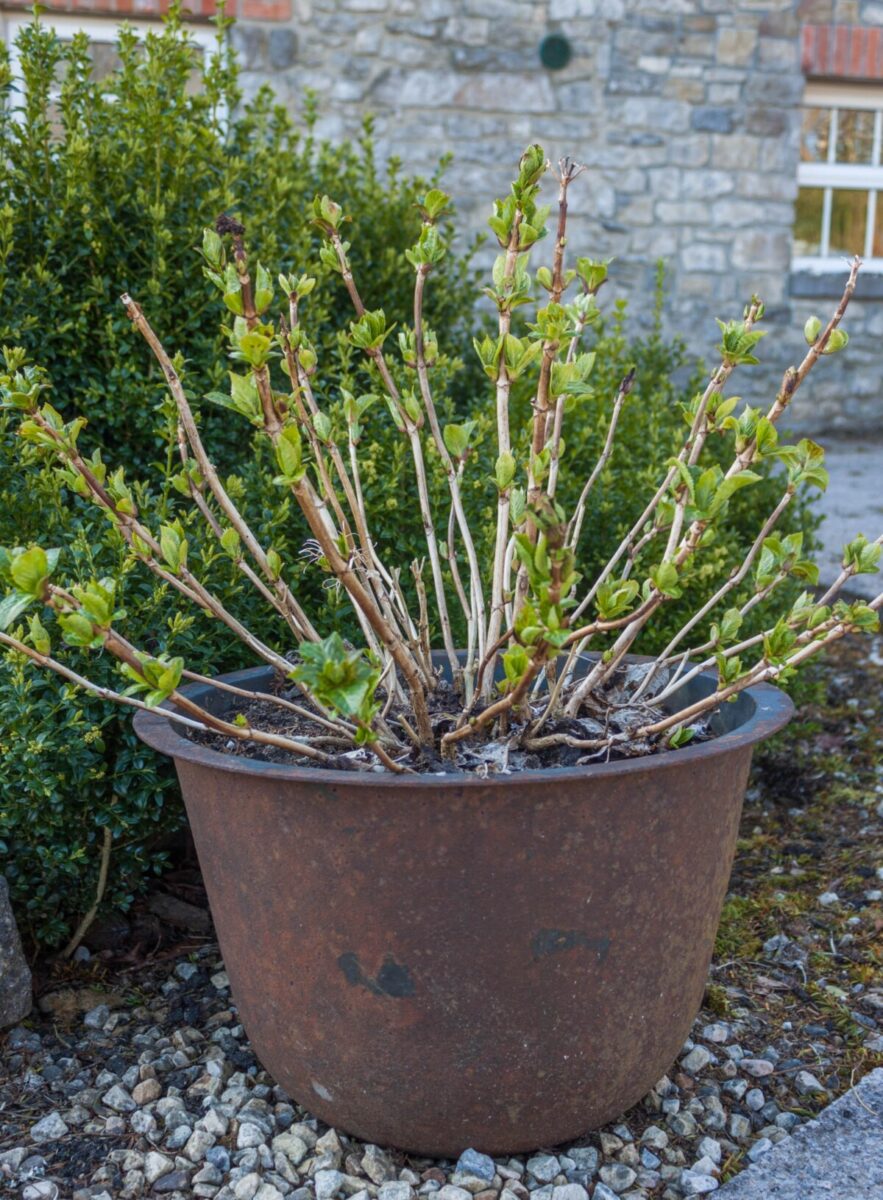
Hydrangeas need proper pruning after flowering with care not to cut into old wood. Each hydrangea variety will have its various ways of pruning as some bloom on old wood only and others on new wood or a combination of both. Make sure to research the proper way to prune the variety of hydrangea in your containers before tackling this important job.
12. Watch For Pests & Diseases
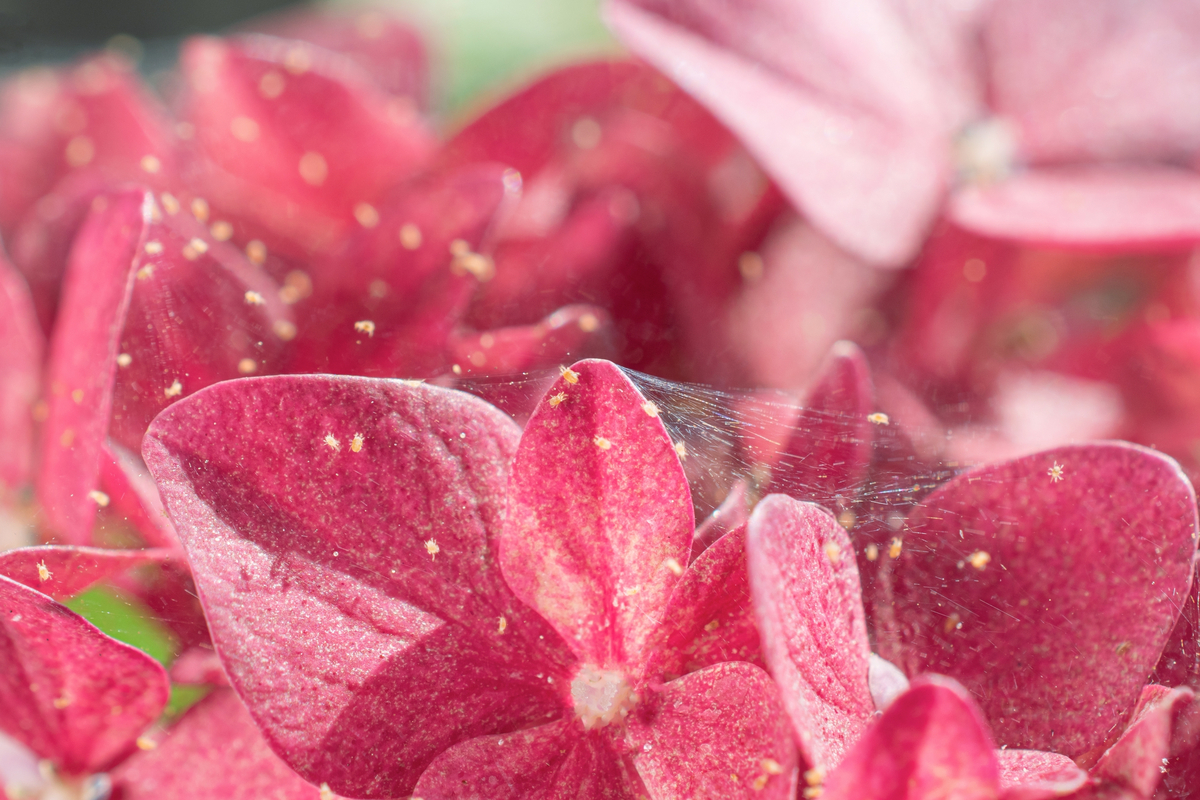
Well cared for hydrangeas in pots should not have any issues with pests and diseases. However, there are times when even the best care can’t prevent an infestation of some bug that flew in from the neighbors.
Deal with these decisively and you can continue to enjoy healthy plants. Look out for signs of aphids or red spider mites that suck the life out of leaves, buds and stems and kill them off.
Make sure watering is done correctly at the base of the plants to reduce the likelihood of diseases like botrytis blight, powdery mildew and leaf spot. Make sure there is good drainage in the container to avoid bacterial wilt and root rot.
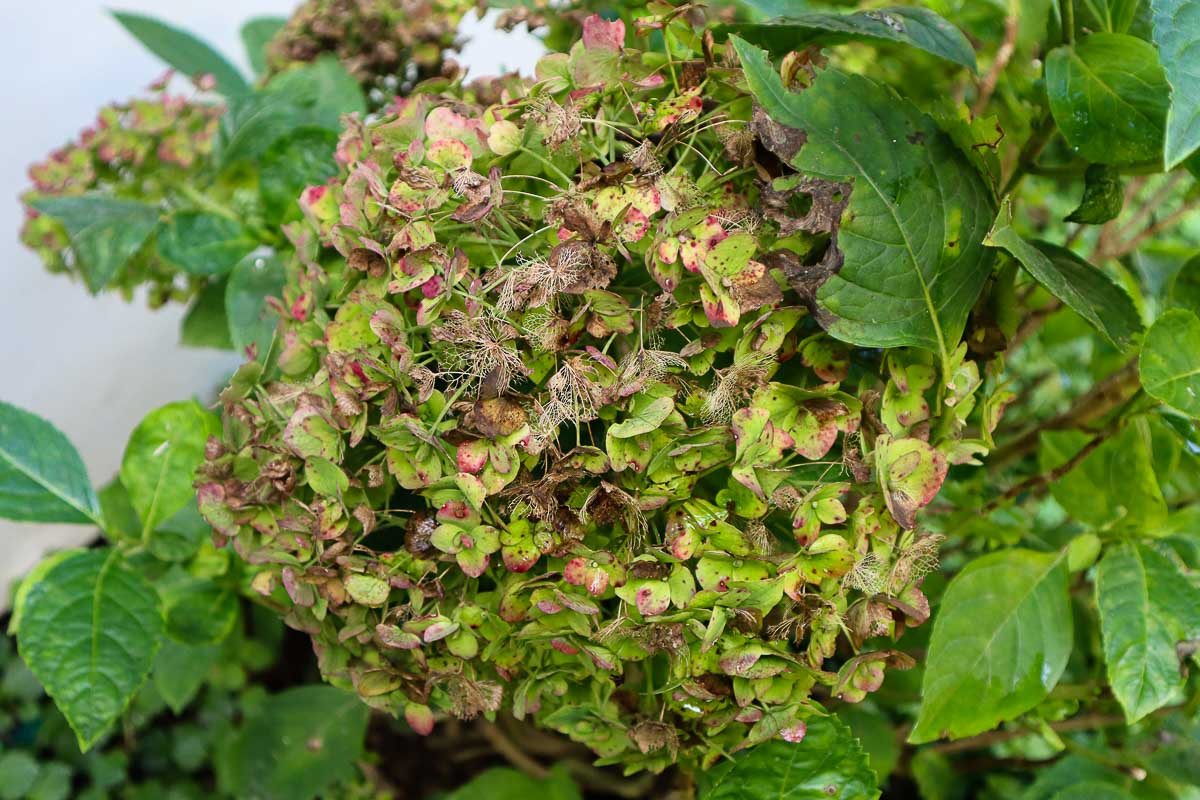
Marks and blemishes on the leaves may be a result of viruses in the soil. It’s imperative to study your plants, look after them with water and food, and enough sunlight and there should be no problems with pests and diseases.
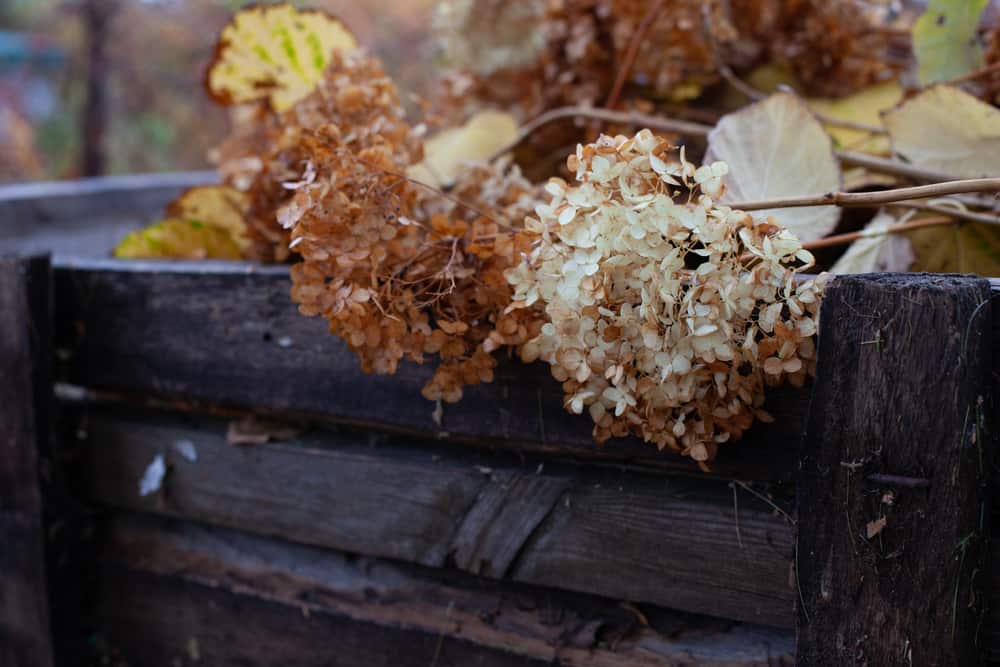
13. Don’t Forget Winter Prep
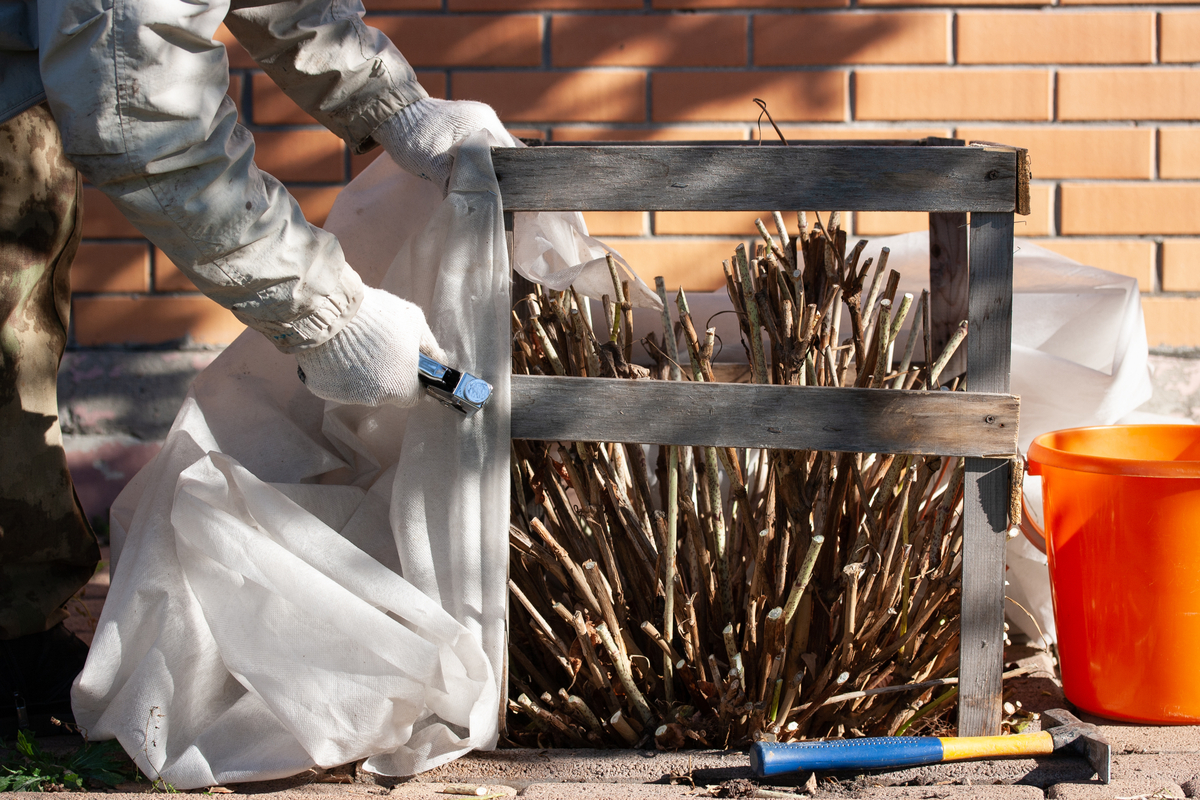
To keep hydrangeas in their natural growing rhythm, it’s best to overwinter hydrangeas outdoors. But that doesn’t mean leaving them in piles of snow, frost and wind.
Keep them as sheltered as possible but exposed enough to sunlight and rain. Cover with frost protection fabric or fleece if frost is expected and keep pots warm with blankets or bubble wrap if not weatherproof.
Also make sure that the soil is kept moist over winter. They should not be left to dry out, but also not waterlogged.
14. They Can’t Live In The Same Pot Forever
After a few seasons in a container, your hydrangeas will let you know it’s time for a new pot and a new dose of soil. They will not flower as well, may become a bit lanky and sparse, or just look a bit sad and untidy.
Choose a new pot a couple of sizes bigger and give tired hydrangeas a new lease on life with new potting soil, new mulch and a good clean-up of the stems and leaves.
15. You Can Still Use Them As Cut Flowers
Hydrangeas make a beautiful display as cut flowers in the home. However, they can wilt if not treated a bit before arranging in a vase. Before cutting blooms off plants, water them well the day before so they are fully hydrated.
Cut in the morning just above a node so that the plant can recover quickly and rebloom. Place the cut stems in a sink or bucket of warm water immediately and leave them for a few hours.
Recut the stems at an angle and dip the ends into alum powder (this powder is used for pickling and can be found in the spice aisle of supermarkets). This powder stops the end of the stems from blocking water movement up the stems and prevents wilting.
If your hydrangeas are wilting, try and rehydrate them by filling a sink or bucket with cold water. Dunk the heads into the water and cover them for about an hour. Shake off any water and they should be perked up and ready for their display.