You’d think that by this time in the year, I’ve already exhausted the most common methods of plant propagation. I’ve already written guides about propagating by seed starting, taking cuttings and plant division.
Alas, I have more propagation methods up my sleeve. They may not be as commonly used, but they are just as efficient. And one method that I don’t see mentioned very often is propagation by layering.
Layering propagation may not be very common; but I bet that if you’ve been growing strawberries (or even just went strawberry picking), you’ve seen it in action without realizing it. The strawberry plant grows runners that stretch from the main plant and put down roots next to it. When those runners are mature enough to survive on their own, we sever them from the mother plant, dig out the roots and move them to a different location.
When we’re propagating by layering, we’re basically doing the same thing. We’re taking cuttings without actually making the cut. We’re replicating what nature does for some of the plants in our garden when it sends above-ground runners that root when a node makes contact with the soil underneath.
What are the advantages of layer propagation?
Let’s talk about the pros first. Why choose layering over other propagation methods?
1. There’s a low risk of the new plant drying up.
Since the stem we’re layering remains attached to the parent plant until it gets its own roots, the risk of our propagation dying from lack of moisture is greatly reduced.
You know how I always tell you to keep cuttings and divisions well watered so that they don’t die before they get a chance to root? That’s not such a problem in layer propagation. Of course, you still have to water the main plant in case of drought, but you’d have to do that anyway.
2. Layering is a good method for plants that are hard to propagate in a different way.
When I showed you how to take rhododendron cuttings, I was honest about the low chances of all the cuttings turning into new plants. Some plants are just very tricky to propagate. Not impossible, but you will need a lot of backups and a lot of patience.
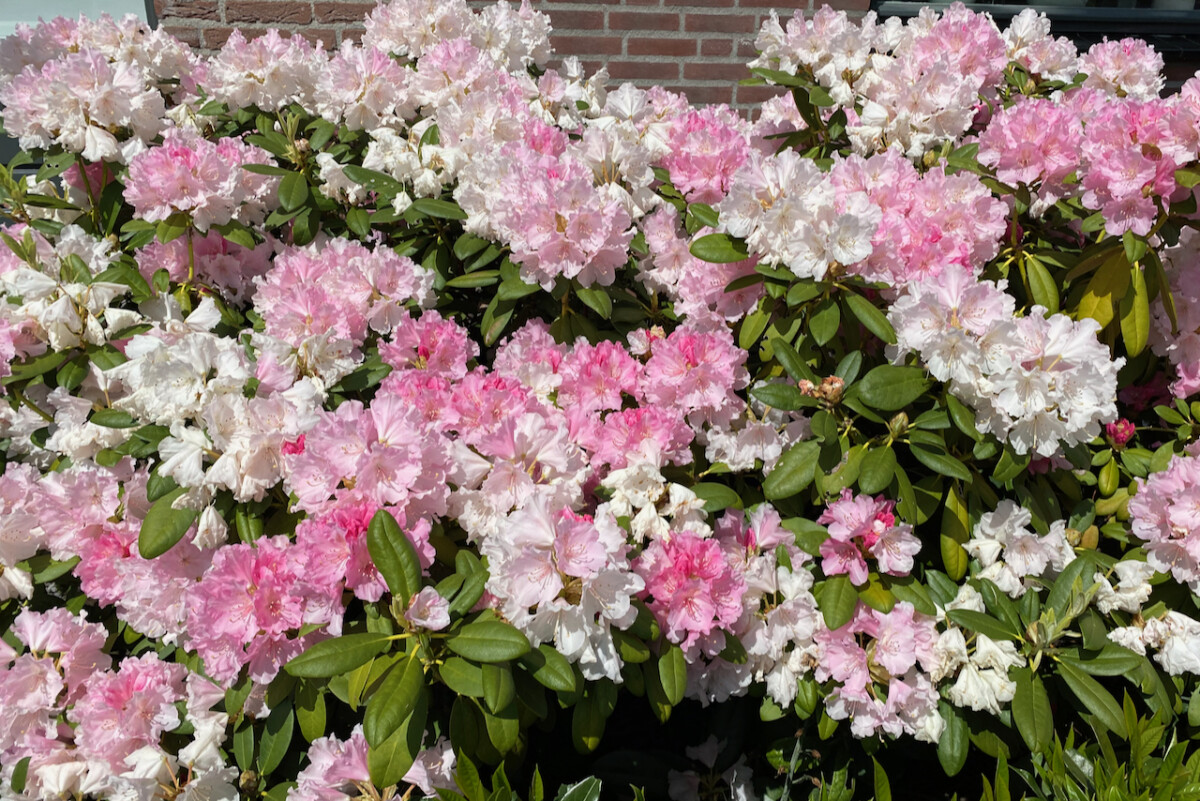
This is often the case with shrubs and other woody perennials such as camellias, magnolias, cornus, forsythia and yes, rhododendrons. Luckily, there’s always more than one method to propagate a plant. So if cuttings are failing to take off, give layering a try.
3. We end up with a larger, more mature plant.
When we take cuttings, we’re starting a brand new plant from a small piece of stem, often ten inches (25 centimeters) or shorter. Even if the propagation is successful, it will take years for that plant to grow larger.
When we layer, we often choose branches that are larger than a regular cutting. So when the time comes to cut the propagation off the main plant, we end up with a larger new plant. It may not be much, but when it comes to slow-growing plants (such as camellias and rhododendrons), fast-forwarding a couple of years makes a big difference.
What are the disadvantages of propagating by layering?
I always want to present you with the full picture so that you can decide for yourself whether this method of propagation is right for yourself and your garden. So here are some of the drawbacks of making more plants by layering.
1. Successful layering can take up to a year.
Since we ended the list of advantages by mentioning how layering can save you time, you may have got the wrong impression that it is a quick process. It is easy, but it’s not fast. It can take up to a year between the time you do the layering and the time the new plant is ready to stand on its own.
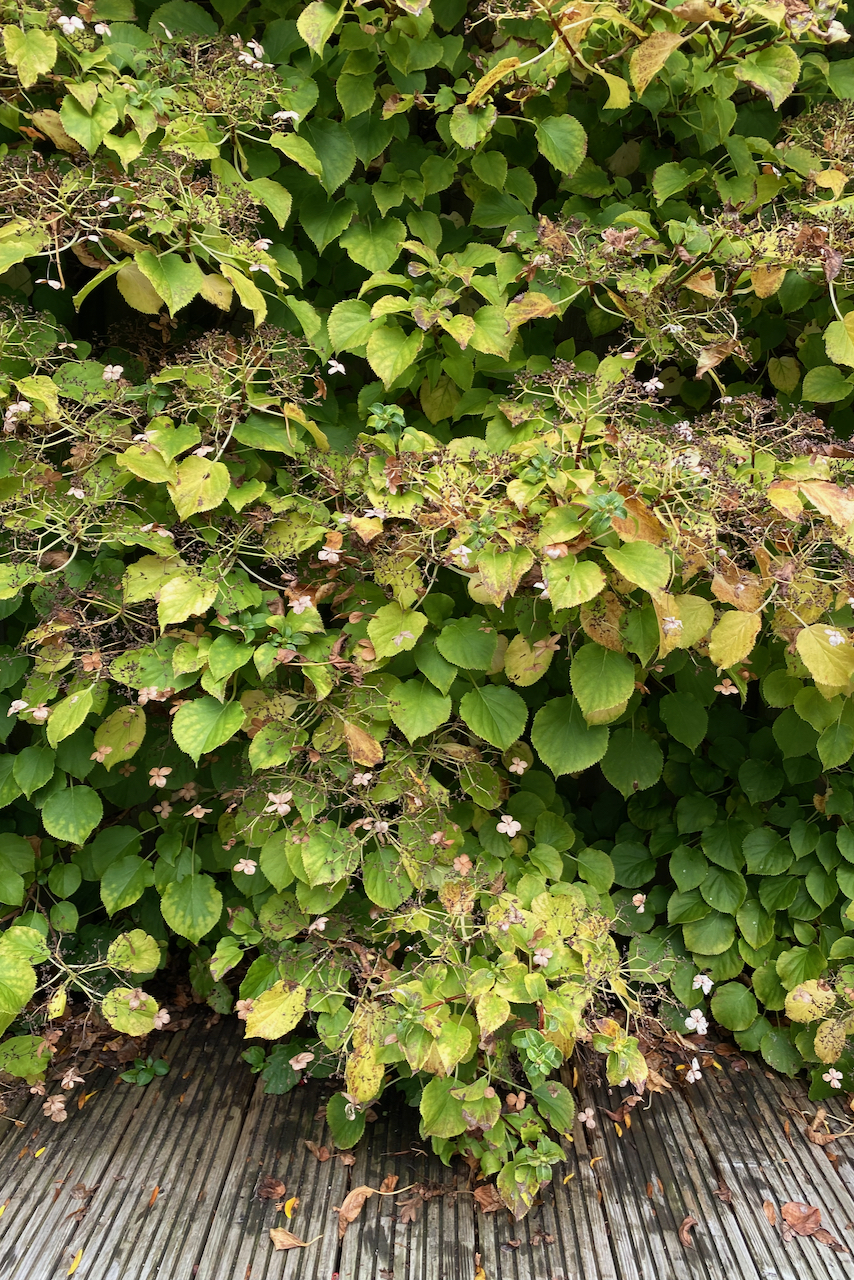
In my experience, it took about eight months before I was ready to cut the cord for a new climbing hydrangea plant. I kept checking root formation after the fourth-month mark, but the layered branch just wasn’t rooted enough to stand on its own. So having patience is key when you’re layering plants.
2. It requires enough space around the main plant.
This may or may not be a disadvantage depending on how your garden is set up. In a large garden with plenty of space in between shrubs, you’d have no problem layering branches left and right. In a tight space, this becomes an issue.
Any stem that you’re layering must stay in place throughout the whole duration of the propagation, so you can’t just move it around to make room for more plants. You have to clear enough space around the parent plant and keep it clear for up to a year.
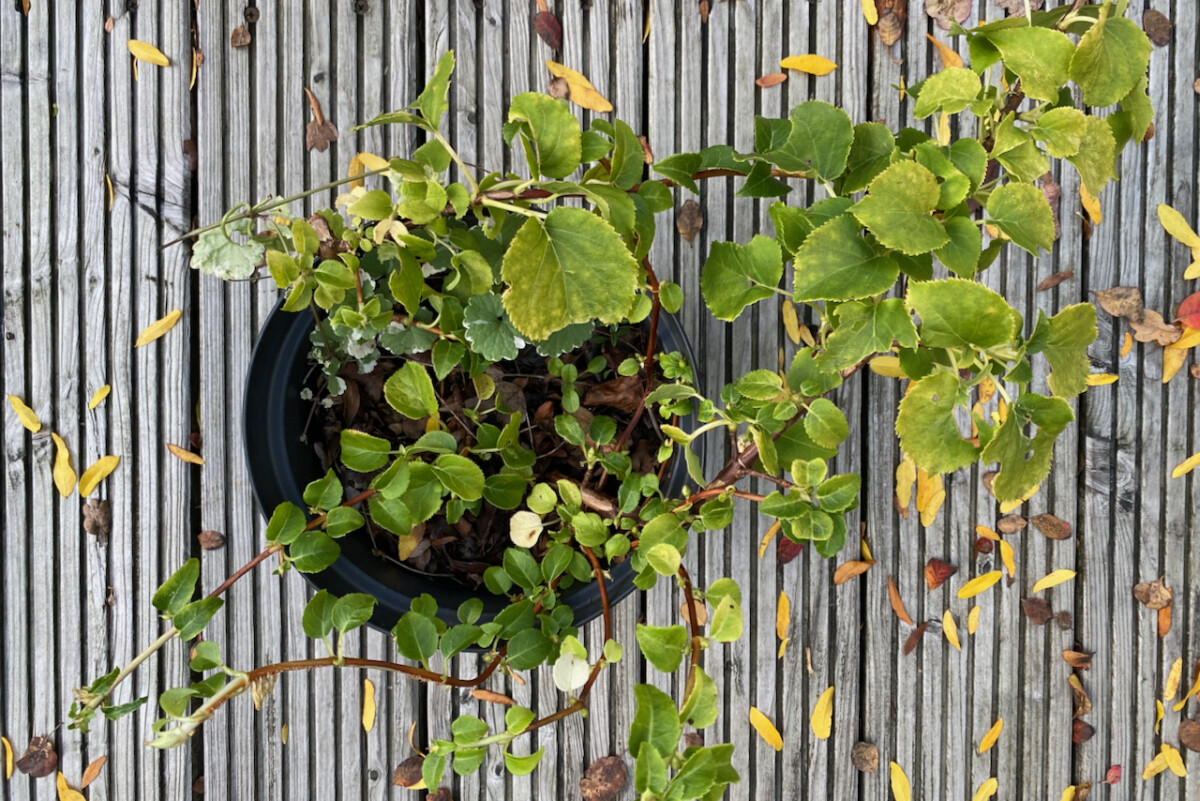
This is not a problem when you propagate potted plants though.
3. You may need a different temporary setup.
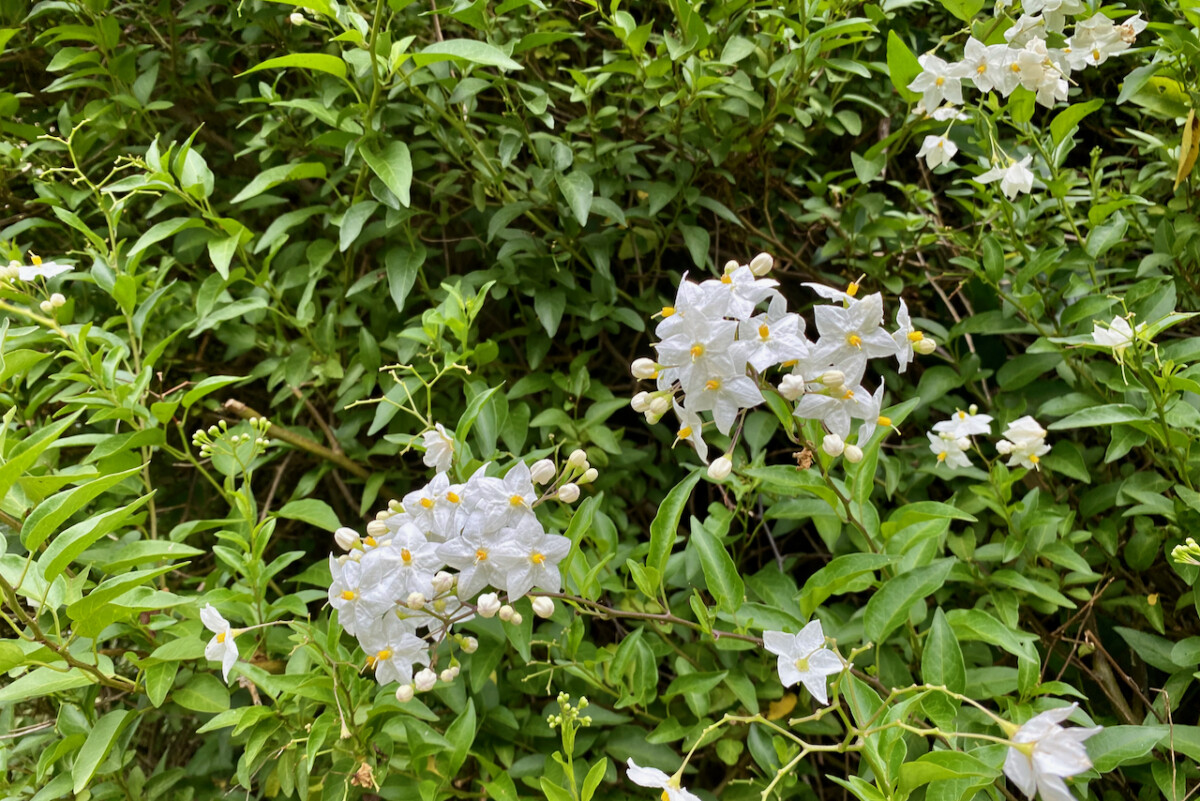
In some cases, it’s impossible for the branch that’s most appropriate for layering to reach the soil. This is often the case for vines that have already grown pretty high above ground. Take, for example, my star jasmine. The very mature stem goes on for about three feet (one meter) before you start getting to any branches. Even the longest vines can’t reach the ground enough to stay in place for layering.
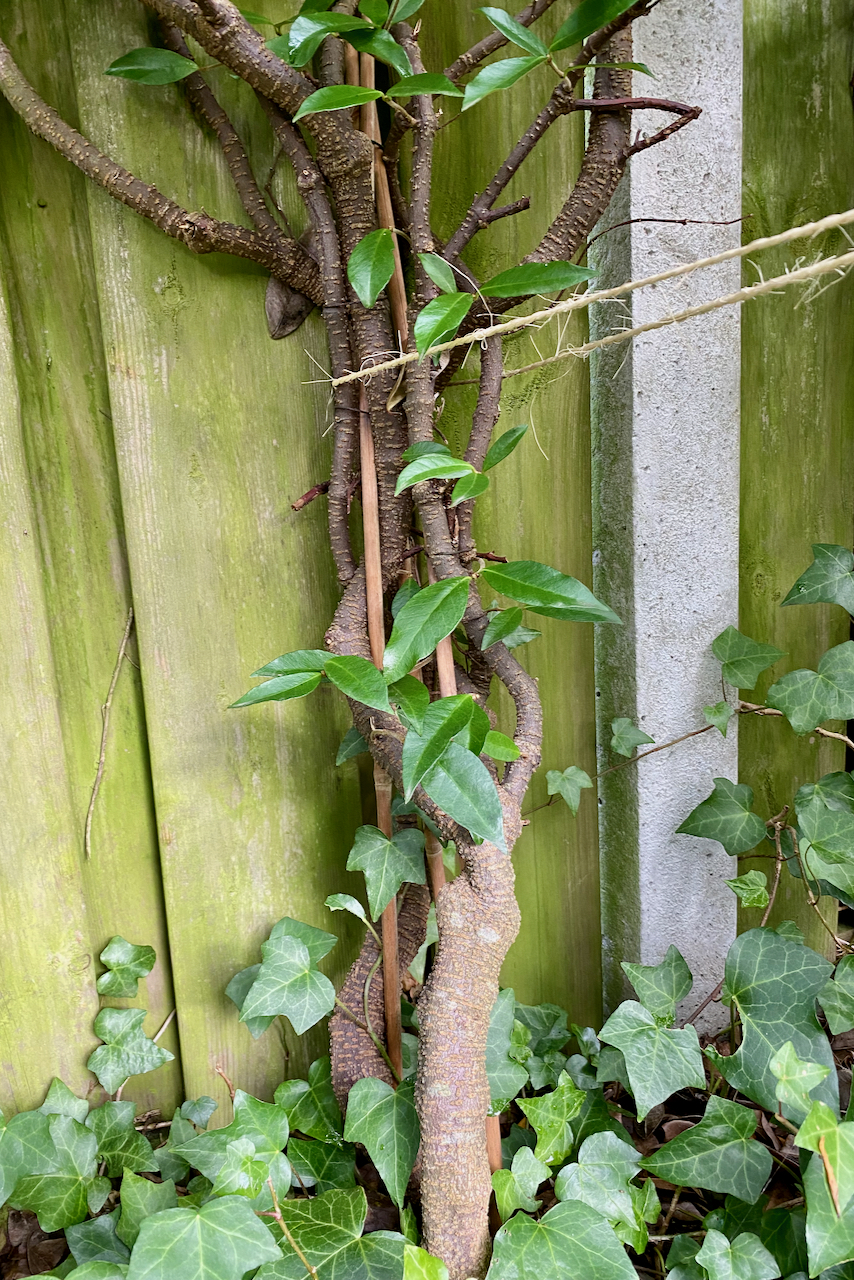
So the solution is to bring the soil up to the branch. I set up a stool next to the plant and put a container full of potting soil on the stool. Then I lowered the branch into the potting soil. Again, this may not be a disadvantage if you have enough space to accommodate this setup in the long term.
4. You may damage your plant in the process.
In order for the layered branch to stay in place, you have to bend it as far as possible to be parallel to the ground. Some branches (usually younger growth) are more malleable than others (older growth). The problem is that you won’t know until you try bending it.
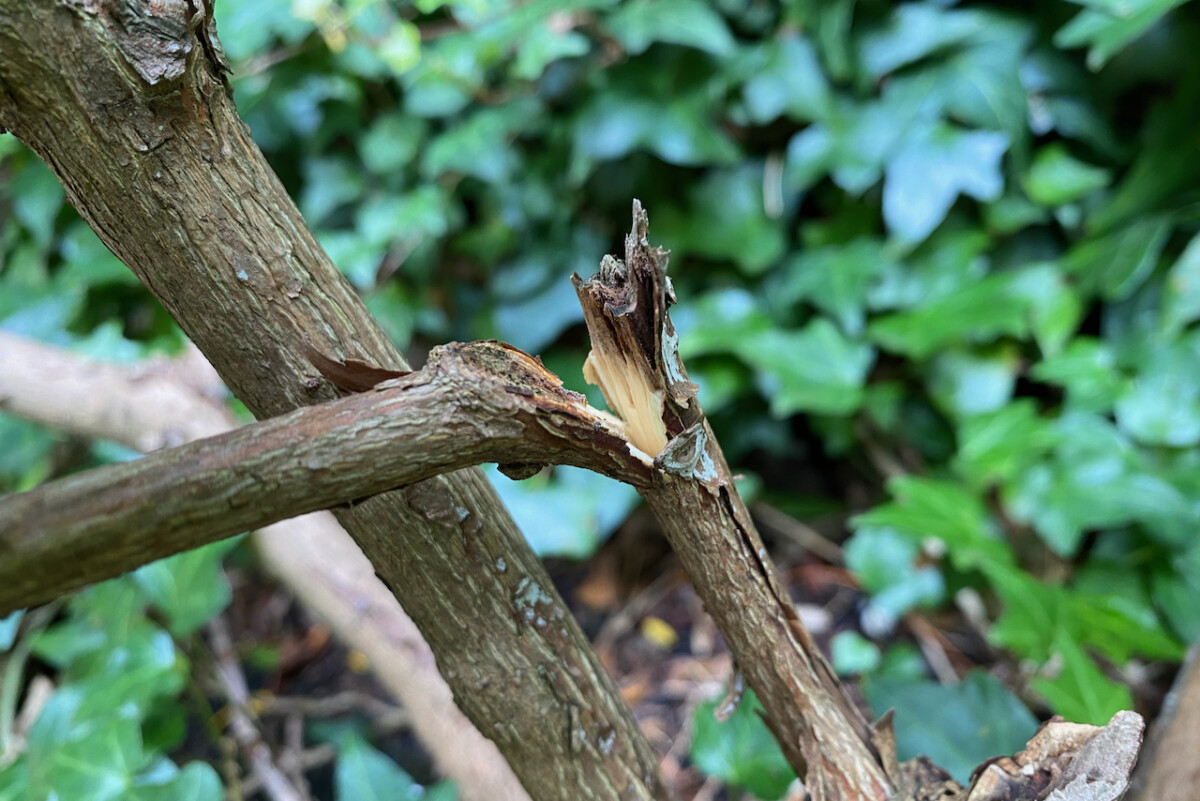
I managed to snap a rhododendron branch in the process of trying to layer it. Lesson learned and moving on.
What plants can you propagate by layering?
Here’s a list of the most common garden plants that will respond well to layer propagation.
Rhododendron
Camellia
Smoke bushes (Cotinus)
Summersweet (Clethra)
Magnolia
Cotoneaster
Daphne
Jasmine
Potato vine (Solanum jasminoides)
Heather
Forsythia
Honeysuckle (Lonicera)
Clematis
Hops (Humulus)
Japanese laurel (Aucuba japonica)
Mountain laurel (Kalmia)
Holly (Ilex)
Climbing hydrangea (Hydrangea anomala subsp. petiolaris)
Bougainvillea
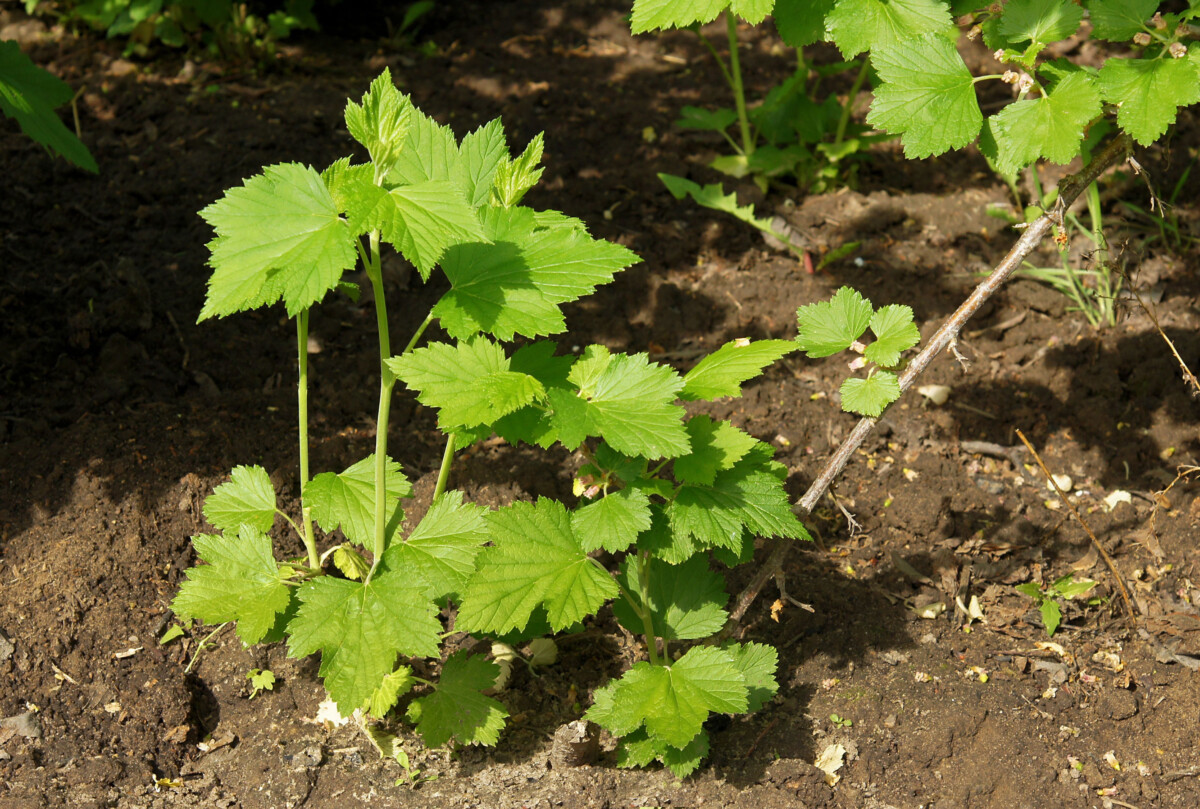
Juneberries (Amelanchier)
It’s worth mentioning that there are also some plants that layer themselves, without any outside intervention from us gardeners.
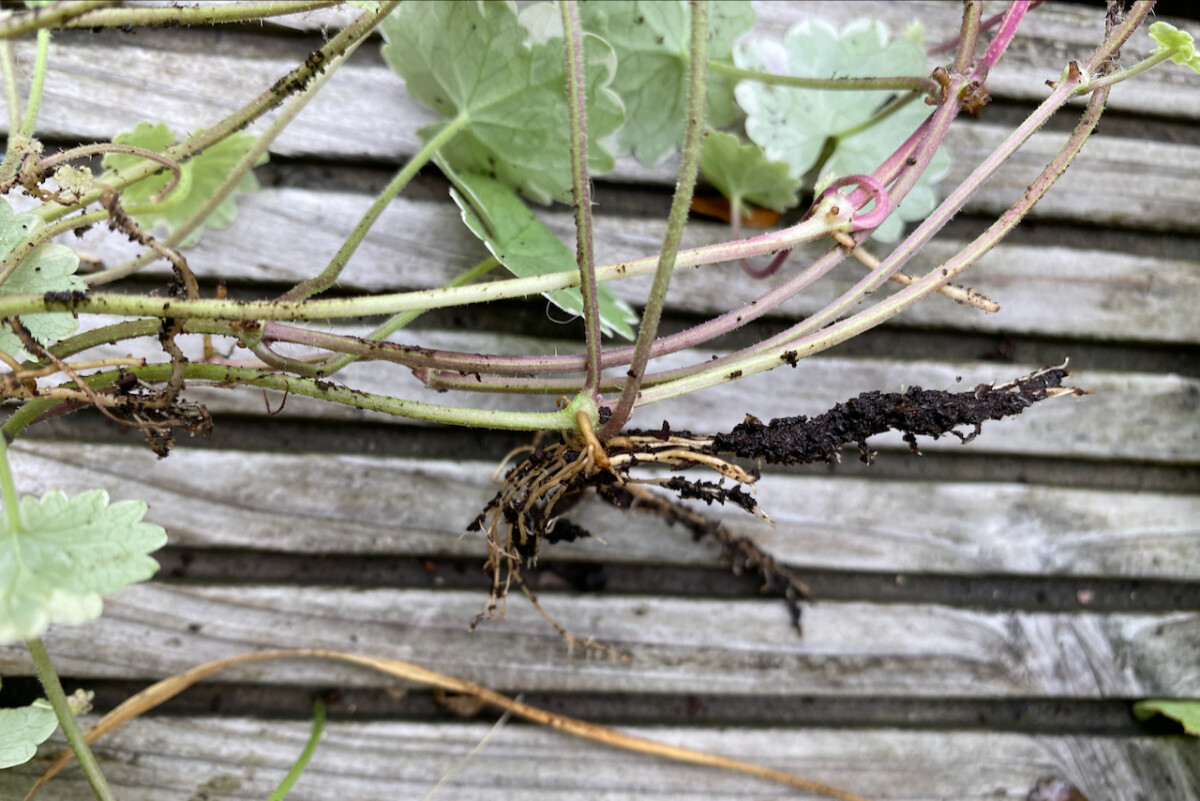
In addition to strawberries, plants such as lavender cotton (Santolina chamaecyparrus), rosemary, savory (Satureja), creeping Jenny (Lysimachia nummularia), southernwood (Artemesia abrotanum) and perennial candytuft (Iberis sempervirens) grow outward branches that develop roots upon touching the soil. You can simply separate them from their mother plant, then dig up the roots of the new plantlet and relocate it.
How to propagate by layering
For all the other plants on the list that don’t layer themselves, here’s a simple, four-step method that you can follow.
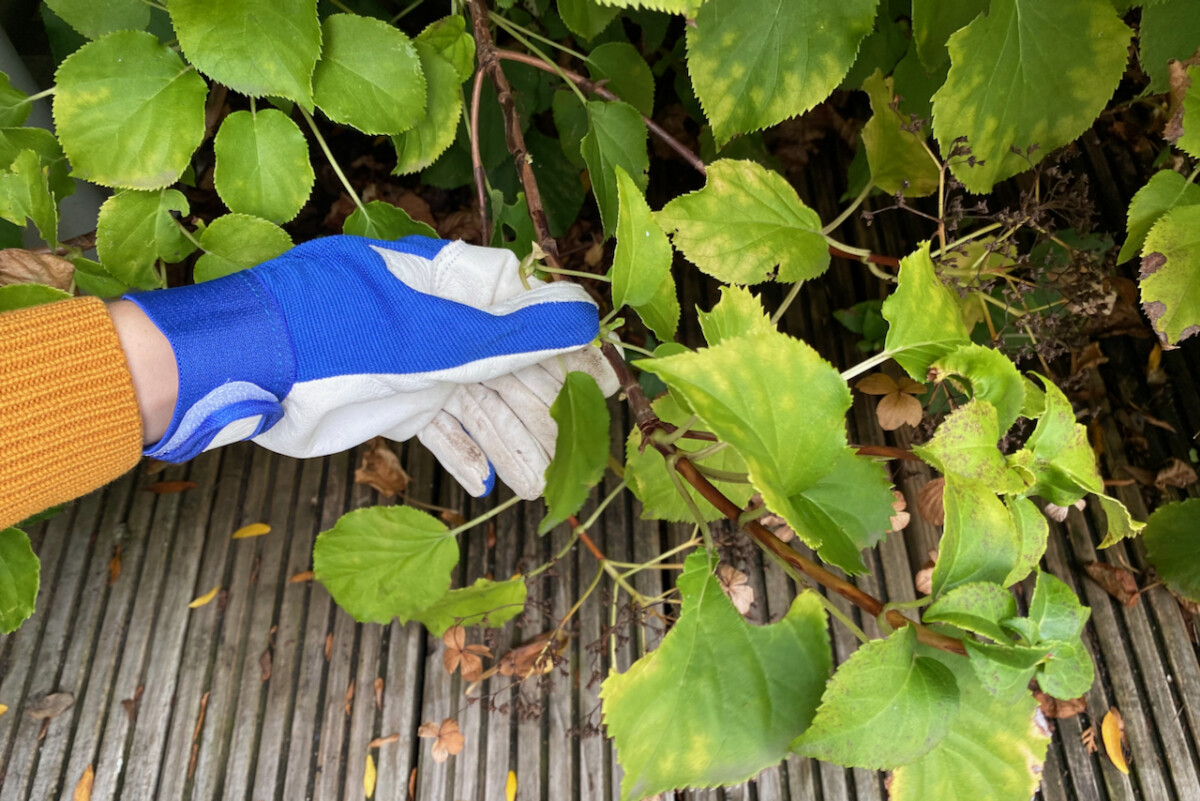
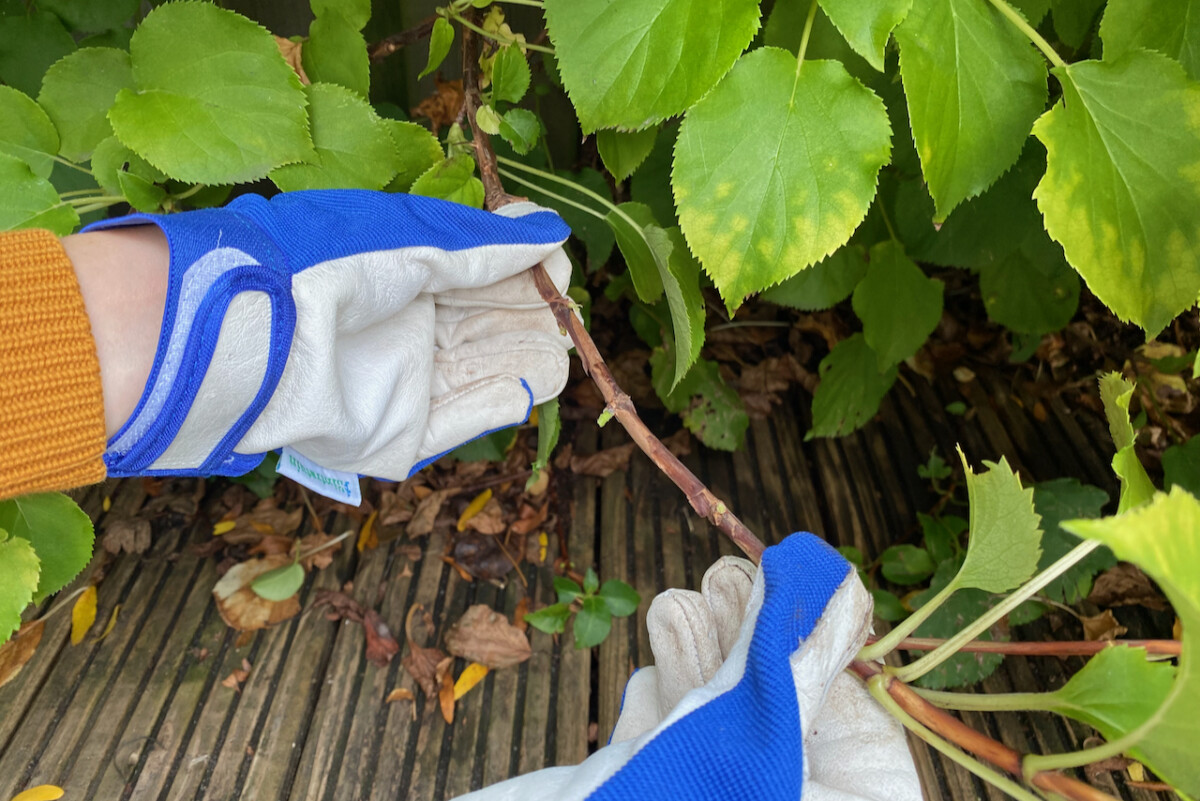
Step 1: Select a suitable stem for layering.
We’re specifically looking for a low-growing or low-hanging branch that is flexible and doesn’t have flower buds or blooms. For some plants, this is tricky to find because usually the low branches are older hardwood that tends to snap easily. So be very gentle when you’re testing your branches.
There’s more flexibility if you’re propagating a potted plant because you can raise or lower the mother plant without putting too much stress on the bent stem.
Step 2: Prepare the stem for layering.
Just like when we propagate via cuttings, we start by stripping the leaves off the stem to expose the leaf nodes. This is where new growth will emerge from.
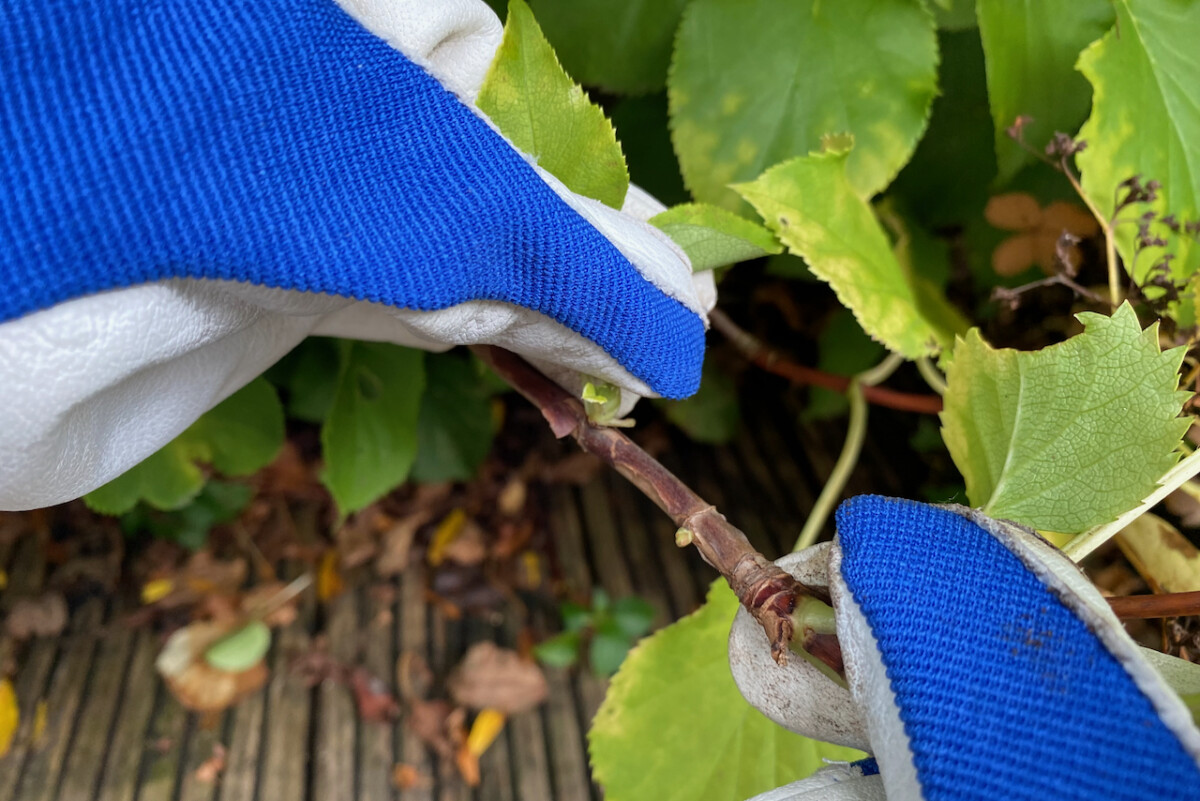
I also had to trim off some of the adjoining flowering branches that were in the way. The goal is to have a clear length of stem with at least one leaf node below (but two nodes would be ideal).
In order to speed up the rooting process, we’ll also score the stem before we layer it on the ground. Make a small incision on the underside of the stem – where it will touch soil – at or close to a leaf joint. But don’t cut the leaf joint off. Keep the scoring more surface-level so as not to cut through the entire stem.
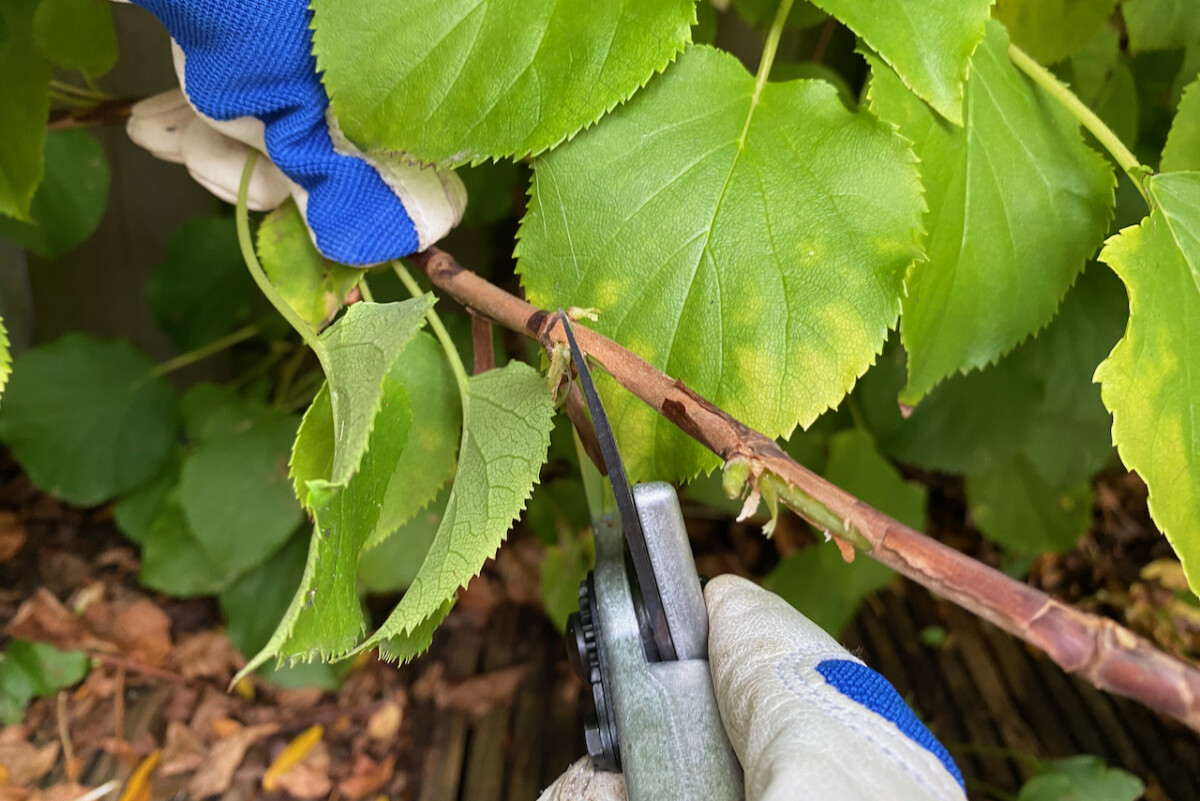
I’ve seen some tutorials where the gardeners insert a small pebble or a toothpick to keep the wound open. I choose to skip this extra step because it adds to the risk of snapping the branch in half and having to start all over again. That may just be me being extra clumsy and extra cautious though.
Step 3: Prepare the ground for layering.
One of the advantages of layer propagation is that there are different setups. You can layer from a planted shrub to the ground next to it, from a planted shrub to a container next to it, or from one potted plant to another.
If you’re layering straight in the ground next to the parent plant, dig a shallow trench for the stem. Don’t dig too deeply, unless you’re confident you can bend the branch even further down.
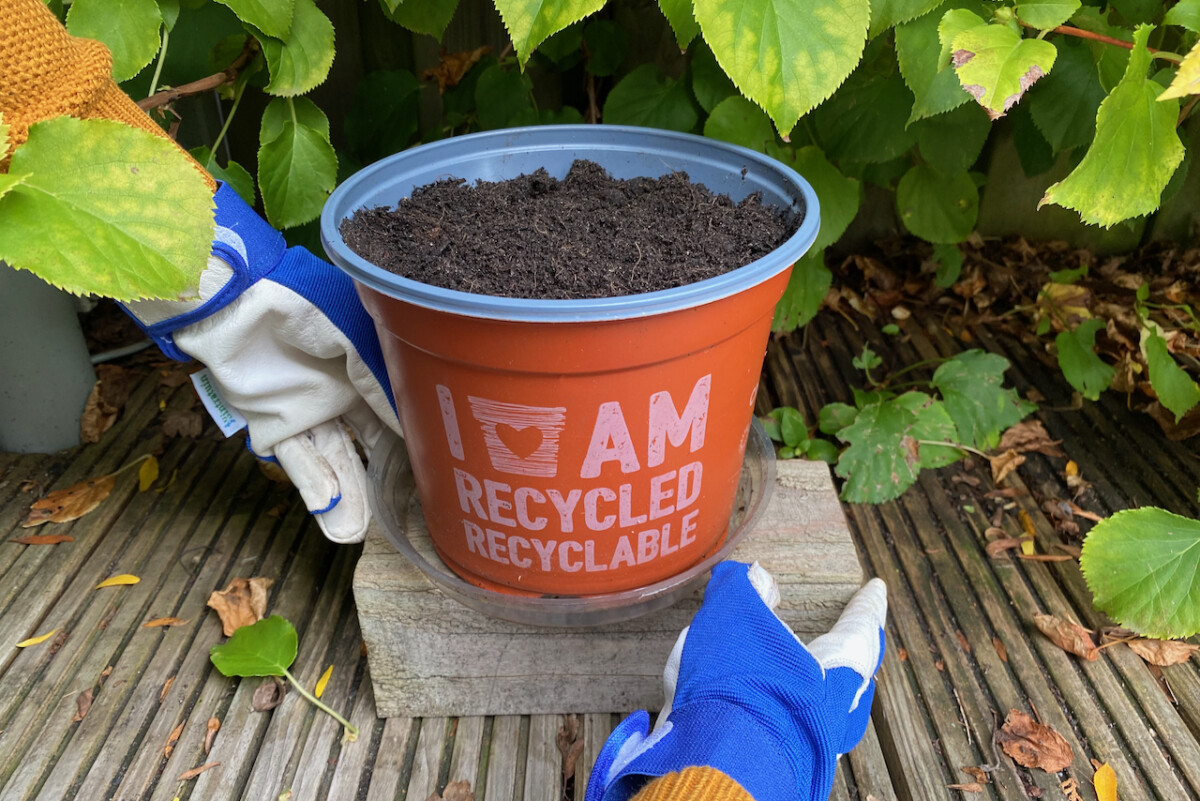
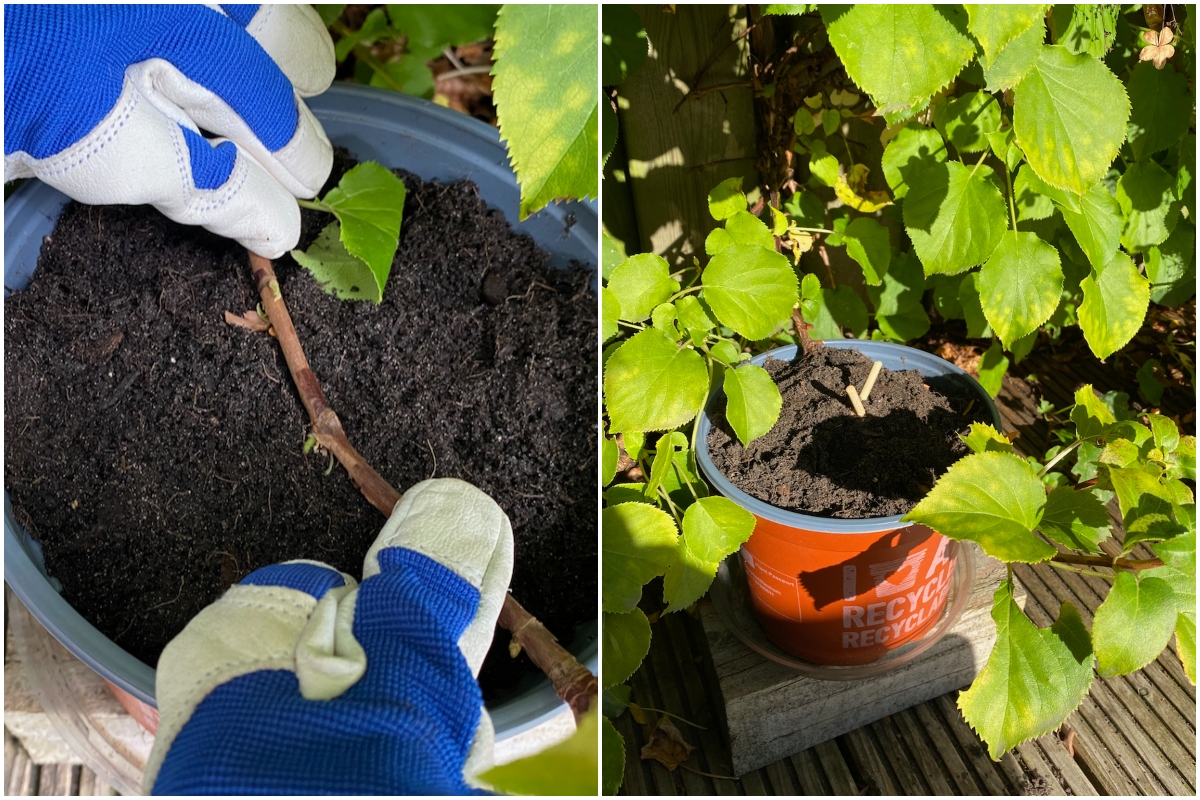
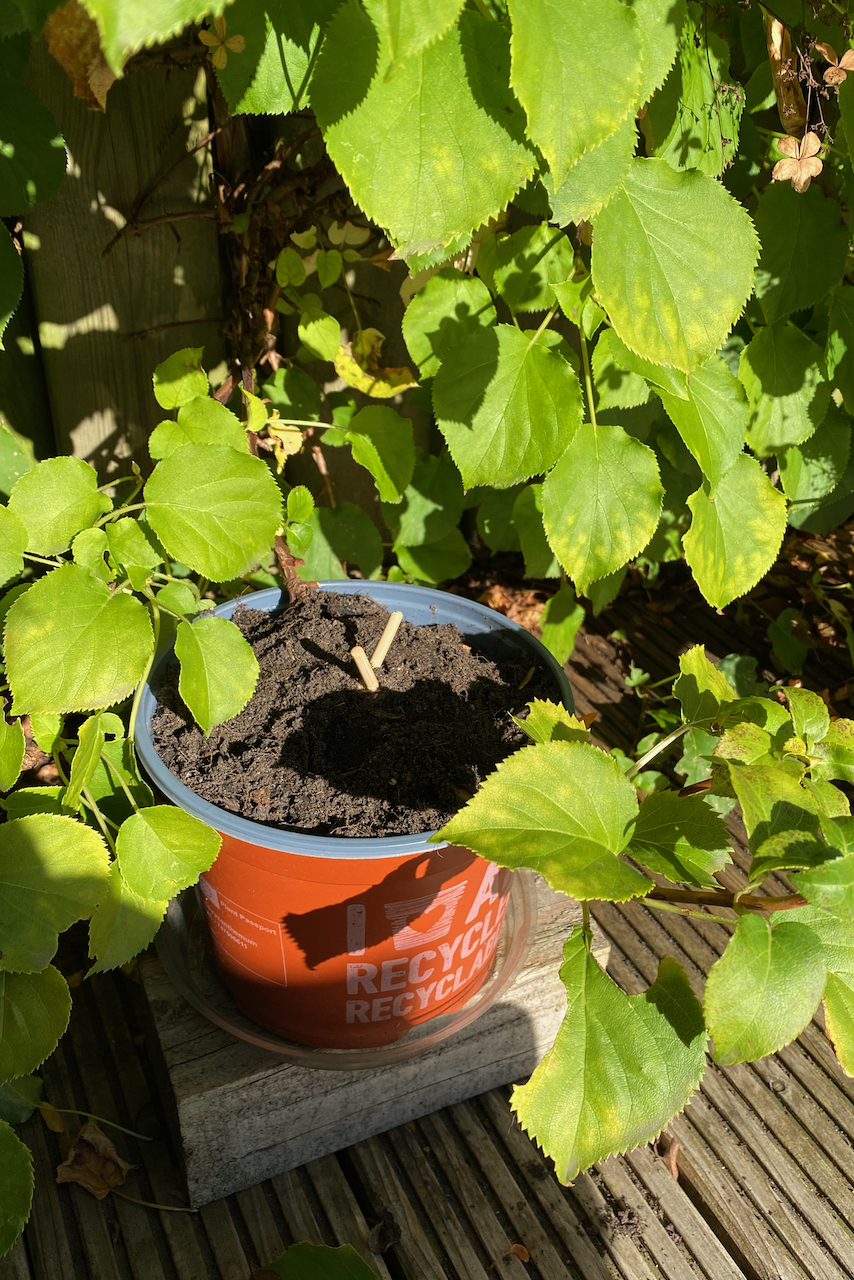
I’m propagating the climbing hydrangea which is growing on the fence along my deck, so there is no soil underneath it to layer in. That’s why I’m using a container for layer propagation. And since the lowest branch doesn’t quite reach the pot, I’m being extra resourceful and propping the container up on a block of wood.
If you’re doing container layering, make sure you’re using free-draining soil and a pot with drainage holes.
Step 4: Layer the branch and secure it.
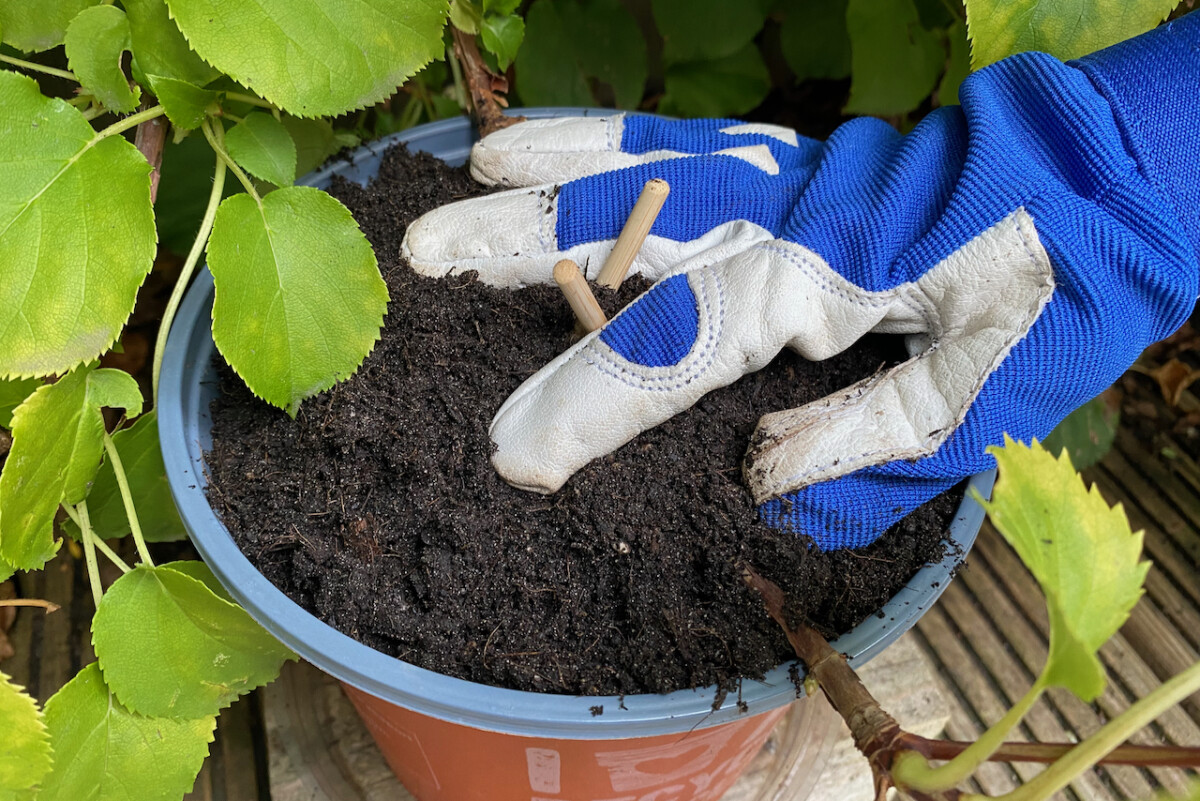
Gently bend the branch over the soil or the trench you dug with the scored section and the leaf nodes touching the soil. Press the stem in the soil. It will not stay there when you let go, so you’ll need something to secure it in place.
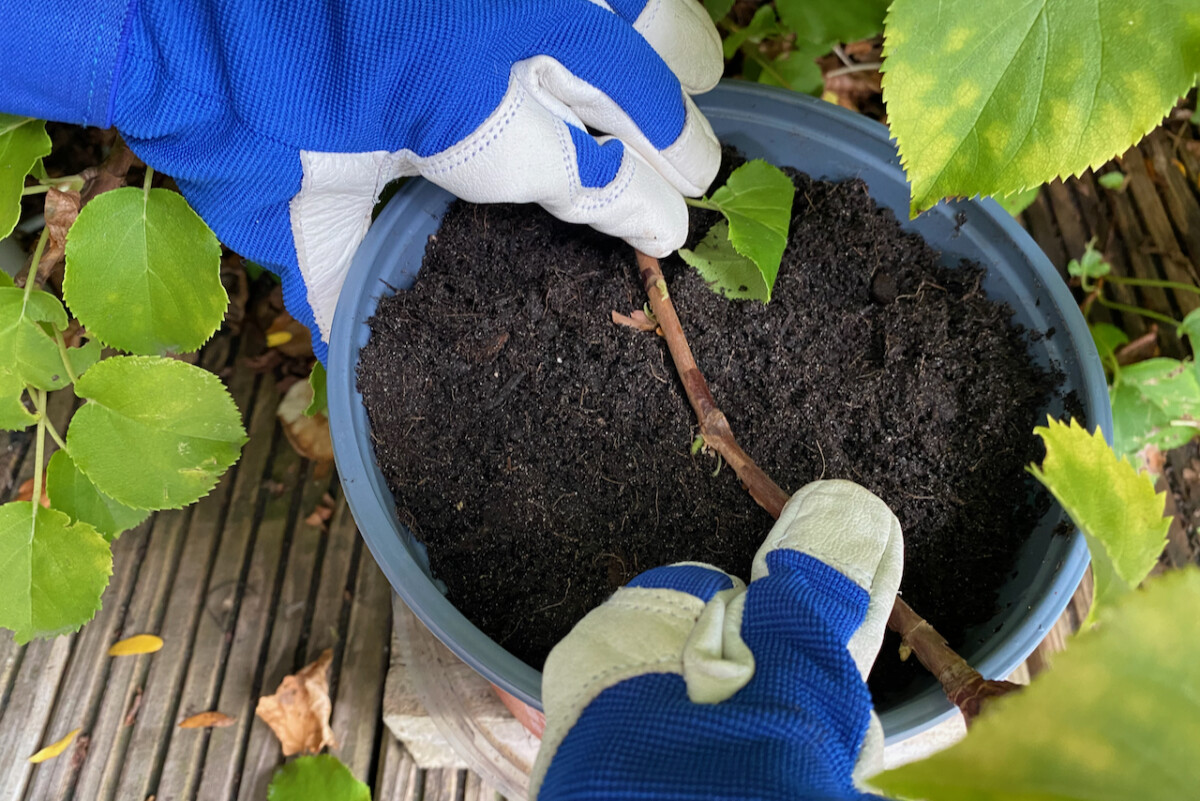
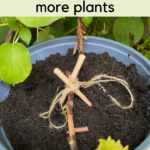
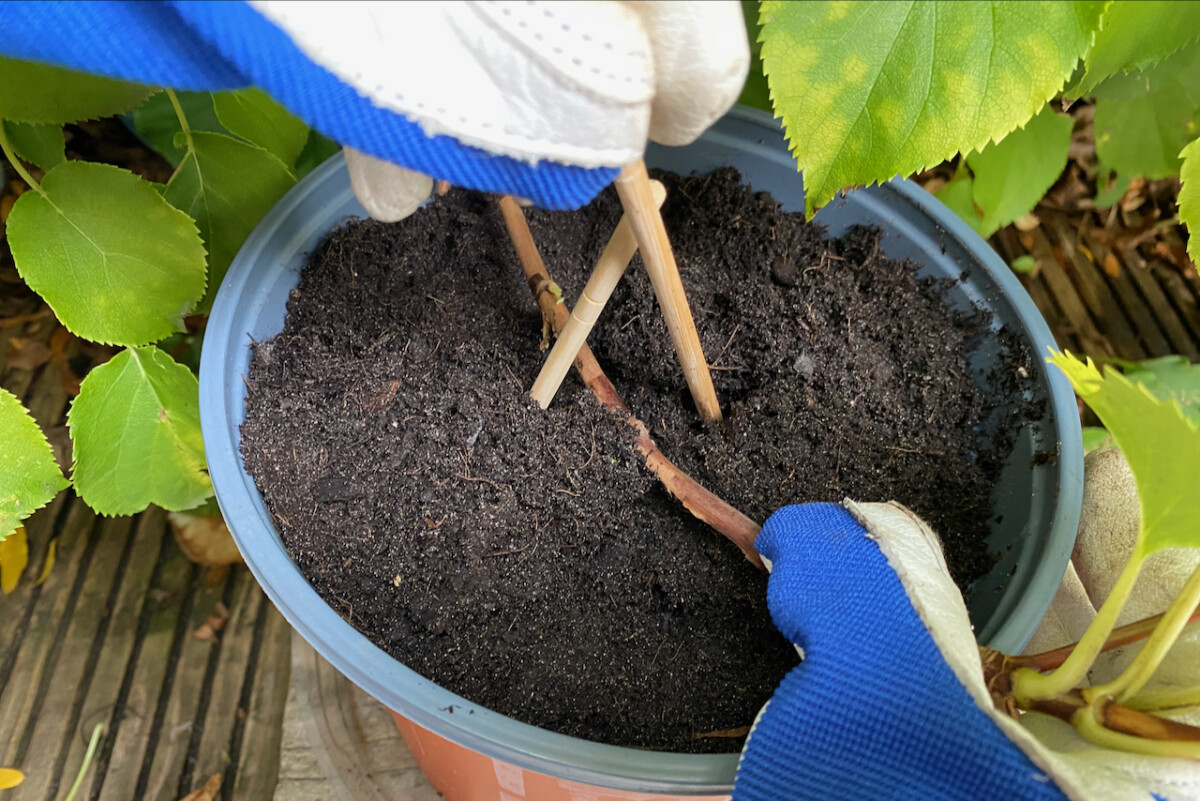
Depending on how strong and spring-loaded your branch is, you can use a U-bent wire or a couple of bamboo sticks. I’m using a pair of chopsticks that cross at the top to form an X. And just to make sure they stay in place, I pressed them firmly in the ground and I tied the top with a piece of twine.
If you’re using a large branch for layering, you might even have to put down a bit of weight to prevent it from moving. I think that evenly distributed weight – such as a small bag of compost – works much better than using a rock or another potted plant.
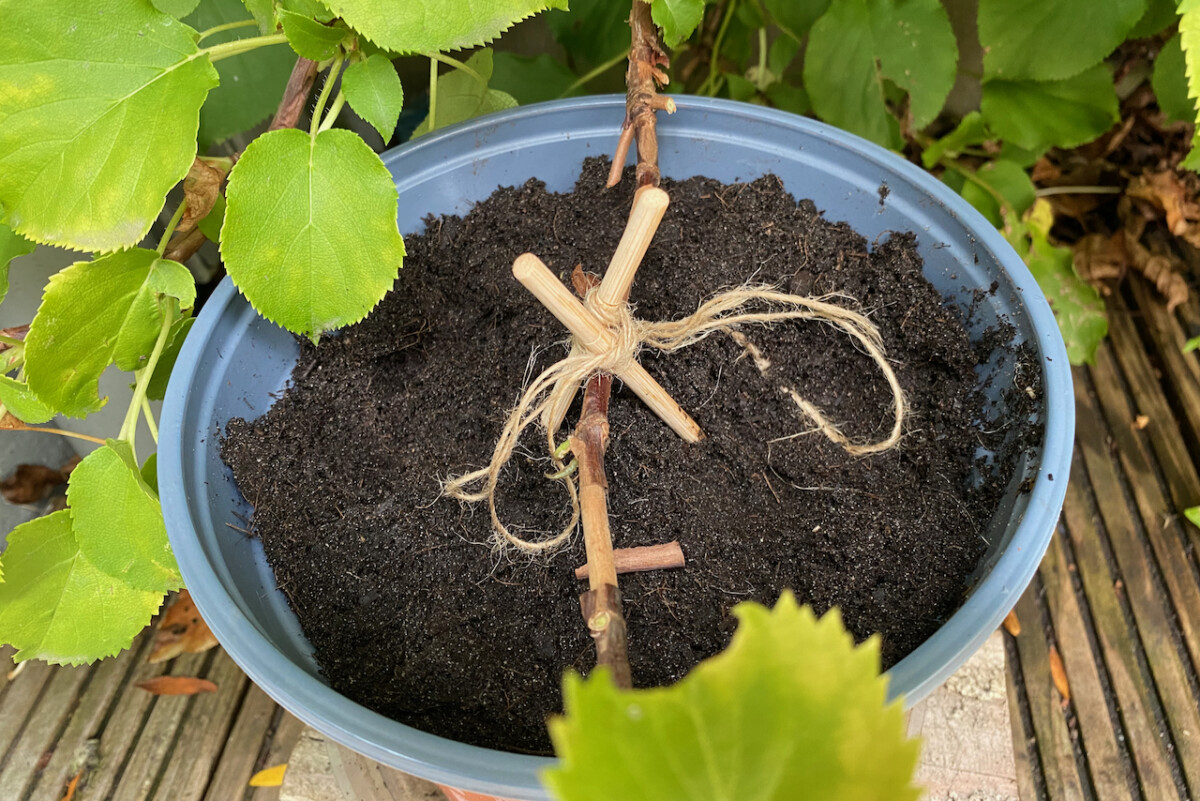
Once the stem is secure, cover it with more soil and firm it in. If you’re layering straight on the ground, now it’s time to fill the trench back up. If you’re layering in a container, mound some potting soil on top of the layered stem. Water it thoroughly, then add more soil on top.
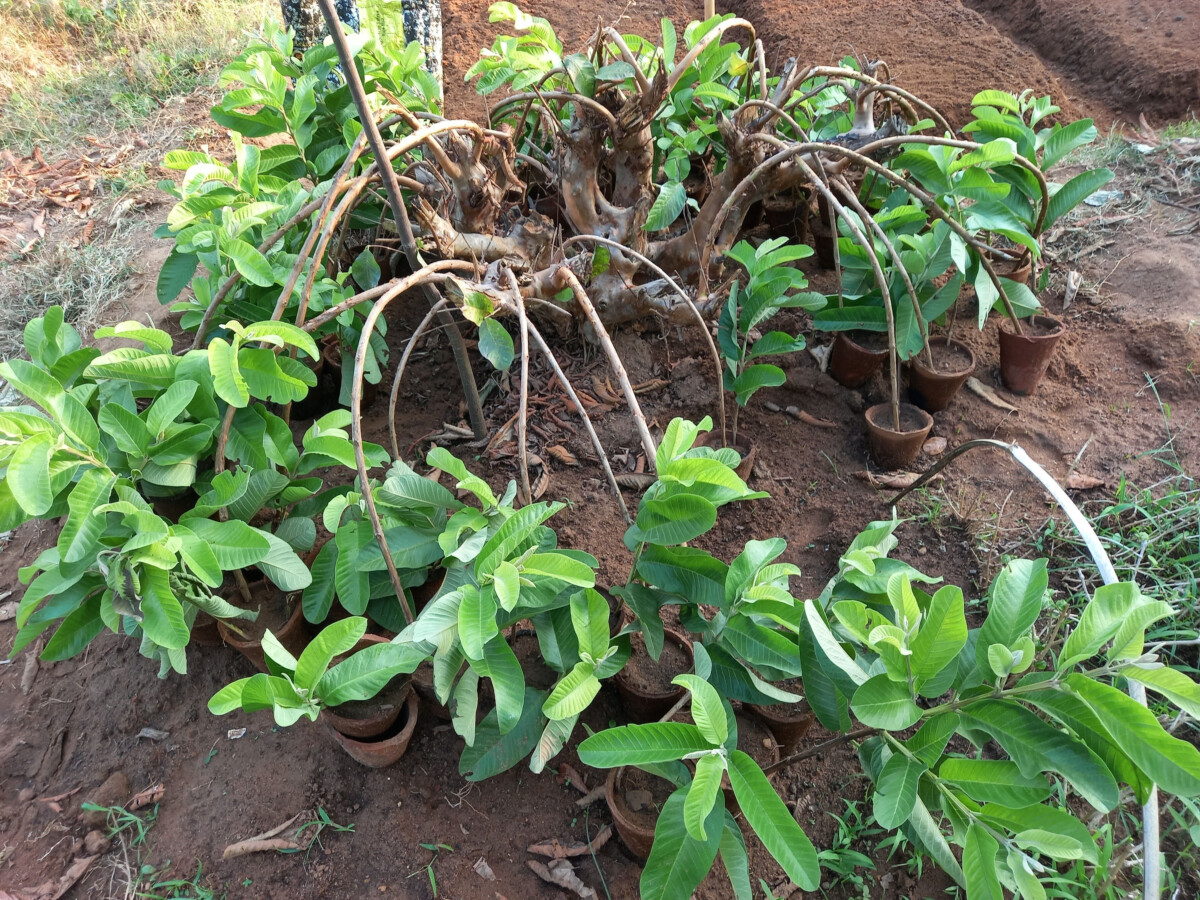
Over the coming months, keep both the parent plant and the layered branch sufficiently watered. This is especially important if you’re propagating a potted plant. If you’re propagating a container plant in the summer, move both containers to a partly shaded area to avoid heat and drought stress.
How long does layered propagation take?
It can take between six months and a year for the layered branch to grow roots that are strong enough to sustain a new plant. I’ve noticed that fall propagation takes longer than spring propagation. And that makes perfect sense because plants enter dormancy and stop growing during the cold season. But one of the advantages of propagating by layering is that you can get it set up in any season.
Sometimes, you’ll see new growth emerging from the tip of the layered branch. But I usually don’t bother checking for root formation for at least three or four months.
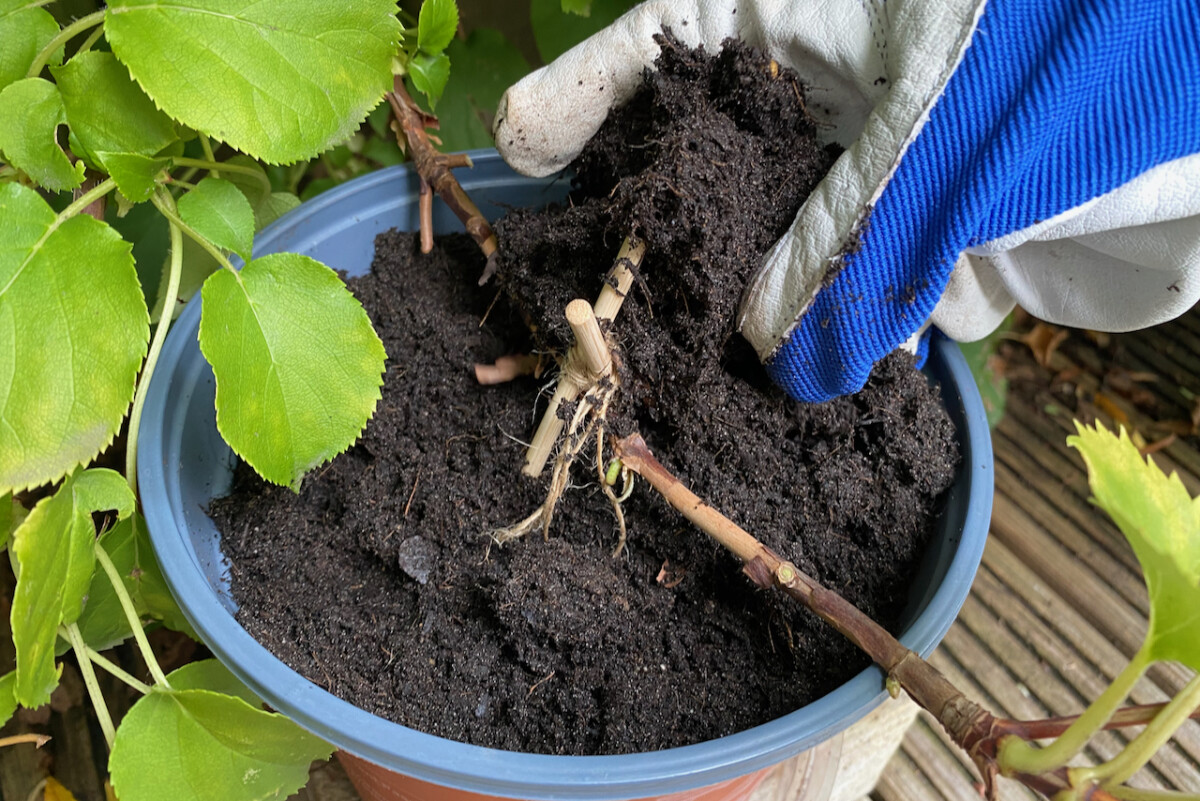
When you do, gently tug the branch to see if there’s any resistance. If there is, that means new roots have grown from the leaf node. Even at this point, I keep the new plant in place for at least a couple more months.
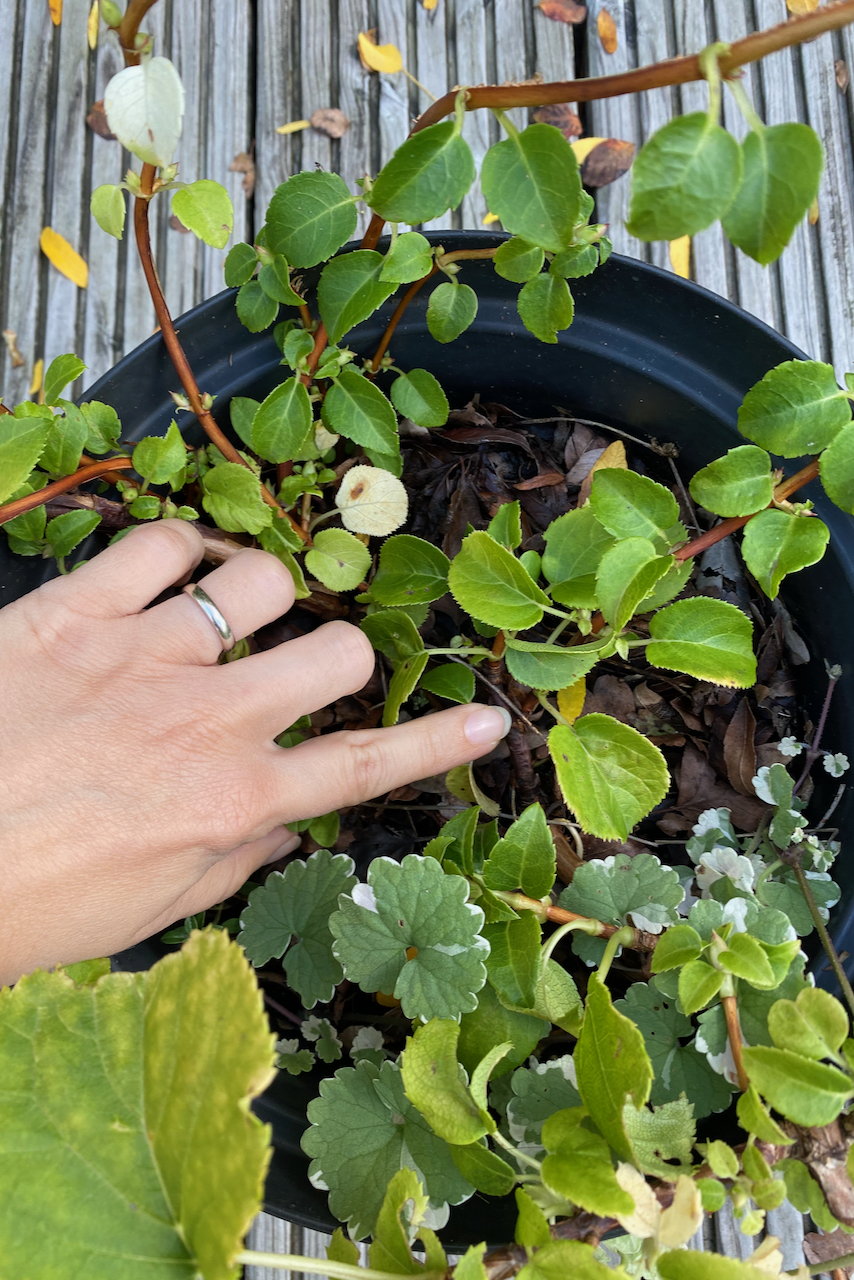
When the time comes, I cut the layered branch off the parent plant and replant the new plant as I would a new division.
Even though it doesn’t compare to the almost instant gratification of seed starting or perennial plant division, propagating by layering has a high rate of success. I encourage you to give it a try and see for yourself how easy this method is. And how smug you get to feel when you’ve succeeded.