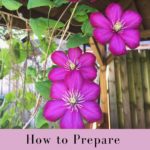
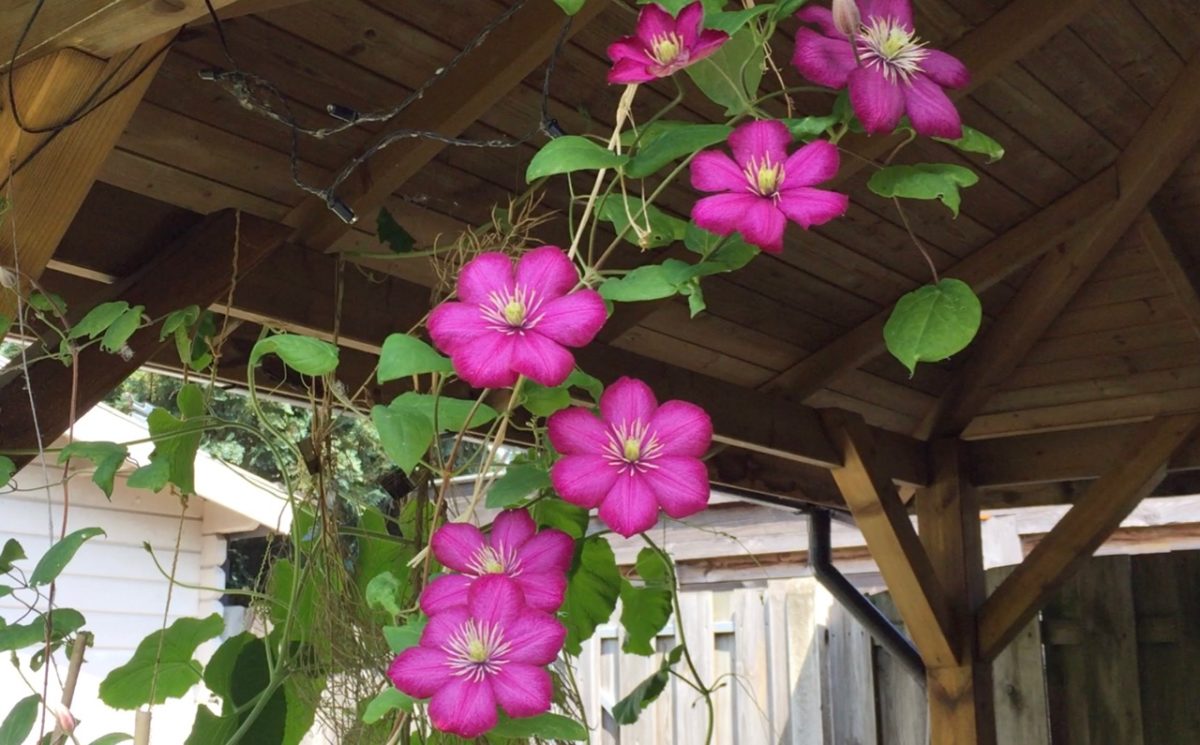
If you prefer more blooms than foliage, a showy display of flowers that lasts for weeks, and a vine that doesn’t destroy the structures that it climbs on, then clematis might just be your gal.
I confess, I’ve been intimidated by clematis for more years than I care to remember. I somehow convinced myself that a plant that blooms so profusely on such a fragile-looking stem would surely be hard to overwinter.
I’m happy to say I was wrong, and I’ve been growing clematis as a perennial vine for a few years and have prepared it for winter with great success.
Here are the three jobs I do in the fall to ensure my clematis survives (and thrives) in the winter.
1. Clean up the dead leaves and flowers.
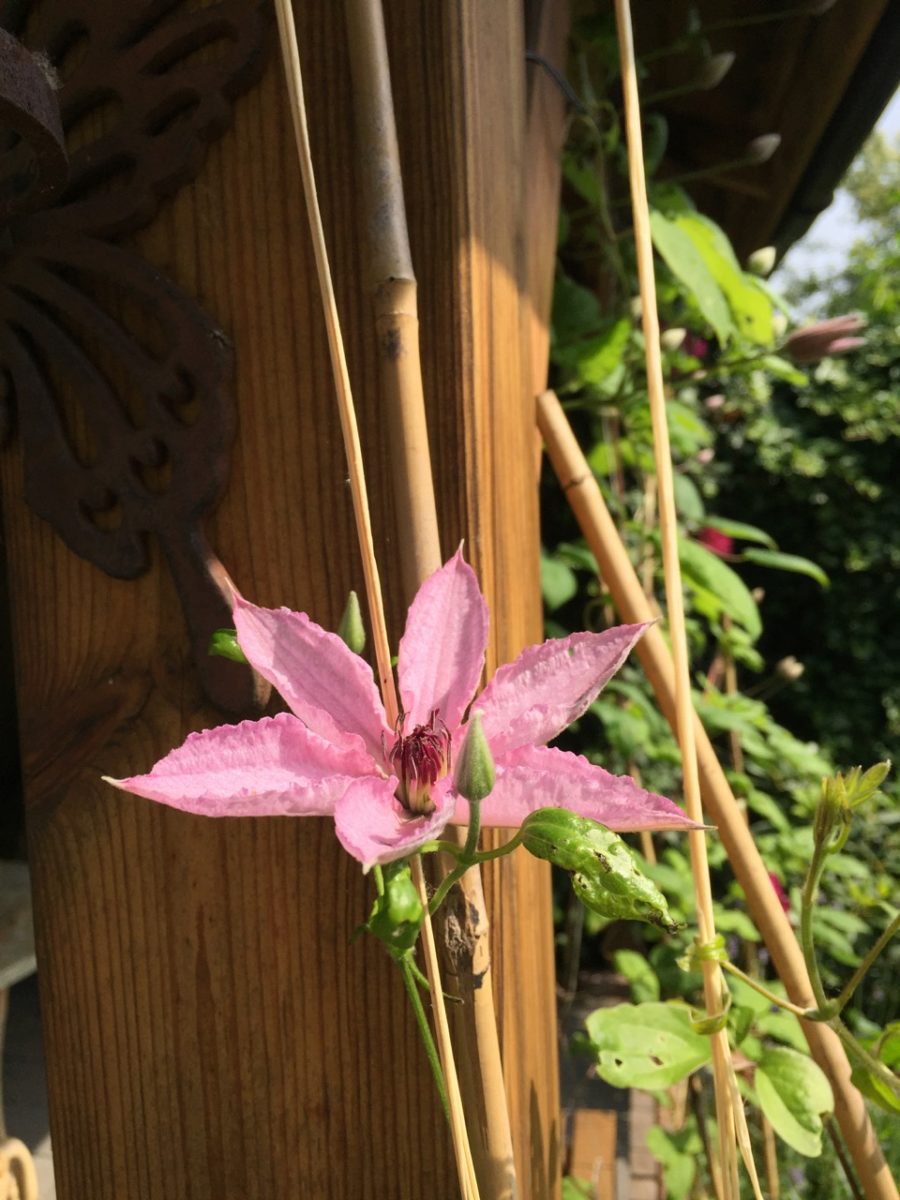
By this point in the year, the petals of the flowers have already been blown away in the wind. But the stamens (the core of the flowers) are still clinging on. There’s little chance of your clematis propagating from seed, so you can cut off what remains of the dead flowers. You’ll see in the photo below that the petioles have already started to dry out, so you won’t miss anything by removing them.
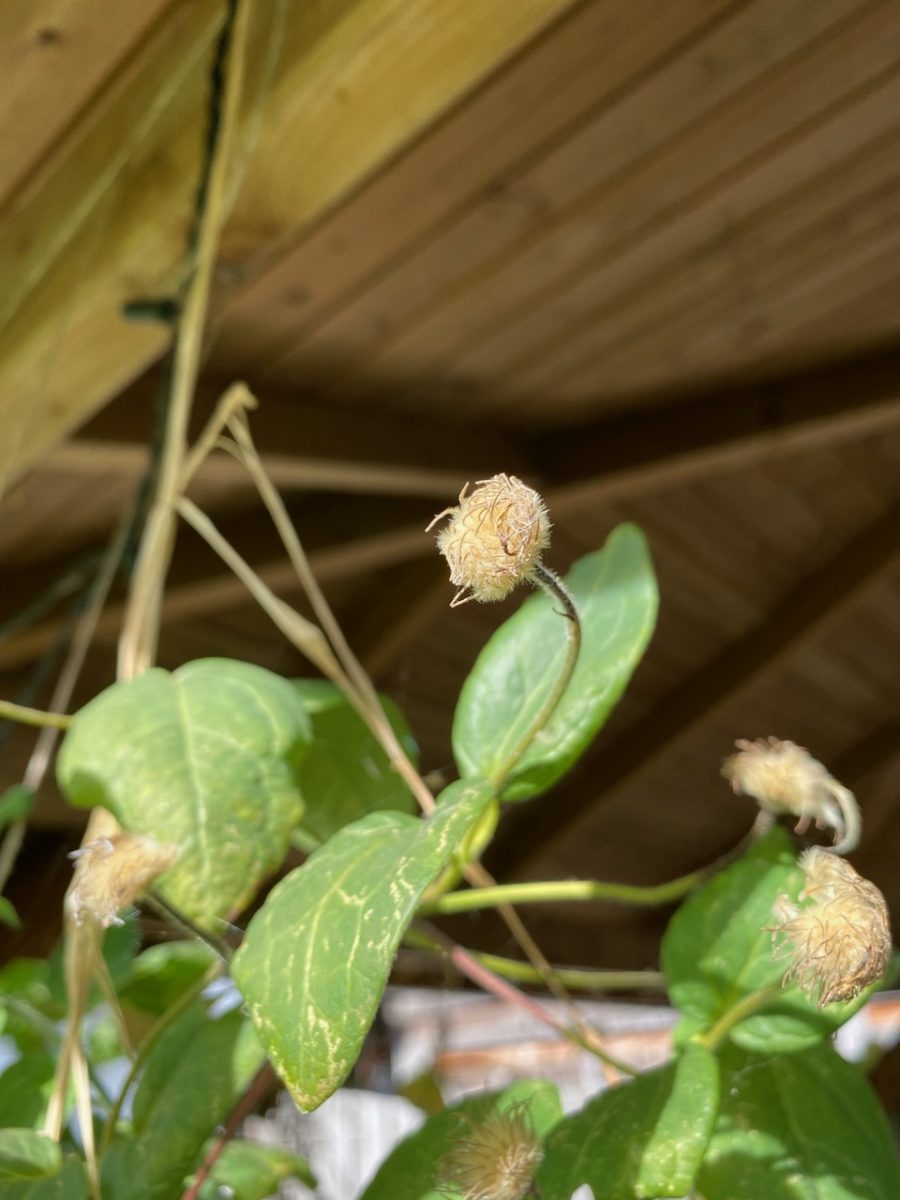
Most clematis plants are deciduous, which means they’ll lose their leaves in the fall. If your plant hasn’t had any problems during its growing season, you can leave the fallen foliage to act as a mulch around the crown.
But if you’ve been dealing with pests or diseases (clematis are particularly prone to rust, leaf spot and clematis wilt), cut off the dead leaves and dispose of them with your household waste. Don’t forget to disinfect your shears with alcohol once you’re done with this job in order to minimize the risk of spreading these undesirable fungi to your other plants.
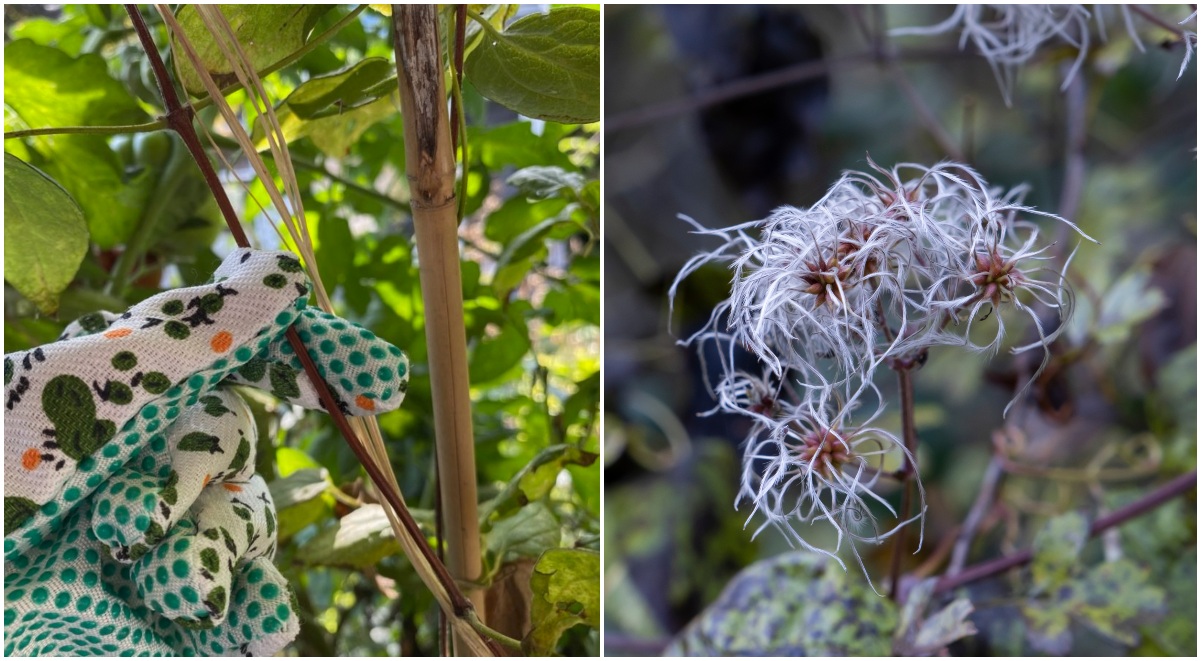
2. You can remove dead stems, if any.
The main reason why I remove dead stems is because sometimes they add too much weight on healthy stems if encumbered with snow or ice. If you don’t get heavy snow or you’ve planted your clematis in a sheltered location, you don’t have to trim off dead weight in the fall.

Clematis stems are fragile, so you need to handle them carefully. Because they are wispy and thread-like, it can sometimes be hard to tell whether they’re dead or not. A good way to tell is by grabbing a stem between your index finger and thumb and gently trying to bend it. If it doesn’t budge, then the stem is still alive and well, so it’s ready to go for another season. If it snaps right away, then you can cut it back to the first live node or cut it all the way down.
3. Protect the roots of your clematis.
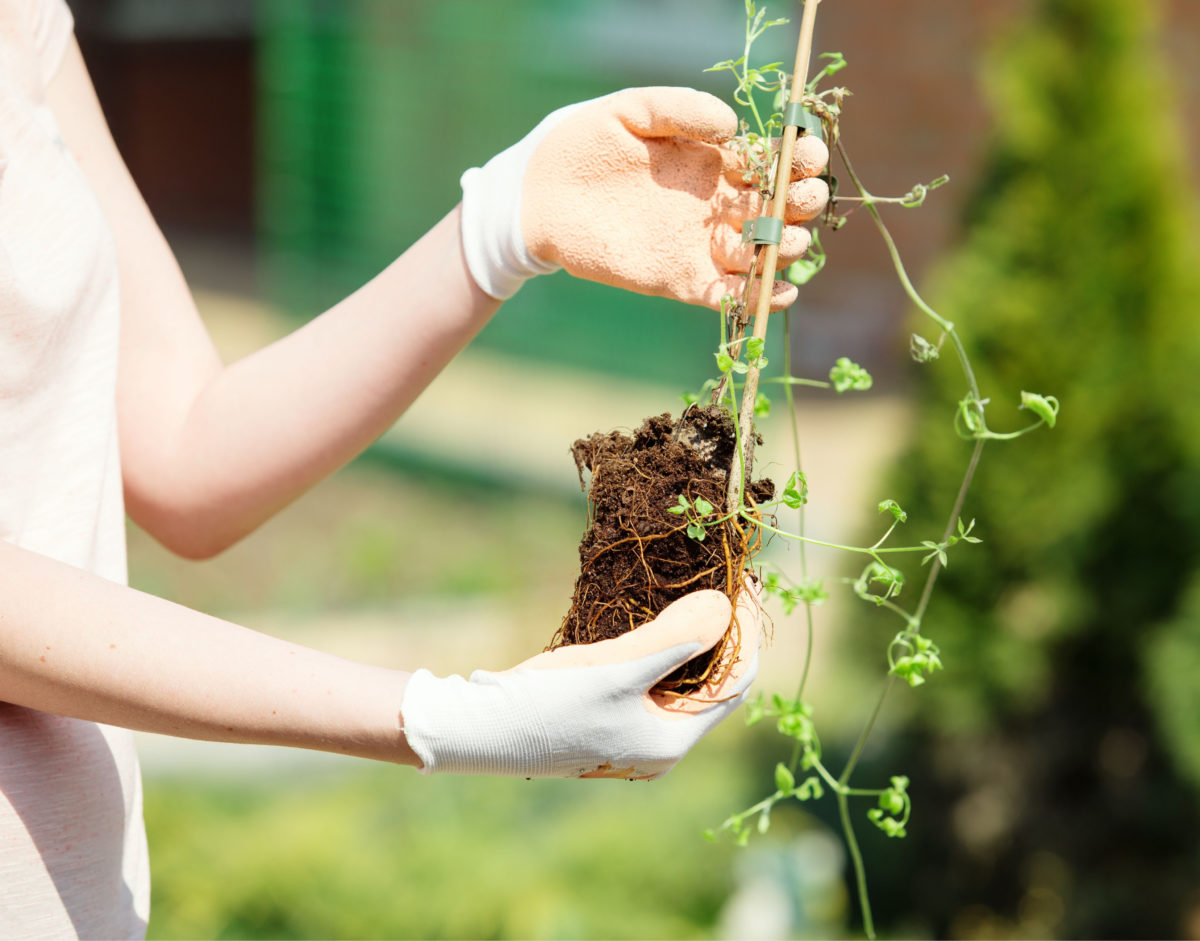
One year, I made the mistake of planting a young clematis in a newly created garden bed. It took a few months for the soil level to settle. So over the winter, the soil level in this new bed went down due to the pressure of heavy rain, exposing the roots of my new clematis. And that’s how I learned, the hard way, that clematis roots are even more fragile than the vines.
It took a while for me to notice what was happening and remedy the situation by adding lasagna-like layers of compost and leaf mold to tuck in the exposed roots. The story has a happy ending though, with this clematis making a full recovery and even putting out a few blooms by the end of summer.
My luck was partly due to the fact that we didn’t have a lot of days with below-freezing temperatures, and partly due to the sheltered position where I had placed the plant. Even though my mistake could have been the end of this clematis, all it did in protest was delay growth and bloom by a couple of months. Lesson learned!
So please learn from my mistake and make sure you protect the roots of your clematis over the winter months. A good layer of fresh compost and then a thick layer of mulch are essential, and the least you can do.
If you want to go the extra mile to overwinter your clematis – and you should, especially if you get prolonged hard frost – you can cover the crown of your clematis with a piece of burlap. Wind it around the base of the plant and secure it with jute or twine. Don’t tighten it too much. Make a note in your gardening calendar to remove the burlap around March (or whenever the danger of hard frost has passed in your gardening zone).
Covering the base of the clematis is particularly important if you’re growing it in pots. In this case, move the pots to a sheltered location or try to insulate around them with a layer of dead leaves or a burlap sack in which you’ve added dried grass clippings, dead leaves or dry straw.
Should I prune my clematis in the fall?
Fall is not the best time to prune your clematis, with one exception: if you’re reshaping your clematis.
Pruning your clematis in the fall, rather than in spring, can lead to cutting off next year’s buds (that have formed, but haven’t yet become visible), depending on what group your clematis is.
So if it’s heavy blooms you’re after, it’s better to wait before you trim. However, if your goal is to reshape your clematis, then you can give it a light prune in the fall to encourage top branching, or a harder prune to encourage it to branch from the crown. Keep in mind that you may be sacrificing next year’s blooms if you do this, but the plant will recover. It’s best not to make fall pruning a habit for clematis.
Can I plant clematis in the fall?
Yes, fall is the best time to plant perennials, including vines.
I’m a big proponent of establishing perennials in early fall because of optimal soil temperature. During the summer, the hot and dry soil is not hospitable to any new plants.
Fall conditions, with the soil still warm and getting a steady amount of rain, allow plants to settle into their new homes more gently and continue to grow roots well into the season. A good rule of thumb for fall planting is to plan on being done about four weeks before the first frost date in your area.
If you’re planting a new clematis this fall, choose a spot that gets at least six hours of sun at the height of summer. Prepare your planting site by digging several inches deeper than the root ball and burying the roots a couple of inches below the soil level. Top up the planting hole with rich compost and keep it well watered throughout the rest of the fall.
With a little bit of extra care and attention, your clematis should overwinter just fine. But if you’re purchasing new plants, always account for the winter hardiness of a specific variety. Even if it may tempt you in the store, save yourself the heartache and buy plants that are likely to make it through the cold season in your USDA (or local equivalent) gardening zone.