
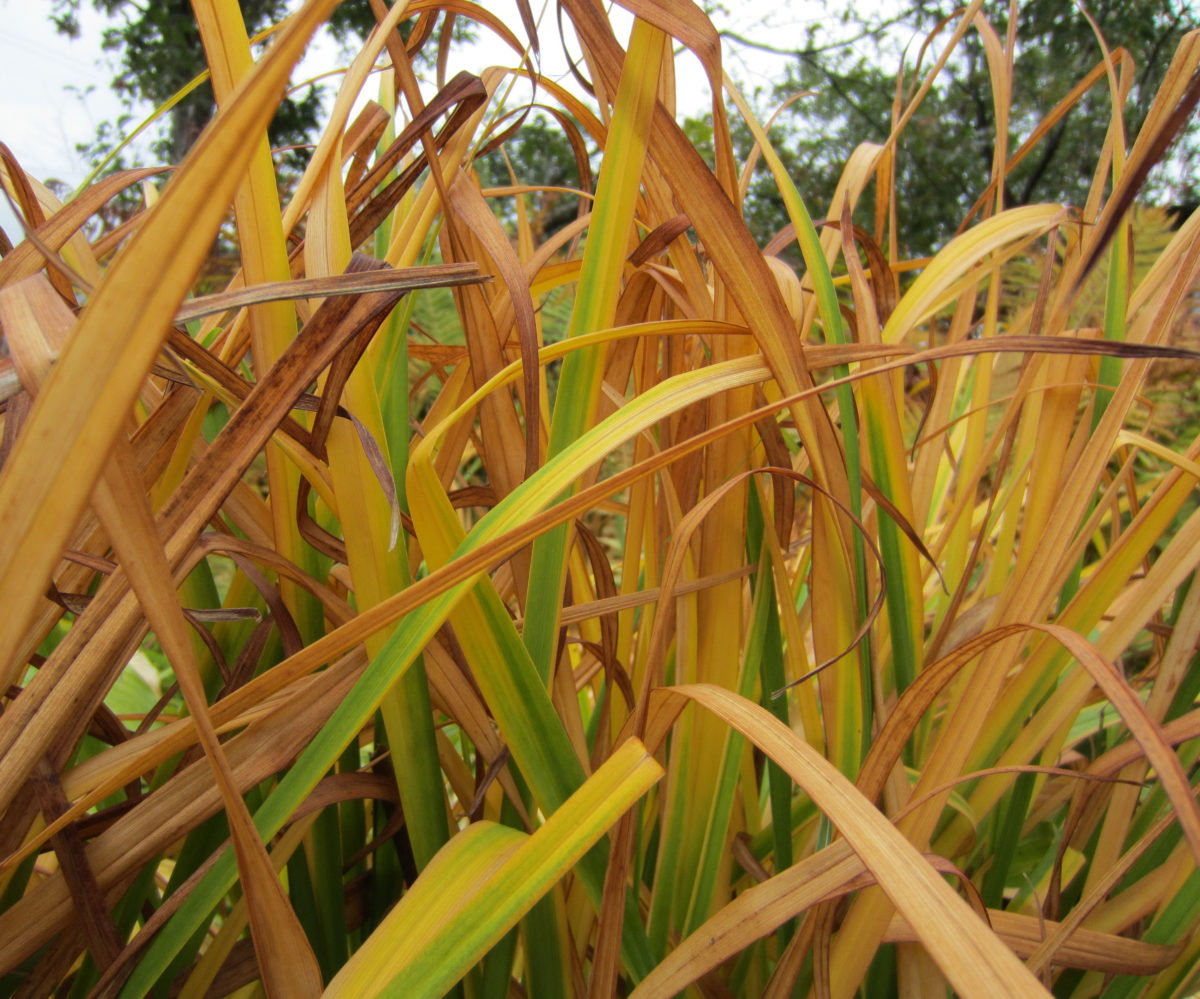
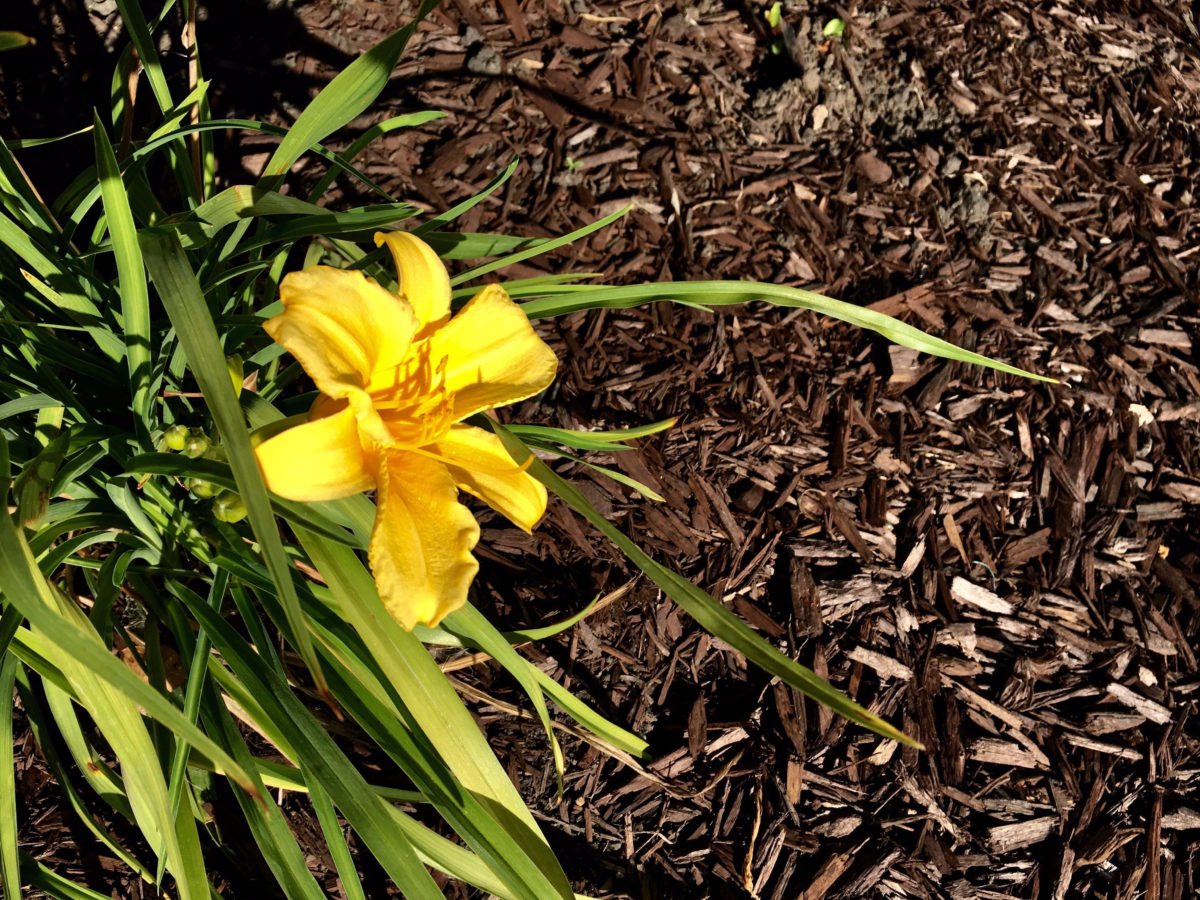
Daylilies (Hemerocallis) have been working hard for our gardens all summer long, putting out stunning displays of blooms day after day. But with the advent of fall, when temperatures start to dip, the daylily foliage is not a pretty sight. The leaves turn yellow, then brown and ratty.
Here are a few things you can do to prepare your daylilies for winter without too much hassle.
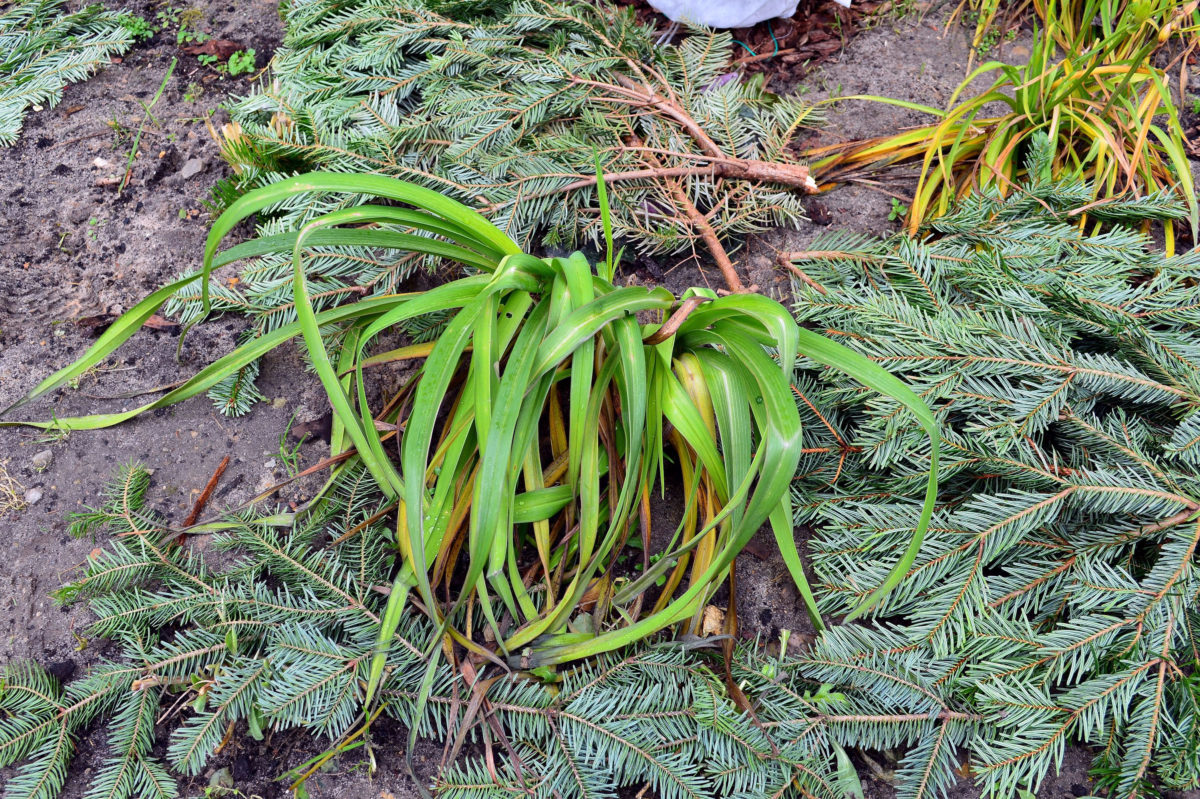
1. Remove plant debris from the base of the plant.
Throughout the growing season, I use fallen leaves as a sort of ad-hoc mulch, so I’m not a total clean-up fanatic when it comes to cleaning up for winter. However, I make sure to always remove organic debris that has been affected by pests and diseases. This is really important in the fall, as an increase in humidity and decrease in sunlight makes for the perfect storm for fungi to lie in waiting.
First to go is the yellow and brown foliage that’s showing signs of mildew, black spot, the dreaded daylily rust (caused by the Puccinia hemerocallidis fungus) or any other fungal infection.
Dispose of this plant material with your household waste, not in your compost bin (unless you’re outsourcing your yard waste to a municipal hot compost setup).
2. Mulch your daylilies in the fall.
Once you’ve removed the plant debris, you’re left with bare soil. Aesthetically, bare soil may look pleasing. But from an ecological point of view, it’s the last thing you want in your garden, even over the winter. This is where mulching comes in.
We often think of mulching as a spring activity meant to keep moisture in the soil, keep the soil cool and prevent weeds from overtaking the daylilies as they mature into the season. But winter mulching is just as beneficial because it keeps the temperature constant around the root structure.
You should apply a thicker layer of mulch if you’ve just planted young daylilies this year. Once the plants are established (meaning they’ve survived through at least one winter), you can resume regular mulching.
The key to a good winter mulch is airiness and lightness. You don’t want the mulch to form an impermeable mass that presses down on the root structure. You can mulch using straw, wood chips, shredded leaves and even dried-out grass clippings.
As an optional step before you mulch, you can add a bit of fresh compost at the base of the plant.
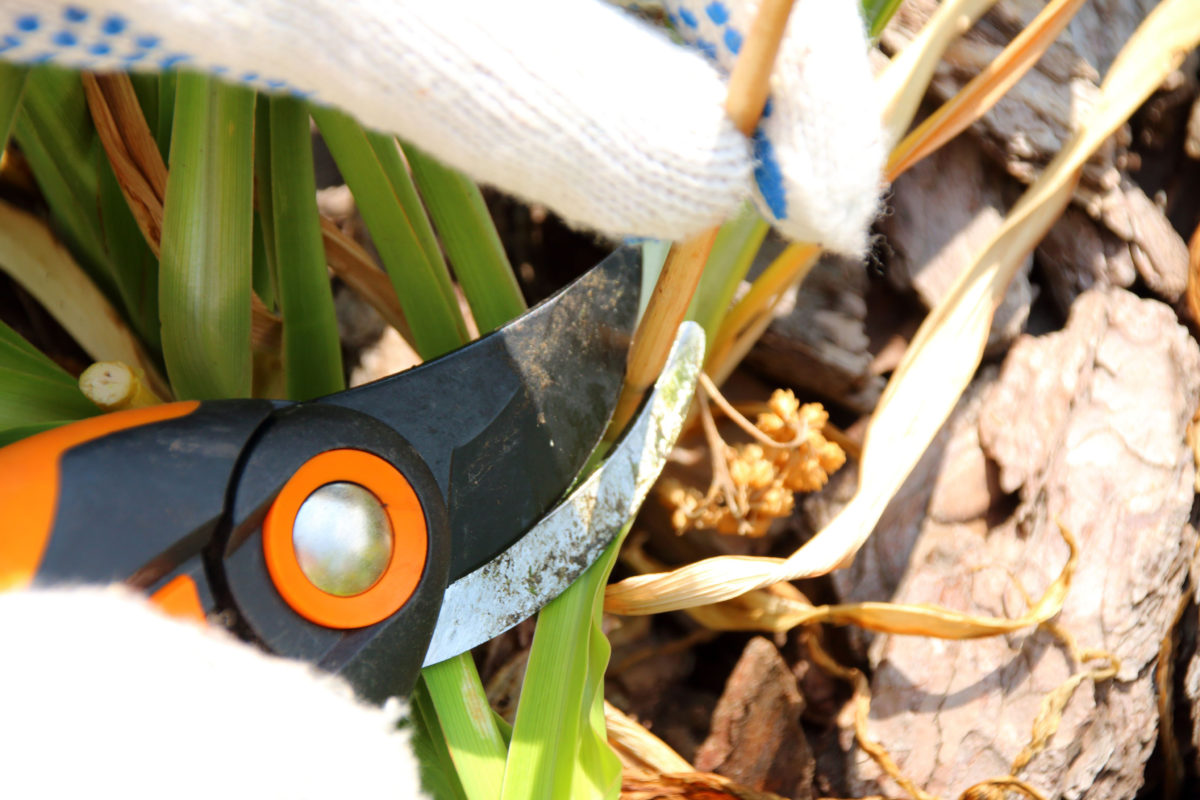
3. Prune back your daylilies (optional)
Trimming back dead foliage is not optional, of course. You have to do it in order to clear the way for new growth. But the timing of the pruning is. Some gardeners prefer to leave the foliage on until spring and trim it back then, while others think it’s better to prune back daylilies in the fall.
Should I cut my daylilies back in the fall?
There are a couple of factors that may influence this choice. If your winters are cold and prone to hard frosts, your daylilies won’t fare as well.
As soon as the first hard frost hits, most daylily varieties will turn brown and mushy. This leads to foliage that’s not good protection for the root ball during the winter months. And this is the main reason why daylilies made it to number one on this list of plants that need a good fall pruning.
Allow the daylily foliage to die back on its own, then trim it down to about four to six inches (10 to 15 centimeters) above the crown after the first frost. If you don’t like handling sticky foliage, you can prune the daylilies a few days before your first frost is expected.
However, there are some newer daylily cultivars that are considered evergreen, with ‘Prince of Venice’ and ‘Starburst Red’ being two popular choices. Even though their bloom period is still in the warmer late spring and summer months, their foliage stays green year round. If you’re gardening with such a cultivar, you can leave the foliage on throughout the winter, especially if you’re in a zone that gets mild winters. But even this evergreen foliage will look a bit bedraggled come spring, so you’ll need to do a tidy-up then.
The bottom line is that all the dead leaves need to be removed by the time growth resumes in spring, so if you have an early grower, it’s better to do this job in the fall.
4. Divide your daylilies if they’re older than three.
If you’ve chosen to prune your daylilies in the fall, you may have noticed one thing: once you’ve cut back the leaves, you can finally assess the size of the root clump. You may even find some runaway shoots that are messing up your garden layout plans.
Again, it’s your choice what you do with them. You can let them expand and grow into a new daylily clump. Or you can pull out the runners, then transplant them or give them away.
However, if your daylilies have been showing signs of aging, such as a decline in blooming quality and duration, now is the perfect time to divide them. Just like irises, Hemerocallis don’t perform as well when they’re overcrowded because their tangly rootball struggles to absorb nutrients.

It takes daylilies two to three years to reach their full blooming potential, so if your plants are still within that time frame, there’s no need to divide them just yet. But once you’ve reached the three-year mark, keep an eye out for signs that your daylilies need a refresh.
Just like with pruning, some gardeners prefer to leave division for their spring to-do list. But here are a few reasons why I think dividing daylilies in the fall makes more sense.
- Division is ideally done once the growth has finished for the season. If you divide in spring, you run the risk of dividing clumps that are just starting to wake up, which will delay or stunt daylily growth.
- Small divisions need extra time to grow into small clumps. So spring division may cause poor blooming during that first summer.
- A mild fall with enough rain leads to the perfect soil conditions for the new divisions to get established.
How do I divide daylilies?
This depends on your goals. If you’re just looking for a reduction in size, a simple way to divide them is to carefully dig around the roots to expose them. Afterward, use your shovel to sever the root clump in the middle, then simply lift and relocate half of it. Add fresh compost to top up the gap that’s left behind.
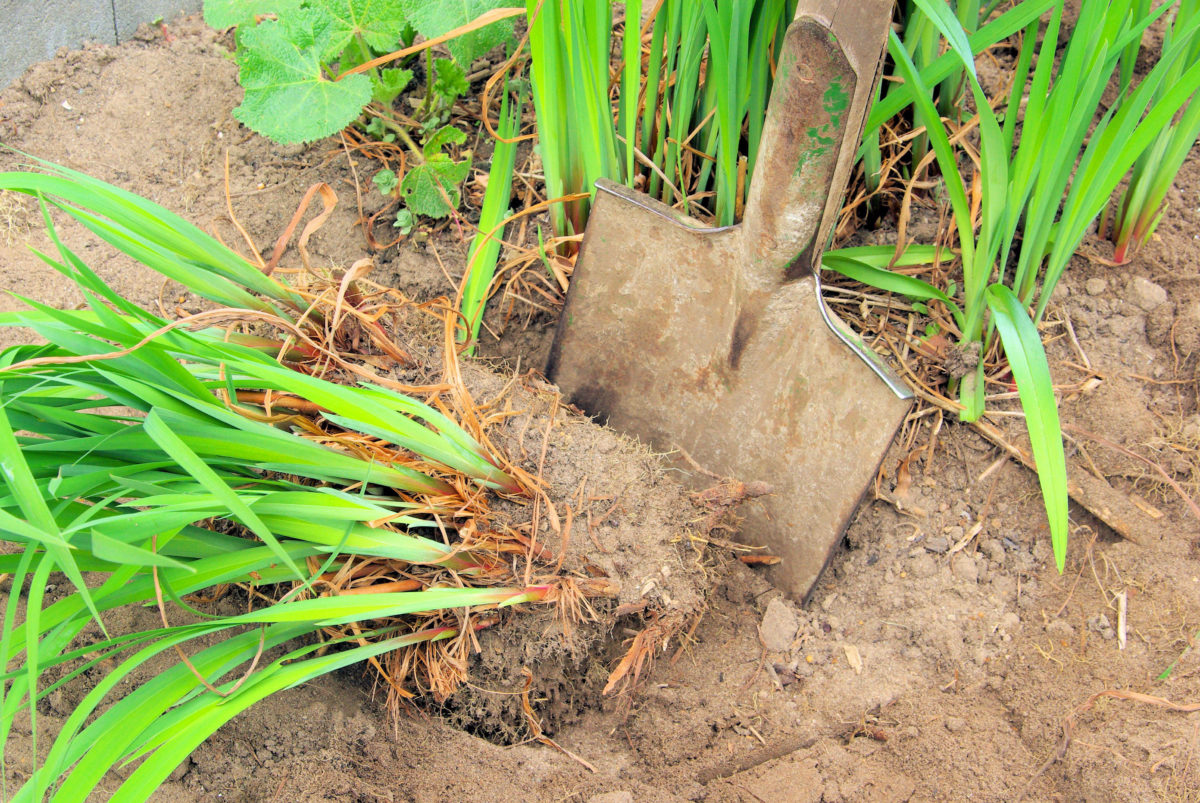
If you’re looking to establish a daylily border or fill out a garden bed, then you need to be a bit more calculated. In this case, dig out the entire clump using a shovel. Lift the clump from the ground, loosen the soil and shake off enough of it to allow you to maneuver the root structure.
Then carefully separate the fans using a sharp pair of garden shears. Keeping the plant fans in groups of at least three is ideal, as often the size of the new division determines how fast it bounces back and starts producing blooms again.
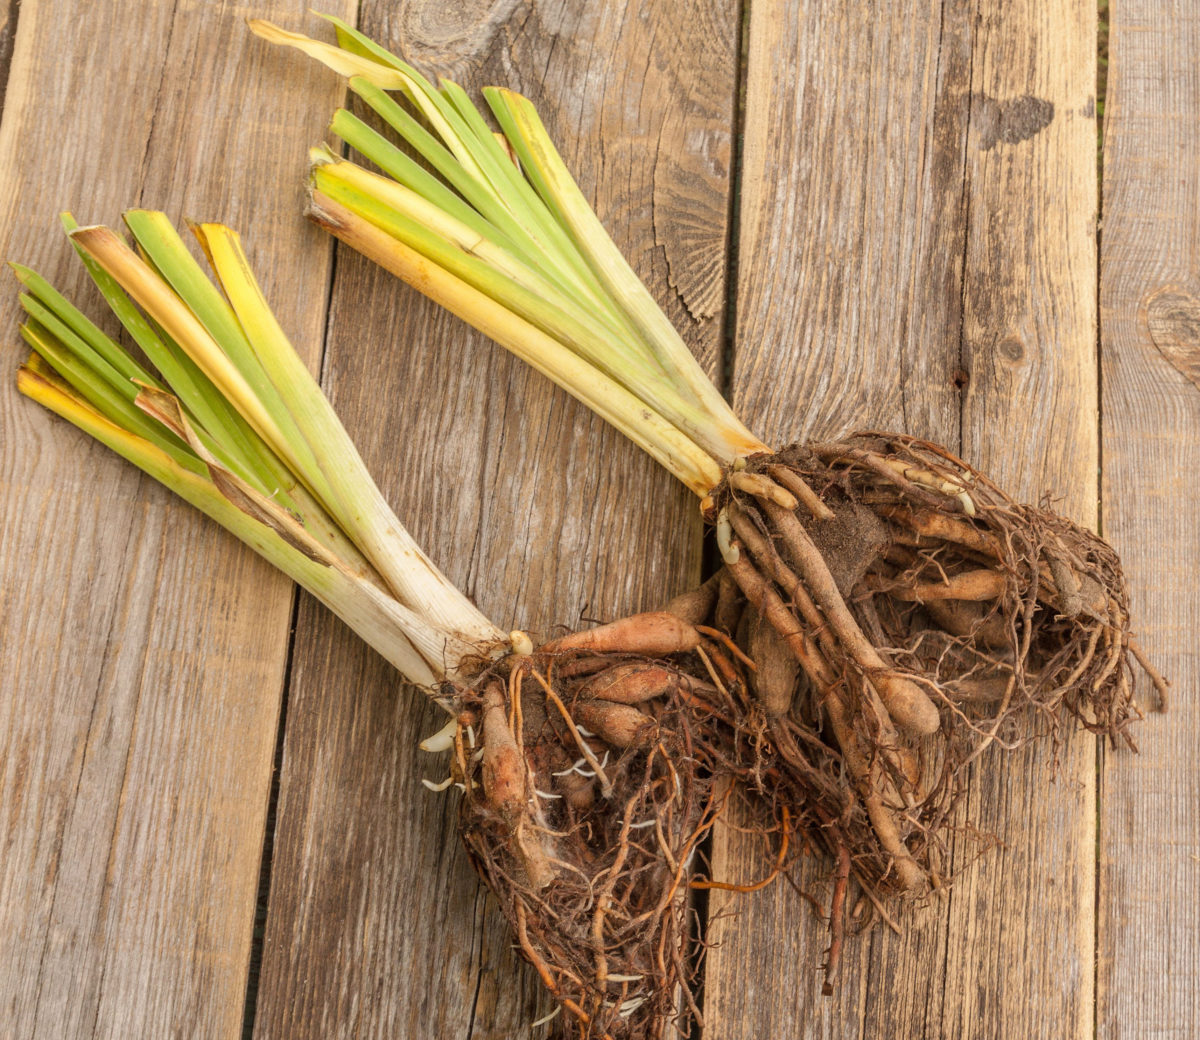
If your goal is to fill out a larger area, you can treat every individual fan as a new division. But keep in mind that these will take extra time to mature and start growing into a solid root clump again, so you’ll likely not see any blooms that first summer.
Once you’ve done the division, replant as soon as possible. Make sure you transplant the new plants at the same depth as they were buried at before, ideally with the crown a couple of inches below the soil line.
Finish off the daylily division by topping up the new plants with fresh compost and giving them a thorough soak and a mulch.
Preparing your daylilies for winter will only take an hour or two, but you’ll be rewarded with beautiful strong blooms come summer.