Next to pothos, philodendrons are some of the most popular indoor plants. They look fantastic trailing along shelves or hanging off a windowsill and make the perfect addition to your houseplant collection.
Plus, they’re extremely easy to care for and aren’t too fussed about their conditions.
With so many benefits, it’s hard not to want as many of these stunning plants as possible.
Luckily, growing tons of philodendrons doesn’t have to cost much money or take up too much time. Trailing or climbing philodendrons are easy to propagate via stem cuttings, giving you double the plants for absolutely no cost.
Follow these simple steps that also apply to other trailing houseplants like pothos. In just a few months, you’ll have more thriving philodendron plants than you what to do with.
Related Reading: 3 Steps To Propagate Pothos
Types Of Philodendrons
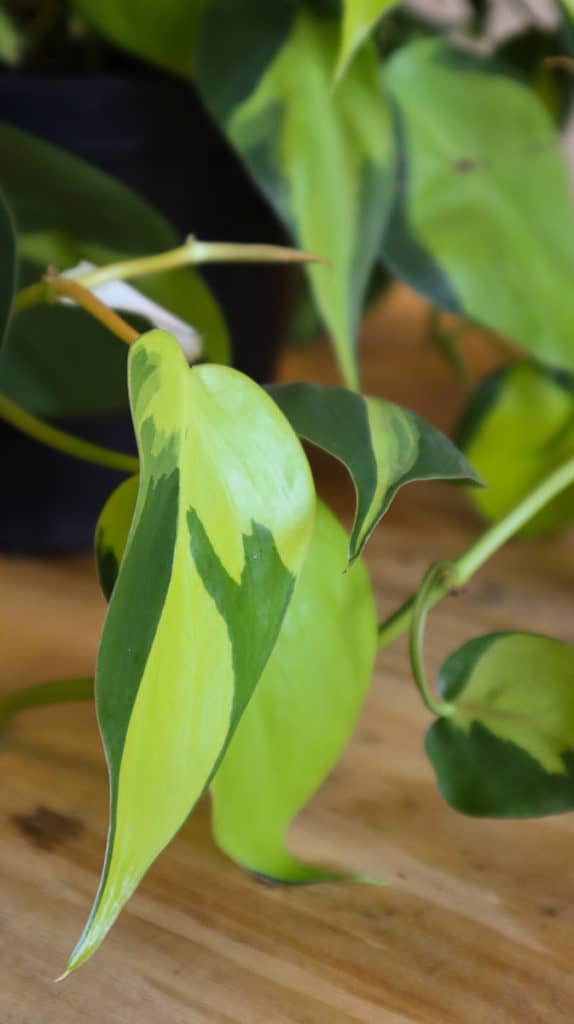
Before we get started, it’s important to understand what kind of philodendron we’re working with. Philodendron is a genus containing hundreds of different plants, each with its own structures and characteristics.
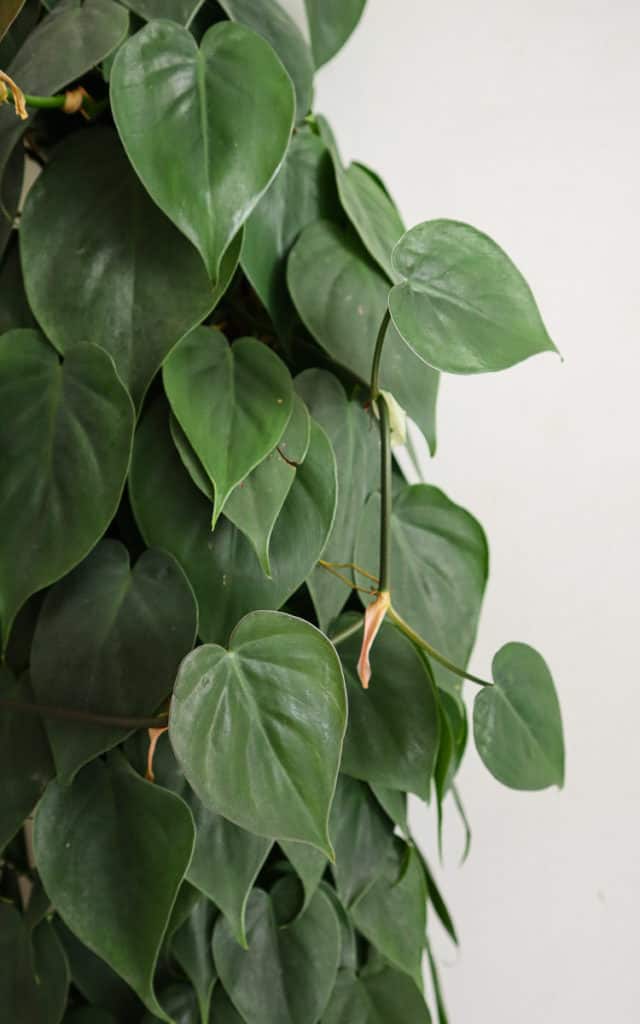
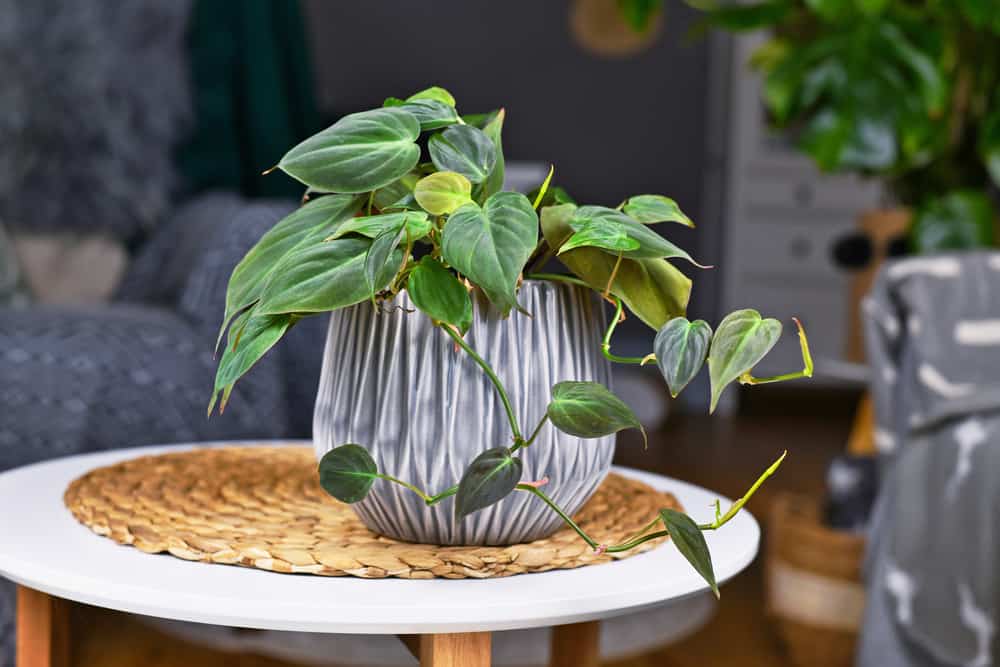
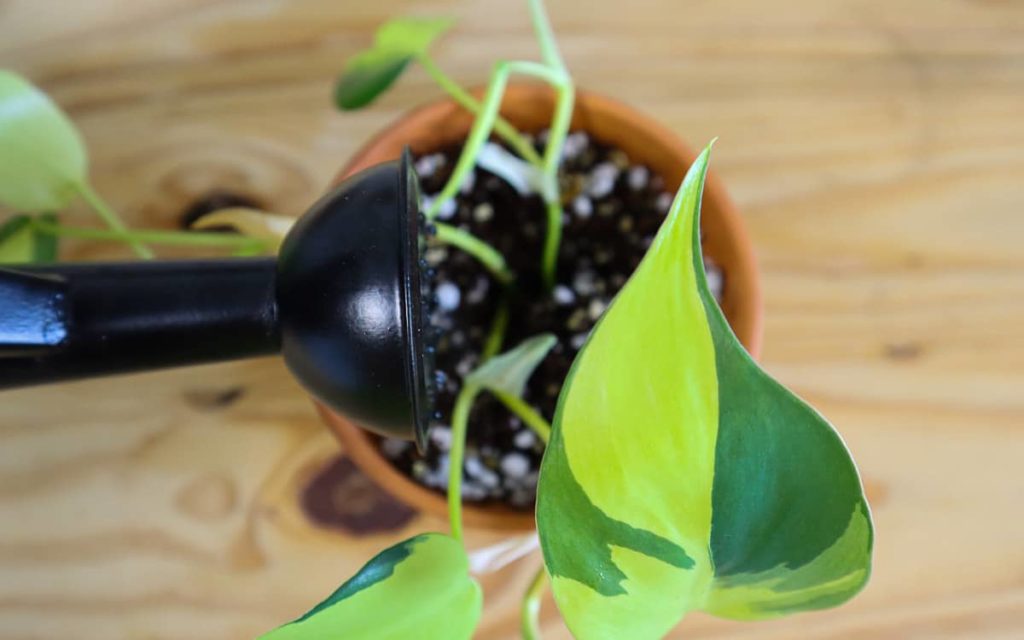
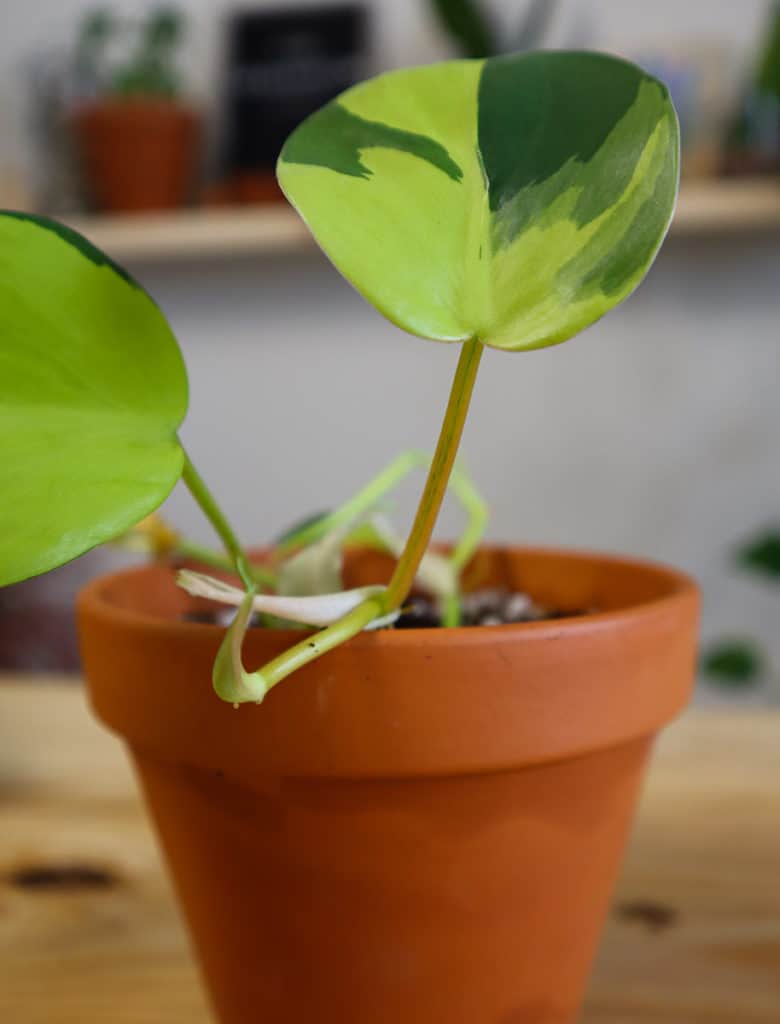
When it comes to houseplants, there are a few philodendron species commonly found in garden centers and grown indoors. However, the most common type is undoubtedly the heartleaf philodendron – Philodendron hederaceum. It is also known as Philodendron scandens or Philodendron cordatum thanks to some botanical indecisiveness, but the structure is all the same.
The heartleaf philodendron is the one you’ve seen cascading from hanging baskets or nestling amongst books on your Instagram feed. It also looks very similar to the pothos, with many confusing the two species.
Philodendrons are incredibly easy to care for. In fact, it may be harder for you to kill them than it would be for you to keep them alive. These plants are very resilient, tolerating low light, dry soil, and a crowded pot for months before showing any signs of complaining.
The stems grow several feet in length quite quickly, especially in spring under the right conditions. These long stems can weigh down the plant if left alone, but luckily, the problem can be easily solved by taking cuttings and propagating.
Before You Start
It’s best to propagate in spring. This is the best time for quick root growth and will give your cutting the best chance of taking. However, you can propagate at almost any point of the year, with the exception of winter (unless you’re willing to look past incredibly slow root growth).
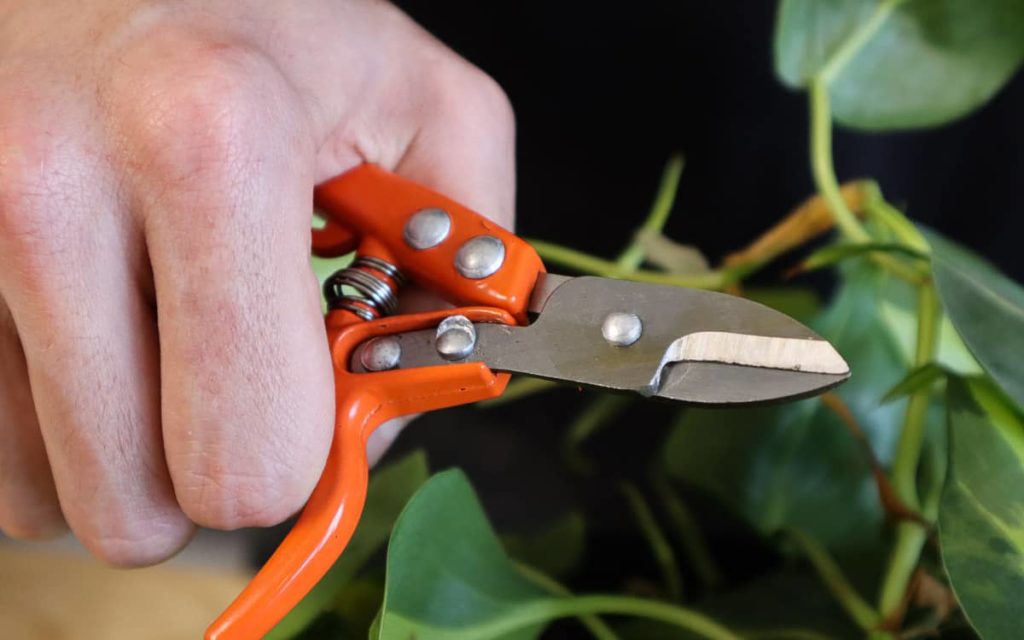
Propagating from cuttings requires little to no equipment. Sharp pruning shears are recommended, but clean scissors will also work. Disinfect whatever tools you are using before you get started to prevent the spread of disease and bacteria to your new cuttings and to the parent plant.
Find A Stem
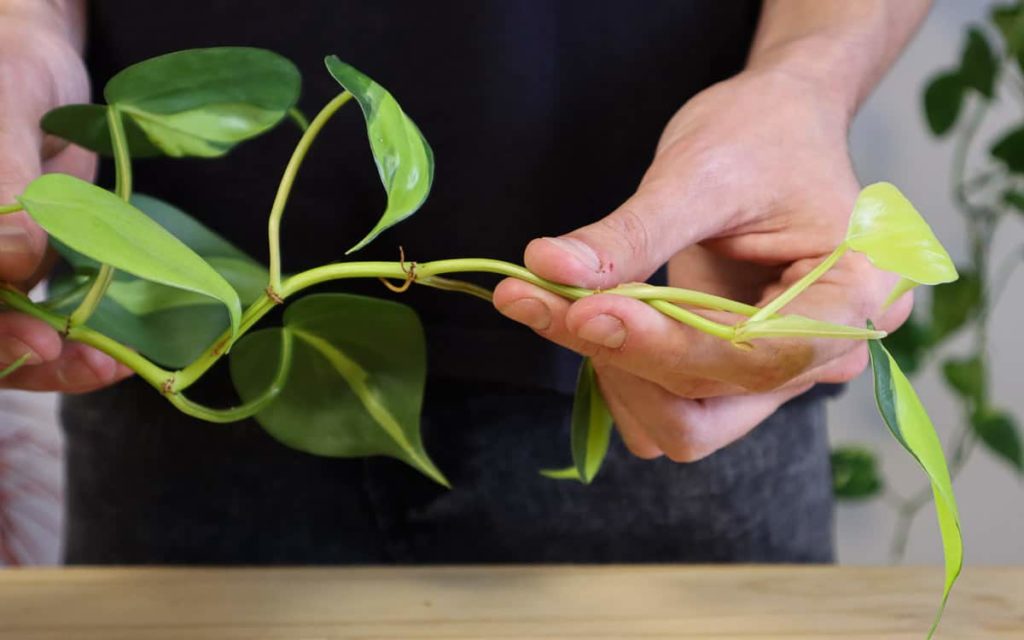
Start by choosing which stem to cut. Long stems are usually the first choice, which trims the plant and keeps it tidy at the same time. However, long stems can also have spotty growth, depending on the growing conditions, which can make root growth from a new cutting less likely.
Rather than choosing based on size, take a cutting from the healthiest stem with the strongest growth. Large luscious leaves with little space between them indicate a strong stem with a good transport system likely to develop roots quickly.
Avoid any stems with damaged or diseased leaves. As there will only be a few leaves left on the cutting, they should be strong enough to give the plant plenty of energy to grow roots.
If there is a section with leaves that are too small, or not as healthy as the others, you can always make the cutting longer to ensure the leaves left over are able to perform their jobs correctly.
Avoid any stems with brown markings or mushy spots as this indicates potential damage or disease. These stems are normally kept intact by the healthy functioning of the rest of the plant and will not successfully grow roots if placed in water or soil.
Make A Cut
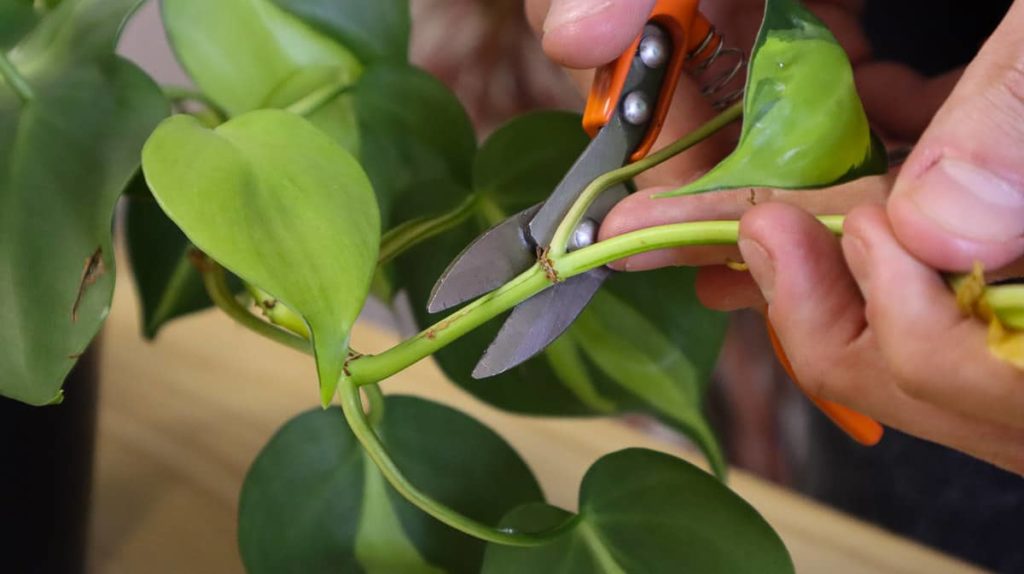
Once you’ve found the right stem (or stems), cut a piece about four inches long from the end of the stem. If your stem is longer, you can remove four-inch sections until the leftover stem is the desired length.
Each cutting should have at least two sets of leaves, but preferably three for stronger growth. Remove the cutting just below one of these sets of leaves, also called a node. These little bumps in the stem are the point where roots will emerge and shouldn’t be damaged.
Don’t cut too close to the node or too far as the leftover part of the stem will begin to rot, preventing the uptake of water.
If you’re cutting a long stem into four-inch sections, remember which side of the cutting was facing up. A stem planted the wrong way around will not be able to grow roots upside down, making your propagating efforts futile.
If you cut in the right place – just below a node on each stem – use that as a marker for which side should be planted in the soil.
Remove The Foliage
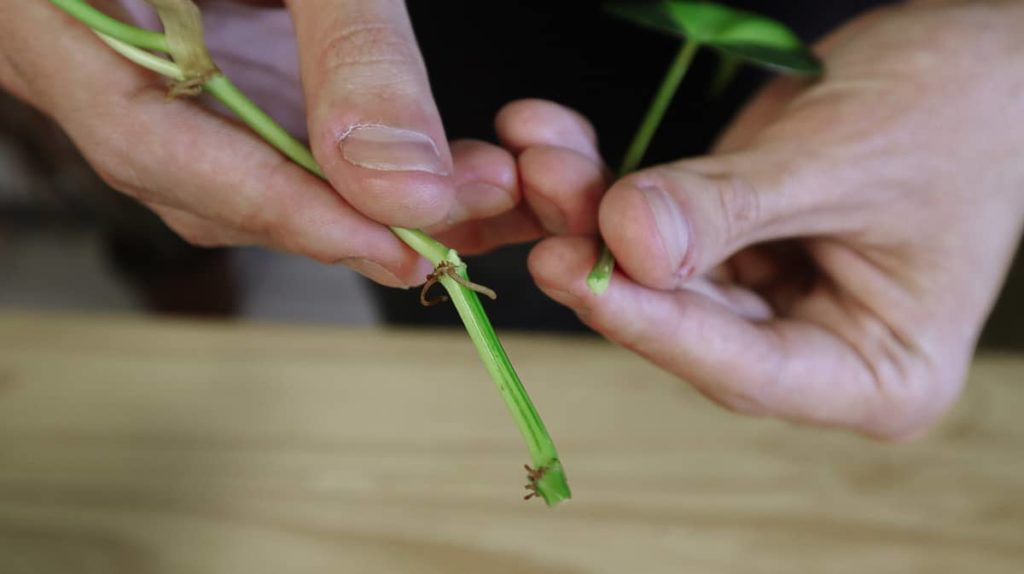
Remove any leaves from the bottom half of the cutting carefully, preventing damage to the node. This bottom half will be placed either in water or in soil and any leaves left on this half will rot, encouraging disease.
Root In Water
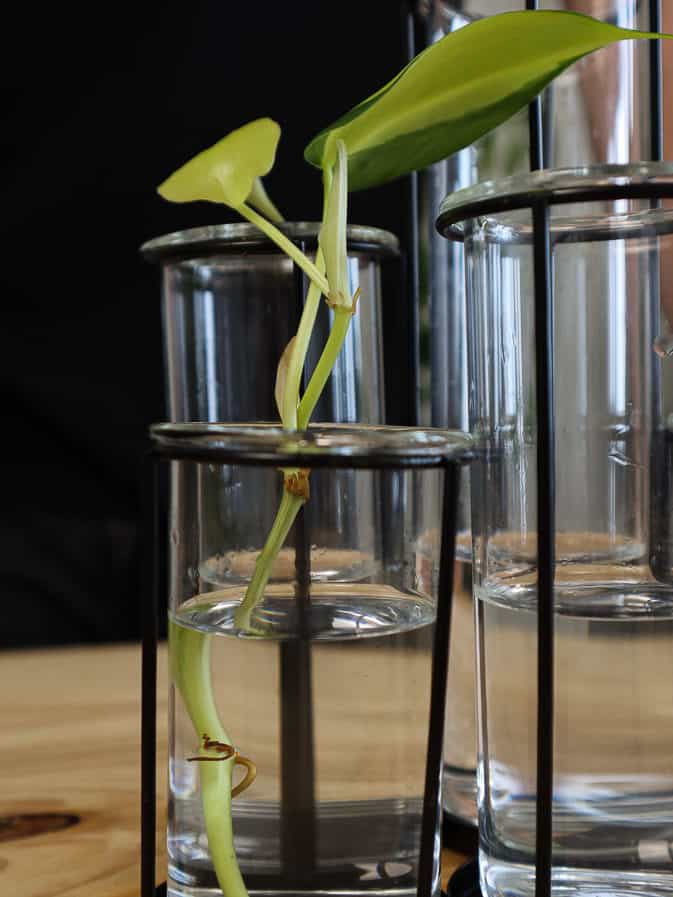
Now for the easiest part – rooting the cutting. Philodendrons are one of those wonderful plants that readily root in water, providing the easiest avenue for propagation. Simply pop the bottom half of the cutting into a glass of filtered room temperature water and leave it to do its thing.
Tap water is usable, but the chemicals in it may inhibit root growth which doesn’t give your plant the best start. If you don’t have filtered water on hand, the next best option is to boil the water and leave it to cool completely before use. Room temperature or lukewarm water is far better than ice-cold for quick growth.
While any glass is suitable, specialized propagation glasses are an ideal option. These turn your propagating efforts into a design feature on their own.
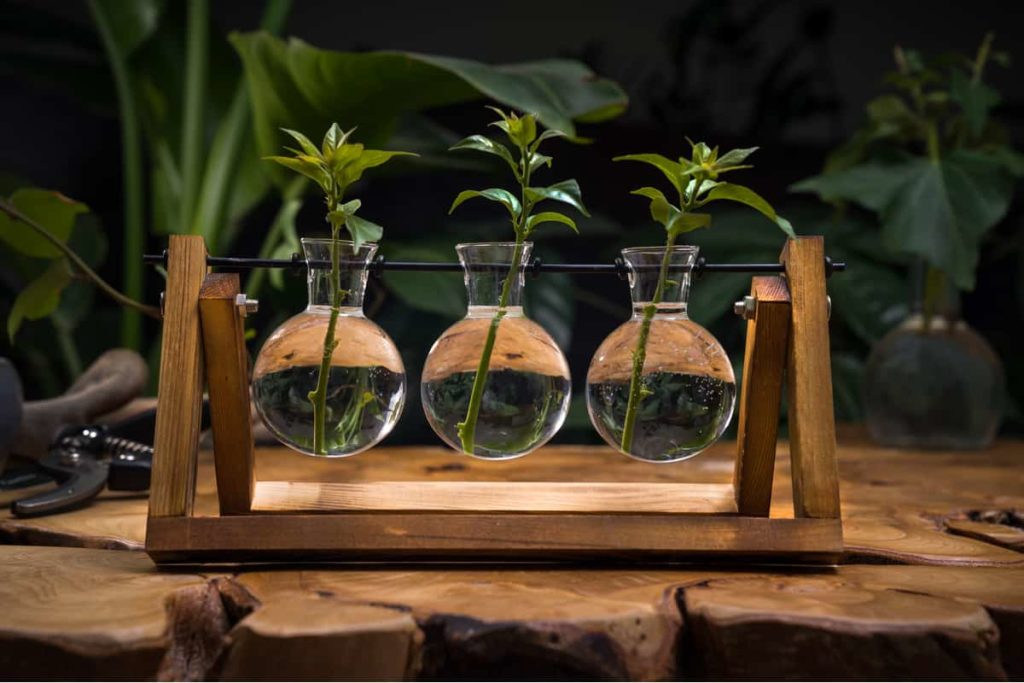
Your cuttings can be put to good use as décor while they grow, preventing unsightly drinking glasses from clogging up your windowsill and making your kitchen look like a mad botanist’s lab.
I recently rounded up some of the most stylish plant propagation stations and you can see my top picks in this article here.
Rooting In Soil
You can also skip the rooting in water step and go straight to soil. This is a more time-consuming process, but it does ensure stronger root growth in your cuttings.
This is because the roots plants grow in water are finer and more delicate than those grown in soil. Rooting in soil limits your chances of transplant shock and will likely give you healthier plants overall.
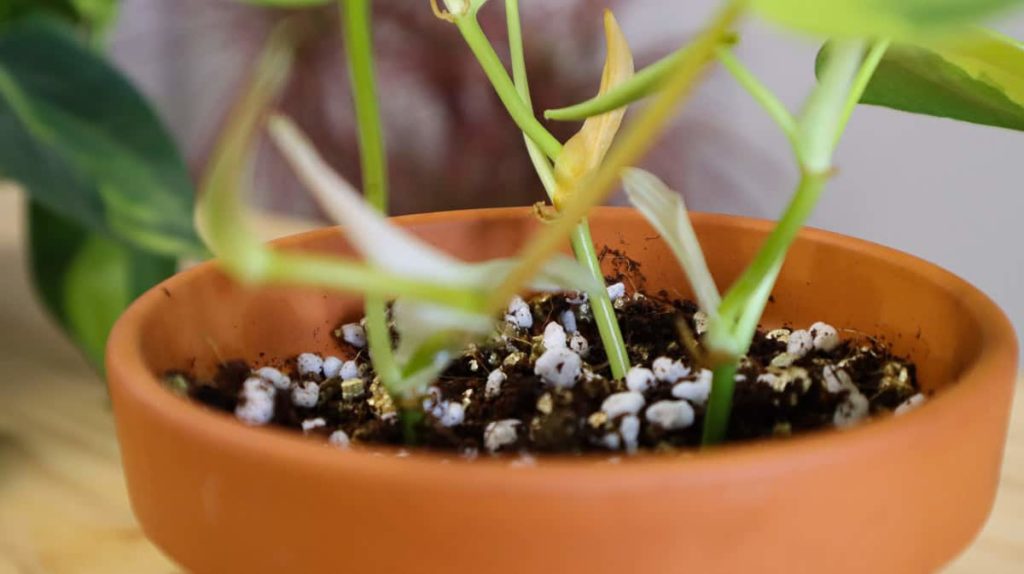
Start by preparing a propagating soil mix. This mix should be airy and well-draining to allow the roots to grow freely without becoming suffocated or waterlogged.
I’ve used a combination of two parts coconut coir, one part perlite, and one part vermiculite, but you can also purchase replacements from your local nursery.
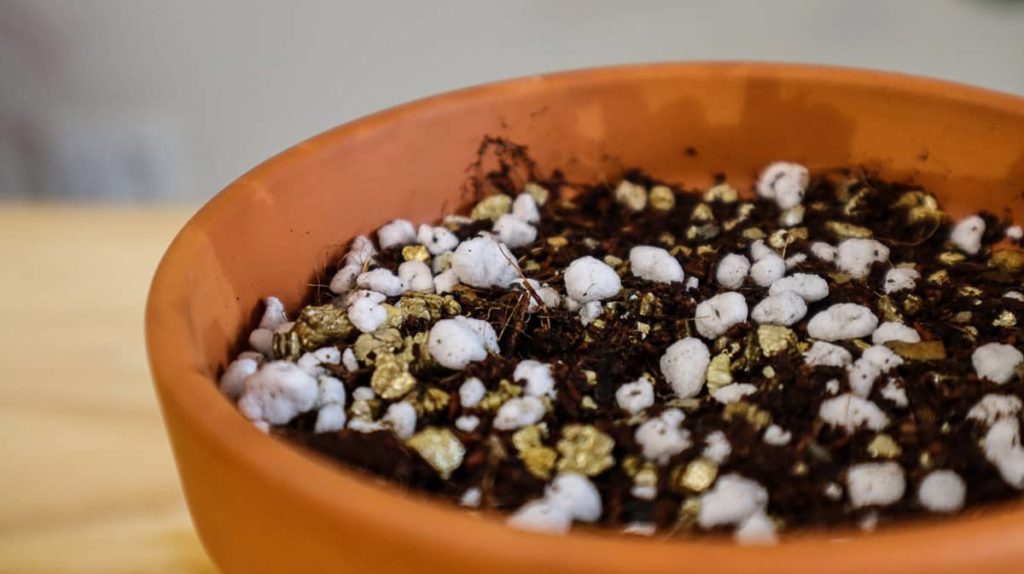
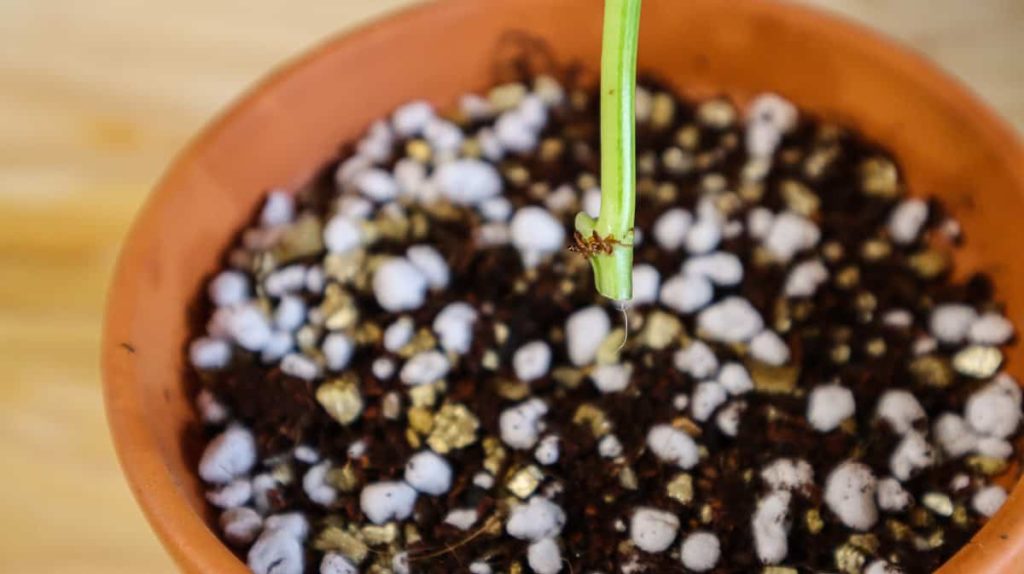
Fill a pot with the mixture up to a few inches from the edge. Water thoroughly and allow the pot to drain to premoisten the soil before planting. Then, simply place the cuttings root side down in the pot toward the edges to avoid overcrowding in the center. A standard pot should fit at least three to four cuttings.
Philodendron Cutting Care
Your cuttings need plenty of indirect sunlight and warm temperatures for the best root growth. High humidity is also ideal as these plants are tropical, but they won’t be too fussed if all other conditions are met.
If rooting in water, keep an eye on the water level and top up as it begins to evaporate. If the water appears dirty or cloudy, replace it every couple of days as the oxygen is depleted.
Ensure the leaves of your cuttings never fall into the water as they will begin to rot.
If rooting in soil, keep the soil evenly moist. Wetting the soil with a spray bottle is ideal as it will not disturb the delicate root growth, but a regular watering can will also do the job.
Your cuttings can be left in this same pot for several months while they develop roots, indicated by new growth and anchored cuttings.
Transplanting
When your roots have grown a few inches long after several weeks, the cuttings will be ready for transplanting.
Don’t leave transplanting too long, especially for cuttings rooted in water. They can struggle to adapt to the conditions in the soil if left in water for long periods.
To make the transition smoother, slowly add coconut coir to the glass a few days before transplanting until it has completely replaced the water.
Fill a pot with a mixture of potting soil, perlite and coconut coir. The potting soil provides nutrients while the coconut coir and perlite improve drainage, aeration and water retention.
Gather several cuttings together and plant them into one pot for a full bushy plant that cascades down from all sides. Fill in the remaining gaps with more soil and press down to secure.
Once planted, water thoroughly and leave your new philodendron to grow happily in a bright spot with indirect light.