


After a flurry of starting seeds, transplanting perennials and planting summer bulbs, I’m now turning my attention to creating a couple of container displays.
The last of the spring bulbs (my double late tulips) are now in full bloom, which means that in a couple of weeks, I’ll only have a handful of petals dotting my backyard. However, it’s still too early for even the earliest of summer flowers to make an appearance. So my main goal with planting this container is to bring some color into the garden and bridge the bloom gap to mid-summer.

If you’re also thinking about planting a colorful late spring and early summer flower container, I’m hoping my “recipe” will be useful to help you decide what to plant and how to do it.
How I plant a spring container
There are many variables to consider when planting a container display. Naturally, each gardener has their own process. So in this article, I’ll tell you about my method and what works for me, my gardening climate and my style.
But before I plant anything in the ground, here are some preliminary decisions I (and you, if you’re planting along with me) need to ponder.
Tip 1: Decide on a goal for the container garden.
My main goal, as I’ve already mentioned, was to bring some brightness and cheerfulness to damp and murky late April and May. For that, I knew I wanted to bring a splash of color right outside my back door. My work desk overlooks this spot, so it’s always a treat for my screen-tired eyes to catch a glimpse of bright colors on a gray day.
But I also had some secondary goals. First, I wanted to create a modular design, by interplanting some perennials and some annuals. Once the annuals have lived their lives in the sun, I can take them out and replace them with other annuals. The perennials stay in. This way, I won’t start from scratch every couple of months and I’ll already have a framework to work with.
My other secondary goal was to create a sensory display. My plan was to buy plants that would arouse all the senses. At least one (preferably more) of the plants had to be:
- Colorful or visually interesting – to delight the sense of sight;
- Textured – to satisfy tactile perception;
- Fragrant – for the olfactory sense;
- Rustling – for the sense of sound;
- Edible – to satisfy the sense of taste.
Of course, not every plant could tick every box. But I wanted at least one plant to meet each criterion.
Tip 2: Decide on a location for your container garden.
This container will be perched up on a stool on my back deck. This spot gets a good amount of morning sun, but it gets full shade in the afternoon. Its higher elevation off the deck buys it an extra hour of sun at best.
So I knew I could (and should) mix plants that prefer full sun and part shade.

Tip 3: Stay flexible about your plant combination.
You’ll notice that none of the above tips includes “decide precisely on what plants you’re combining.” Of course, I went to the garden store with some rough ideas of what I wanted to buy. I had also thought about what substitutions I could make. And, as any frugal gardener, I had a budget in mind. (My goal was to keep it under thirty dollars.)
But I prefer to be flexible and open-minded when I go plant shopping. It’s way more fun than stressing over not finding a particular variety or cultivar. Not only does this mindset help me make decisions on the spot and be creative, but it also diminishes my tendency to overthink every single decision.
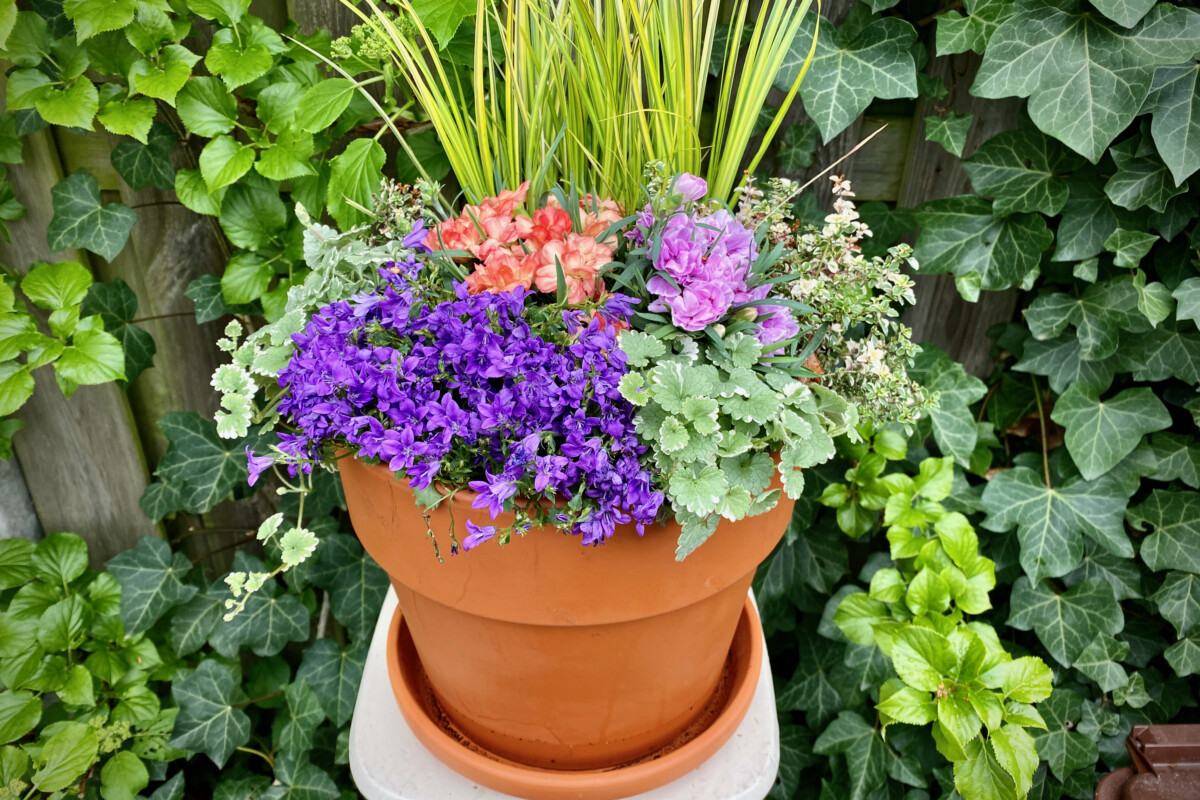
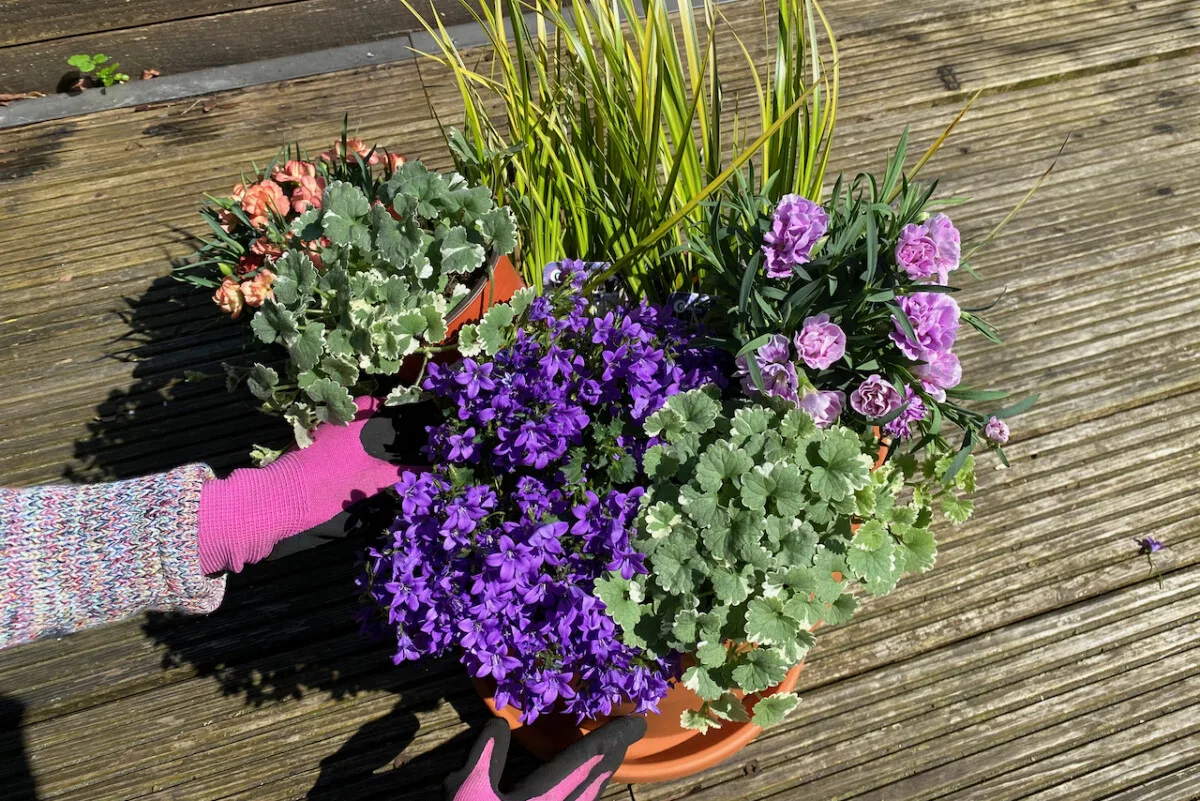
The winning recipe for my spring-summer container planting.
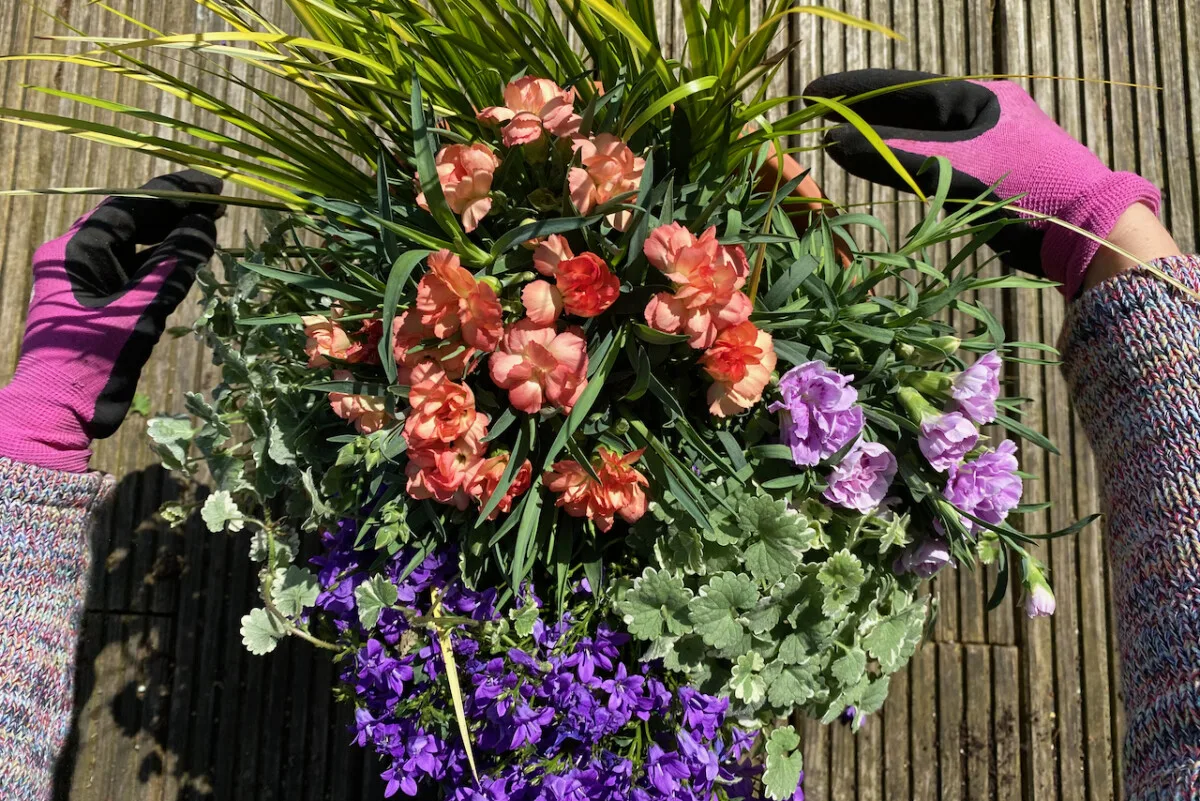
My plant combination for this flower container looks like this:
Acorus gramineus ‘Ogon’ x2 – these are hardy grasses that will add instant height to my display; the narrow, fan-like leaves fulfill the brief of adding texture and of rustling in the wind.
Dianthus ‘Super Trooper’ (the pink one) and Dianthus ‘Cody’ (the peach-colored one) – these two plants will bring a pop of color to the display as well as a wonderful fragrance. Dianthus is a plant that grows well both in full sun and in part shade. Dianthus are biennial ornamentals, and since I bought them in their second year for the blooms, therefore their last year, I’m treating them as annuals in this display.
Variegated glechoma x 2 – this is a perennial herb in the mint family. I chose it as a “spiller” to add a draping effect to the container. These plants will be confined to the container, so there’s no need to worry about them becoming invasive in the garden. Plus, the variegated leaves bring texture, color and edibility to the display.
Campanula portenschlagiana ‘Ambella’ – another plant that I chose for its colorful flowers. The purple-blue of the campanula helps counterbalance the pastels of the dianthus. You’ll often see campanula growing in mounds and overspilling in borders. I have no vacancy in my borders and flower beds, but I still want to enjoy this rich bloomer, so I’m adding it to a container.
Variegated Italian thyme – I wanted to add some sort of hardy perennial herb to the container and Italian thyme ticks so many of the ‘must-have’ boxes. It’s edible; it adds visual interest by matching the variegated foliage of the glechoma; it does well in full sun, but can also tolerate some shade.
Other materials I’m using:
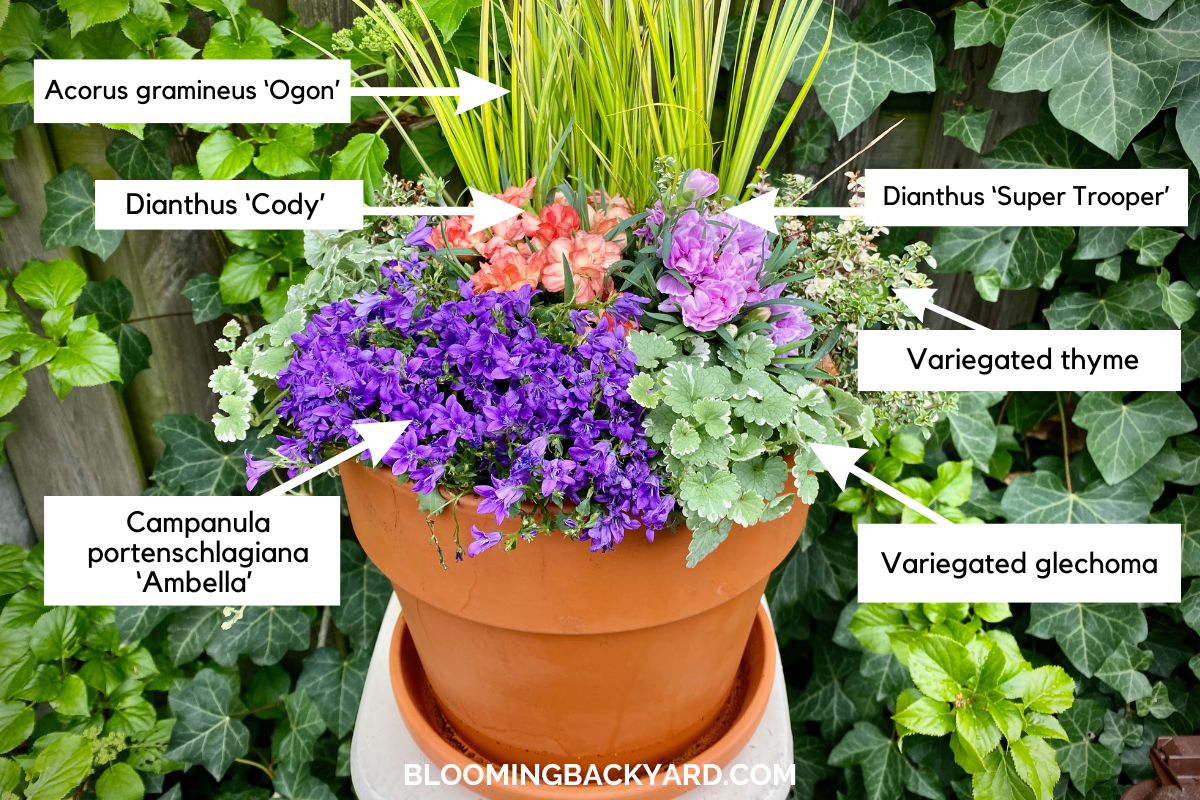
A medium-sized terracotta pot (13 inches in diameter, which is about 32 centimeters) – terracotta was the obvious choice. It’s timeless and matches every gardening style, but it also has a warm glow that complements the plants; when I place it against a backdrop of climbing hydrangea, it will look elegant and sculptural.
Potting compost – I’m using a compost that’s especially designed for outdoor containers.
LECA or gravel (optional) – I’m adding a handful of LECA (Lightweight Expanded Clay Aggregate) to the bottom of the pot.
Perlite (optional) – I’m adding some to the potting mix to improve drainage and aeration.
How I plant my flower containers
Now that we have everything we need to get started, here are my tips for planting a flower container garden.
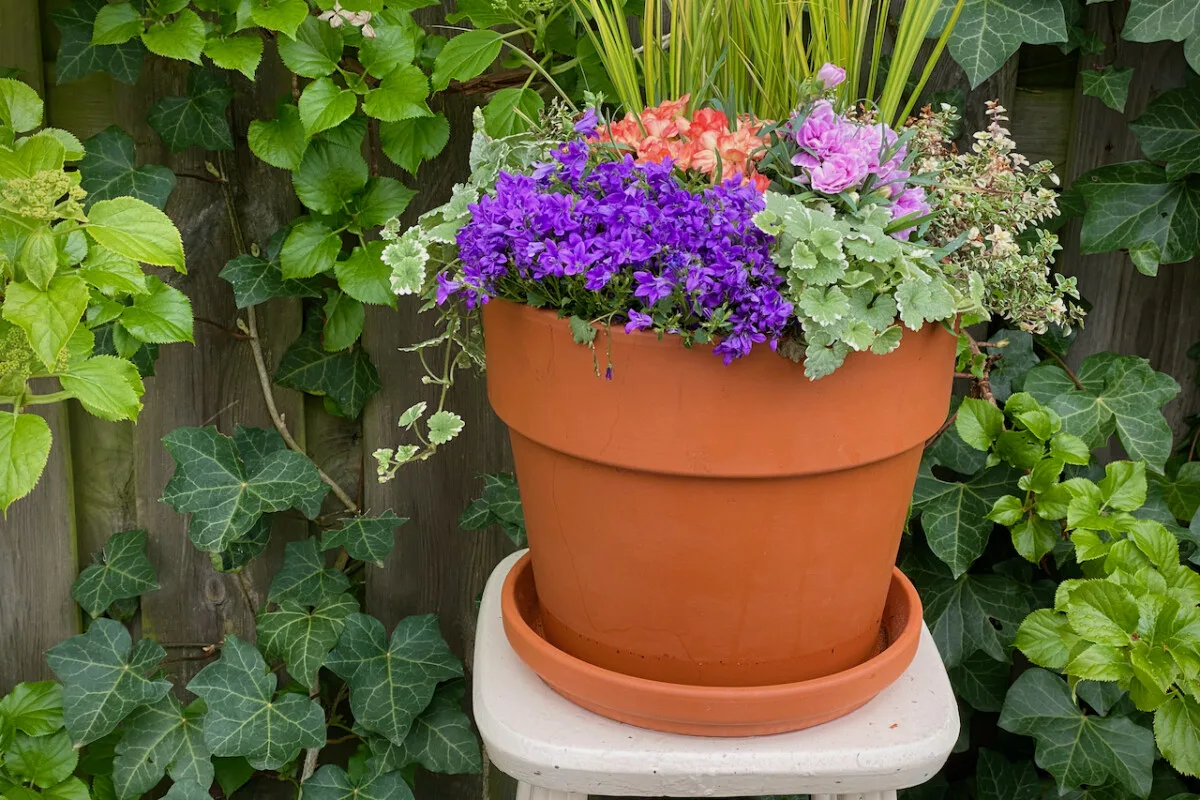
Step 1: Prepare the planting medium.
I start by covering the bottom of my terracotta pot with a layer of LECA. I’m adding this as a filler, but also to make sure that the potting soil doesn’t compact at the bottom of the pot. LECA will absorb water when it rains too much and slowly release it if I forget to water the container during a dry spell. I wrote an entire post about how I use LECA for some of my houseplants (and why I sometimes shy away from it).

You may also have seen me use these hydro-balls in a lasagna bulb pot I planted last fall (with great results this spring, I might add.) I don’t use LECA in every outdoor pot, but I try to use it in large containers, especially if the plants are young and haven’t formed a strong root structure to hold the soil in the pot.

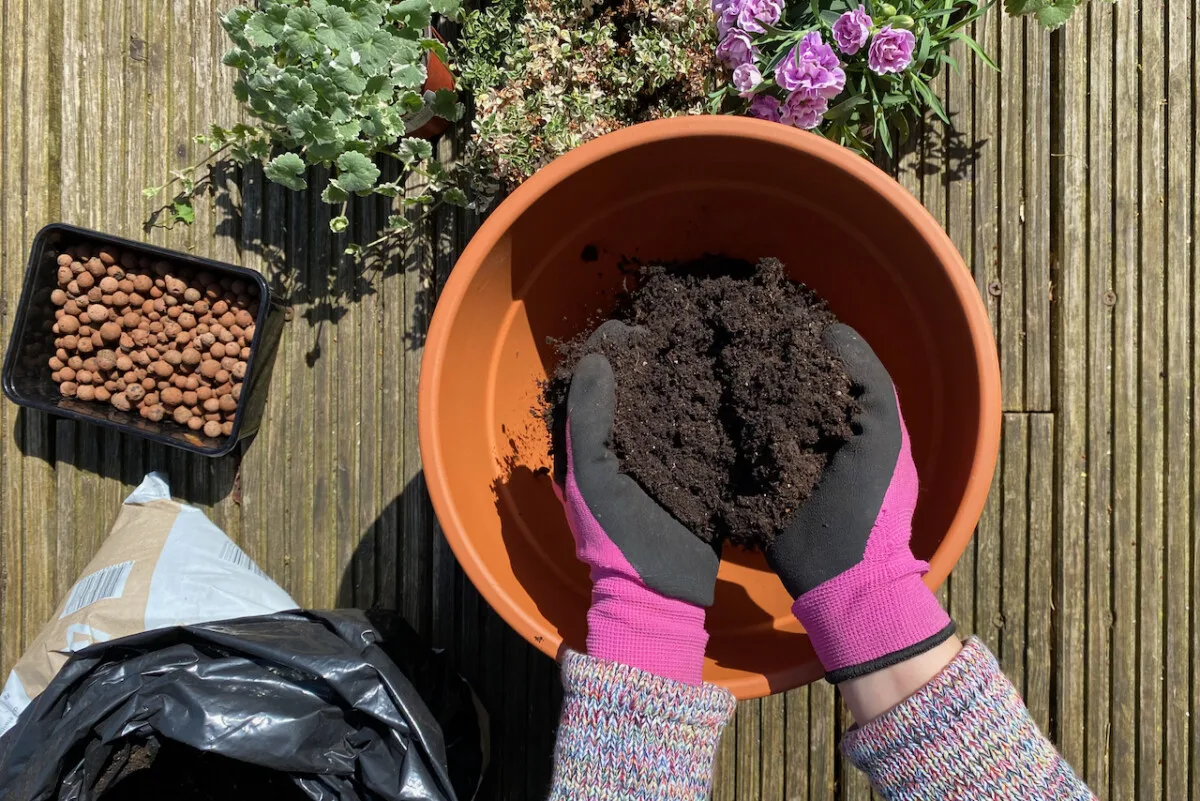
I then fill the container about a third way up with a potting mix. You can choose whatever potting mix you like, as long as the bag says that it’s suitable for outdoor containers.

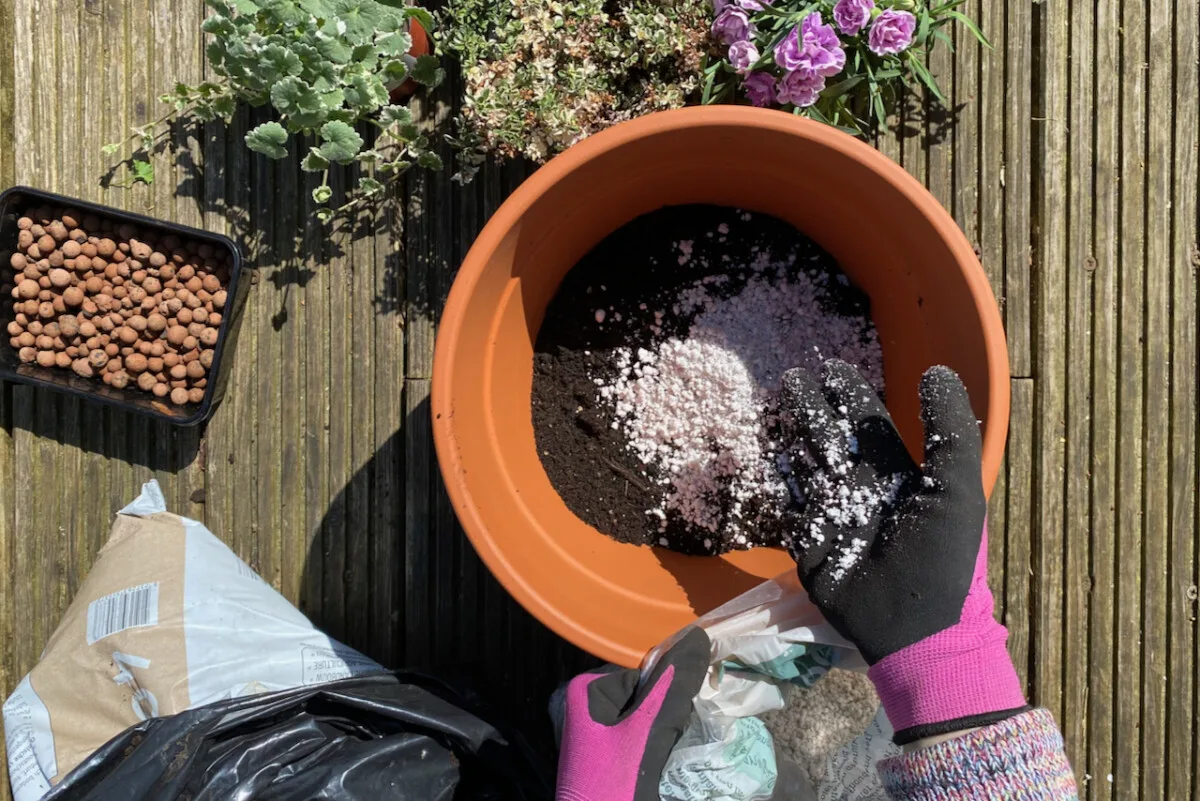
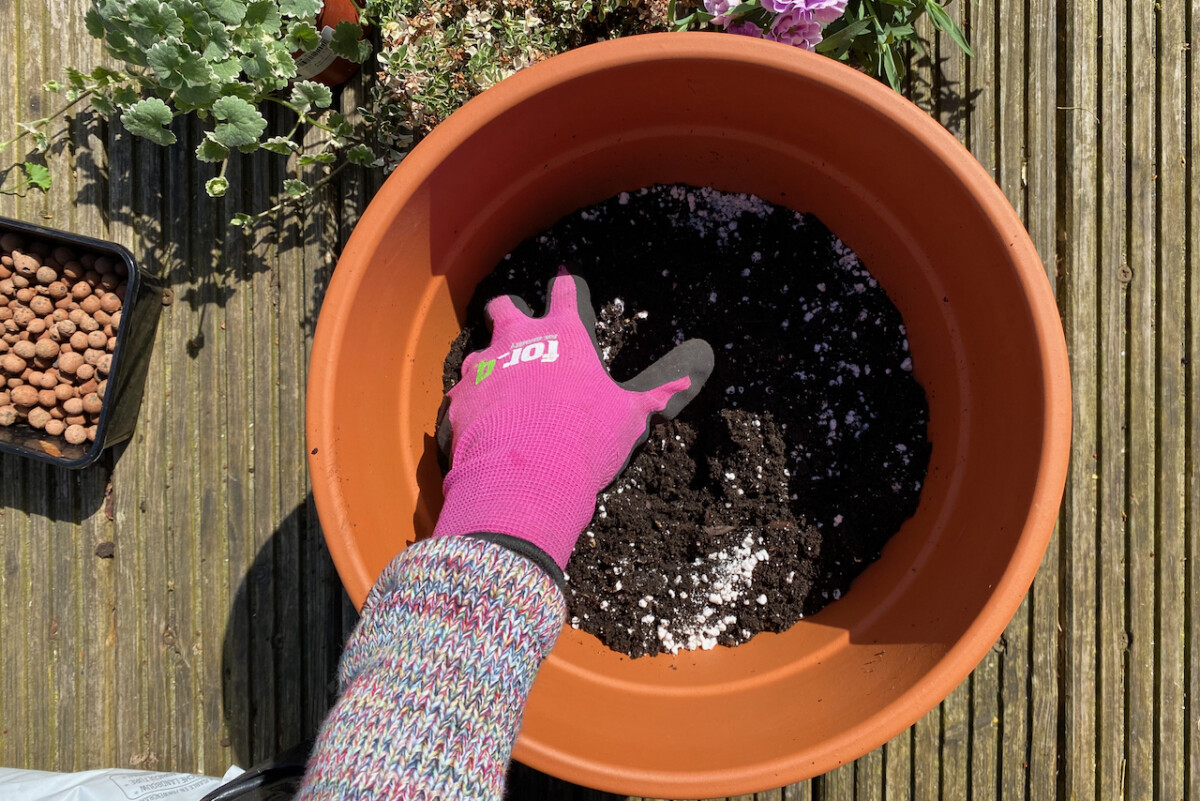
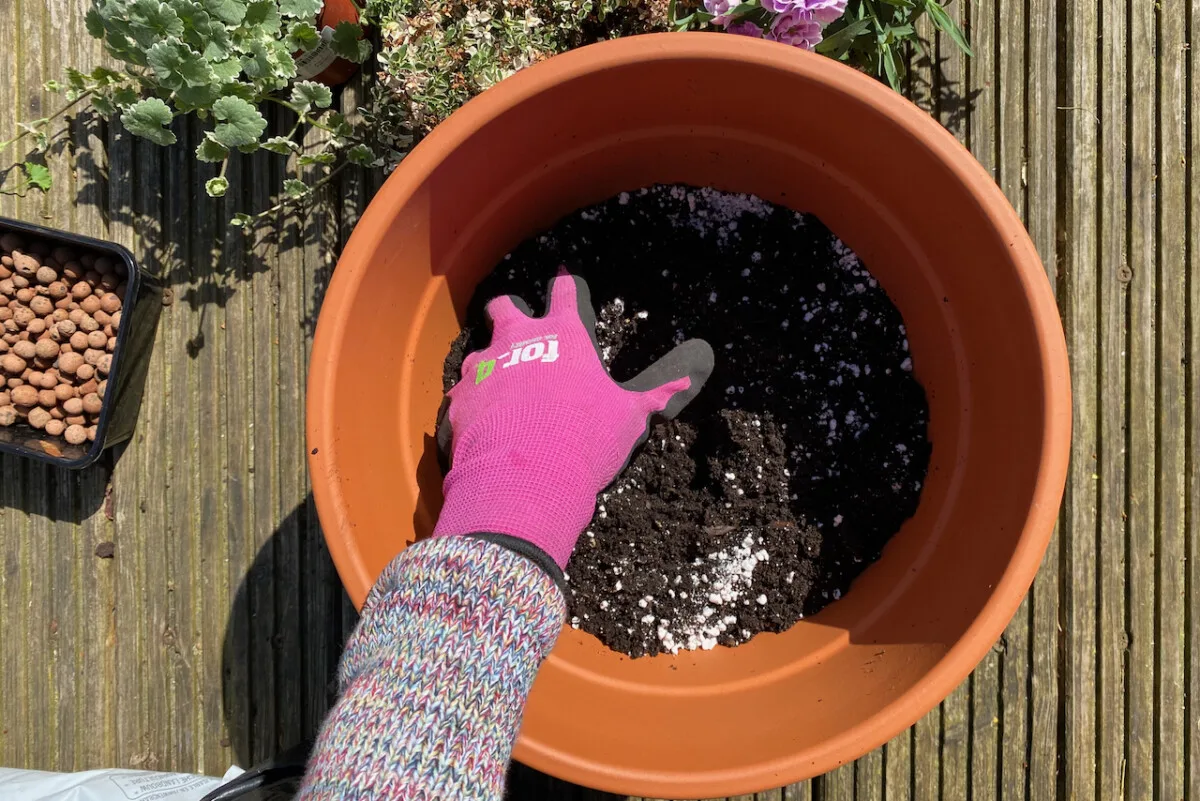
The potting soil that I bought contains coco coir, which improves drainage and aeration. And just to make sure the container drains well, I’m also adding an extra handful of perlite. This is optional, of course, especially if it looks like your potting compost already has perlite in it.
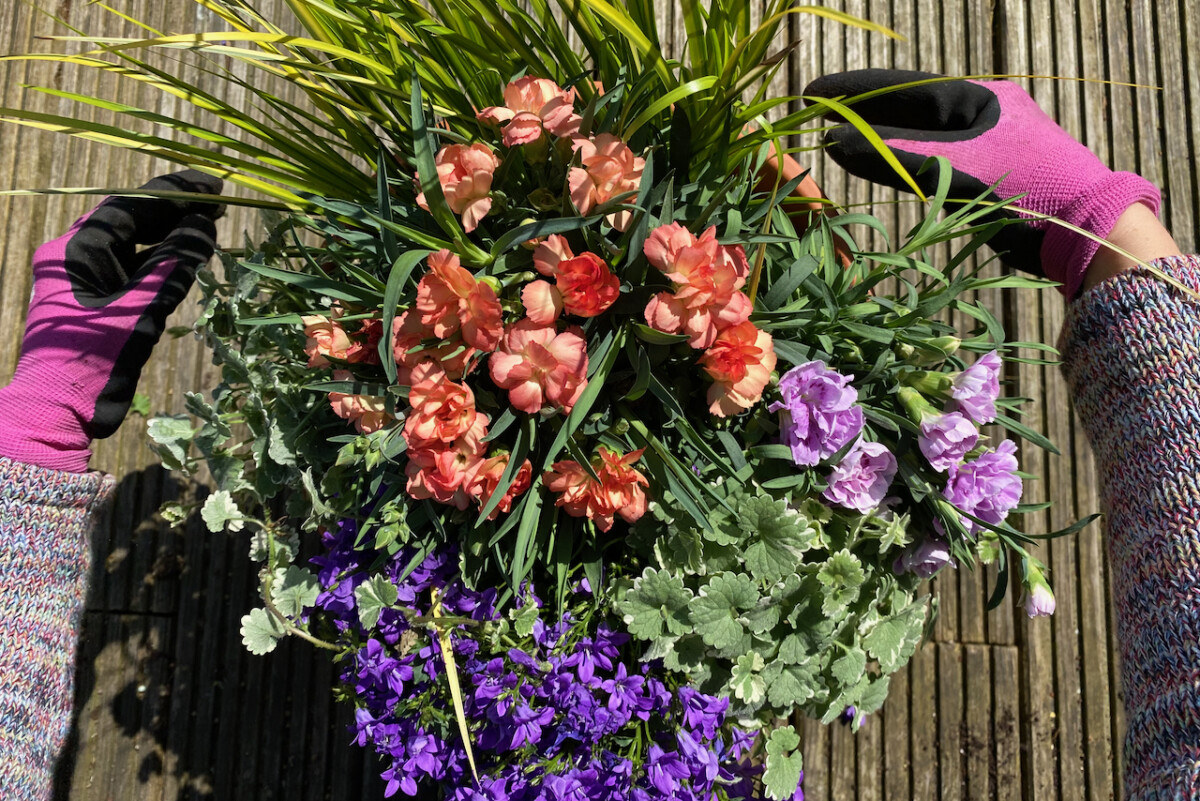
Step 2: Plan it out before you plant it out!
Since I’m thinking about this project as a “recipe,” I like to think of this step as the mise-en-place stage. A mock display helps me to play around with the plants until everything is set in just the right place.
At this point, the plants are still in their nursery pots. I’m just placing them on top of the potting soil in the container to see how they look like together.

I start by choosing what the front and the back of the container will be. If you’re placing it somewhere you can see it from multiple angles, consider what you want to see from each side.
Right now, I’m planning on placing this container against a backdrop of climbing hydrangea, but this setup might change throughout the next couple of months. That’s why I still want to add some height to it using grasses. They have a good rough texture and help set a backdrop for the rest of the planting, like a kind of canvas against which everything will show its depth.
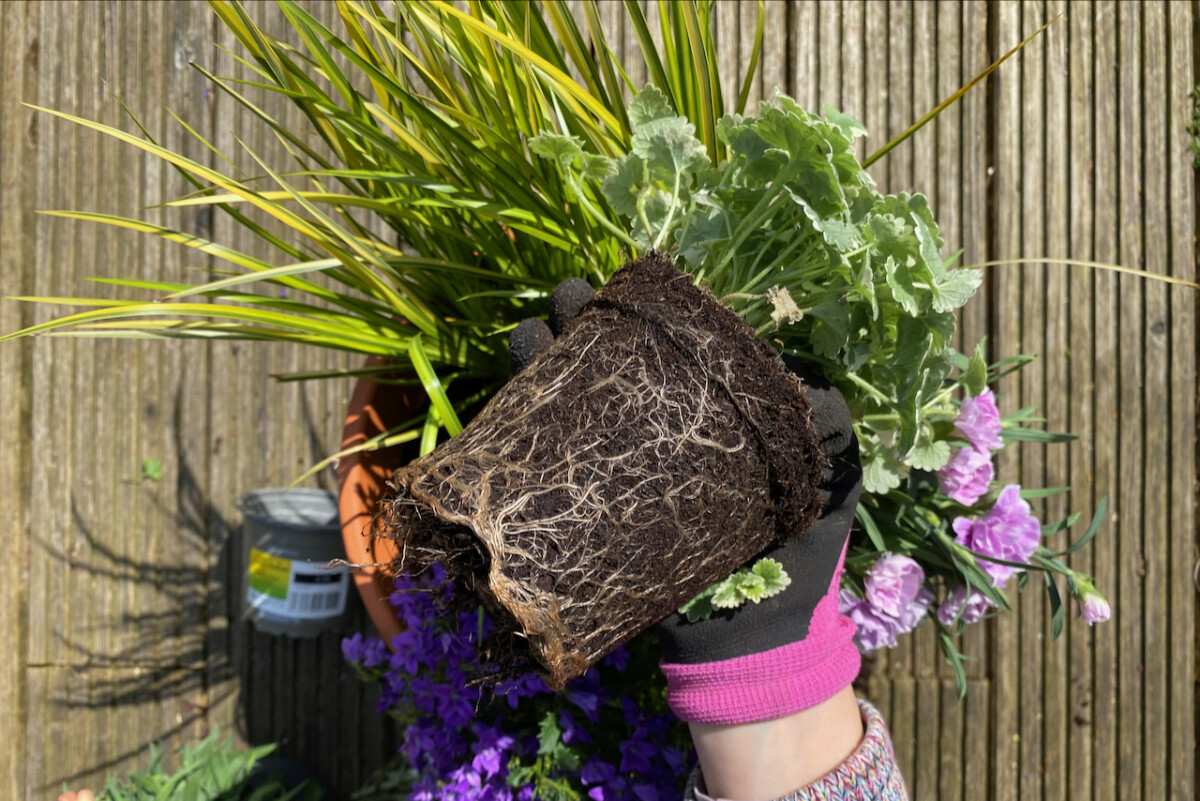
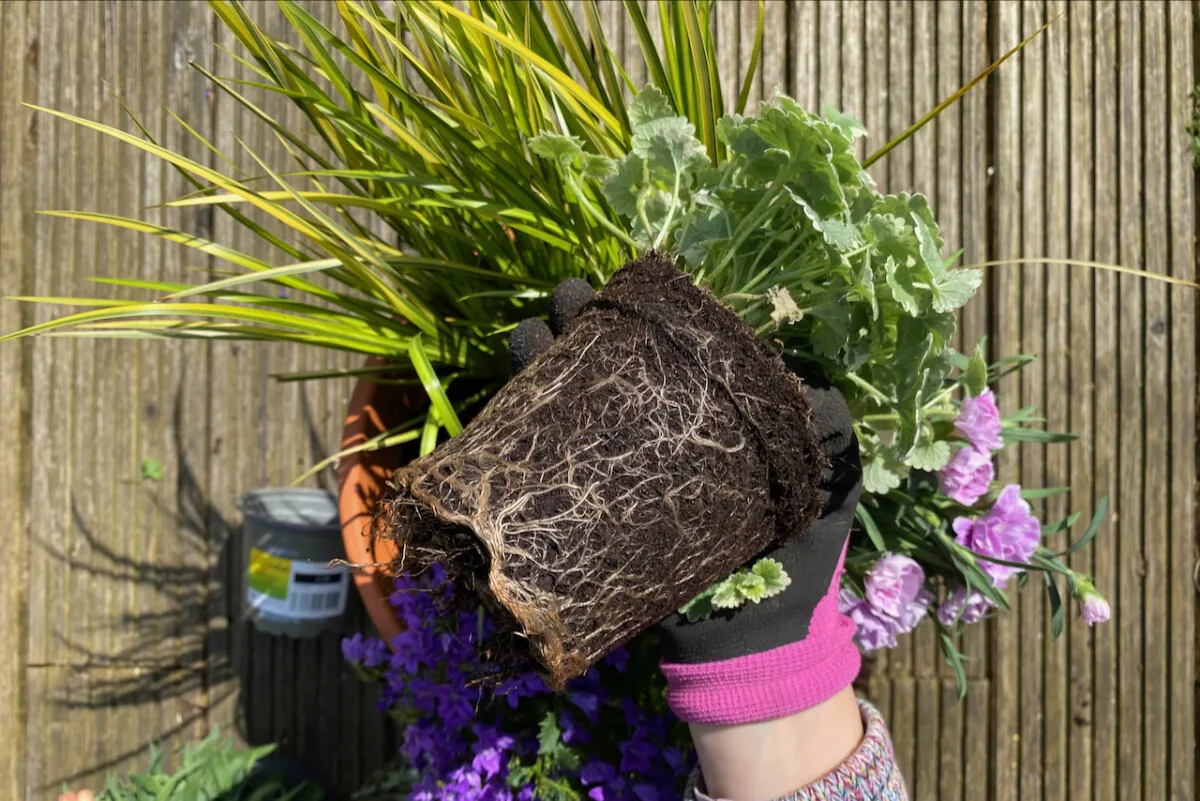
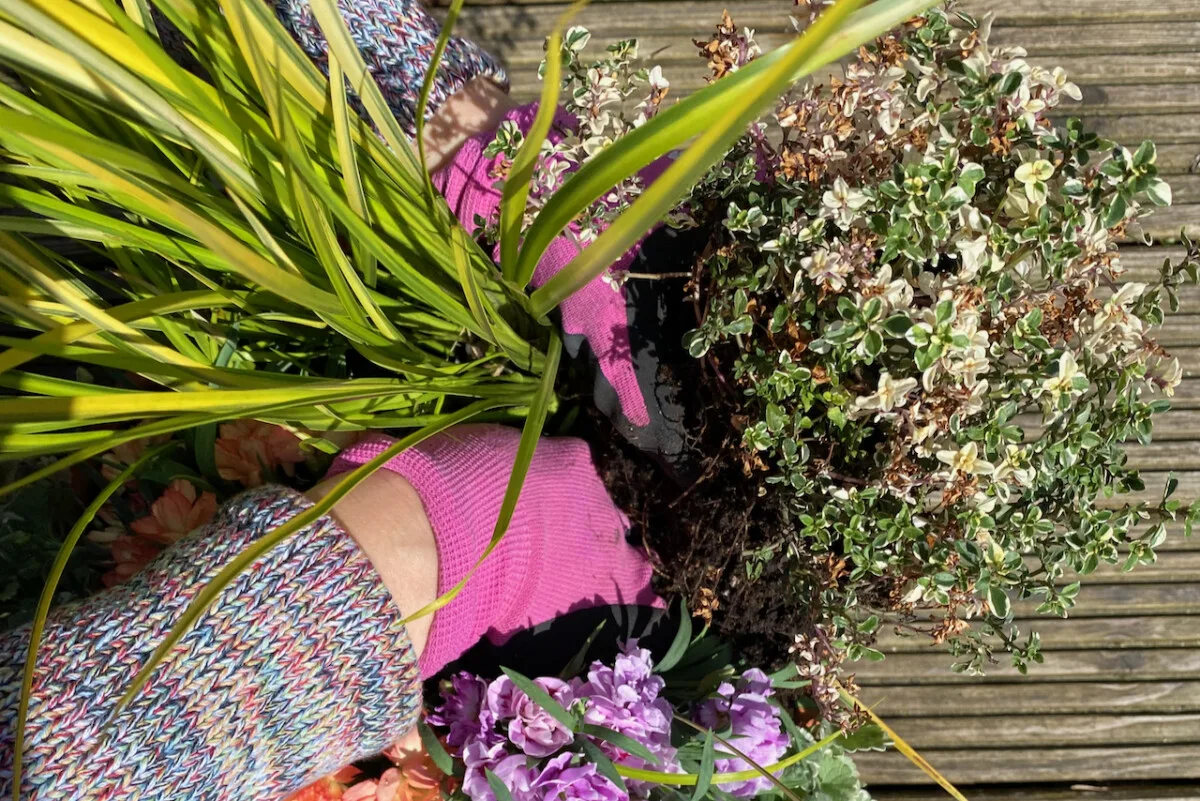
Step 3: Get the plants in the container.
Start by removing the plants from their nursery plastic pots (obviously) and teasing out their roots (not so obvious). This will help them stretch and spread their roots faster once they’re in their final location.
At this point, I’m just setting the roots on the surface of the soil, without pressing anything in. I want to make sure that all the plants fit and that they’re all set at the right height.
I then continue to work from the back to the front, alternating from one side to the other; I’m not planting a perfectly symmetrical display, but this helps keep it visually balanced. So once I’ve planted on one side, I plant the same thing on the other side. I work the compost around the roots of the plants as I go.
Every now and then, it helps to step back to look at my container from a (slight) distance and see how everything fits together.
Once I’ve made sure that all the plants have their roots firmly planted in the soil, I fill any gaps in between plants with more potting medium; then I gently press to firm it down around the root ball of every plant.
Step 4: Water the container, then top it up.
Like a game of musical chairs, I was left looking at a pretty packed container while still holding one plant. It seemed like there wasn’t even an inch left for the thyme to go into. But once I watered the container thoroughly, then topped up any gaps with more potting medium, a few pockets appeared. It turns out there was plenty of room left for the thyme as well.
So I split the thyme into two (very unequal) parts and planted them in those empty pockets. Then I gave the container a final watering to set everything in place.

A word of advice if you’re using a terracotta pot or any other oversized container. A large container full of potting soil gets very heavy when thoroughly saturated with water. Make sure you have it in its final position before you water it. I didn’t, so I had to call in reinforcements in order to move it to its final location.
Overall, I’m thoroughly pleased with how this container turned out. It fits in beautifully with the other pots on my desk and brings me joy every time I look at it.