
Do you have any little free libraries in your community where you can take a book for free or leave a book for your neighbors to take home?
Imagine the same concept, except instead of books, you can bring or take plants. It’s called a little plant library. And not one, but three such structures have popped up in my neighborhood this spring, within a twenty-minute walking radius from my house. I love stopping by for a quick browse once a week. And I’m happy to say that I managed to score some healthy perennials as well as some small houseplants from these libraries.
If it’s even possible, I enjoy donating plants more than getting them. Most of the flowers I started from seed have had a good germination rate, so I distributed the extra plants between the three locations. But now that the seed-starting season is coming to an end, the next step in my plant sharing strategy is to take and root softwood cuttings.
Whether you’re propagating plants for your own garden or want to share with your wider community, this is the perfect propagation method for this time of year.
When can you take softwood cuttings?
You’re taking softwood cuttings from the growth that’s being put out this year, so you at least have to wait for that to happen.
In warmer, milder climates, you’ll probably start seeing new growth as early as March. In most climates, the softwood will turn into semi-hardwood by August. So that’s the window you’re working with, give or take a few weeks.
In my garden, I’m taking these softwood cuttings in late May and early June this year. We’ve had a pretty late start to spring, with low temperatures and a lot of rain, which means that it took a while for plants to start growing again. But once they did, everything shot up within a matter of weeks.
What makes a good softwood cutting?
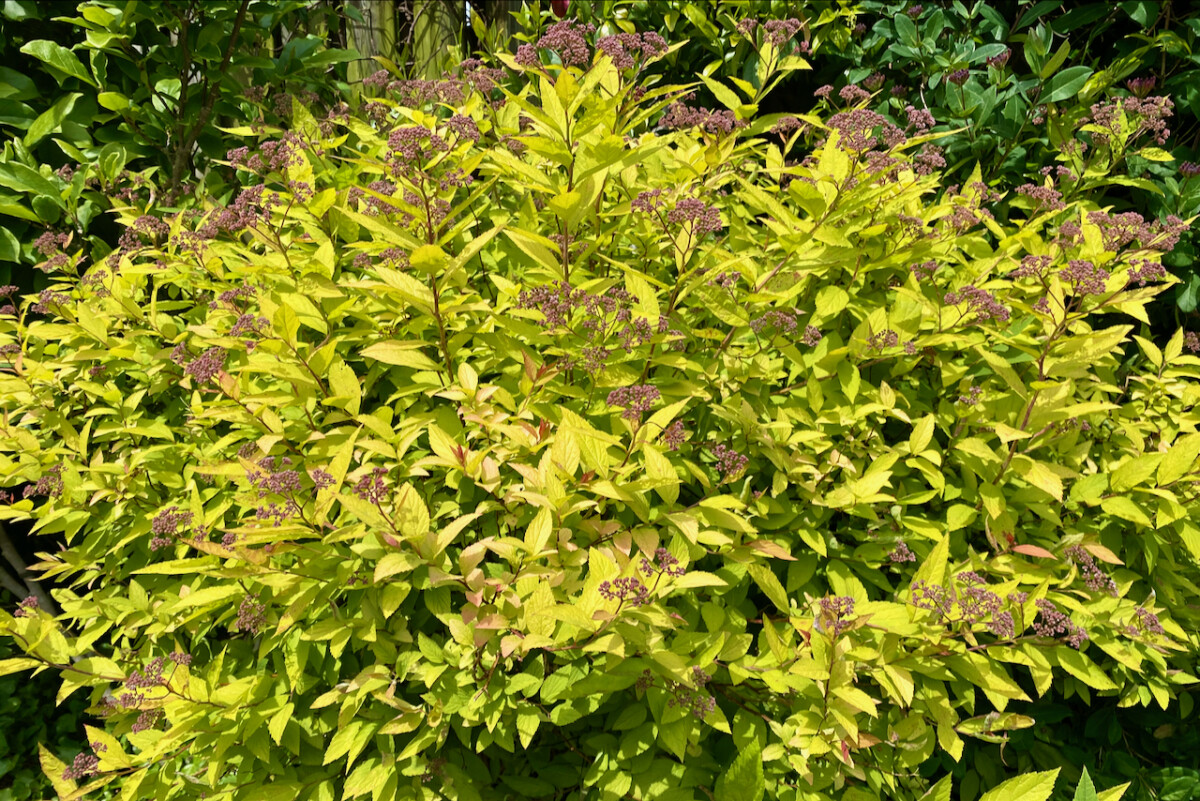
What you’re looking for is the softwood of new growth. It usually looks different from the older, more mature parts of the plant. Don’t be tricked by the word “wood” because it usually doesn’t look woody. On the contrary. In some plants, the color of the new growth is brighter than that of old wood. In others, new wood has a glossier texture. Often, it’s both.
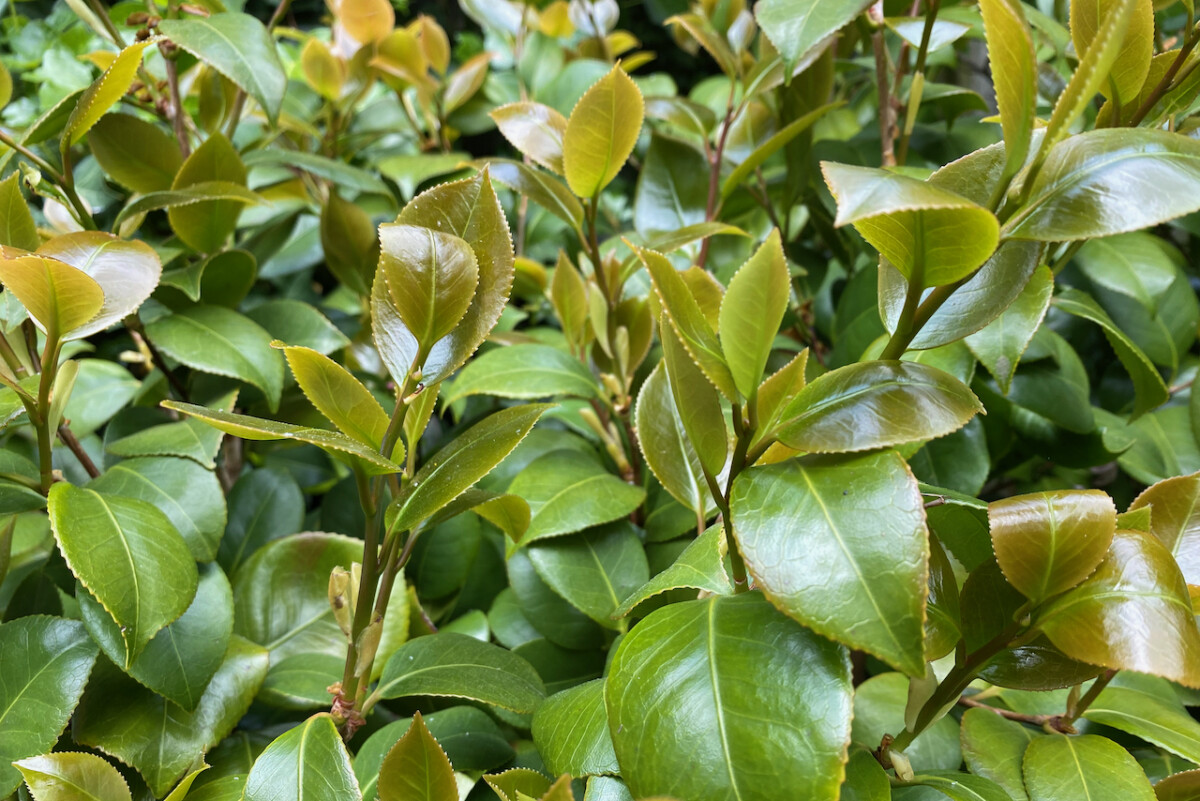
In this camellia, for example, the softwood is a creamier shade of green, but it’s easy to spot because it looks very shiny compared to the older foliage, which is more matte.
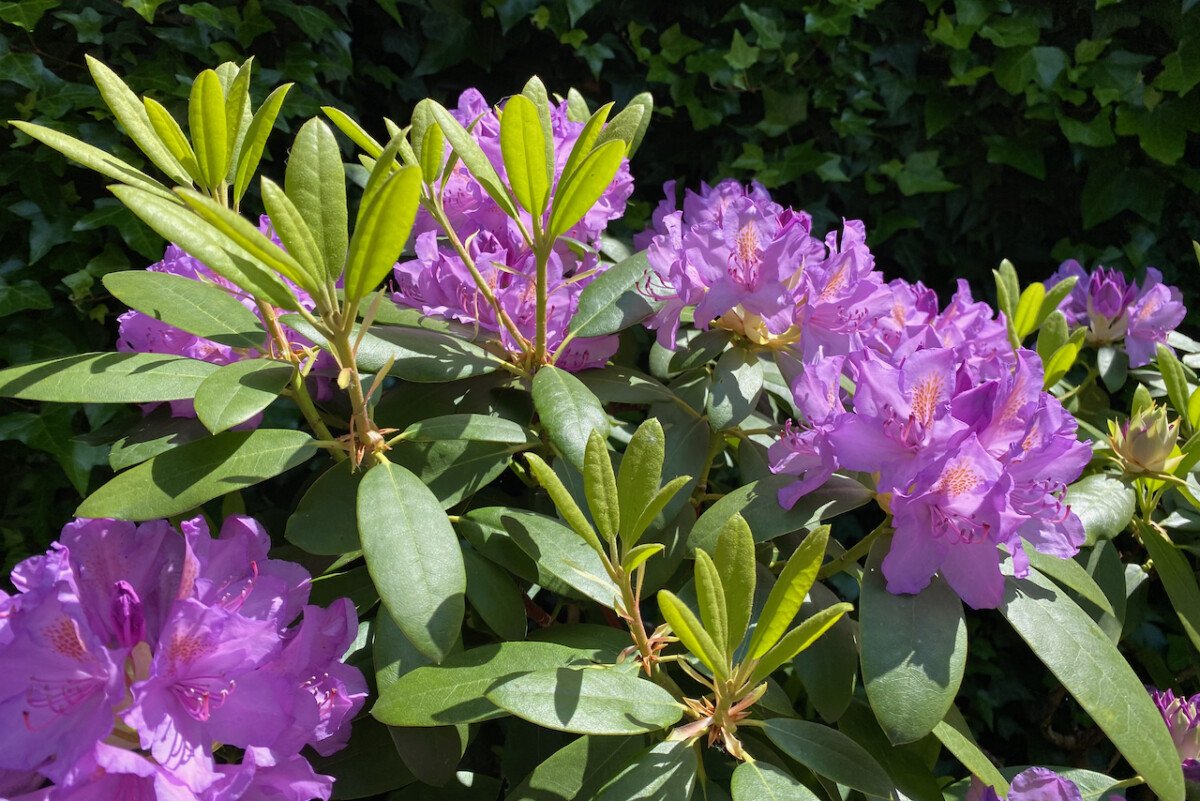
Another trick of the trade when choosing the right cutting is to go for new growth that doesn’t have flower buds at the top. Non-flowering shoots have more energy to expend on putting out roots.
What plants can you propagate from softwood cuttings?
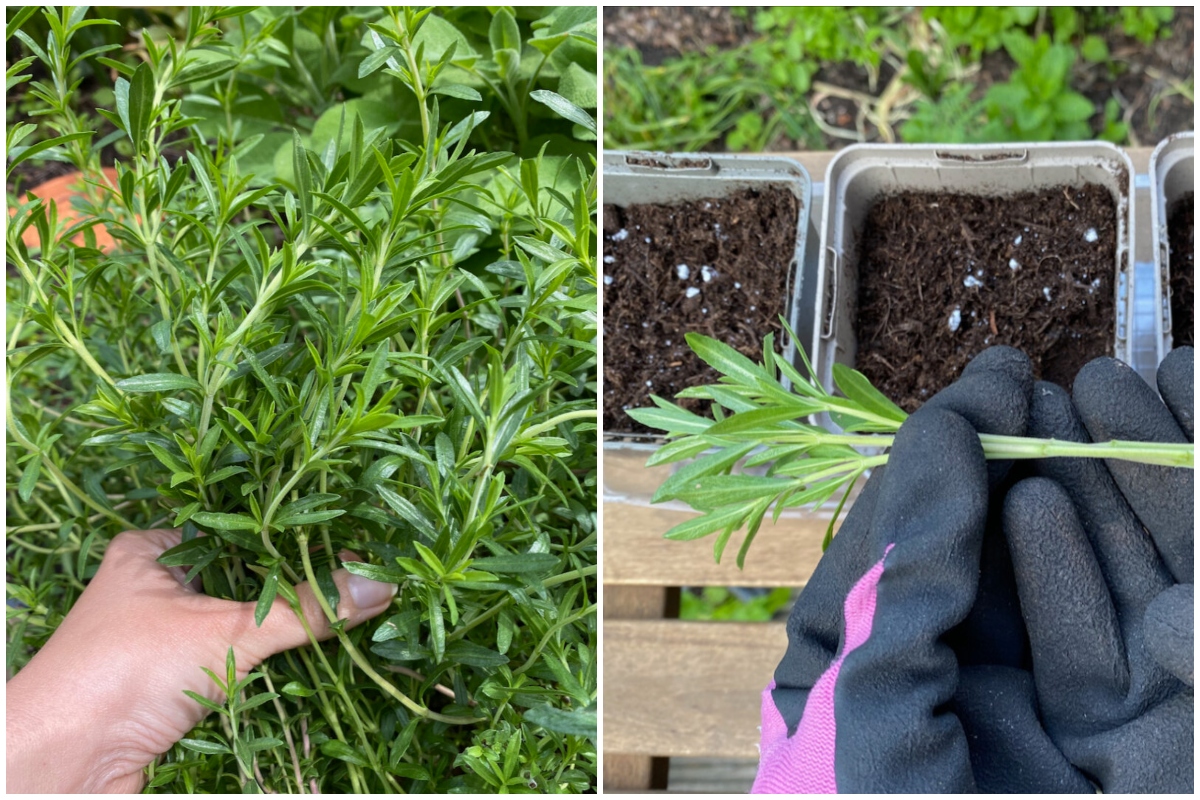
In this article, you’ll see me propagating some savory (Satureja) cuttings. It’s a fantastic perennial herb that we use for cooking in all seasons.
Throughout the winter, I’ve been chopping away at it to add to virtually every stew I made, as well as to some soups, oven bakes and pasta dishes. So it has rewarded me with an abundance of new growth. Perfect for taking softwood cuttings to take to the little free plant library.
But there are so many other perennials, shrubs and even trees that you can propagate with this method. A non-exhaustive list, starting with my favorite herbs, includes:
30 Plants You Can Propagate From Softwood Cuttings
Sage
Rosemary
Savory
Hibiscus
Pelargonium geraniums
Gardenia
Fuchsia
Hydrangea
Penstemon
African daisies (Osteospermum)
Aubrieta
Kerria
Camellia
Perovskia
Petunia
Sambucus
Lavender
Verbena
Rhododendron
Azalea
Viburnum
Cotoneaster
Clematis
Spirea
Forsythia
Honeysuckle
Jasmine
Rose mallow
Weigela
Wisteria
If you’re interested in propagating trees from softwood cuttings, there’s a list of what will work on the website of the North Carolina State University Extension.
4 Steps to Propagate Softwood Cuttings
Now that we’ve established that you can propagate so many garden favorites using this method, let’s have a look at what you actually need to do. It’s not hard at all.
Step 1: Prepare your potting medium first!
Just like I did when I propagated plants from hardwood cuttings, I’ll always start with the end in mind.
Before I make even a single cutting, I get the potting medium ready first. Once I cut off bits of the plant, the best practice is to transfer them into soil as quickly as possible. This prevents the cuttings from losing too much moisture while they’re detached from the main plant.
I use seed starting compost for my cuttings, although any type of multipurpose potting medium will do.
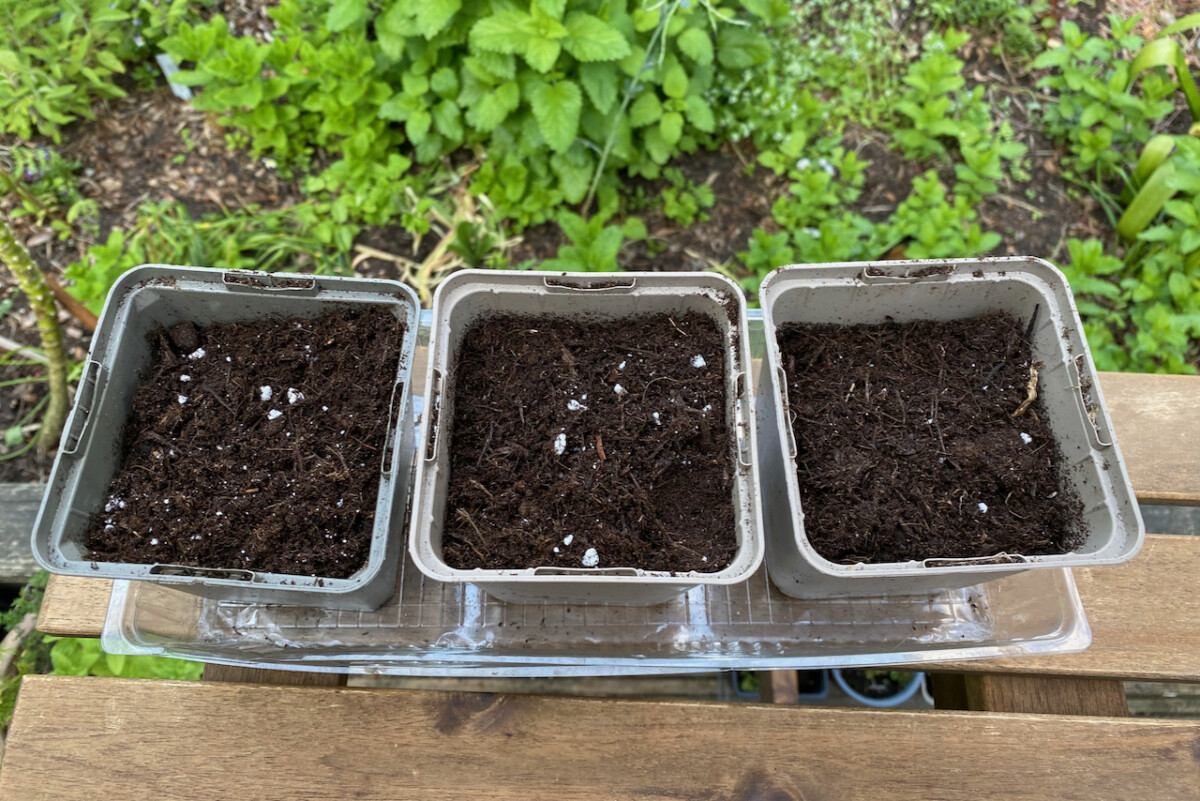
The trick is using a soil mix that allows for good drainage. You want the cuttings to have access to water, but you don’t want the pot to stay soggy for too long. Adding a handful or horticultural sand or perlite to your potting mix (if it doesn’t already have any) will also help achieve this goal. Keep it below twenty percent of the total though because you still want your soil to hold enough moisture for the cuttings.
But let’s say you’re desperate to take some cuttings from your friend’s garden (we’ve all been there). Don’t let the lack of potting soil stop you.
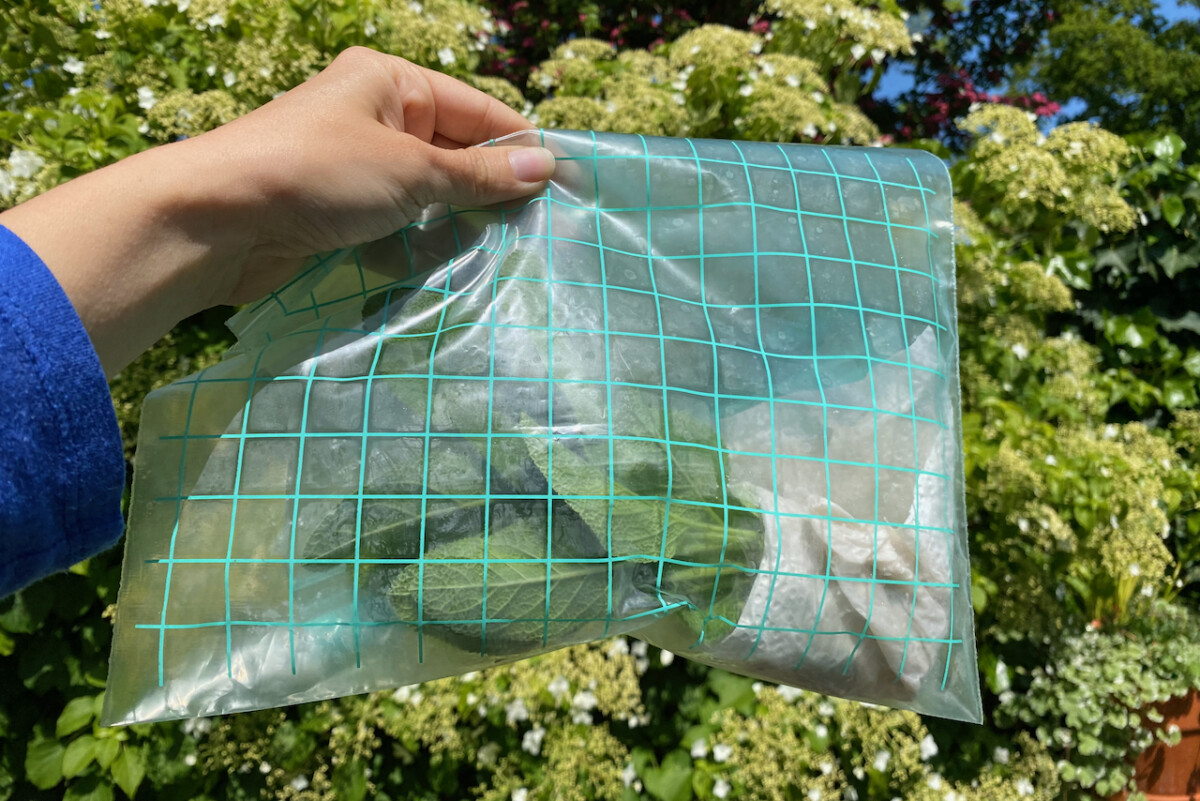
If, by any chance, you don’t have access to potting medium right away, you can store your cuttings temporarily in a sealed plastic bag. Adding a moist paper towel to the bag might buy you some time, but not too much. You should transfer the cuttings to soil within a few hours. Definitely don’t leave them in the bag too long. And definitely don’t leave them in the heat (been there too!).
Step 2: Choose and take your cuttings.
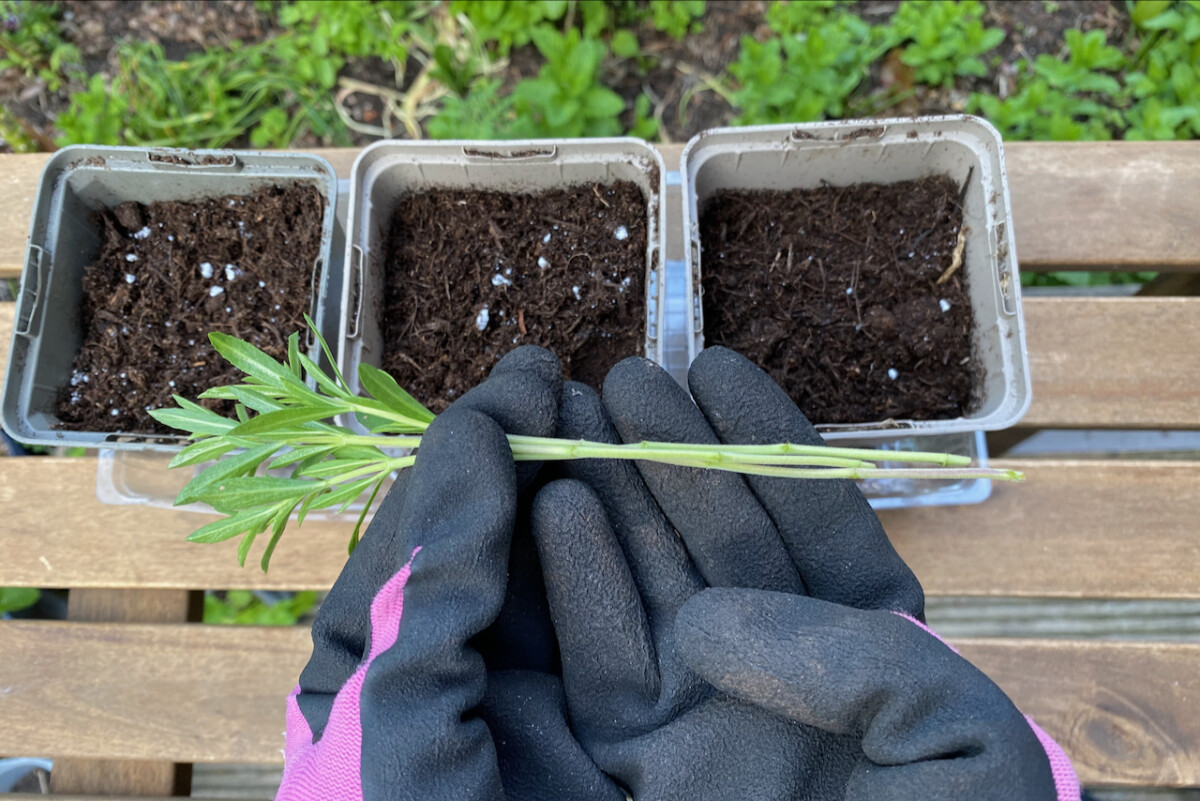
We’ve established that the best type of cutting is a non-budding, non-flowering one. Your cutting also needs to be long enough to have plenty of leaf nodes to work with.
I would say two leaf nodes is a minimum, but if you can get about four or five nodes underground, that’s even better. So whatever cutting you’re considering, count the leaf nodes from the top and make sure you have enough, allowing for at least two or three above ground too.
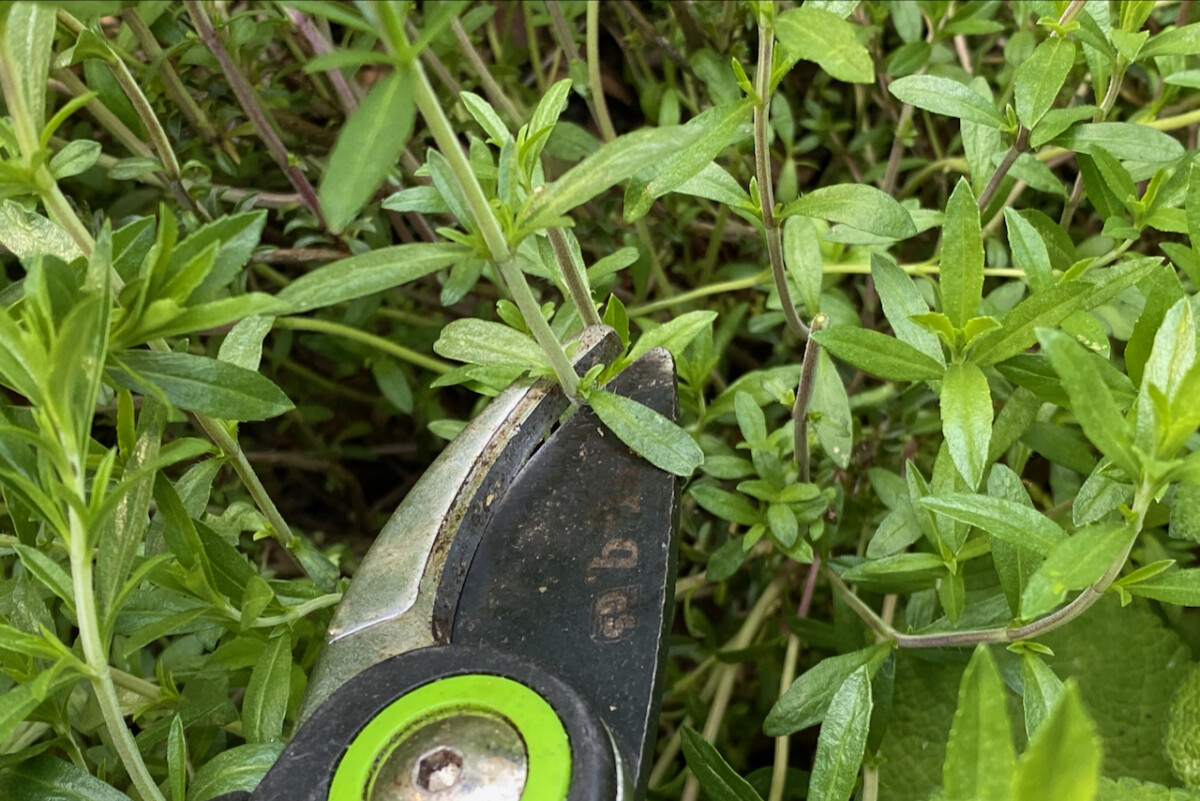
Make your cut right below a leaf node. You’re doing this because there’s a high concentration of growth hormones in that area. They will help jumpstart the growth of new leaves.
The cuttings that I’m taking have a total of six nodes, including the one that I’m cutting right below. Aim for a cutting of about 4-6 inches (10-15 cm). A longer cutting will also work, as long as you’re planting it in a container that’s deep enough.
Step 3: Prepare and plant your cutting.
Once you’ve taken your cuttings, remove all but the top two sets of leaves. Or even all but the top set, if the leaves are nice and fleshy, such as those of hydrangea.
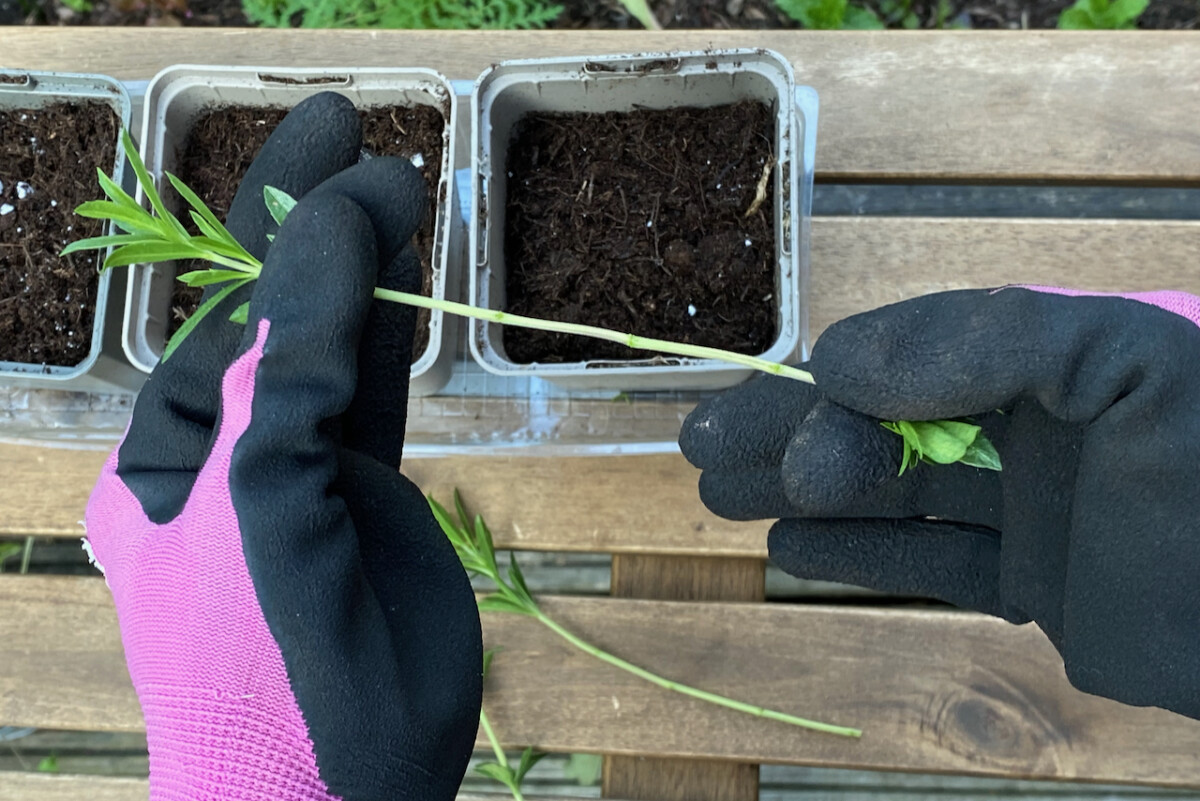
The cutting does need some leaves to photosynthesize, but too much foliage will lead to excessive loss of moisture through the surface of the leaf. If the remaining leaves are very large (hydrangea is again a good example), you can cut them in half.
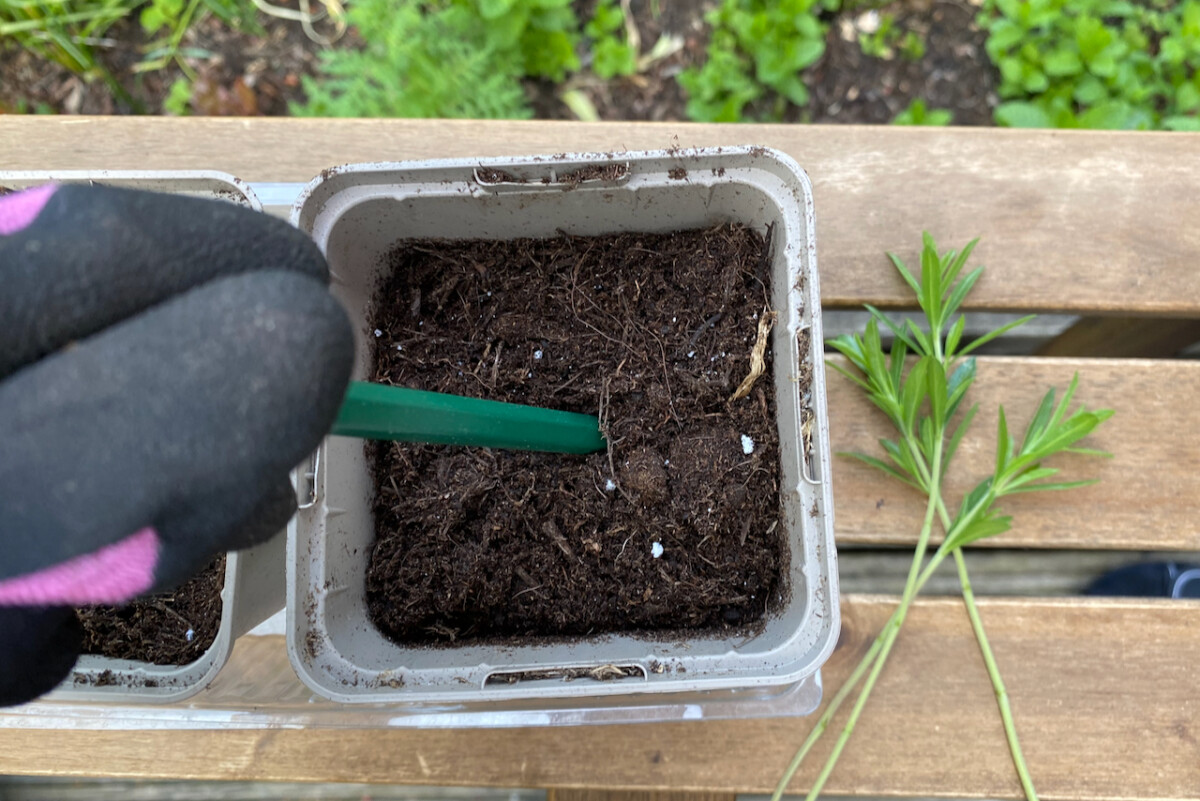
Then using a pencil or chopsticks, make enough space in the potting mix to bury all the stripped leaf nodes. With hardwood cuttings, you can insert the stem right in the soil. But softwood cuttings are too soft, so it’s better to make room for them first.
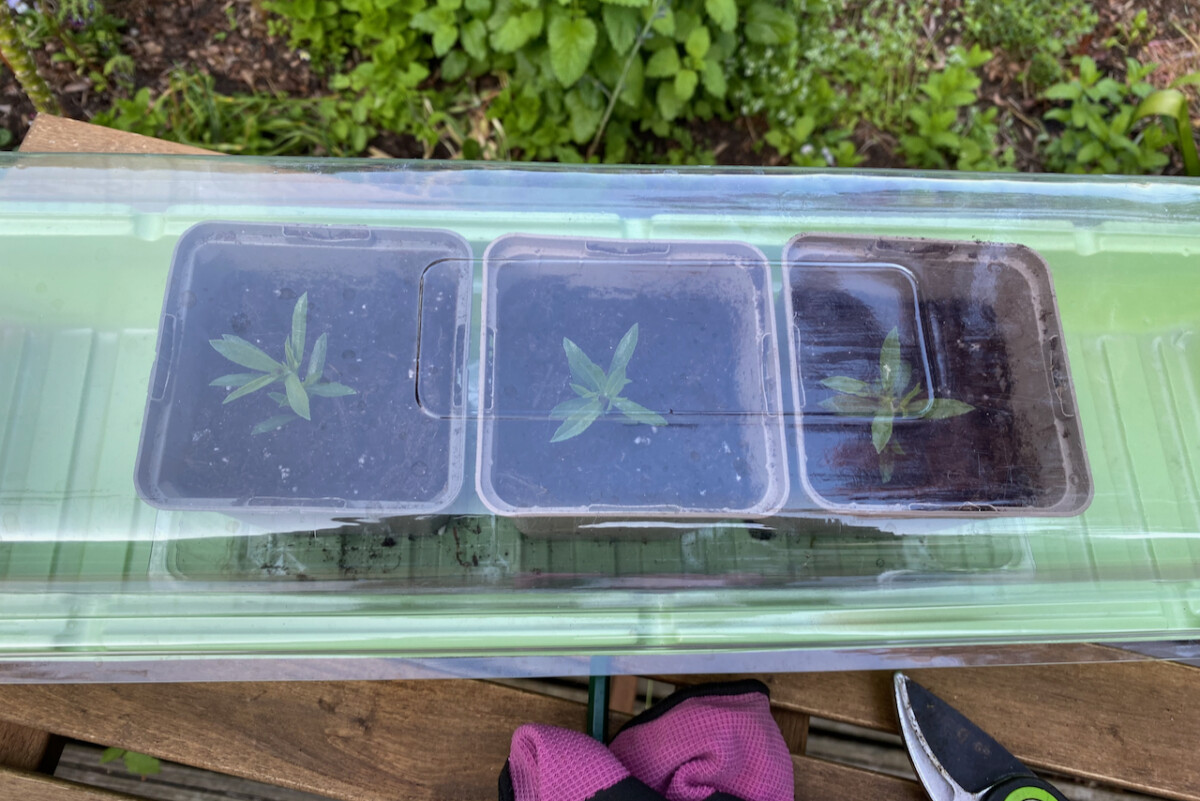
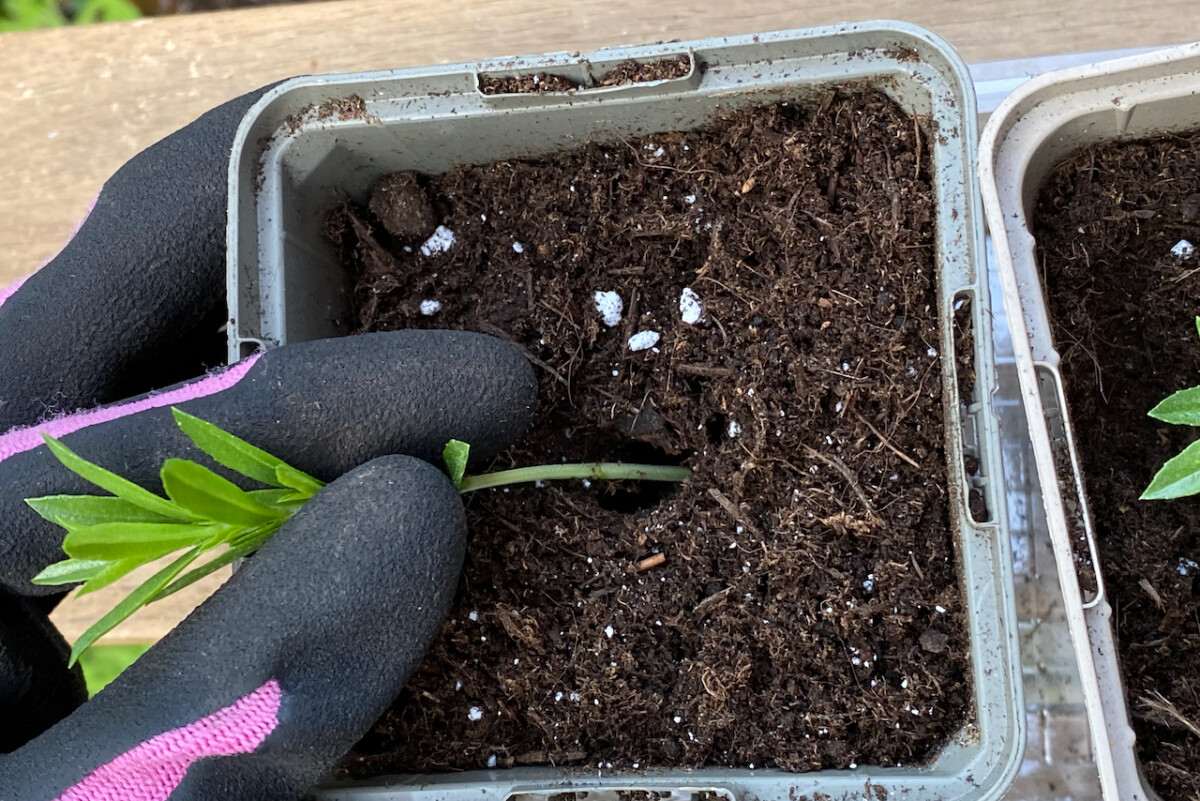
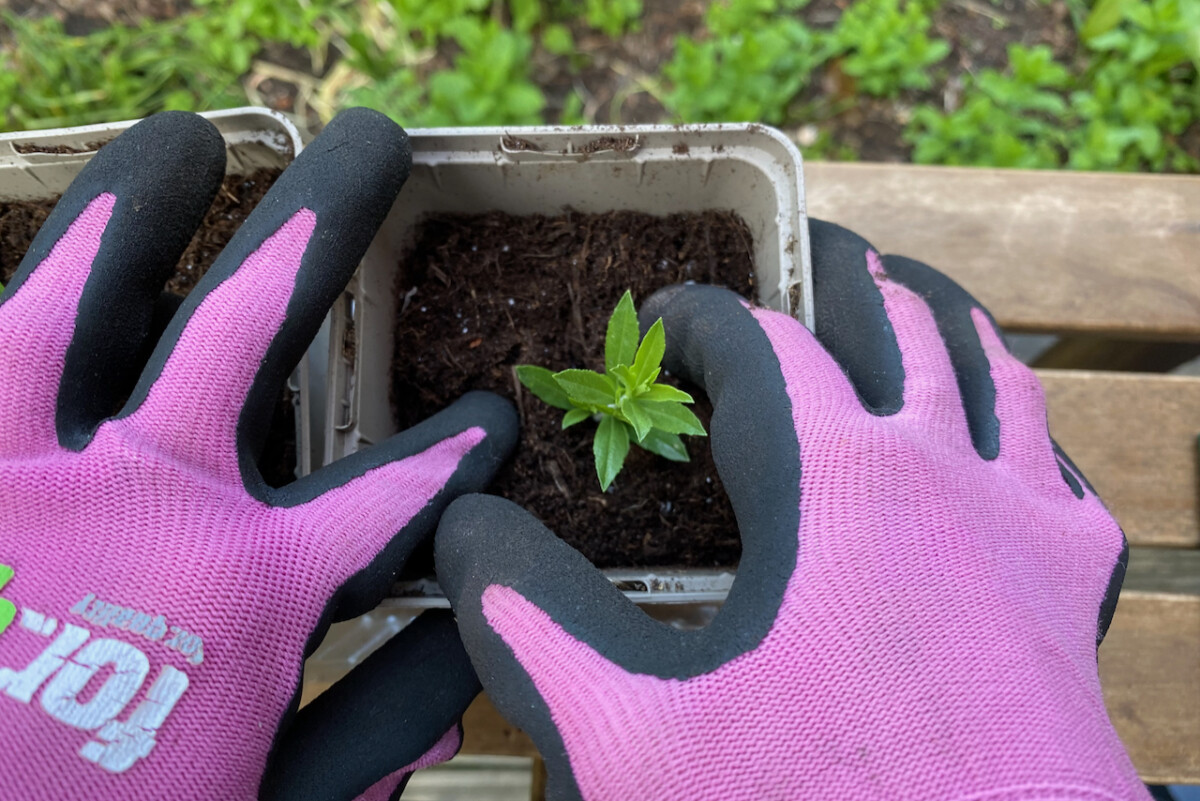
Put the cutting into the ground and tuck everything in, except the sets of leaves at the top. Because I want to share my cuttings once they’re rooted, I’m planting them in individual pots. But you can also plant several cuttings into one larger pot and divide them later in the season.
Once the cuttings are in the ground, the next step is to pinch the top of the plant. The plant will still want to put out growth at the top, so this extra step ensures that all the energy is redirected to growing roots.
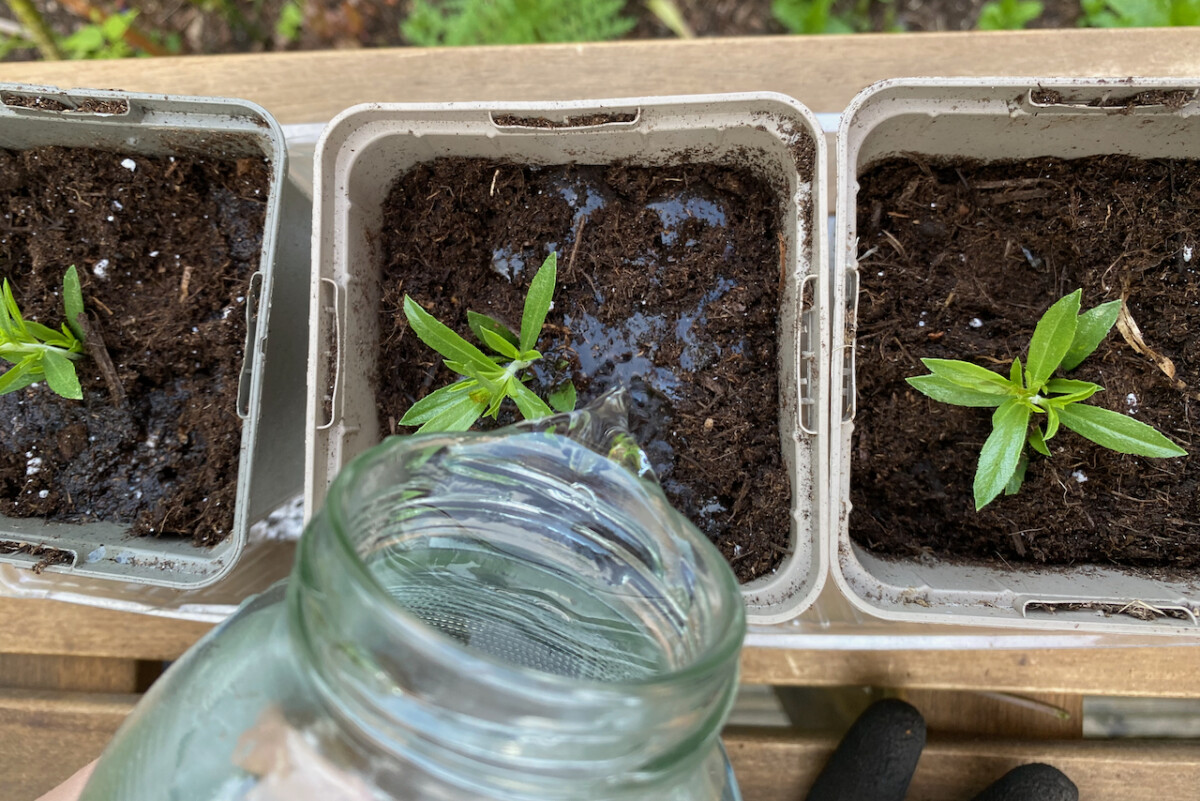
All that’s left to do now is to water the cuttings and top up the pot with more soil if the level settles too low.
Step 4: Maintaining the right aftercare of the softwood cuttings.
You’ll often read that taking softwood cuttings is the most successful method of propagating plants. For the most part, I agree with this statement. But I think the matter is more complex. Yes, it’s easy to take the cutting and pot the cuttings. But I believe that it’s what happens after planting it that can make or break this so-called success.
Keeping the right temperature
First of all, you need to keep the cuttings away from bright direct sunlight. But they still need to be in a warm environment of around 65F (18-20 Celsius), including at night. So if you’re taking the cuttings early in the season, say March, you might need to place them inside a heated propagator, a cold frame or a greenhouse.
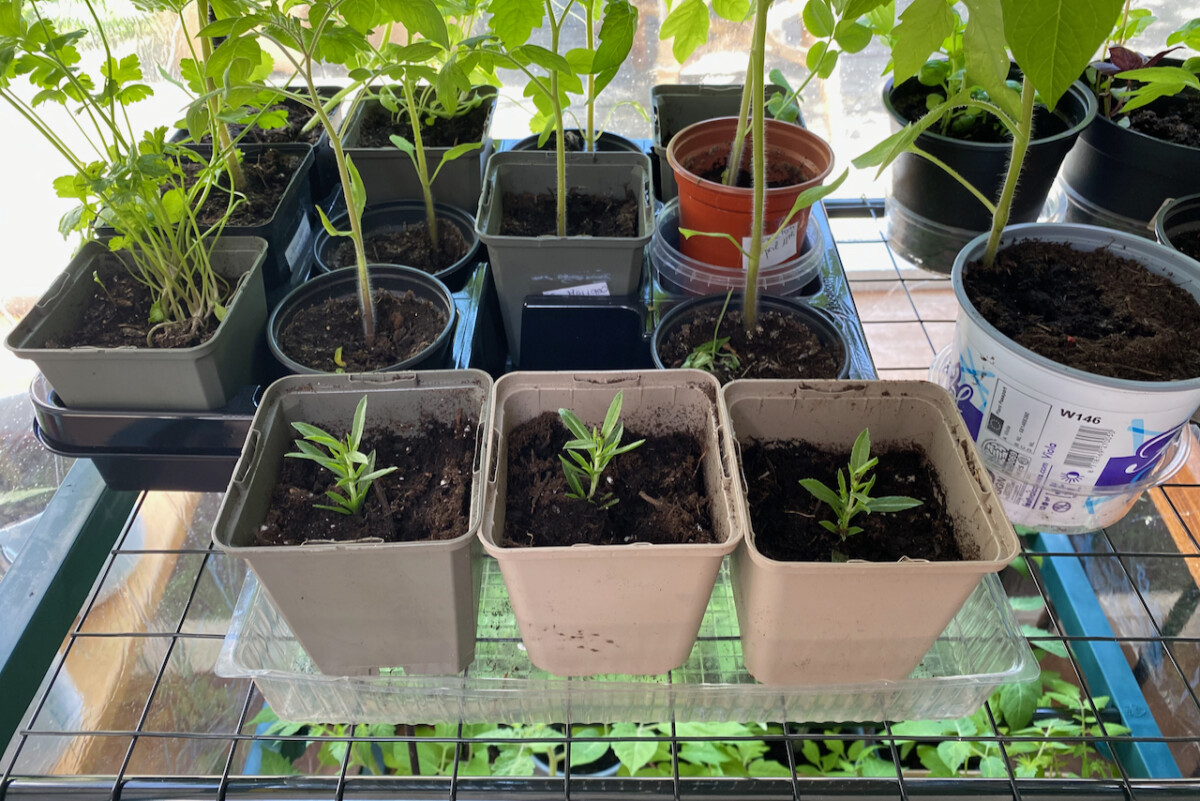
Since temperatures in my area are still set to drop below 50F (10C) at night for a couple more weeks, I’ll bring the cuttings indoors at night. They’ll be roommates with my tomatoes and my basil plants now that perennial ornamentals have been transplanted into the garden.
Keeping the right humidity
Softwood cuttings lose moisture much faster than hardwood cuttings, so you’ll have to protect them against drying out. Adding a plastic bag on top of the pot works really well. You can use chopsticks or bamboo canes to keep the bag hovering above the surface of the leaves.
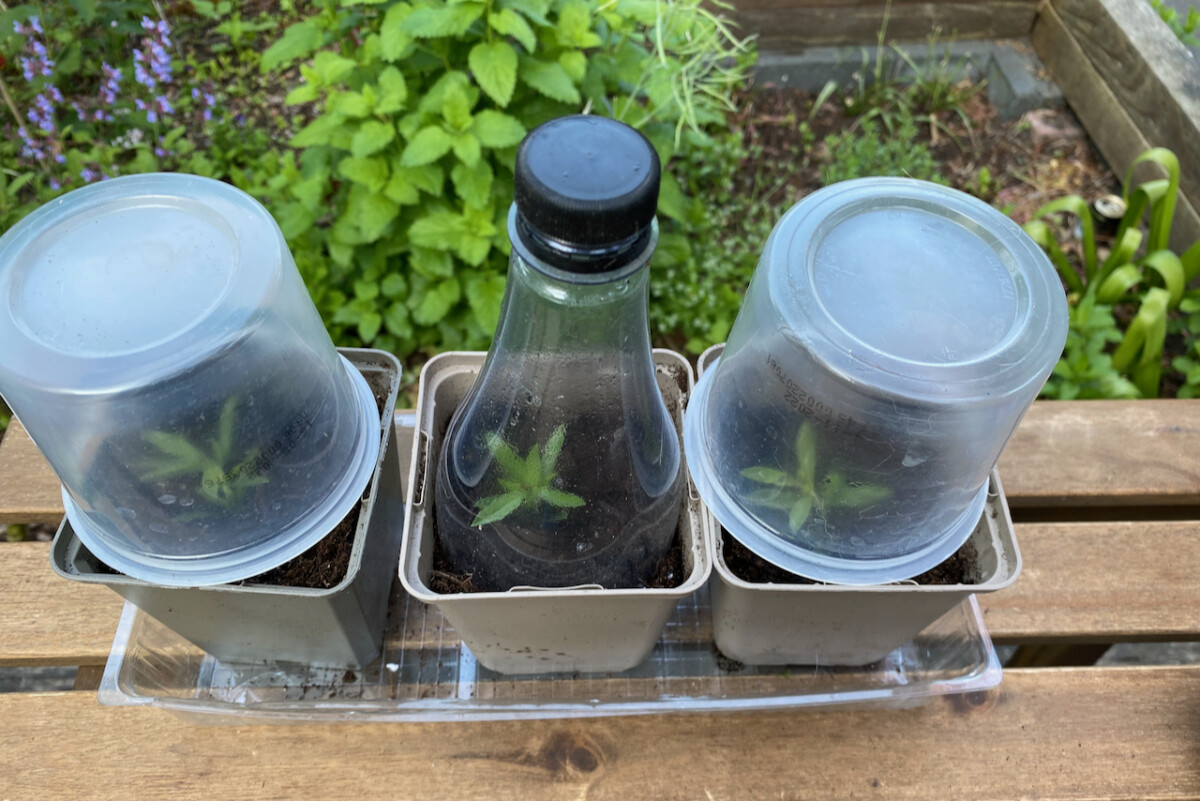
Another frugal solution, if you’re planting in individual pots, is to create a cloche for each cutting by reusing a plastic bottle or plastic clam shell. You might need to lift this protective cover for about an hour every day to allow some air circulation around the cuttings.
Once you see significant signs of growth at the top, that means the cutting has rooted. You can remove the cloche for good. But you should still monitor the moisture level to make sure it doesn’t dry out. If necessary, you can now divide and transplant your cuttings.
How do I know if my softwood cuttings have rooted?
The tug test is a useful method to see if your cuttings have taken root. Gently pull at the stem to see if there’s any resistance. But I wouldn’t do that for the first six weeks. It may take up to two months for the roots to start growing. That depends on the type of plant, the potting mix you’re using, the moisture content of the soil and other external environmental conditions.
If there’s any sign of root growth, you’ll see it growing out of the drainage holes of the pot if you’re patient enough to wait.
And finally, if the cutting resumes its growth above ground, it’s certainly sustained by a root system underground.
Propagating from softwood cuttings is a really efficient way of getting more plants for your garden. You have to put in a bit of aftercare effort, but it really doesn’t get cheaper than this.