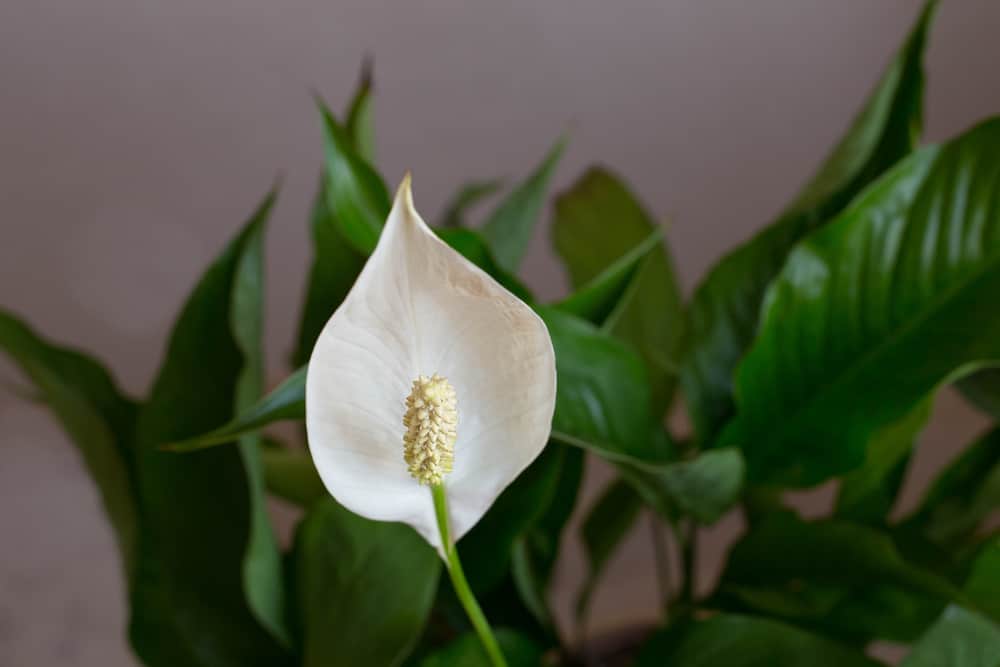
Peace lilies are a must-have for every houseplant parent.
These stunning, delicate plants are incredibly resilient, tolerating a wide range of conditions inside and outside your home. They are also popular for gardening beginners and make great gifts due to their interesting white modified leaves that look just like shiny flowers.
While peace lilies aren’t fussy about care, they will require repotting at some point in their lifetime. This is indicated by problems with root growth or simply by age.
Take a look at these signs to know when it’s the right time to repot your peace lily. If you spot any of these signs in your plants, follow the easy instructions below to repot without hassle.
When To Repot A Peace Lily
Many indoor plant parents are quick to repot their plants, some as soon as they bring them home. But they forget that some plants don’t mind being a little overcrowded and struggle to adjust to change. Thus, it’s important to repot only when absolutely necessary.
It’s best to repot in spring to take advantage of the growing season, but if your plant is desperate for a repotting, it can be done at any time. Don’t leave the plant struggling while you wait for spring, especially if it is badly root-bound.
When it comes to peace lilies, there are a few signs that indicate it’s time for a repotting, giving you an easy guide to know when to get started.
Roots are growing from the drainage holes
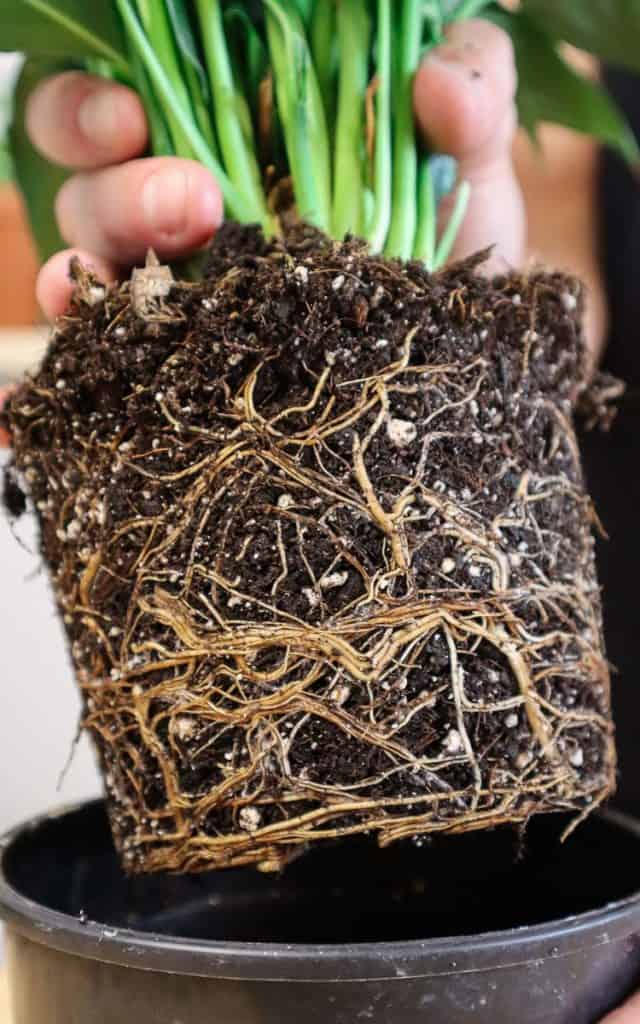
Roots need plenty of space to grow. These tiny structures will work their way through the soil, circling around the pot and the plant in search of open spaces. When they run out of space, you may see them pop through the drainage holes.
This is a definite sign that the roots have outgrown the pot. The soil is likely packed with overcrowded roots that have nowhere else to go, leaving the drainage holes to look for water and nutrients.
While peace lilies don’t mind a little overcrowding, this level of root growth is dangerous to plant health. The plant will not receive enough water, nutrients, or oxygen, effectively suffocating and slowly killing it. Growth will slow dramatically or stop completely if conditions are very bad.
Once your plant has got to this stage, a repotting is long overdue. Don’t wait for spring in this case – repot as soon as possible.
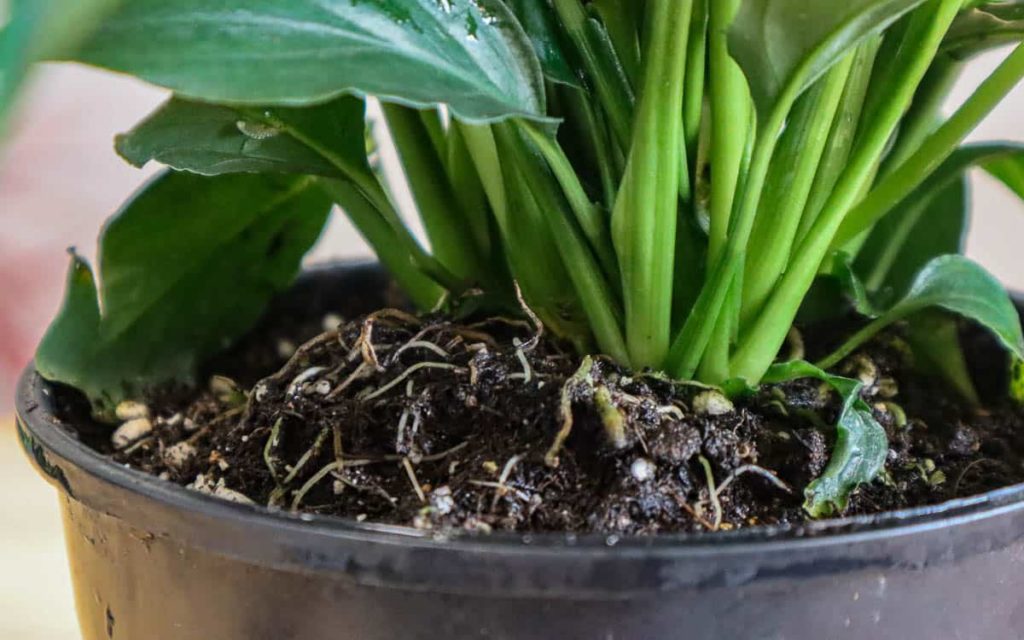
Roots are visible on the surface of the soil
Roots can also emerge on the surface of the soil for the same reason they escape the drainage holes – lack of space. However, visible roots above the pot tend to indicate far worse overcrowding than roots growing from drainage holes.
As roots want to grow downwards, it is natural that they escape the bottom of the pot when they run out of space. However, if roots are visible at the top, it means they have been forced to grow upwards from the bottom of the pot in a desperate search for water and nutrients in the soil.
This can also be the case if you don’t water your plant correctly. To avoid water escaping the drainage holes and ruining whatever surface the plant is placed on, some houseplant parents opt to water the tiniest bit every day rather than drenching the plant every couple of days.
However, this practice only saturates the top layer of soil, leaving the bottom layer (where the roots end up) dry. To try to soak up the water, the roots grow toward the moisture in the top layer of soil, leaving them exposed.
If this is the case, repot your plant straight away. Make sure you tease the roots to free any crossed-over or tangled growth, allowing them to grow downwards again in their new pot.
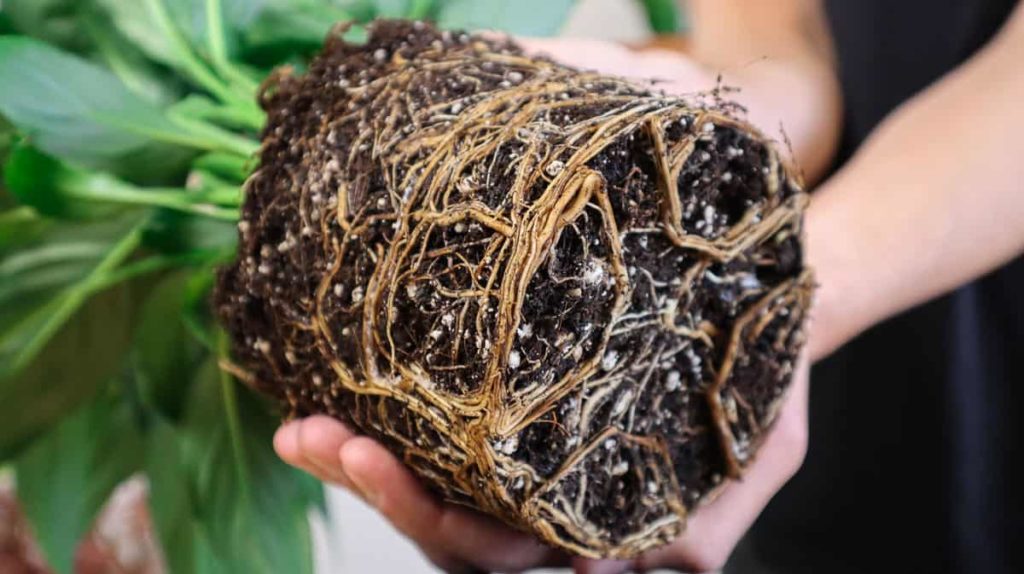
Roots are circling the bottom of the pot
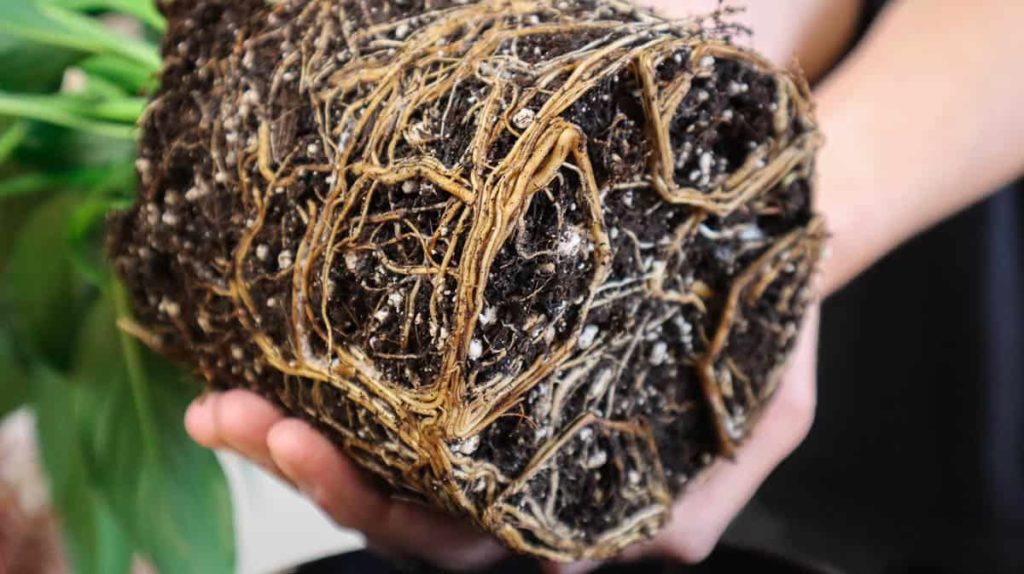
Your plant may not be completely root-bound but still struggles to take up water and nutrients. That’s because roots packed closely together can slow the uptake of essential nutrients to the plant, causing growth to slow. The leaves may begin to wilt or turn yellow, indicating there is a serious problem.
Related Reading: 7 Reasons Your Peace Lily Leaves Are Turning Yellow & How To Fix It
This is a common phenomenon in circular pots. As there are no hard edges, once roots reach the outside of the pot, they simply grow along the sides around the edges. As more and more roots follow the same process, they become tightly packed at the bottom of the pot, taking up all the space. This leaves them unable to absorb any water or nutrients.
The way to check for this issue is simple. Once you’ve let the soil dry out for a few days before the next watering, simply lift the plant gently out of the pot. If the roots are circling around the bottom of the plant and take the shape of the bottom of the pot, it’s time to repot.
The pot drains too quickly
If there are no visible signs of excessive root growth, don’t think you’re in the clear. The plant may still be overcrowded without any external visible signs indicating that this is the case. However, there is another sign that will help you out – the pot draining too quickly.
As the roots grow to fill the pot, they take up the space of the soil. This soil also diminishes in quality over time as the structure begins to break down. In a root-bound pot, these two factors will cause water to drain incredibly quickly from the soil. The roots take up much of the soil space, preventing it from becoming saturated, and the soil that is left is not able to retain any moisture.
This is a definite sign your plant needs a soil refresh and a brand new pot to spur growth.
It’s been in the same pot for several years

Plants are not built to live in pots long-term. After a while, the soil they are planted in begins to break down and can no longer provide the right conditions for growth. This takes quite a bit of time – around 3 or 4 years – but will definitely happen at some point.
If your peace lily has been in the same pot for that long without a soil top-up, it needs to be repotted. It may not show any signs of outgrowing the pot, especially if growth is slow, but it will begin to suffer once the roots struggle to absorb water and nutrients from the disintegrated soil. Fertilizer may be a temporary fix, but it will not improve soil quality or help the plant long-term.
In this case, repotting will provide fresh, healthy soil to kickstart growth again.
How To Repot A Peace Lily
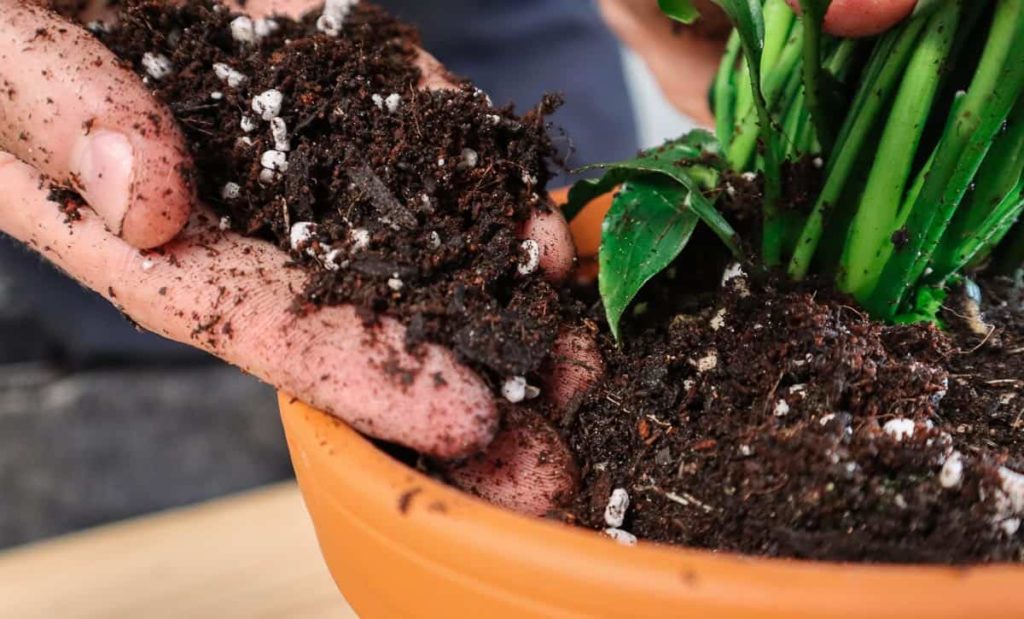
Prepare the soil
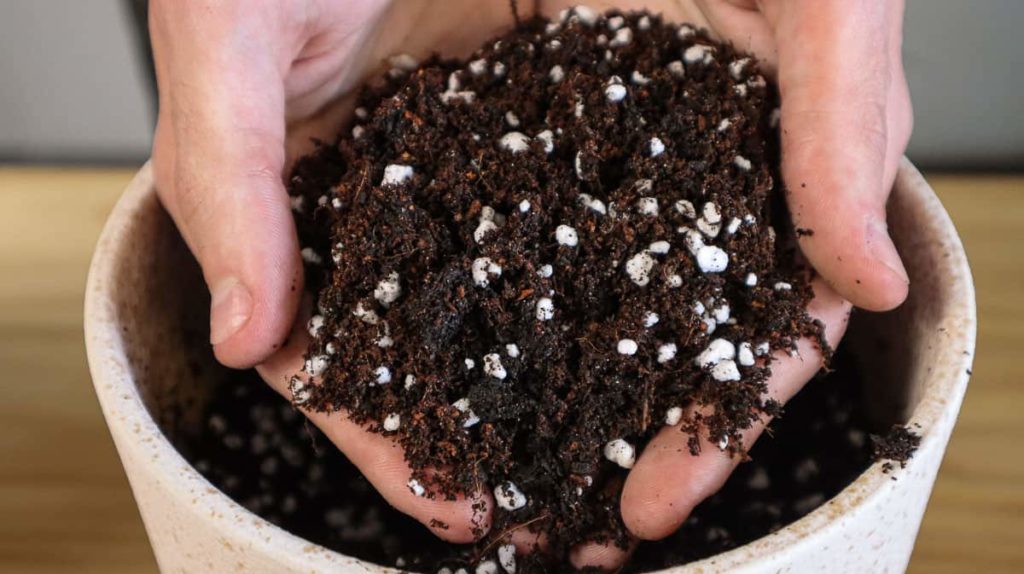
Houseplant soil is very different from garden soil. It is light and airy, improving drainage while still holding enough moisture to prevent the soil from drying out.
Regular potting soil is far better than garden soil, but doesn’t really suit the needs of indoor plants either. It drains well, but retains too much moisture for plants that remain indoors and are out of the sun for most of the day.
That’s why making your own soil mix is vital to your plant’s health. Not only does it allow you to replicate the exact conditions your plant needs, but it also matches the soil the peace lily was grown in at the nursery, making transplanting far less stressful for the plant.
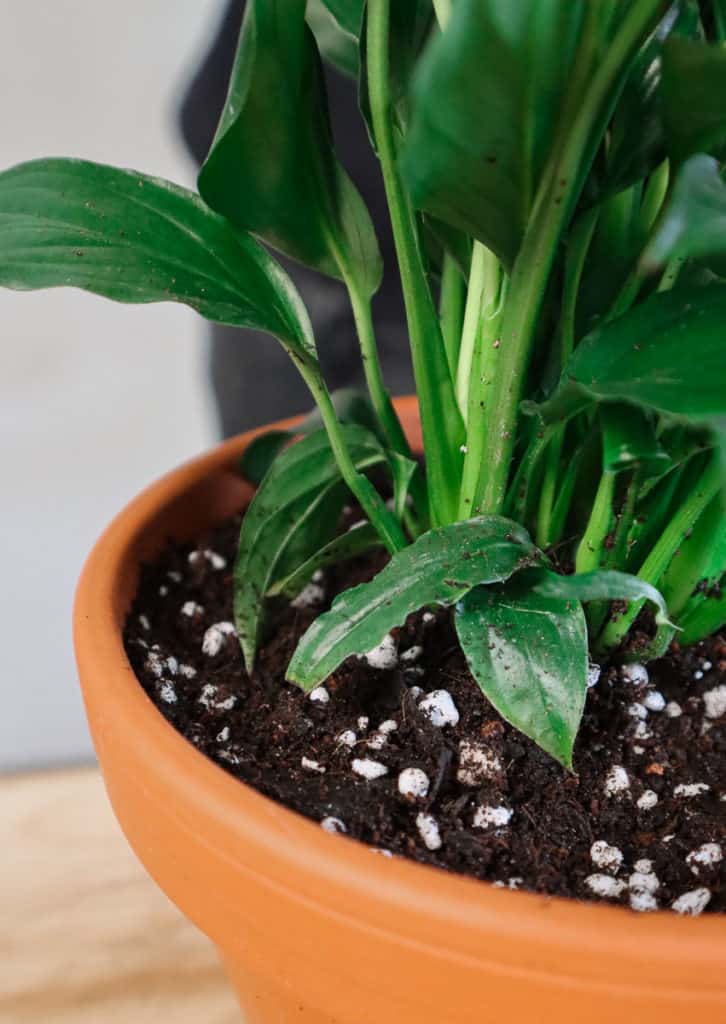
I’ve used a mixture of two parts potting soil with one part coconut coir and one part perlite. Both these additions aerate the soil and retain plenty of moisture to keep the plant happy for far longer without causing root rot.
Take this mixture and fill a pot only one or two sizes up to about 1/3. A bigger pot will not necessarily mean better growth, and any excess soil that holds too much moisture around the roots will only kill the plant. Remember, these plants are happy being slightly confined, so don’t choose a pot too large.
Remove the plant
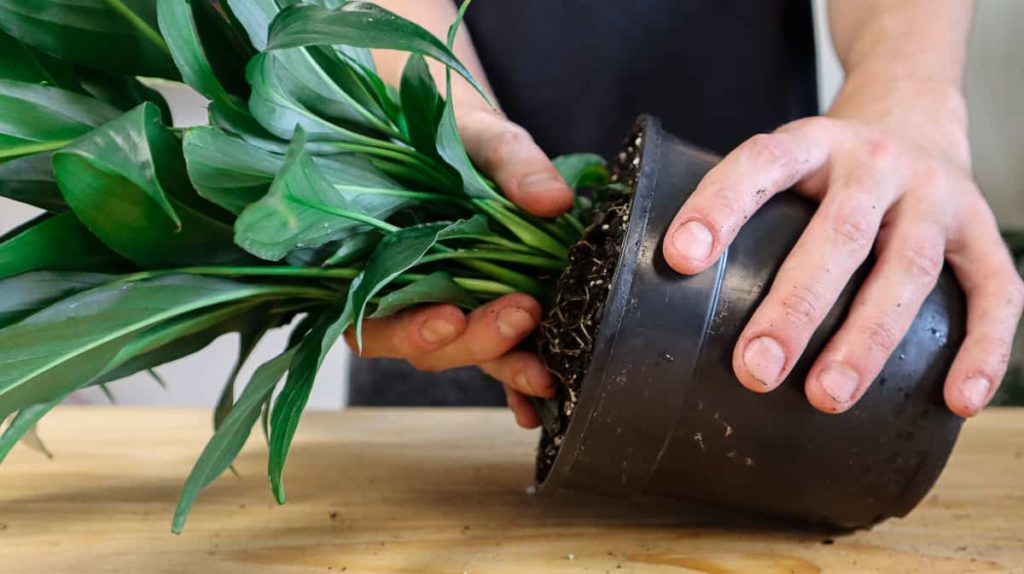
The next step in the process is to remove the plant from its existing pot. It’s best to avoid watering for a couple of days before you get started to make this process easier.
Squeeze the sides of the pot gently to release the plant and turn it on its side, pulling it out from the base. If it does not come out easily, circle a knife around the edge of the pot to release the plant before removing.
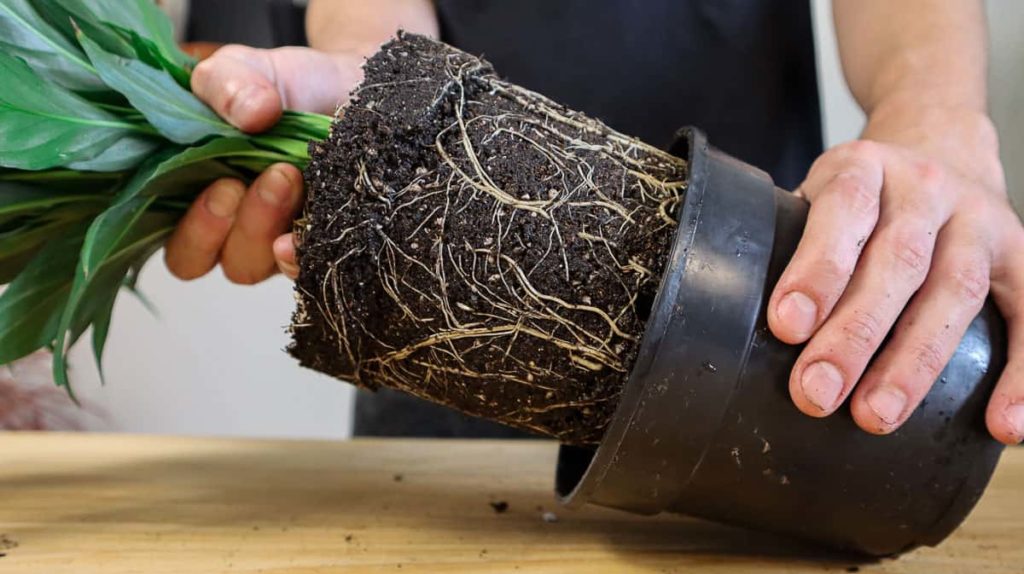
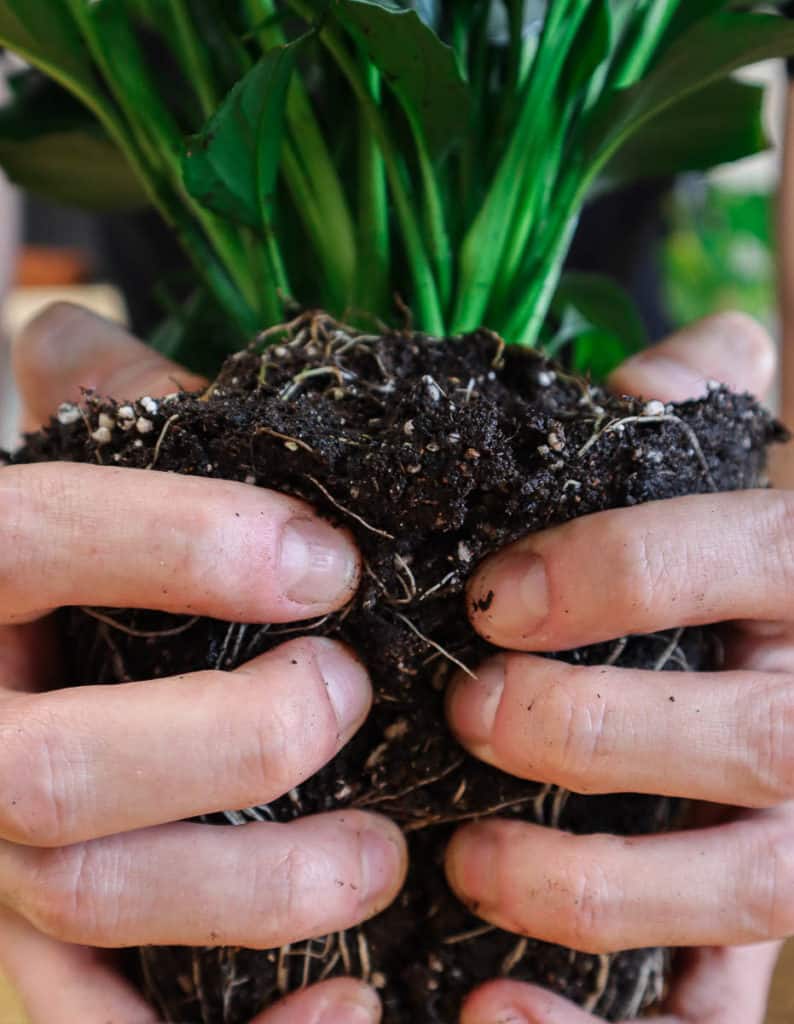
If the soil needs a refresh, shake off the disintegrated soil around the roots. While you’re at it, check the roots for any signs of disease and root rot that will need attention before repotting.
Divide if needed
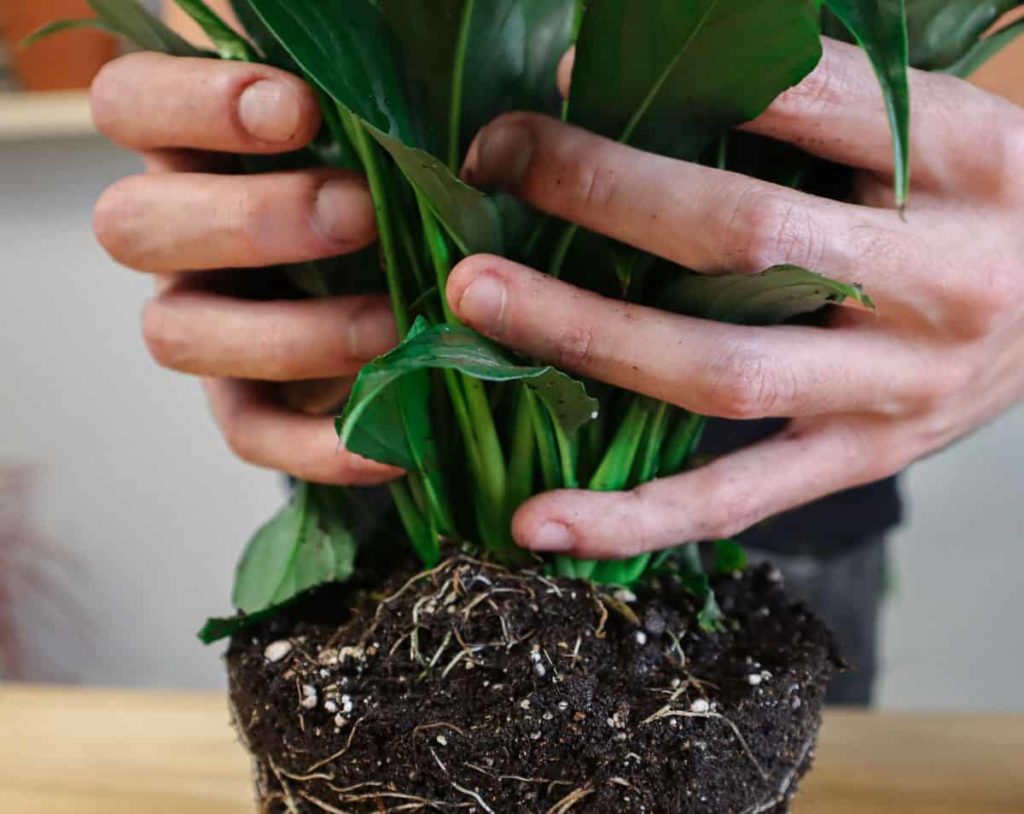
If you’d like to propagate at the same time and give your new plants plenty of space to regrow in their new pots, divide at the same time. This is an important step for large clumps of plants to prevent overcrowding. Plus, it doubles your stock at the same time.
Related Reading: How To Propagate Rosemary – Step-By-Step
Division of peace lilies is incredibly easy. You should be able to split your plant into visible sections that simply pull apart. If the roots are overgrown, you can cut through them with a sharp knife to split the plant in two. Don’t worry too much about damage – the roots are resilient and should grow back strong and healthy.
Then, simply repot the new sections according to the instructions to follow. Two plants for the price of one, it’s as easy as that.
Repot

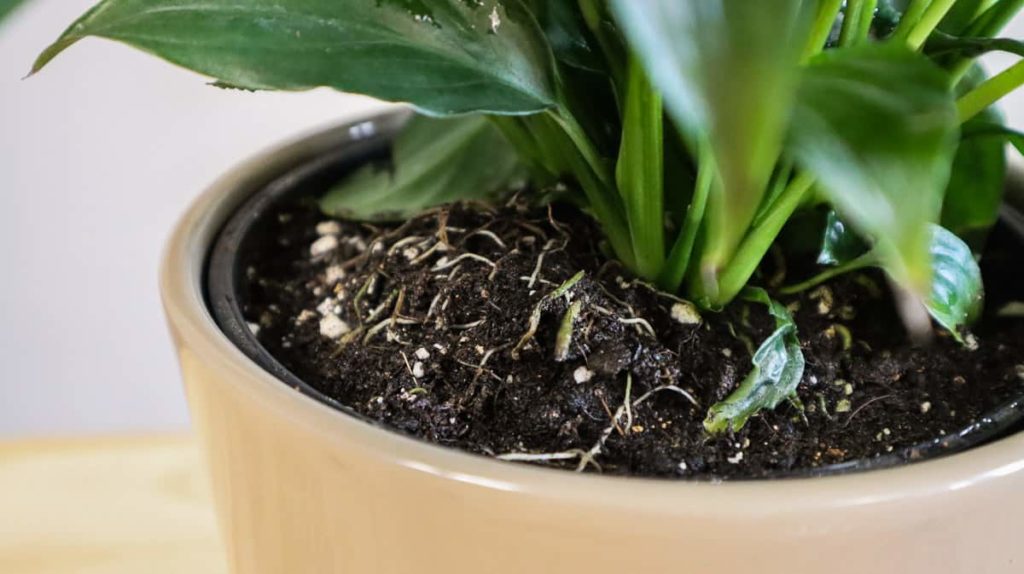
Finally, take your removed plant and place it inside the pot on top of the first layer of soil. Ensure it is centered and fill around the gaps in the pot with extra soil up to the original soil line. Leave a few inches of space below the rim to prevent soil from spilling over when watering.
Once the gaps are filled, press gently on the top layer to secure the plant and get rid of any large air pockets in the soil. Water thoroughly to encourage new root growth and place your peace lily (or peace lilies if you chose to divide) in a bright sunny spot with plenty of indirect light.
Keep an eye out for transplant shock for a few weeks to monitor how well your plant is adjusting. The leaves may yellow slightly in response to the change in conditions, but the plant should bounce back after a month or two.
Read Next: 5 Signs You Need To Repot Your Snake Plant & How To Do It