
When I first got the gardening bug, I used to despair over the end of the warm summer season.
Fall, in spite of its color and richness, brought a bittersweet feeling as the days started getting gradually shorter in September. It didn’t help that all the gardening magazines and websites I was learning from were chock full of articles on how to put your garden to bed in the fall.

Over the years though, I’ve developed my own philosophy about gardening in the fall. I no longer see it as a definitive end, but merely as a transitional slower season in the garden. Yes, I need to clean up the plants that are dying back (not all of them!), but I now look at fall as the beginning of a new growing season. Most importantly, it’s an opportunity to set my garden up for success next year.
If you, too, think that a change in mindset is much needed in order to shake off the cold weather doldrums this time of year, have a look at these fall jobs you can do in your flower garden.
1. Get new perennials established.
Fall is the perfect time to get new perennials into the ground because the conditions are just right – the heat and dryness of summer make way for cool and moist air, while the soil is still warm enough to encourage root growth. This helps perennial flowers, shrubs and even trees get a head start before winter.
Generally, the precipitation throughout fall is more reliable than that in the springtime, so you’re saving yourself the trouble of having to keep newly planted perennials watered until they grow a strong enough root system.

A few perennials that you can get started in the fall include geraniums, peonies, echinops, rudbeckia, brunnera, ligularia and phlox.
Have a look at this article by Sherra on other perennials that you can plant in the fall.
One detail to pay attention to when planting perennials is their height and spread at maturity. It’s easy to over- or underestimate how much you’ve packed them in when they’re just baby plants. Make sure you leave enough room for the plants to mature next year.
And if the gaps you leave look too bare, look at it as a great opportunity to add some spring bulbs, such as daffodils, alliums or tulips, to the equation. The bulbs will act as placeholders and will be on their way out as your perennials reach maturity.
2. Divide and transplant existing perennials.
Dividing your perennial flowers is the easiest and most productive method to get more plants. Not to mention the most affordable one. But I’ll admit that the first time you do it, it can feel a bit heartbreaking. You’ve watched this plant grow and bloom throughout the year, and now you’re going to dig it out of the ground and chop chop chop.
Yes, it’s counterintuitive. But it’s necessary, especially for perennials that are starting to wane as they get overcrowded. Plants such as daylilies, heuchera, hostas and irises like to have enough room to stretch their legs.
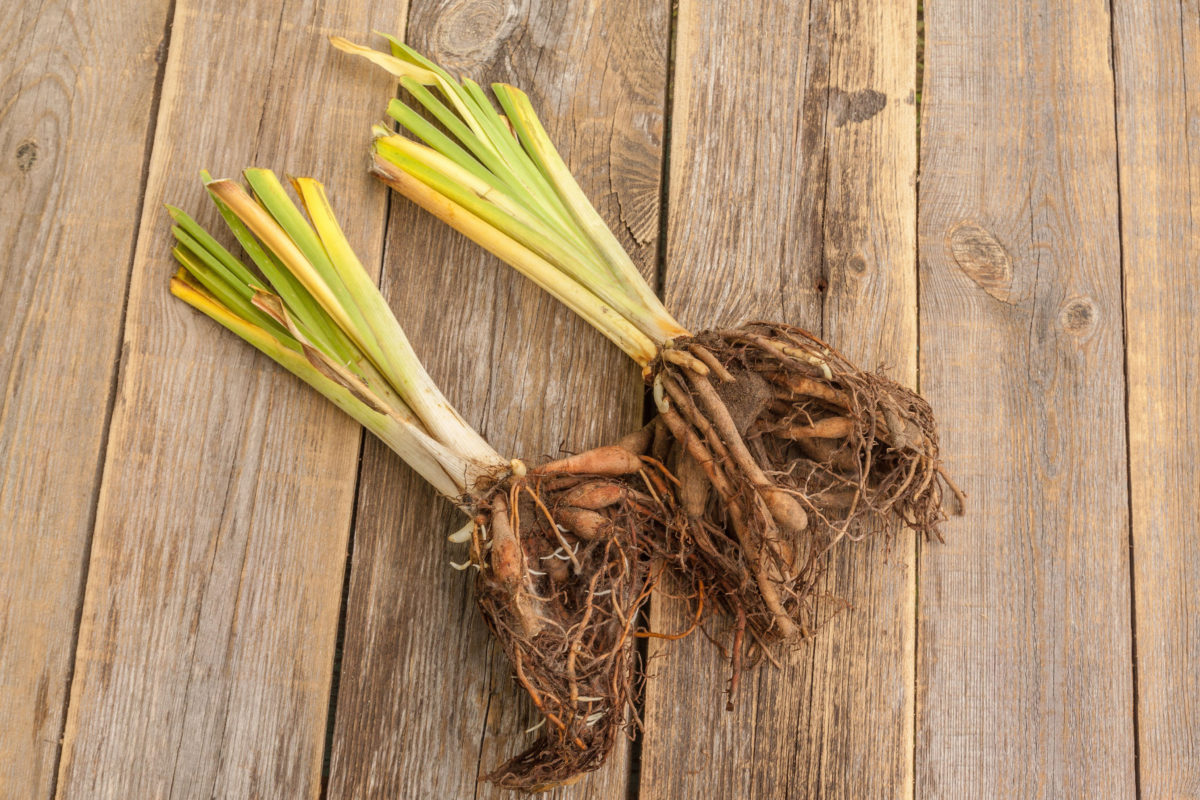
Trimming back the spent foliage first makes it easier to dig around the root ball and lift it. Once you’ve pulled the roots out of the ground, make a few clean cuts through the roots to separate the plants into several clumps. Then replant the newly divided plants at the same depth as the mother-plant.
Related Reading: How & When To Divide Irises
3. Move shrubs, if necessary.
Just like perennials will thrive if relocated in the fall, so will shrubs. If, over the summer, you’ve decided that your azalea, dogwood, rhododendron or forsythia aren’t growing in the right location in your garden, now’s the time to relocate them.
The shrub may have grown too large and too close to the house, it may be on the path of future construction or it may have become overshadowed by surrounding trees causing it not to bloom.
So while we don’t like to encourage our readers to play “shrub chess” too often, sometimes moving a shrub is the only option to make sure it continues to thrive in your garden.
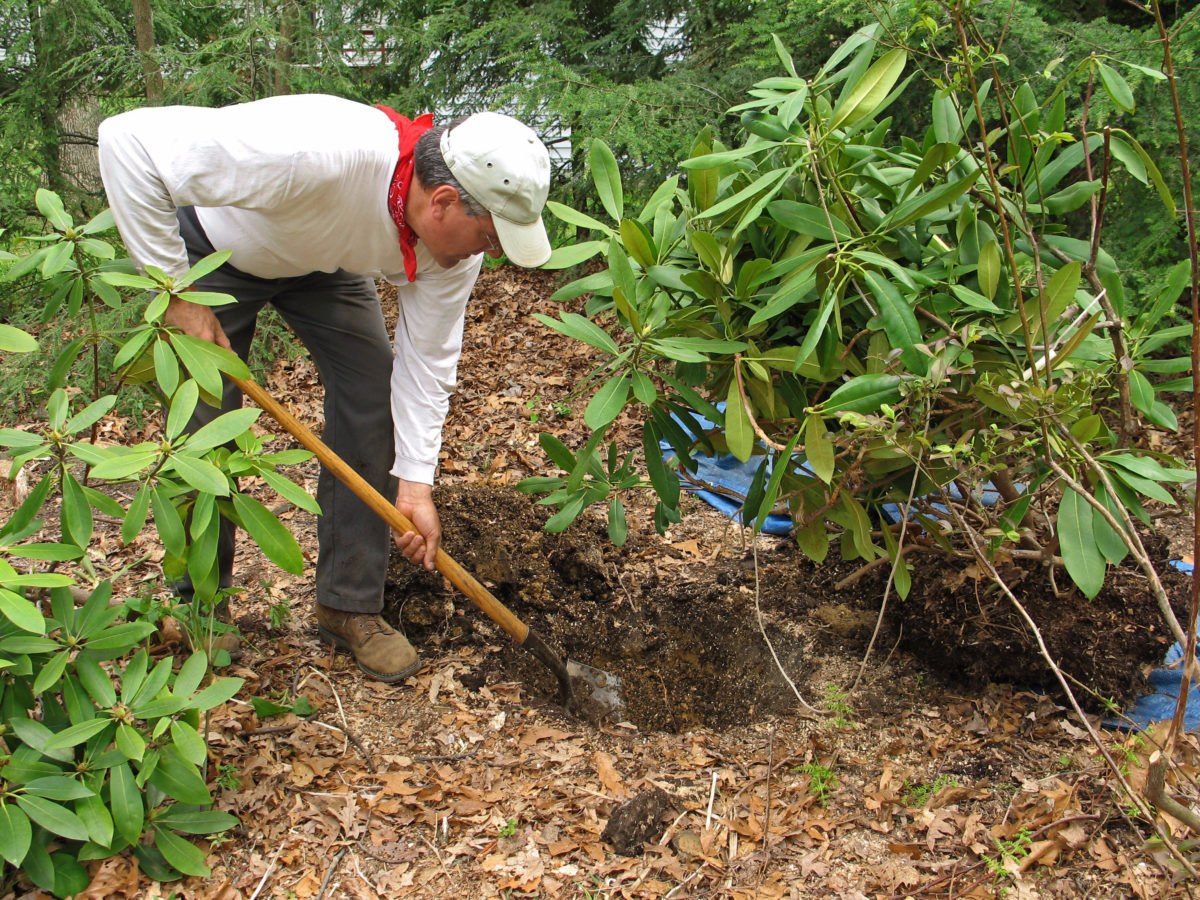
First, start by digging the hole in the location where you plan to relocate the shrub. Then dig a deeper trench around and under the root ball of the shrub you’re moving. Gently rock it (don’t tug at it) to dislodge the root structure. When it starts to loosen up, insert a piece of tarp or hessian underneath and wrap it around the root ball to make moving it easier. You may need two people for this operation, so plan accordingly.
When you move the shrub to its new location, always plant it at the same depth it was planted before and keep it watered for the first month if you’re not getting enough rain.
4. Experiment with bare-root planting.
Bare-root planting used to be the norm before the rise in popularity of the humble plastic pot which now allows us to buy plants and put them in the ground at any time during the year.
Before this, most plants would become available either in the fall or in spring, when they were transported bare roots from the grower to the garden center or directly to gardeners.
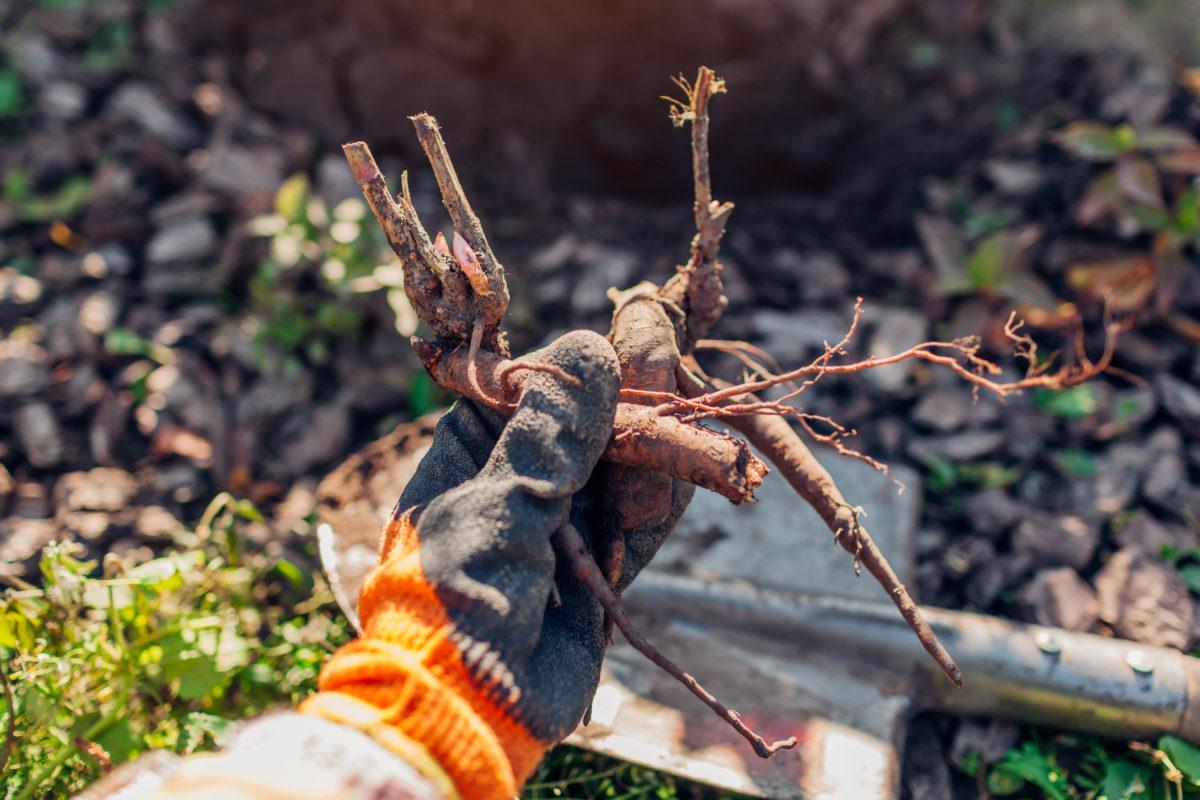
The main advantage of putting bare roots in the ground in the fall is the fact that the soil is still warm and fairly moist. This allows bare-root plants (which are generally dormant when you buy them) to go through a period of acclimation before they start growing roots for next year. Bare-root plants also tend to be cheaper and more resilient than their potted counterparts.
In addition to roses, other popular plants that you can buy bare root include perennials (such as astilbe, brunnera, crocosmia, hosta, peonies, ligularia, liatris and geraniums) and ornamental shrubs (such as rose of Sharon, lilac, rugosa, forsythia, dogwood and mockorange)
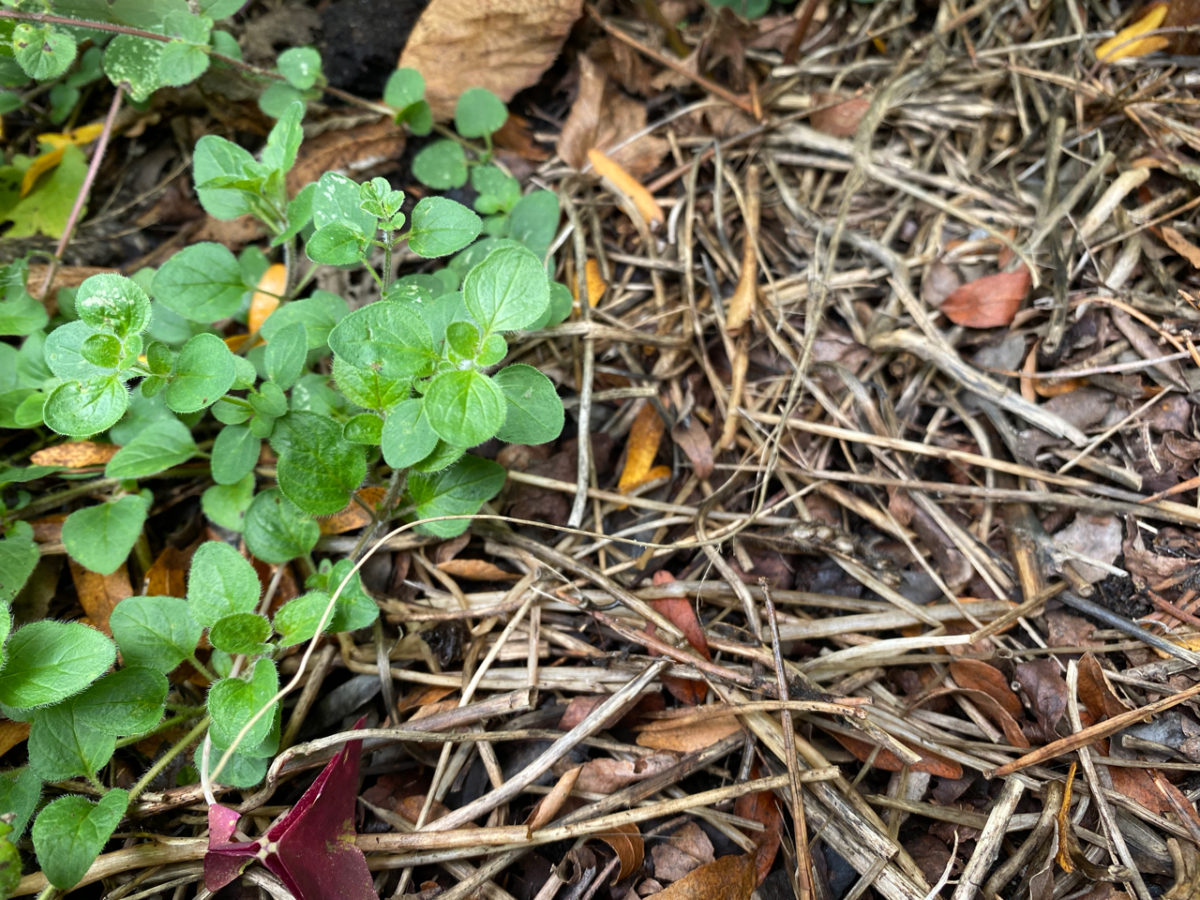
5. Take cuttings to make new plants.
We’re still in money-saving mode here, and taking cuttings is a budget-friendly way to expand your flower garden.
The advantage of taking cuttings in the fall, rather than in the summer, is having better moisture control. The cuttings that we take and root during the summer tend to have problems with desiccation due to the high temperatures, strong sunlight and lack of humidity. All these factors gradually disappear as we advance into fall.
You can take semi-hardwood cuttings of shrubs and vines such as jasmine, honeysuckle, hebe and trumpet vine.
But perennials and tender perennials can also be propagated via cuttings. You can take softwood cuttings from tender perennials such as salvias, verbenas, penstemons, pelargoniums and fuchsias.
No matter what type of cuttings you take, always cut below a node and make sure you bury at least one set of leaf nodes in the ground. Make sure you keep the cuttings in a frost-free space over winter and in soil that’s moist, but not soggy wet. It’s better if you keep tender perennial cuttings in a greenhouse or a sheltered location to minimize variations in temperature.
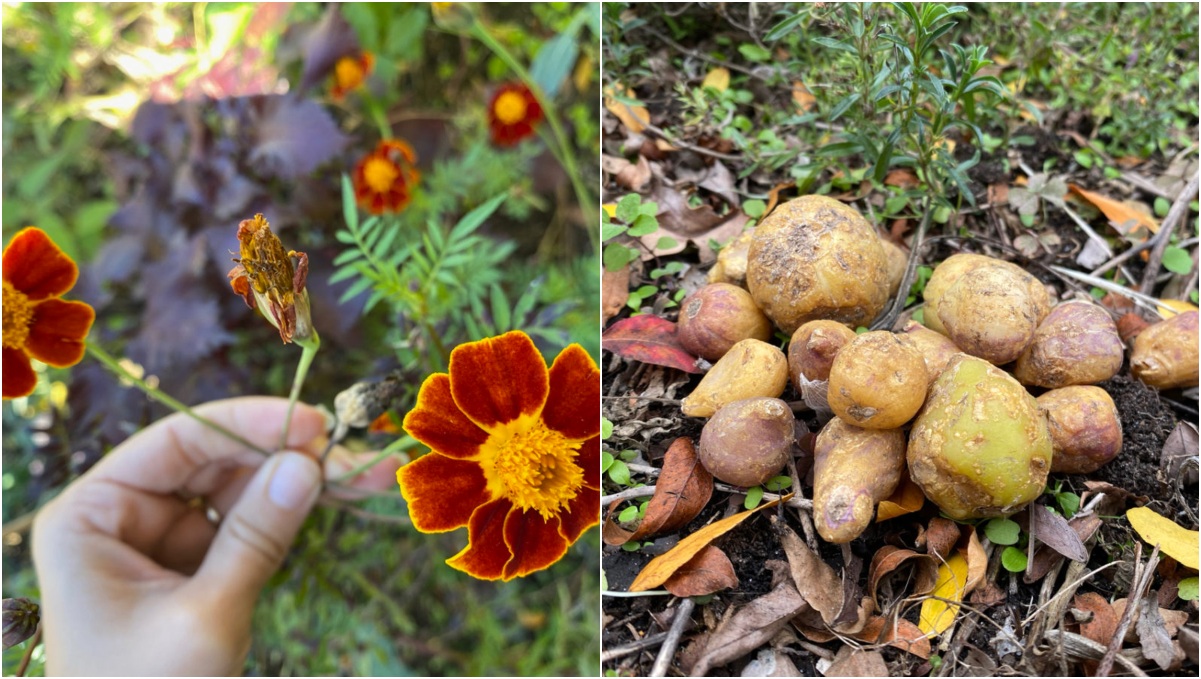
6. Save your flower seeds.
I’ve been talking a lot about saving money by dividing and taking cuttings from perennials, shrubs and vines. But you can also save seeds from your annuals to have them ready for next spring.
A few annuals that will readily seed in the fall include marigolds, knight’s spur, nigella, zinnia and cotton lavender.
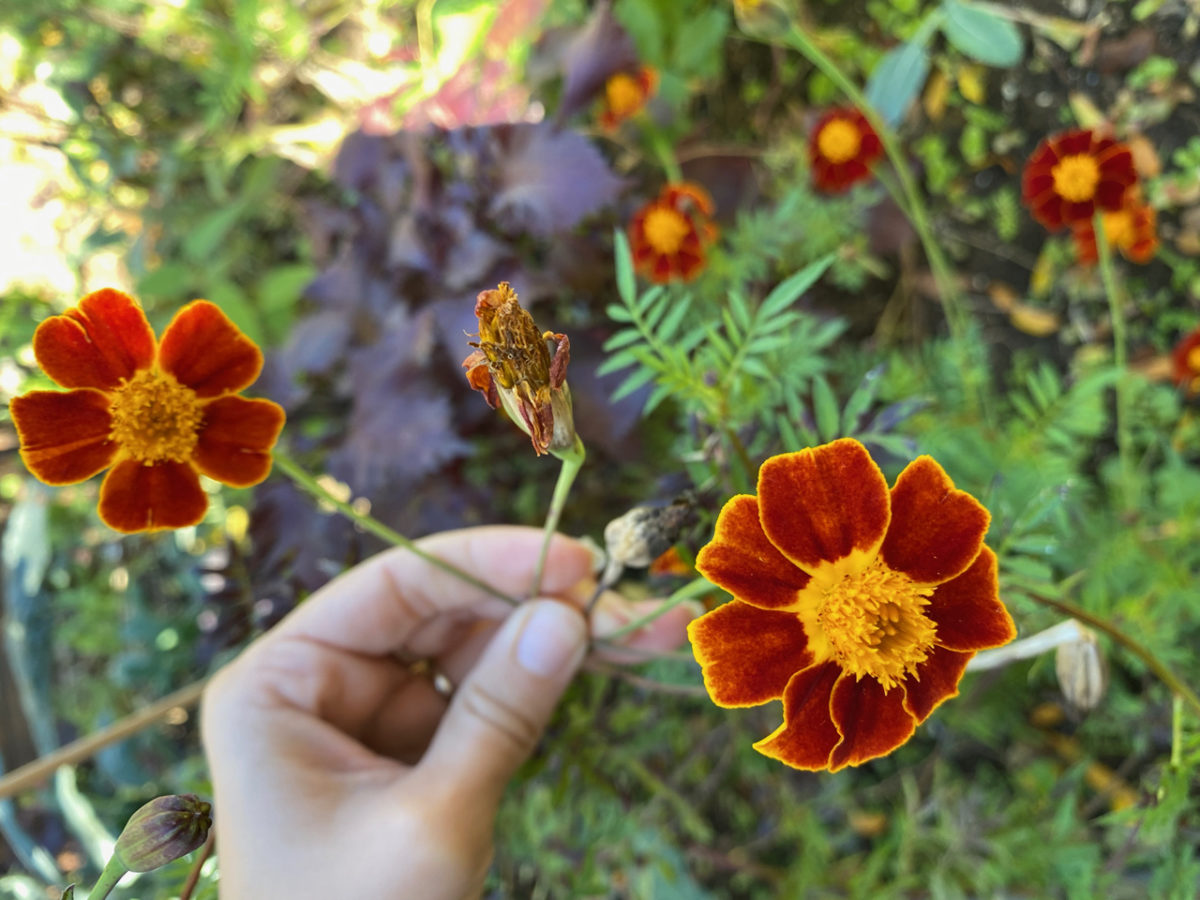
Collecting your seeds on a dry sunny day helps them dry faster and makes them easier to store.
The easiest seed-saving method is the paper bag method. Trim the seed heads off the stem and carefully hold them upright. Then cover them with a paper bag, tip the bag upside down and shake it vigorously. If you don’t hear (or see) many seeds falling, that means the seed heads aren’t dry enough yet. Just hang the bag in a cool dry place and wait a couple of weeks.
Related Reading: 12 Self-Seeding Plants That Will Spread All Over Your Backyard
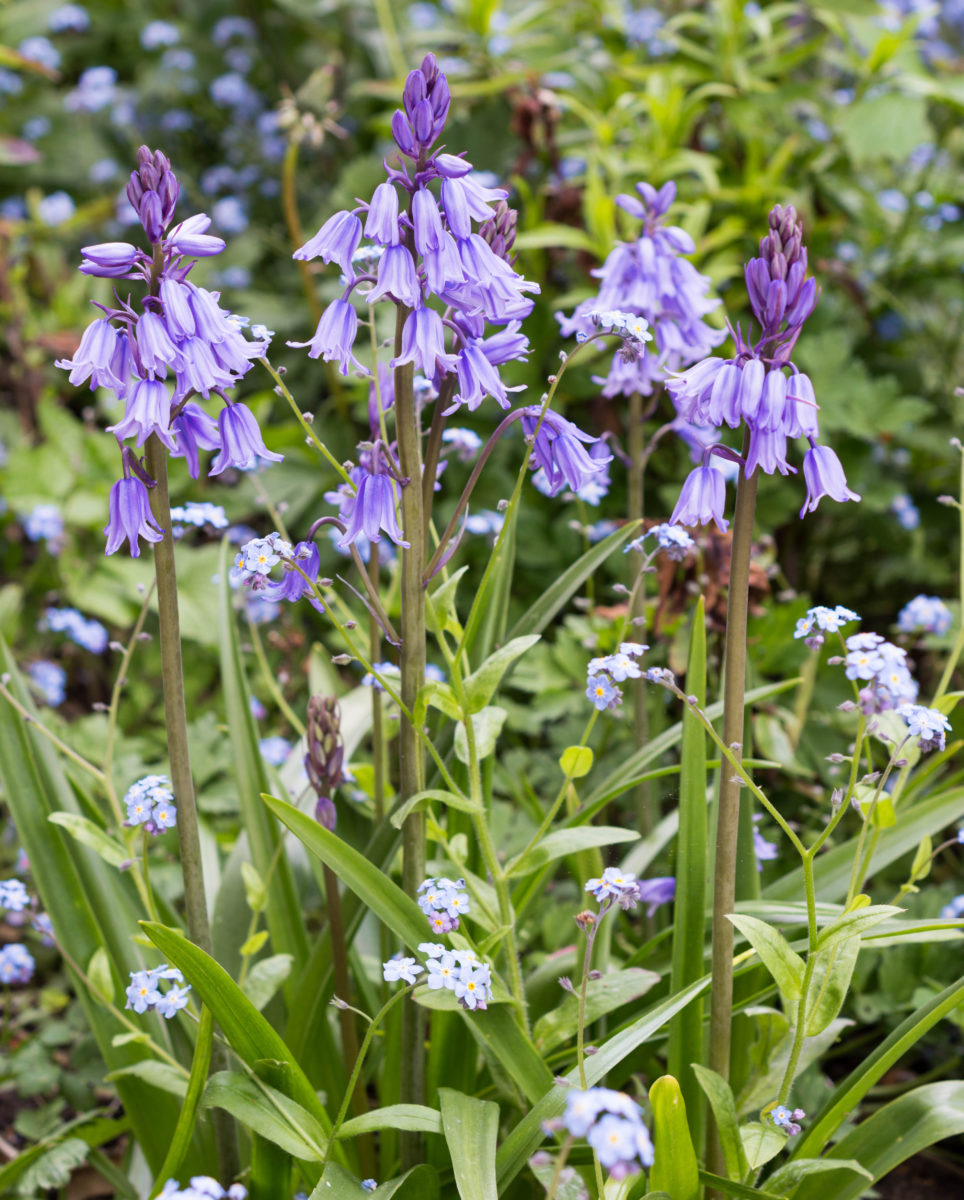
7. Get spring bulbs in the ground.
Fall is the best time to plant your spring bulbs, such as tulips, daffodils, hyacinths, alliums and crocuses. And if you’re looking for a more stunning effect, look for less common bulbs such as fritillaria, hyacinthoides (which are also known as bluebells and look like a miniature version of hyacinths), species tulips and miniature irises.
As a rule of thumb, plant bulbs about three times deep as they are tall. So if a bulb is three inches tall, you should plant it nine inches deep. In general, err on the side of planting too deep rather than too shallow. By burying the bulb, you will protect it from variations in temperature over the cold winter months.
Don’t jump the gun on planting bulbs. You’ll have to wait until the soil temperature drops below 55-60F (about 13-15C). If you plant them too early, when the soil is still too warm, your bulbs may start sprouting prematurely. This may seem like a nice fall bonus, but it will compromise a full spring bloom.
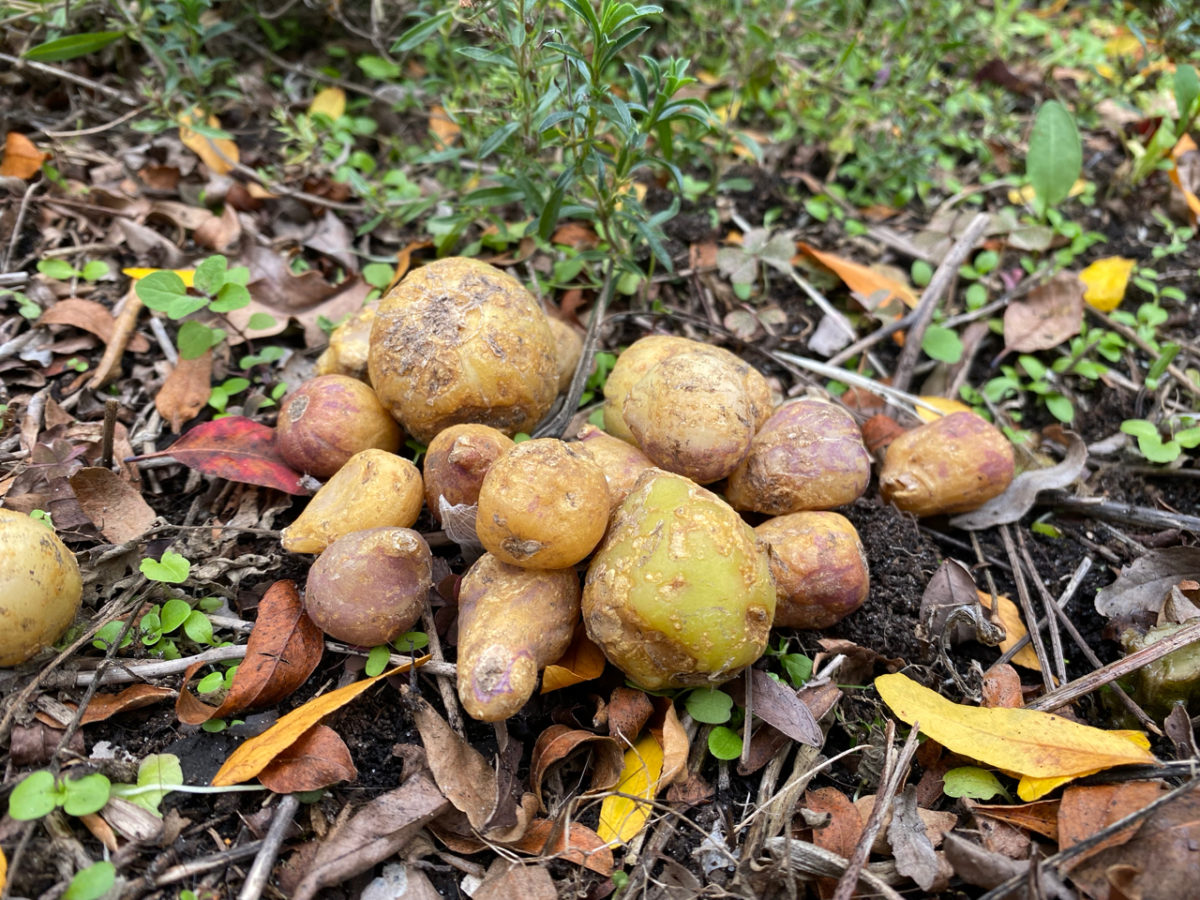
8. Pull out your tubers to overwinter indoors.
Rather ironic that my next piece of advice is almost the exact opposite, right? But such is the revolving door of nature. Plants that have been on blooming duty throughout summer and early fall need a bit of rest over the winter.
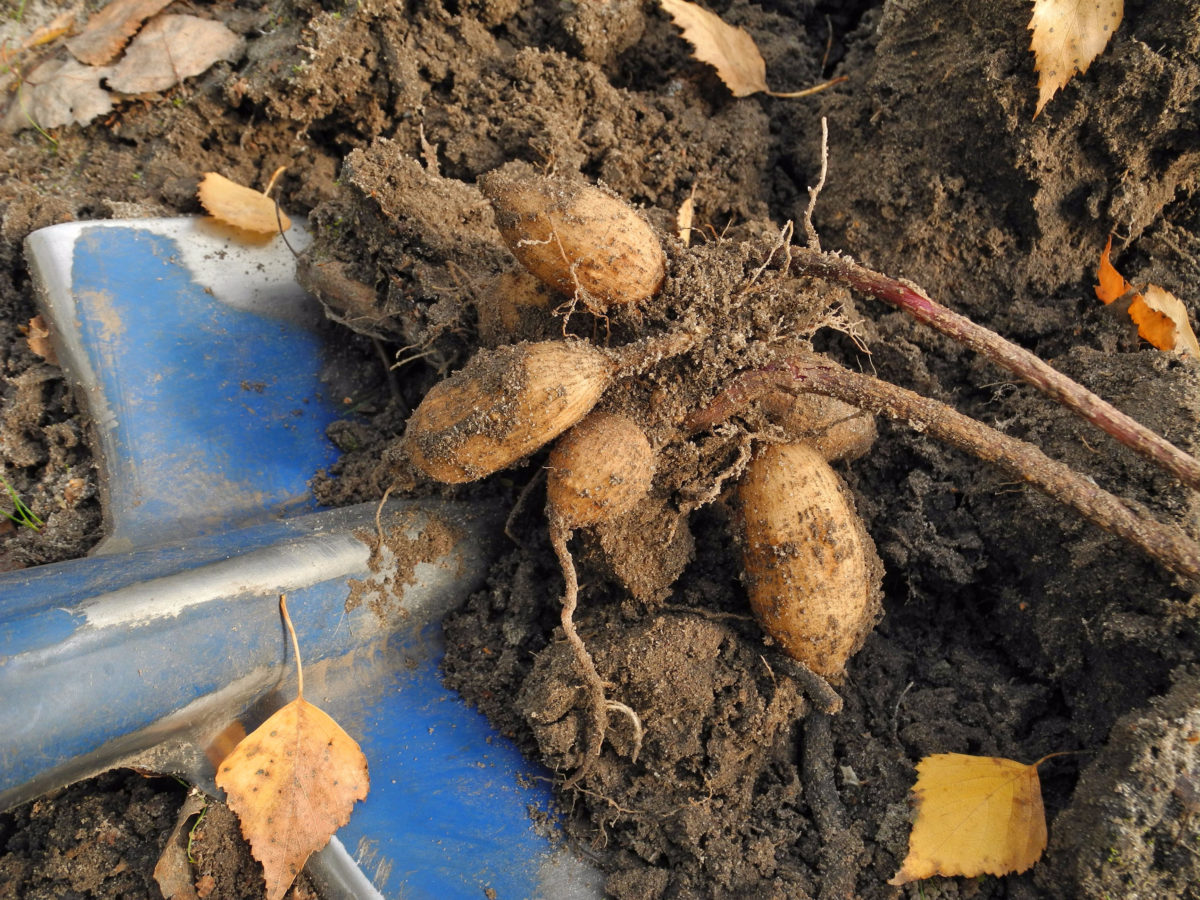
So dig out tubers (dahlias, tuberous begonias and cannas), rhizomes (irises) and corms (freesias, gladiolus), dry them out and store them in a sheltered location over the winter months.
For a step-by-step guide on how to divide and store dahlias, have a look at this guide.
9. Tidy up, but keep it light.
I see tidying up the garden in the fall as a necessary evil. It’s good in small doses for very targeted tasks, but otherwise it’s best left alone.
First order of business, only prune the bare minimum in the fall. If your plants have been attacked by fungal diseases or have been devoured by pests, it’s ok to trim them down to about six to eight inches above the crown.
Generally, you’ll want to cut down peonies, hosta, yarrow, daylilies and summer phlox. I explained a bit more in-depth what plants you can cut back in the fall in this article.
However, don’t get carried away when you’re pruning, for the sake of your plants and that of the surrounding wildlife. It may be tempting to want to tidy up the mess in your flower beds and turn it into a pristine landscape. But if you resist that temptation, you’ll be providing precious habitats for beneficial insects to shelter in over the winter.
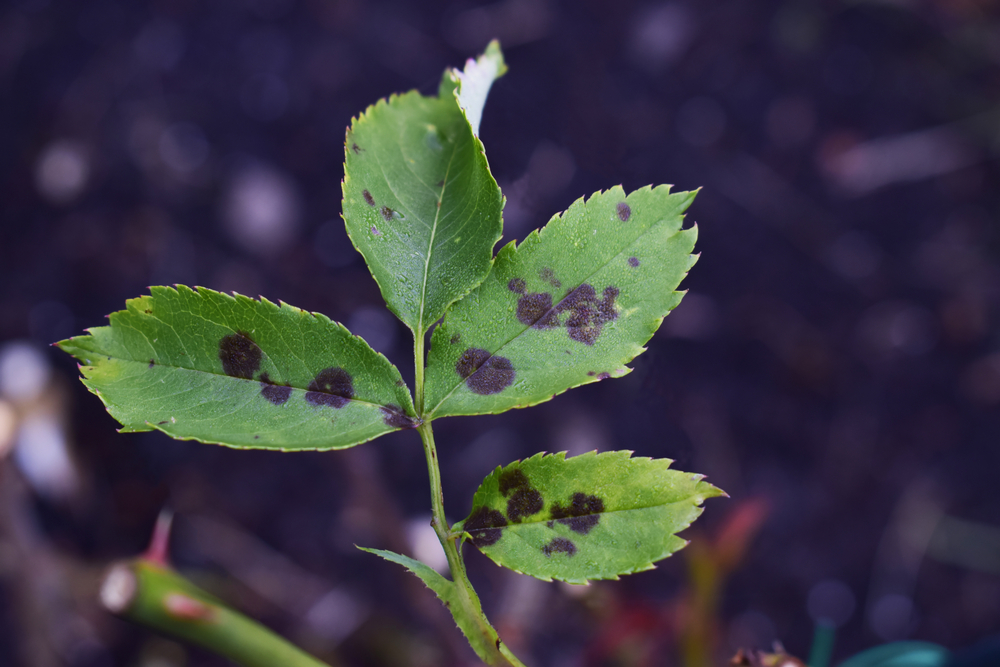
Ladybugs and ground beetles shelter under falling leaves, so avoid raking up your flower beds, if possible. They will reward your patience next year by munching on those pesky aphids. You can remove foliage that has been affected by fungus though – with the most common example being blackspot on roses.
Don’t cut back flower heads that you’re not harvesting. The seeds of dry plants such as bee balm, rudbeckia and sunflowers provide nutritious food for birds in the winter.
10. Feed your soil.
Your soil worked hard over the summer to provide nutrients for healthy plants and blooms, and now the time has come to replenish those nutrients.
Rather than relying on synthetic fertilizer come spring, a more earth-friendly and budget-friendly option is to add a layer of homemade compost and leaf mold to your soil.
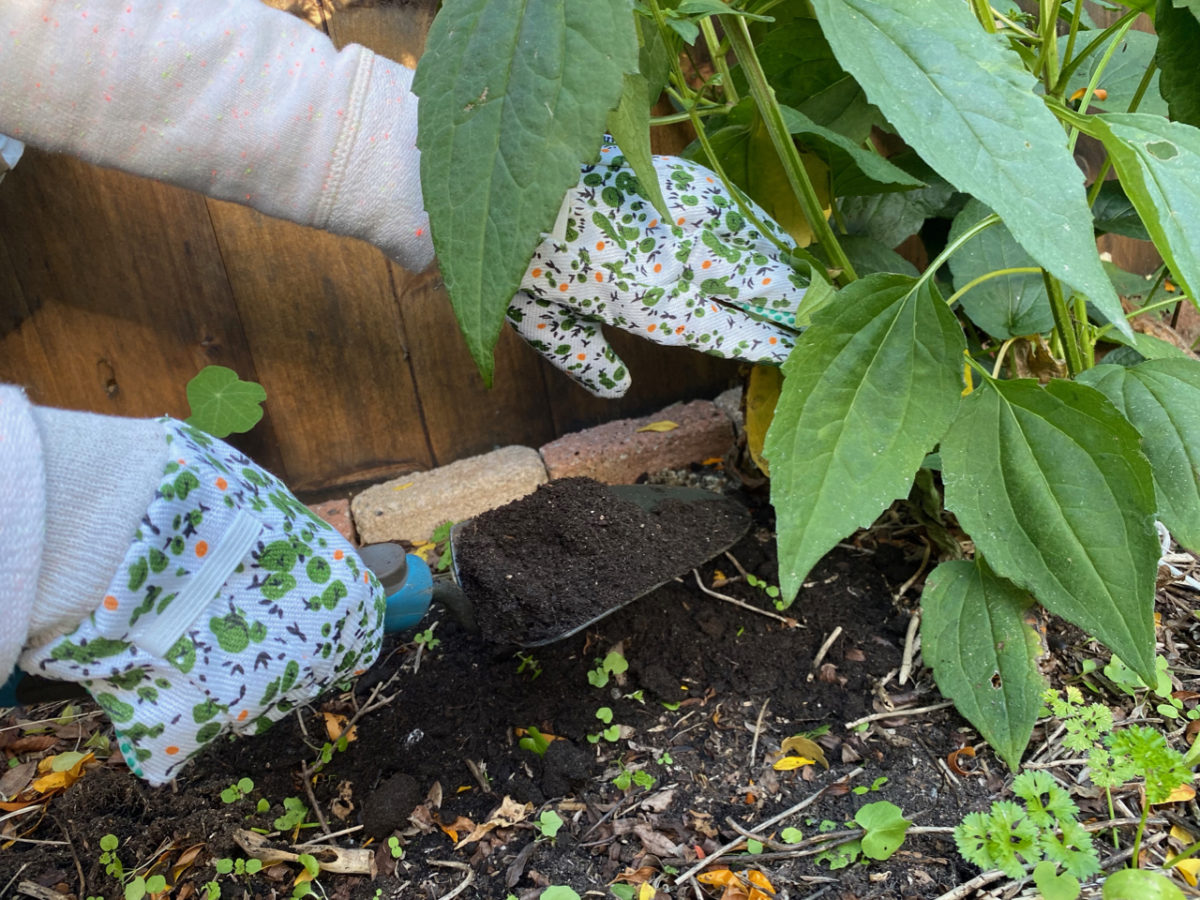
Don’t dump the compost on your flower beds all at once. Add a couple of inches gradually to avoid damaging the plants that are still in the ground. You don’t need to dig it in, the earthworms will do the job over winter.
11. Add a layer of mulch.
Once the compost is in place, finish off the soil conditioning by adding a layer of mulch. Mulching our flower beds is just the easiest way to imitate nature’s cycle of leaf drop and decomposition over the winter months.
Mulching helps to physically protect the soil by conserving moisture, keeping the temperature constant, suppressing weed growth and eventually decomposing and adding to the soil structure.
Some gardeners skip mulching in the fall because buying bags of bark is becoming more and more expensive. But bark is not the only option. You can use dry leaves, leaf mold, wood chips, pine needles or even dried up and shredded plant matter that you’ve pruned off.
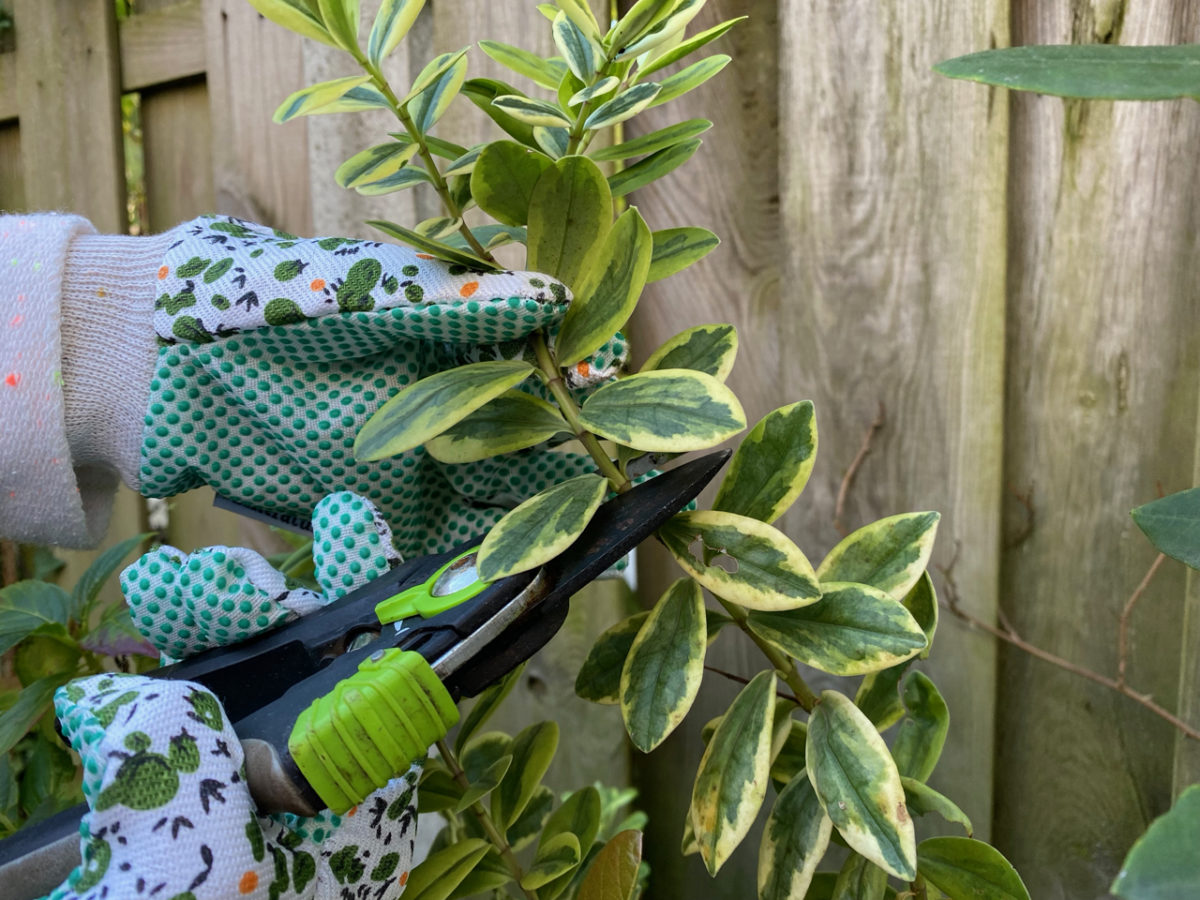
12. Do some tool maintenance.
I never seem to have enough spare time in the garden during the summer to think about giving my gardening tools a good clean. But after using them overtime in the fall, my tools look a little bit worse for wear by the end of November.
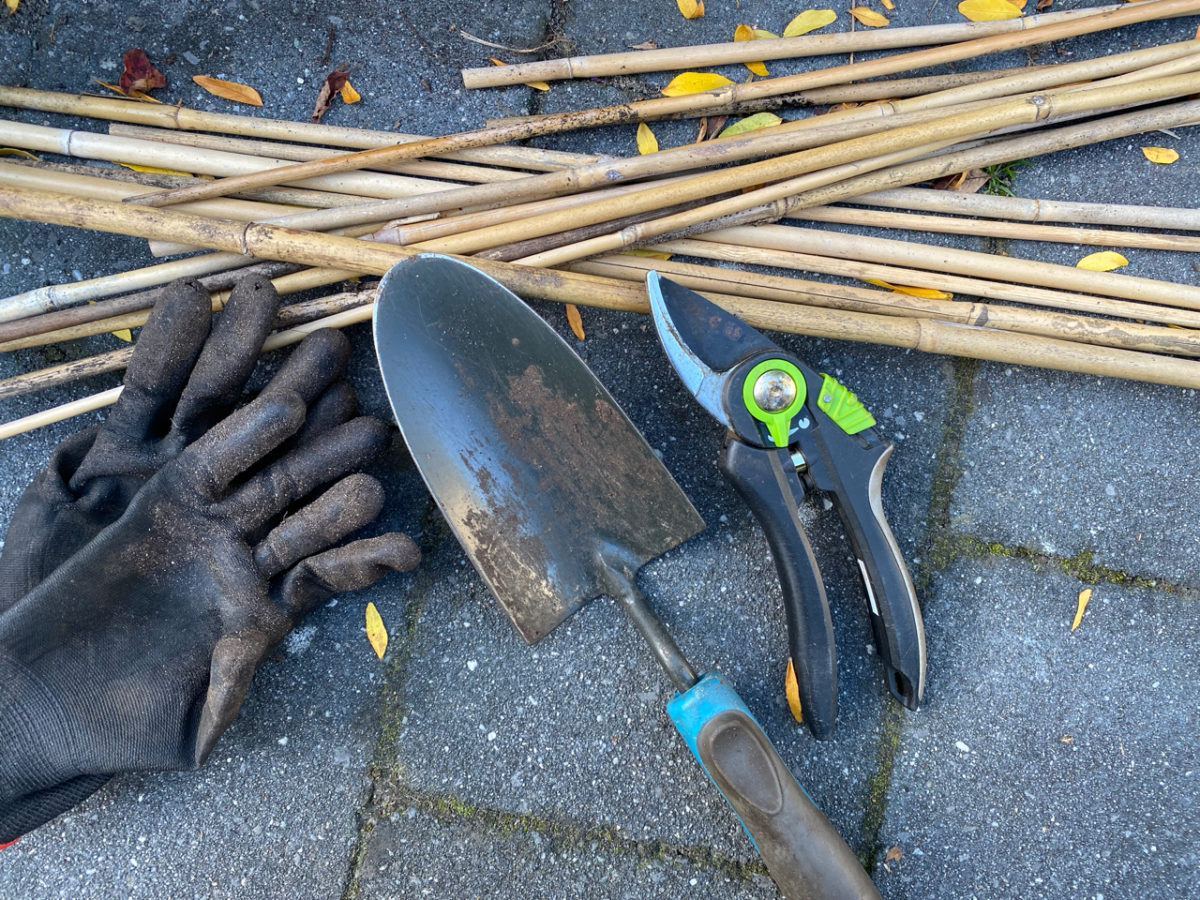
So I clean up my spades, trowels, bulb planters and hand forks. I give all my gardening gloves a good wash and let them dry outside. And I clean, oil and sharpen my pruning shears.
Seed trays, pots, buckets and support canes will also get a good wash before I put them away. This way, they’ll be ready to go when I go back into seed-starting mode in spring.
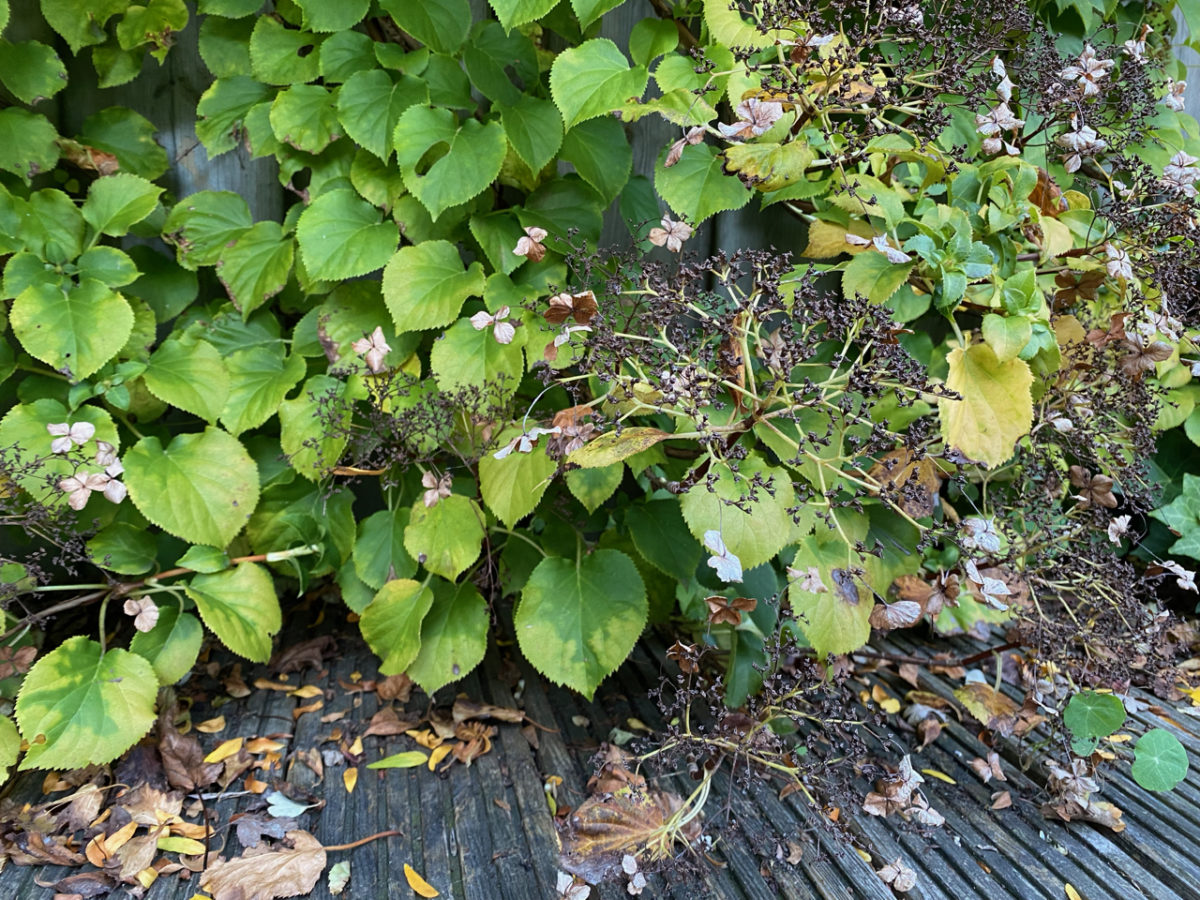
13. Cut back and tie back to prevent windrock.
Windrock is a fancy gardening term with a very obvious meaning: in areas that get very strong wind gales in the winter, tall shrubs will be damaged by the wind even to the point of being uprooted.
It’s hard to believe if you don’t live in such a climate, but if trees get pulled out from the roots, a rose shrub will not stand a chance. And even if the shrub is not uprooted, the damage to the roots can affect water and nutrient intake in the short and medium term.
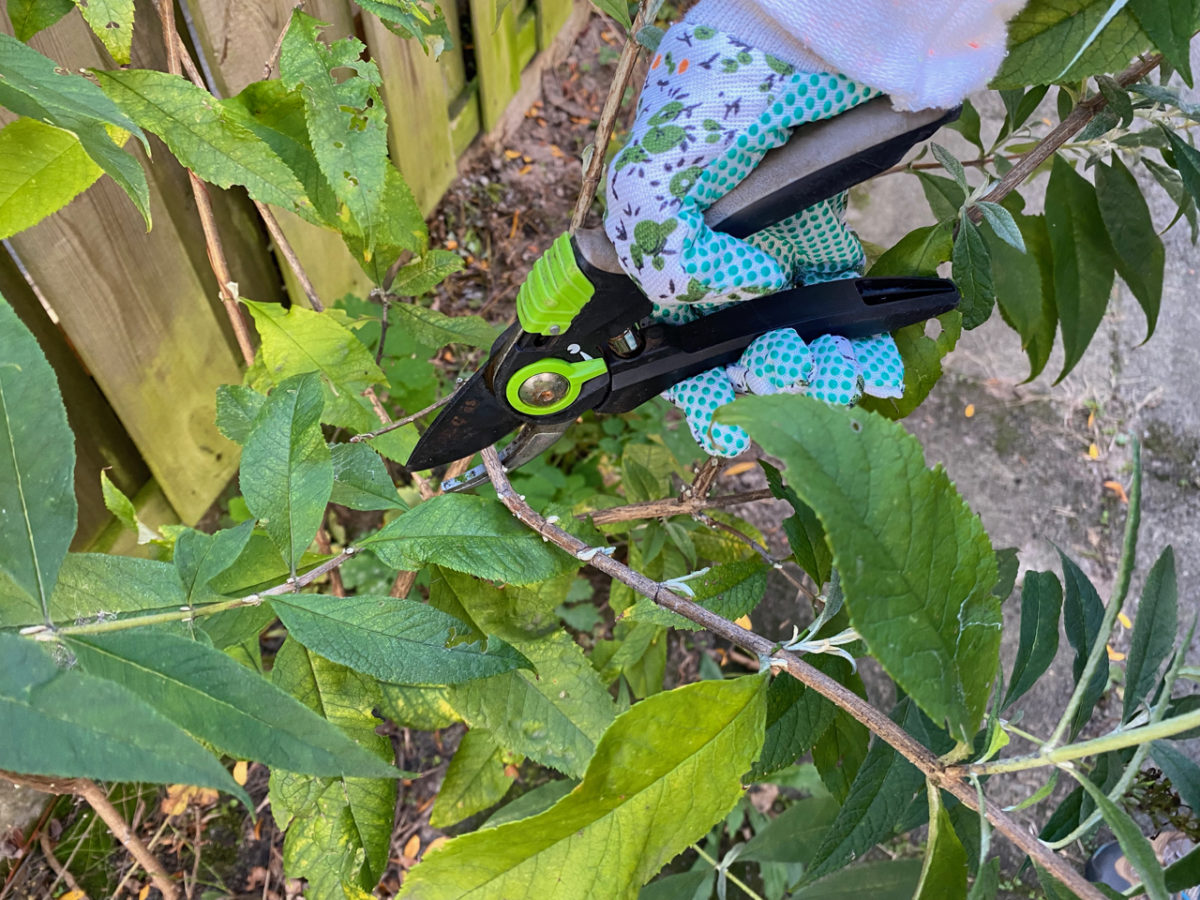
The best way to prevent windrock damage is to trim back lanky shrubs in exposed locations by about a third once the foliage has dried. Removing the top growth lowers the sail effect of that part, thus lowering the chances of strong wind damage.
Have a look at the shrub and see if there are any weak, sappy shoots. Cut back each individual branch right above a leaf node to reduce sway but maintain the shape of the shrub for next spring.
Plants that will benefit from windrock prevention if they’re planted in an exposed open location include climbing roses, buddleia, hibiscus, dogwood and abutilon.
While you’re at it, tie the stems of climbers such as jasmine, honeysuckle and clematis to a support structure to train them and prevent them from rocking in the wind.
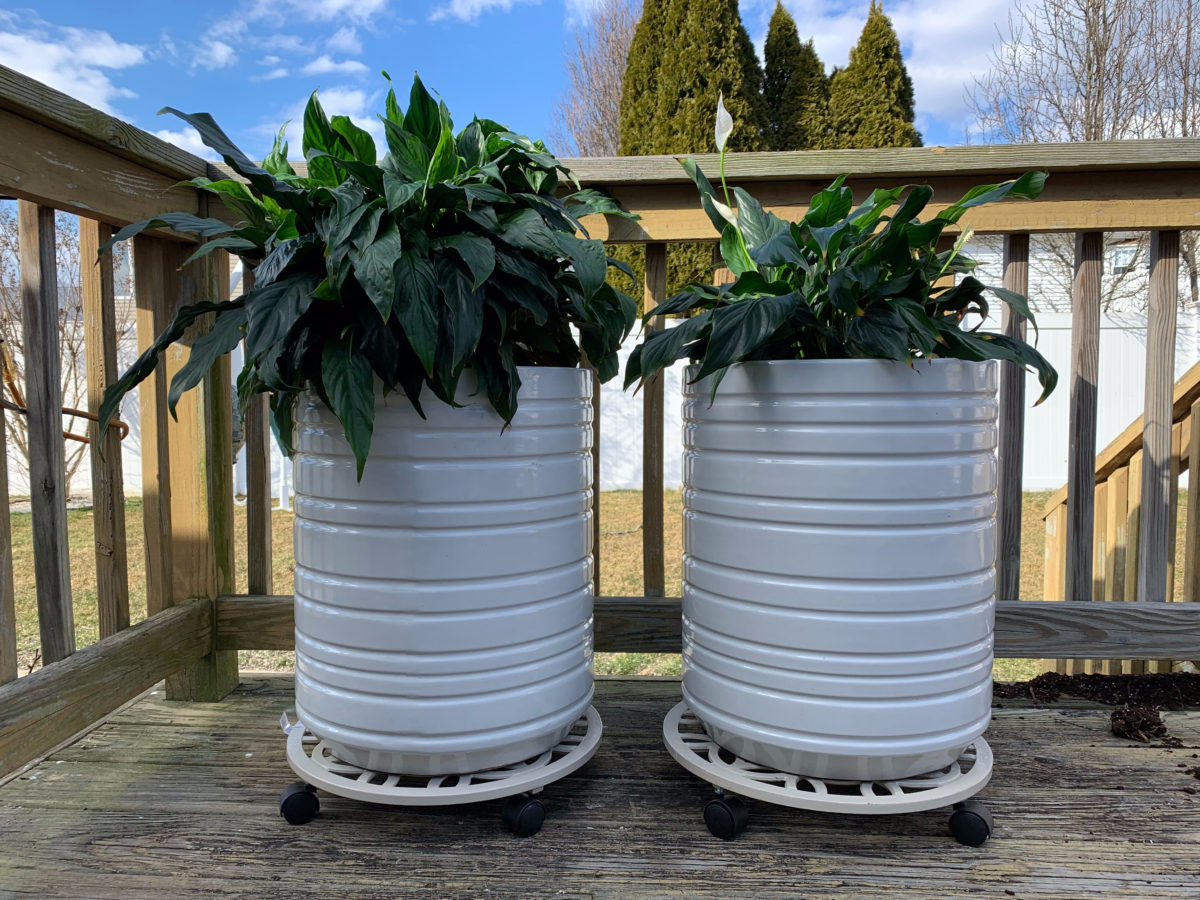
14. Bring your tropical houseplants back indoors.
If your tropical houseplants have been camping outdoors for the summer, now is the time to bring them back in before nighttime temperatures drop. Give them a thorough inspection to catch any hitchhiking pests and prevent an indoor infestation.
Check the surface of the soil, the leaves (including the undersides), the stems and the petiole. Then trim off any damaged leaves and remove the mulch, if you’ve added any. If you want to play it safe, you can repot your houseplants before moving them back inside.
If possible, use a transitional space – such as a sunroom or an enclosed porch – for a few days to get your plants acclimated to living inside the house again.
15. Take notes and organize your new growing season.
The slowing down of the season is a time for reflection for many of us, gardeners. Rather than relying on your memory, jot down some notes in your garden journal of what went well this year and what you’d like to change for next year.

What spring bulb varieties have you planted and where? Are there any new perennials you’d like to try growing? Did you find a solution that really worked against that insect problem? Is there anything you’d like to do differently next spring? So much of gardening is a trial-and-error process, and every year we build on the knowledge of the years before.
Spring and summer may seem like the busiest time in the garden, but it’s the work that we put in during the fall season that sets us up for an abundant gardening year.